install vue
npm install -g @vue/cli
// 뷰 프로젝트를 한큐에 세팅 할 수 있도록 도와주는 라이브러리

yarn global add @vue/cli
// yarn을 사용하면 조금 빠르고 에러가 덜 날수 있다(큰 차이는 없음)
cli 설치 이후 프로젝트 생성 명령어
 vue create vuedongsan
 // vue create 프로젝트명

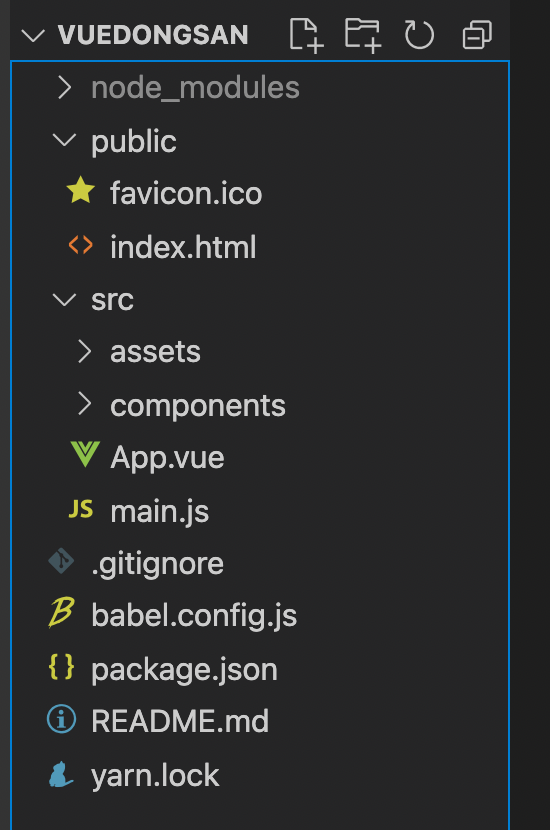
초기세팅 이후 폴더구조 (저는 yarn으로 설치했습니다)
// App.vue

// html이 들어올 자리
<template>
 <img alt="Vue logo" src="./assets/logo.png">
   안녕하세요
 <HelloWorld msg="Welcome to Your Vue.js App"/>
</template>

//자바스크립트가 들어올 자리
<script>
import HelloWorld from './components/HelloWorld.vue'

export default {
 name: 'App',
 components: {
   HelloWorld
 }
}
</script>

// 스타일이 들어올 자리
<style>
#app {
 font-family: Avenir, Helvetica, Arial, sans-serif;
 -webkit-font-smoothing: antialiased;
 -moz-osx-font-smoothing: grayscale;
 text-align: center;
 color: #2c3e50;
 margin-top: 60px;
}
</style>
yarn server
// 프로젝트 열기
{{데이터 바인딩}}
JS 데이터를 HTML에 꽂아넣는 문법
<template>
  <div>
    <h4>XX 원룸</h4>
    <p>{{price1}} 만원</p>
  </div>
   <div>
    <h4>XX 원룸</h4>
    <p>XX 만원</p>
  </div>
</template>

<script>

export default {
  name: 'App',
  data(){
    return{
      //여기에 데이터 보관
      price1: 60,
    }
  },
  components: {

  }
}
</script>
속성값의 데이터 바인딩
  <div>
    {{logo}}
    <h4 class='red' :style="스타일">XX 원룸</h4>
// 속성은 :
    <p>{{price1}} 만원</p>
// 데이터값 {{}}
  </div>
v-for
리액트의 map, forEach 와같은 문법을 vue에서는 한가지로 정의 내려진다.
v-for
 <div class="menu">
    <a v-for="작명 in 3" :key="작명">HOME</a>
  </div>
// HOME HOME HOME

 <div class="menu">
    <a v-for="(menu i) in menus" :key="menu">{{ menu }}</a>
  </div>
// Home Products About
<script>
export default {
  name: "App",
  data() {
    return {
      menus: ["Home", "products", "About"],
    };
  },
  components: {},
};
</script>
v-on:click @사용하기

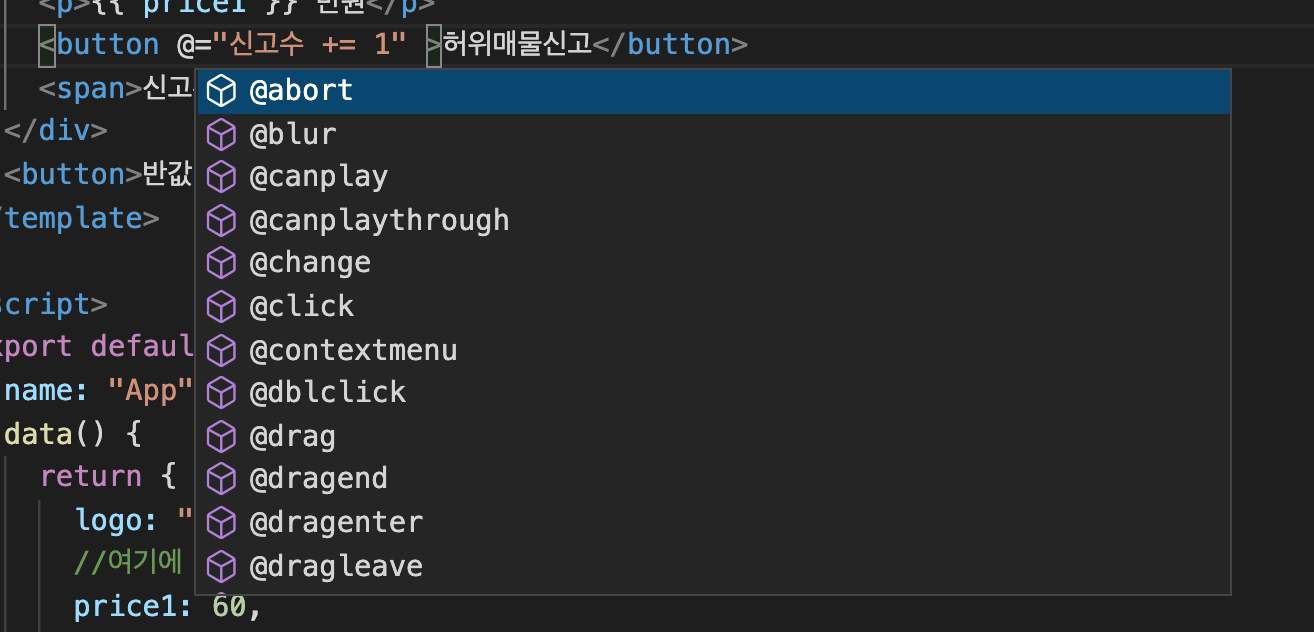
@를 타이핑하면 사용할 수 있는 액션들을 확인 할 수 있습니다.
 <button @click="신고수 += 1">허위매물신고</button>
 <span>신고수 : {{ 신고수 }}</span>

// 아래처럼 mouseover 도 표현 된다.
 <button @mouseover="신고수 += 1">허위매물신고</button>
 <span>신고수 : {{ 신고수 }}</span>
methods 사용하는 법
<template>
    <button @click="increase">허위매물신고</button>
    <span>신고수 : {{ 신고수 }}</span>
  <button>반값만들기</button>
</template>

<script>
export default {
  name: "App",
  data() {
    return {
      신고수: 0,
    };
  },
  methods: {
    increase() {
      this.신고수 += 1;
    },
  },
  components: {},
};
</script>