web으로 자기소개서 만들기
이번에 신청한 멋쟁이 사자처럼 부트캠프에서 자기소개를 html과 css만으로 구현하라는 과제를 주었다. 자기소개를 웹페이지로 만들 생각을 왜 못했을까..? 일정 때문에 시간이 얼마 없어서 오늘 급하게 코드를 작성했다!
1. 전체구성
크게 제목, 목차, 내용이 나오게끔 만들고 싶었다. html은 한지 너무 오래되서 가물가물했지만 나름 괜찮게 나온 것 같아서 다행이다. 전체적인 구성은 다음과 같다.
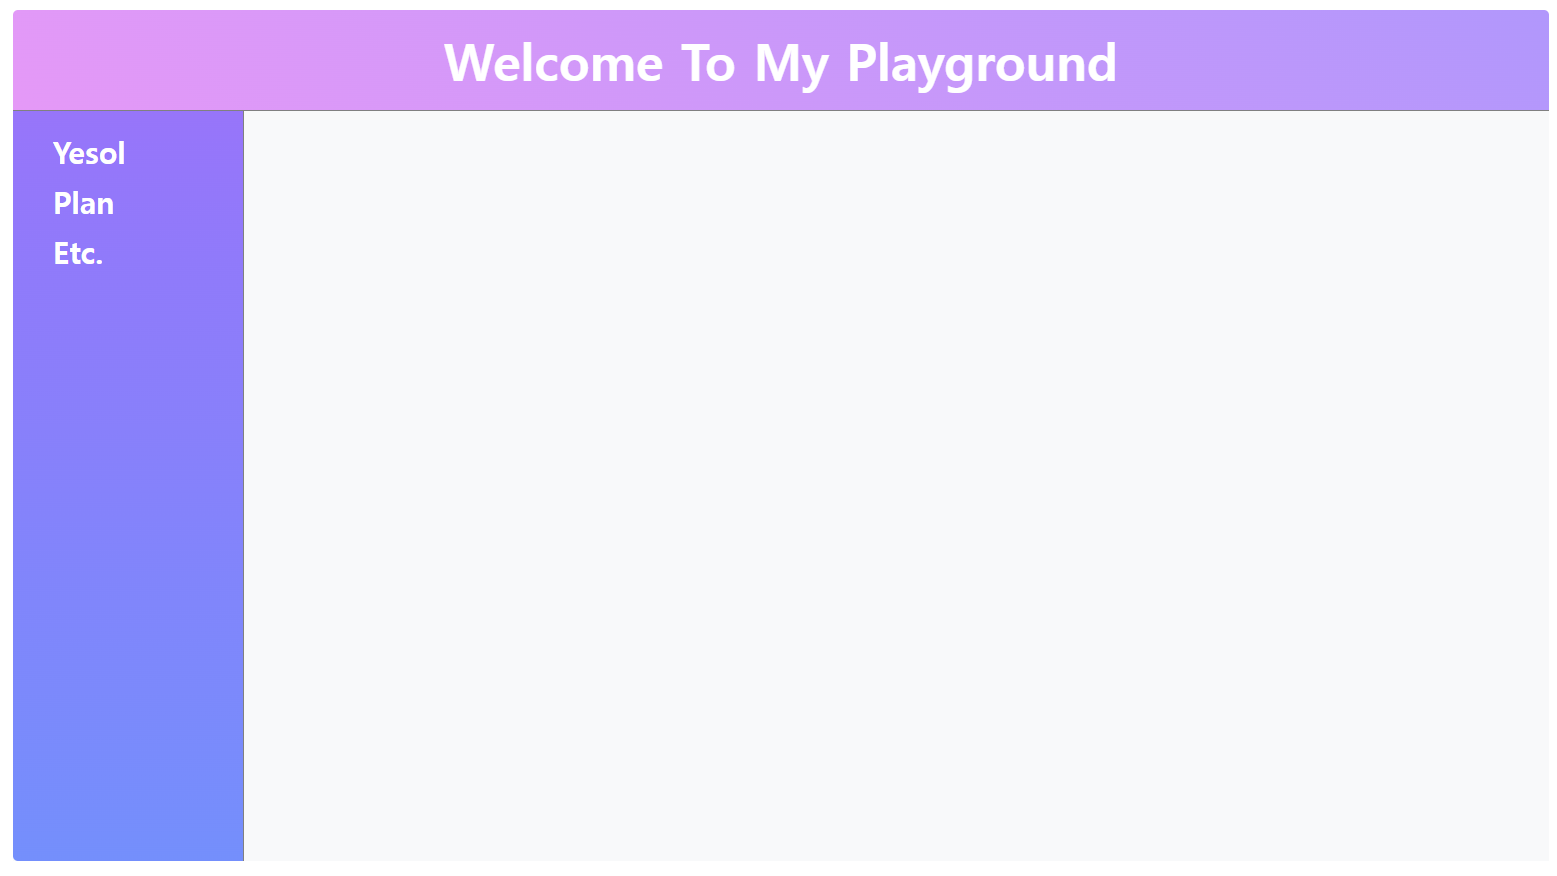
먼저 왼쪽에는 목차가 나오고 해당 파트를 클릭하면 페이지가 전환되게 구현했다. 내용은 안쪽 회색페이지에 들어간다. 오늘 포스팅에서는 각 페이지에 대한 설명 및 코드를 올리고 맨 마지막에 CSS파일을 올릴것이다.
2. 메인페이지
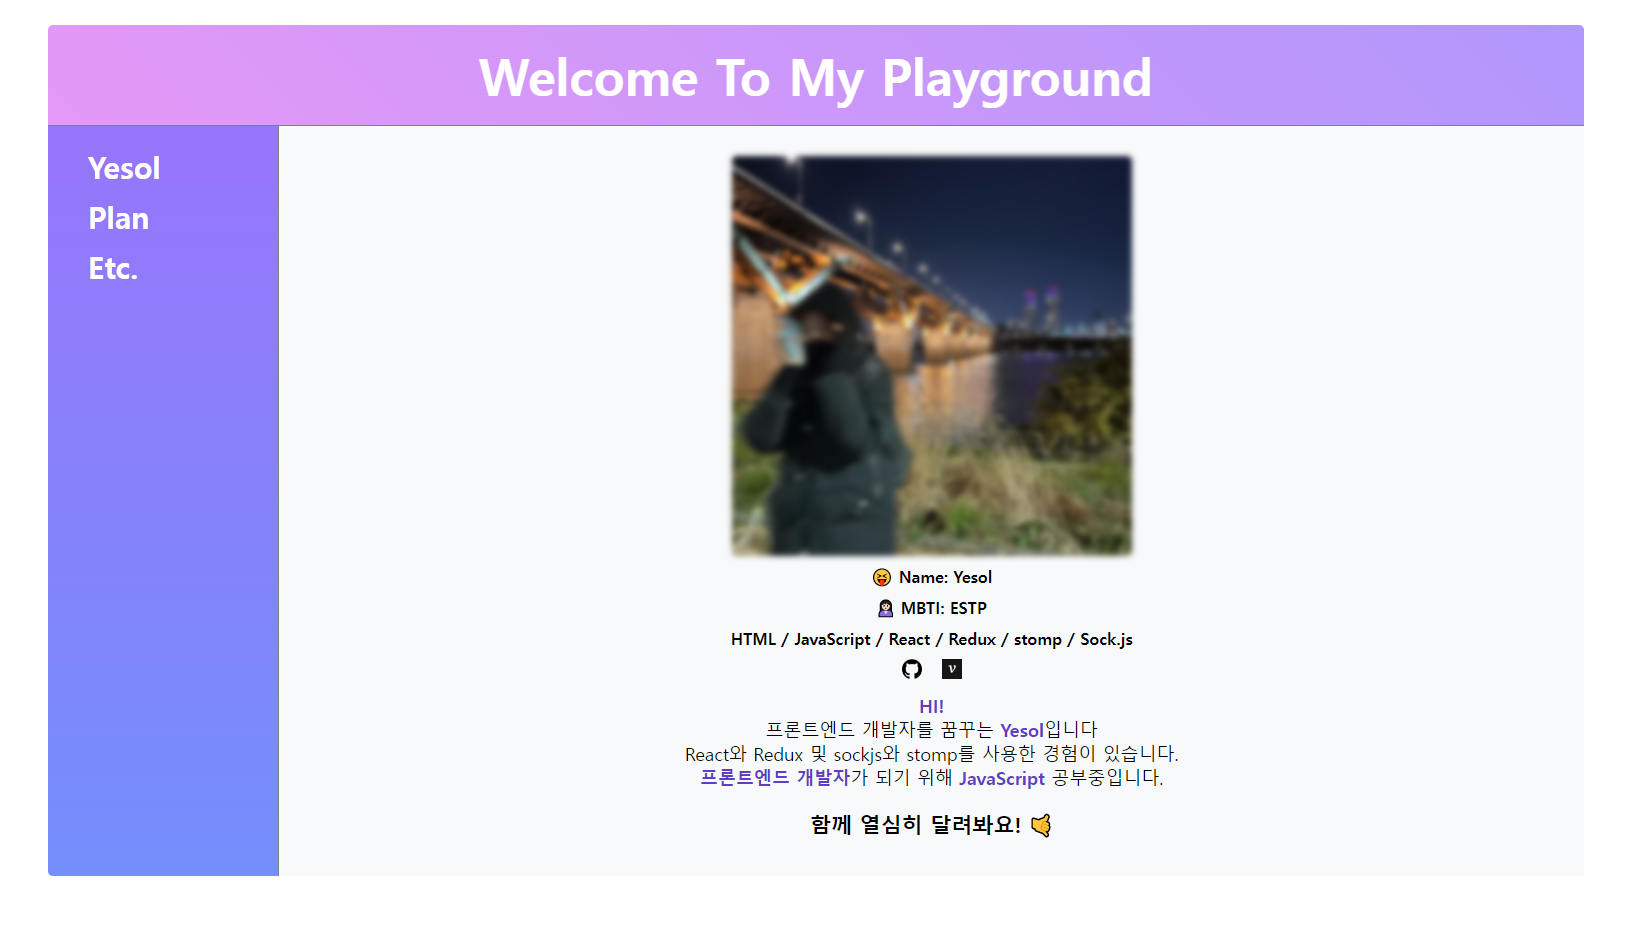
메인페이지는 자기소개페이지다. 간단하게 이름, MBTI, 기술스택, 간단한 자기소개를 작성했다. 문제는 자바스크립트가 없어서 다소 밋밋하다는것... 그래서 어떤 포인트를 주면 좋을까 생각하다가 내 이미지에 호버효과를 걸었다. 처음에는 흐릿하지만 사진에 마우스를 호버하면 사진이 뚜렷해지는 효과를 줘서 다소 심심한 페이지에 포인트를 주었다.
<!DOCTYPE html>
<html>
<head>
<link rel="stylesheet" href="LYS.css">
</head>
<body>
<div class="main"><a href="LYS.html">Welcome To My Playground</a></div>
<div class="container">
<div class="first">
<ol>
<li><a class="mainText" href="LYS.html">Yesol</a></li>
<li><a class="mainText" href="LYS2.html">Plan</a></li>
<li><a class="mainText" href="LYS3.html">Etc.</a></li>
</ol>
</div>
<div class="second">
<div class="title">
<img class="image" src="image.jpg">
<div class="feature"> 😝 Name: Yesol</div>
<div class="feature"> 🙎🏻♀️ MBTI: ESTP</div>
<div class="feature"> HTML / JavaScript / React / Redux / stomp / Sock.js</div>
<div class="iconBox">
<a href="https://github.com/lulla-by"><img class="icon" src="github.png"></a><a
href="https://velog.io/@thfl3363"><img class="icon" src="velog-logo.png"></a>
</div>
</div>
<div class="content">
<span class="boldText">HI!</span>
<br>
프론트엔드 개발자를 꿈꾸는 <span class="boldText">Yesol</span>입니다
<br>
React와 Redux 및 sockjs와 stomp를 사용한 경험이 있습니다.
<br>
<span class="boldText">프론트엔드 개발자</span>가 되기 위해 <span class="boldText">JavaScript</span> 공부중입니다.
<br>
<h3>
함께 열심히 달려봐요! 🤙
</h3>
</div>
</div>
</div>
</body>
</html>3. 공부계획
공부계획에서는 테이블을 사용했다. table은 기본적으로 단독으로 사용되지않고 기본적으로는 하나이상의 tr, th, td와 함께 사용된다.
tr: tr 태그는 table 태그에서 필수요소이며 th, td로 이루어져 있고 하나의 행(row)을 나타낸다.
즉, tr이 사용되면 tr 안에 있는 요소들은 하나의 행으로 처리가 된다.
th: th는 테이블에서 요소별 제목을 나타낸다. 작성한 코드를 바탕으로 1행의 제목은 '주차', 2행의 제목은 목표이며 제목에 대한 데이터가 밑에 나타나는것을 알 수 있다.
td: td태그는 th태그에서 정의한 제목 영역에 대한 데이터 및 정보를 나타낸다. 여기서 작성한 코드를 바탕으로 보면 보라색으로 정의된 행들 밑에 나온 데이터들이 해당된다.
여기서도 마찬가지로 마우스호버를 주어서 다소 밋밋한 CSS를 보충했다.
<!DOCTYPE html>
<html>
<head>
<link rel="stylesheet" href="LYS.css">
</head>
<body>
<a href="LYS.html">
<div class="main"><a href="LYS.html">Welcome To My Playground</a></div>
</a>
<div class="container">
<div class="first">
<ol>
<li><a class="mainText" href="LYS.html">Yesol</a></li>
<li><a class="mainText" href="LYS2.html">Plan</a></li>
<li><a class="mainText" href="LYS3.html">Etc.</a></li>
</ol>
</div>
<div class="second">
<div class="title">
<h1>🔥Learning Plan🔥</h1>
</div>
<div class="content">
<!-- <p>purpose</p> -->
<div class="chartBox">
<table>
<thead>
<tr>
<th>주차</th>
<th>목표 (프론트엔드 스쿨 기준)</th>
</tr>
</thead>
<tbody>
<tr>
<td>1~3주차</td>
<td>
Git 버전관리 / HTML5 / CSS3
<br>
RWD / Sass /PostCSS
</td>
</tr>
<tr>
<td>4~7주차</td>
<td>
JavaScript(Fundamentals)
<br>
JavaScript(DOM 스크립팅)
<br>
</td>
</tr>
<tr>
<td>8~9주차</td>
<td>
프로젝트
</td>
</tr>
<tr>
<td>10~11주차</td>
<td>
React(Building User Interface)
</td>
</tr>
<tr>
<td>11~13주차</td>
<td>
React(App State Management)
</td>
</tr>
<tr>
<td>13~15주차</td>
<td>
React(App State Management)
</td>
</tr>
<tr>
<td>16~18주차</td>
<td>
최종 프로젝트
</td>
</tr>
</tbody>
</table>
</div>
<div class="title">
<h2>🌟 개인 목표</h2>
<div class="plan"> - 코어자바스크립트 2회독</div>
<div class="plan"> - 프로그래머스 알고리즘 lv4</div>
<div class="plan"> - 모던자바스크립트 딥다이브 2회독</div>
</div>
</div>
</div>
</div>
</body>
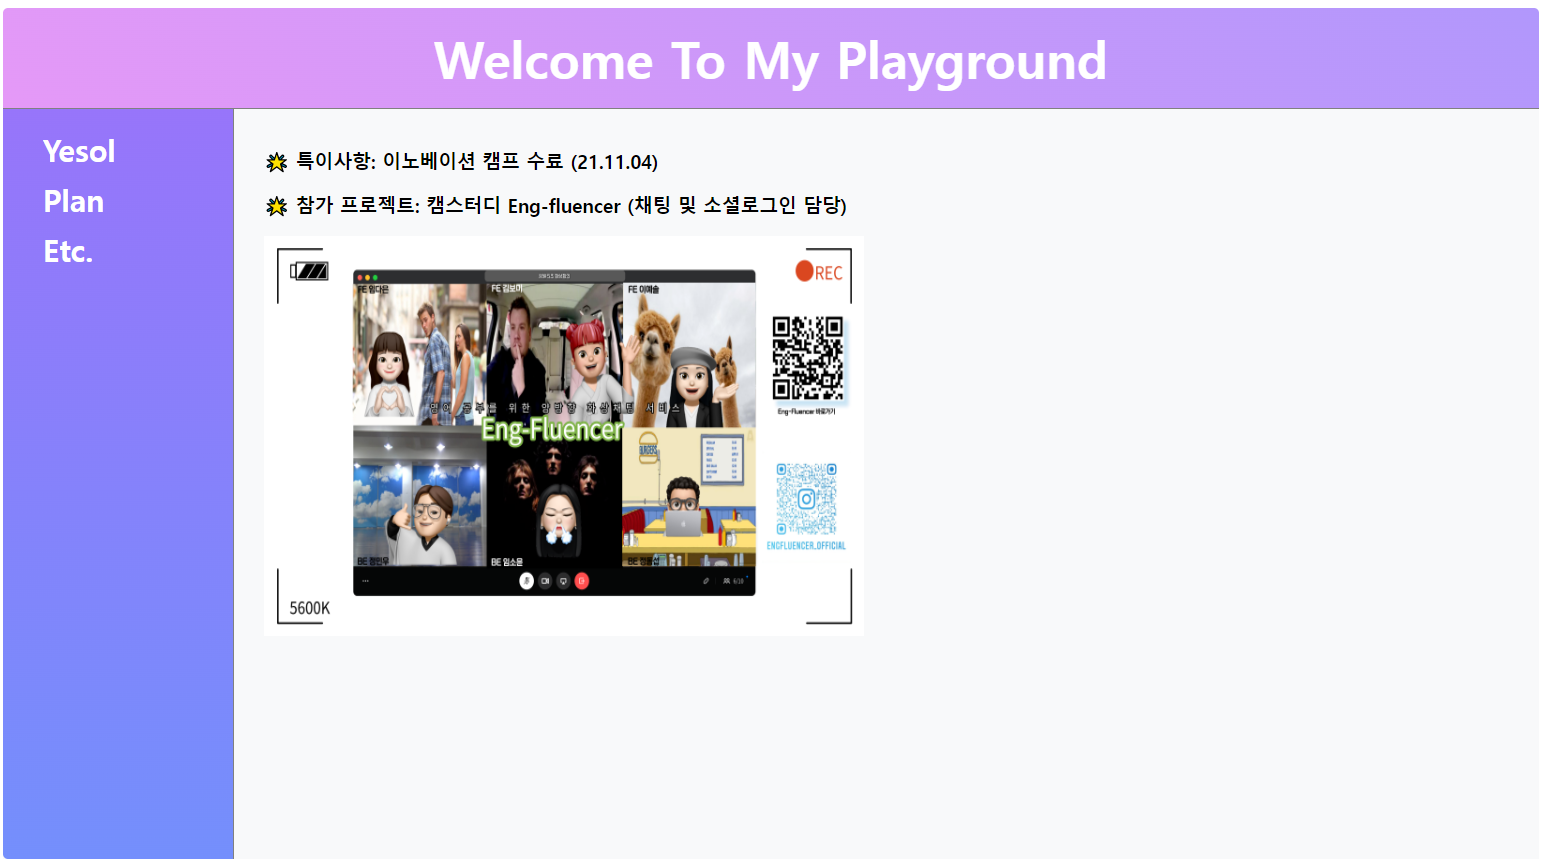
</html>4. Etc.
여기서는 기타 사항을 입력했다. 내가 참가한 대표적인 프로젝트와 그 프로젝트에서 내가 담당한 기술, 현재 수료한 캠프 상황을 기입해서 기타사항을 마무리했다. 여기는 비교적 정보가 많지않아서 코드만 올리도록하겠다.
<!DOCTYPE html>
<html>

<head>
  <link rel="stylesheet" href="LYS.css">
</head>

<body>
  <a href="LYS.html">
    <div class="main"><a href="LYS.html">Welcome To My Playground</a></div>
  </a>
  <div class="container">
    <div class="first">
      <ol>
        <li><a class="mainText" href="LYS.html">Yesol</a></li>
        <li><a class="mainText" href="LYS2.html">Plan</a></li>
        <li><a class="mainText" href="LYS3.html">Etc.</a></li>
      </ol>
    </div>

    <div class="second">
      <div class="etcBox">
        <h3 class="feature">🌟 특이사항: 이노베이션 캠프 수료 (21.11.04)</h3>
        <h3 class="feature">🌟 참가 프로젝트: 캠스터디 Eng-fluencer (채팅 및 소셜로그인 담당)</h3>
        <a href="https://github.com/Eng-Fluencer"><img src="engfluencer.png"></a>

      </div>

    </div>
  </div>
</body>

</html>
5.CSS파일
css는 다음과 같이 작성했다. 배경색들에 그라데이션을 줘서 단조로운걸 피하기 위해 노력했다. 또한 이미지를 기본 상태에서는 블러처리하고 hover시에는 깨끗하게 나오는 효과 등은 처음 해봐서 흥미롭고 재밌었다. 해당 기능은 앞으로도 자주 사용할 것 같다.
body {
  margin: 5vh 10vw 5vh 10vw;
  /* background-color: skyblue; */
}

.mainText {
  text-decoration: none;
  color: white;
}

.mainText:hover {
  color: black;
}
a {
  color: white;
  text-decoration: none;
}

.main {
  font-size: 50px;
  font-weight: 600;
  color: white;
  text-align: center;
  border-bottom: 1px solid grey;
  margin: 0;
  min-width: 900px;
  height: 100px;
  min-height: 100px;
  line-height: 100px;
  background: linear-gradient(45deg, #e599f7, #b197fc);
  border-radius: 5px 5px 0px 0px;
}

.first > ol {
  width: 100px;
  margin-top: 20px;

}
.first > ol > li {
  padding: auto;
  list-style:none;
  font-size: 30px;
  font-weight: 600;
  margin-top: 10px;
}

li {
  list-style: none;
  font-size: 18px;
  padding: auto;
}


.container {
  display: flex;
  height: 70vh;
  min-height: 750px;
  min-width: 800px;
  background-color: #f8f9fa
}
.feature {
  margin-top: 10px;
}

.first {
  background: linear-gradient(to top, #748ffc, #9775fa);
   border-right: 1px solid grey;
   height: 70vh;
   min-height: 750px;
   width: 15vw;
   min-width: 200px;
   border-radius: 0px 0px 0px 5px;
}
.second {
  background-color: #f8f9fa;
  height: 70vh;
  min-height: 750px;
  width: 85vw;
  min-width: 800px;
  border-radius: 0px 0px 5px 0px;
}

.title {
  width: auto;
  font-weight: 600;
  align-items: center;
  text-align: center;
  display: flex;
  flex-direction: column;
  margin: 20px 20px 0px 20px;
}
.title >  .plan {
  font-weight: 500;
  margin-bottom: 10px;
}
.title > .plan:hover {
  font-weight: 600;
  color:#5f3dc4;
  cursor: pointer;
}
.content{
  font-size: 18px;
  margin: auto;
  width: auto;
  text-align: center;
  justify-content: center;
  align-items: center;
}

.content > .boldText {
  font-weight: 600;
  color:#5f3dc4 ;
}
.image {
  margin-top: 10px;
  width: 400px;
  height: 400px;
  border-radius: 5px;
  cursor: pointer;
  -webkit-filter: blur(3px);
  filter: blur(3px);
  -webkit-transition: .3s ease-in-out;
  transition: .3s ease-in-out;
}
.image:hover {
  -webkit-filter: blur(0);
  filter: blur(0);
}
.iconBox{
  display: flex;
  flex-direction: row;
}
.icon {
  width: 20px;
  height: 20px;
  margin: 10px;
}

table {
  border: 1px solid black;
  border-collapse: collapse;
  background: linear-gradient(45deg,  #748ffc, #9775fa);
}
table > thead > tr > th:first-child {
  border: 1px solid white;
  min-width: 100px;
  color:white;
}
table > thead > tr > th{
  border: 1px solid white;
  min-width: 400px;
  color:white;;

}

table td {
  border: 1px solid white;
  background-color:#f8f0fc;
}

table td:hover {
  border: 1px solid white;
  background-color:#f8f0fc;
  font-weight: 600;
  cursor: pointer;
}

.chartBox {
  margin: auto;
  width: 500px;
  text-align: center;
  justify-content: center;
  align-items: center;
}

img {
  width: 600px;
  height: 400px;
}

.etcBox {
  margin: 20px 0 0 20px;
  padding: 10px;
}
이상으로 html과 css 만으로 자기소개서 만들기 끗!
---------------------------------------------------------------
11월 23일 프론트엔드스쿨 4기 최종합격했어요~~