Local,World -> Camera,View -> Projetion -> Viewport -> Screen
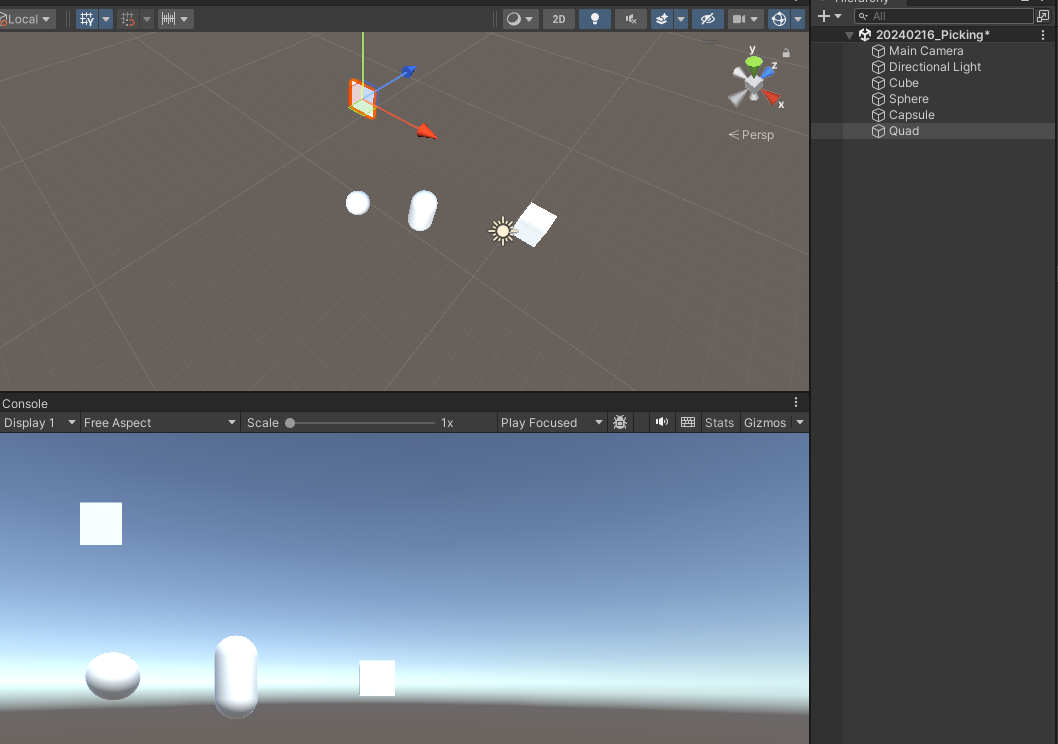
먼저 오브젝트를 대충 깔아줍니다.
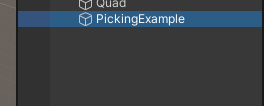
그리고 PickingExample 이라는 엠티 오브젝트를 만들고
PicikingExample 스크립트를 만들고 붙여줍니다.
[SerializeField]private GameObject[] objs = null;코드를 친 다음
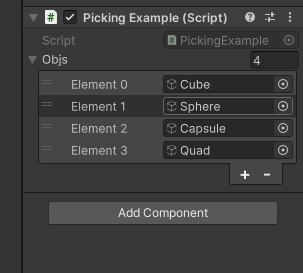
오브젝트를 넣어주면 된다.
using System.Collections;
using System.Collections.Generic;
using System.Runtime.CompilerServices;
using UnityEngine;

public class PickingExample : MonoBehaviour
{
    [SerializeField]private GameObject[] objs = null;
    private Camera mainCam = null;

    private void Update()
    {
        ResetColor();
        GameObject go =  PickingProcess();
        //GameObject go = ModernPickingProcess();
        if(go != null)
        {
            SetColorAtGO(go);
        }
    }
    private GameObject PickingProcess()
    {
        mainCam = Camera.main;
        Vector3 mousePos = Input.mousePosition;
        mousePos.z = mainCam.nearClipPlane;
        Vector3 toWorld = mainCam.ScreenToWorldPoint(mousePos);
        Vector3 dir = (toWorld - mainCam.transform.position).normalized;
        RaycastHit hit;
        if (Physics.Raycast(mainCam.transform.position, dir, out hit))
        {
            //Debug.Log(hit.transform.name);
            return hit.transform.gameObject;
        }

        Debug.DrawRay(mainCam.transform.position,dir,Color.red);
        return null;
    }

    private GameObject ModernPickingProcess()
    {
        Ray ray = mainCam.ScreenPointToRay(Input.mousePosition);
        RaycastHit hit;
        if(Physics.Raycast(ray, out hit))
        {
            return hit.transform.gameObject;
        }
        return null;
    }
    private void ResetColor()
    {
        foreach (GameObject go in objs)
        {
            MeshRenderer mr = go.GetComponent<MeshRenderer>();
            mr.material.SetColor("_Color",Color.white);
        }
    }

    private void SetColorAtGO(GameObject _go)
    {
        MeshRenderer mr = _go.GetComponent<MeshRenderer>();
        mr.material.SetColor("_Color", new Color(1f, 0f, 0f));
    }
}
그리고 이렇게하면 마우스에 오브젝트 갖다대면 오브젝트가 빨간색으로 바뀐다.
그리고 추가적으로
PickingMove 라는 폴더를 만들고 간단한 예제를 만들어보자
먼저 전에 했던 작업물을 프리팹으로 만들고

이와같이 시점변경 및 오브젝트를 넣어줍니다.
그리고 PickingPoint 라는 큐브 오브젝트를 만들고 태그도 동일한 이름으로 달아줍니다.
그리소 스크립트를 동일한 이름으로 만들어준 다음
using System.Collections;
using System.Collections.Generic;
using UnityEngine;

public class PickingMove : MonoBehaviour
{
    private Transform pointTr = null;
    [SerializeField] private float moveSpeed = 10f;
    private const float stopDistance = 0.01f;

    private Vector3 pointPos = Vector3.zero;
    private bool isMoving = false;
    private void Awake()
    {
        pointTr = GameObject.FindGameObjectWithTag("PickingPoint").transform;
    }

    private void Update()
    {

        if (Input.GetMouseButtonDown(0))
        {
                isMoving = PickingProcess(ref pointPos);
        }

        if(isMoving)
        {
            SetPointPosition(pointPos);
            MovingToPoint(pointPos);
        }
    }
    private bool PickingProcess(ref Vector3 _point)
    {
        Ray ray = Camera.main.ScreenPointToRay(Input.mousePosition);
        RaycastHit hit;
        if(Physics.Raycast(ray, out hit))
        {
            _point = hit.point;
            return true;
        }

        return false;
    }

    private void MovingToPoint(Vector3 _point)
    {
        _point.y = transform.position.y;
        Vector3 dir = _point - transform.position;

        dir.Normalize();

        transform.position = transform.position + (dir * moveSpeed * Time.deltaTime);
        /*Vector3 dist = transform.position - _point;
        dist.magnitude;*/
        if(Vector3.Distance(transform.position,  _point) < stopDistance)
        {
            isMoving = false;

        }
    }

    private void SetPointPosition(Vector3 _pos)
    {
        pointTr.position = _pos;
    }
}
를 넣어주면 리그오브레전드 (롤) 처럼 움직이는 캐릭터를 볼수있습니다.
과제: 회전도 시켜보자
전역에
private Transform lookPoint = null;

awake 에
lookPoint = GameObject.FindGameObjectWithTag("PickingPoint").transform;

MovingPoint 에
 transform.LookAt(lookPoint);
넣으면 캐릭터가 회전도 한다. 끝난거같다.
+2024.02.16 15:18 추가
using System.Collections;
using System.Collections.Generic;
using UnityEngine;

public class PickingMove : MonoBehaviour
{
    private Transform pointTr = null;
    [SerializeField] private float moveSpeed = 10f;
    [SerializeField] private float rotateSpeed = 10.0f;       // 회전 속도

    private const float stopDistance = 0.1f;

    private Vector3 pointPos = Vector3.zero;
    private bool isMoving = false;

    private void Awake()
    {
        pointTr = GameObject.FindGameObjectWithTag("PickingPoint").transform;
    }

    private void Update()
    {

        if (Input.GetMouseButtonDown(0))
        {
                isMoving = PickingProcess(ref pointPos);
        }

        if(isMoving)
        {
            SetPointPosition(pointPos);
            MovingToPoint(pointPos);
        }
    }
    private bool PickingProcess(ref Vector3 _point)
    {
        Ray ray = Camera.main.ScreenPointToRay(Input.mousePosition);
        RaycastHit hit;
        if(Physics.Raycast(ray, out hit))
        {
            _point = hit.point;
            return true;
        }

        return false;
    }

    private void MovingToPoint(Vector3 _point)
    {
        _point.y = transform.position.y;
        Vector3 dir = _point - transform.position;

        dir.Normalize();

        transform.position = transform.position + (dir * moveSpeed * Time.deltaTime);
        /*Vector3 dist = transform.position - _point;
        dist.magnitude;*/
        //transform.LookAt(pointTr);
        if(Vector3.Distance(transform.position,  _point) < stopDistance)
        {
            isMoving = false;

        }
            // 회전하는 부분. Point 1.
            transform.rotation = Quaternion.Lerp(transform.rotation, Quaternion.LookRotation(dir), Time.deltaTime * rotateSpeed);
    }

    private void SetPointPosition(Vector3 _pos)
    {
        pointTr.position = _pos;
    }
}
이렇게 하면 캐릭터의 회전속도와 계산하여 더욱 부드럽고 자연스럽게 머리를 돌릴수가 있다.

게임 개발자가 된사람