https://toppng.com/img-download/stock/167091#google_vignette
여기에서 먼저 스프라이트 png를 가져온다.
그리고 Resources -> sprites 안에 넣는다.
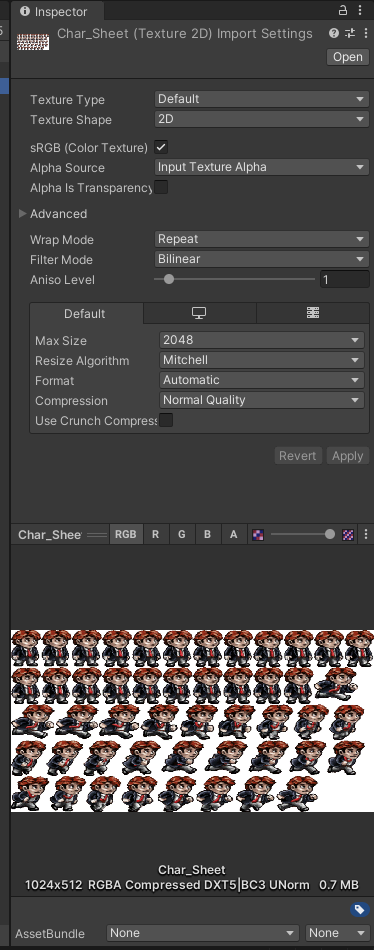
그러면 이런창이 뜬다.
반투명을 지원하는 포맷은 RGBA가 존재 하고.
Taga 파일
PNG 파일
을 제일 많이 사용한다.
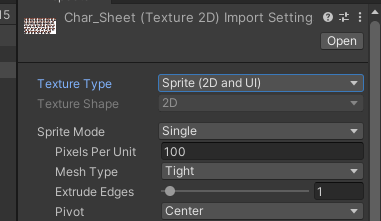
그리고 텍스쳐 타입을 스프라이트로 변경합니다.

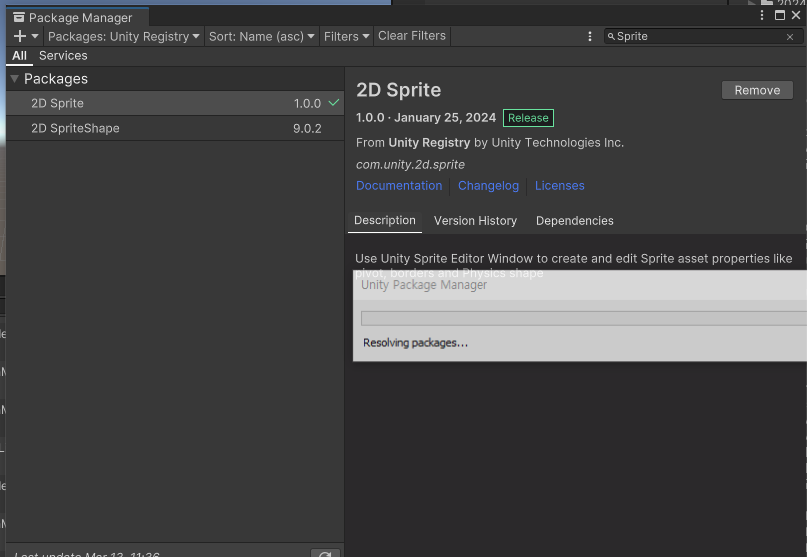
그리고 패키지매니저에서 Unity Registry로 바꾸고 sprite 검색후 sprite2D를 다운받습니다.
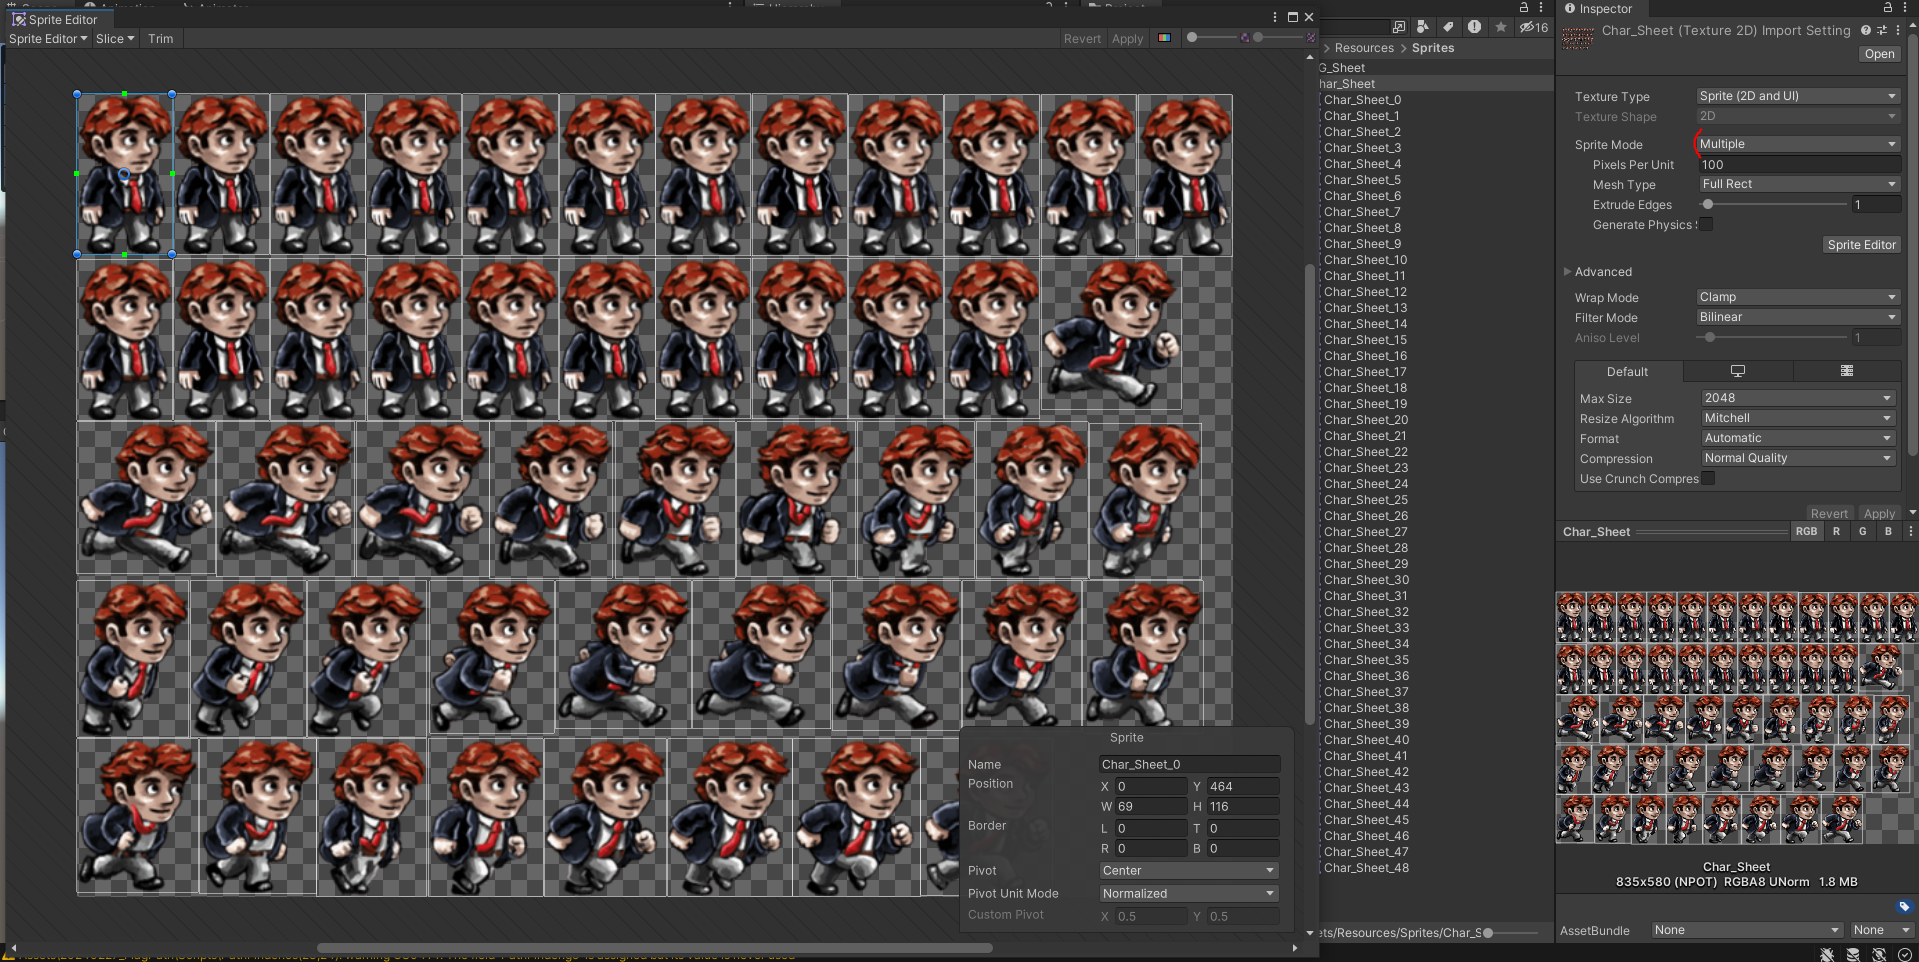
스프라이트를 멀티플라이로 바꾸고 Slice에서 Automatic 으로 만들면 자동으로 스프라이트가 만들어진다.
그리고 백그라운드를 다운받은다음에 : https://blog.naver.com/kch8246/221175967553
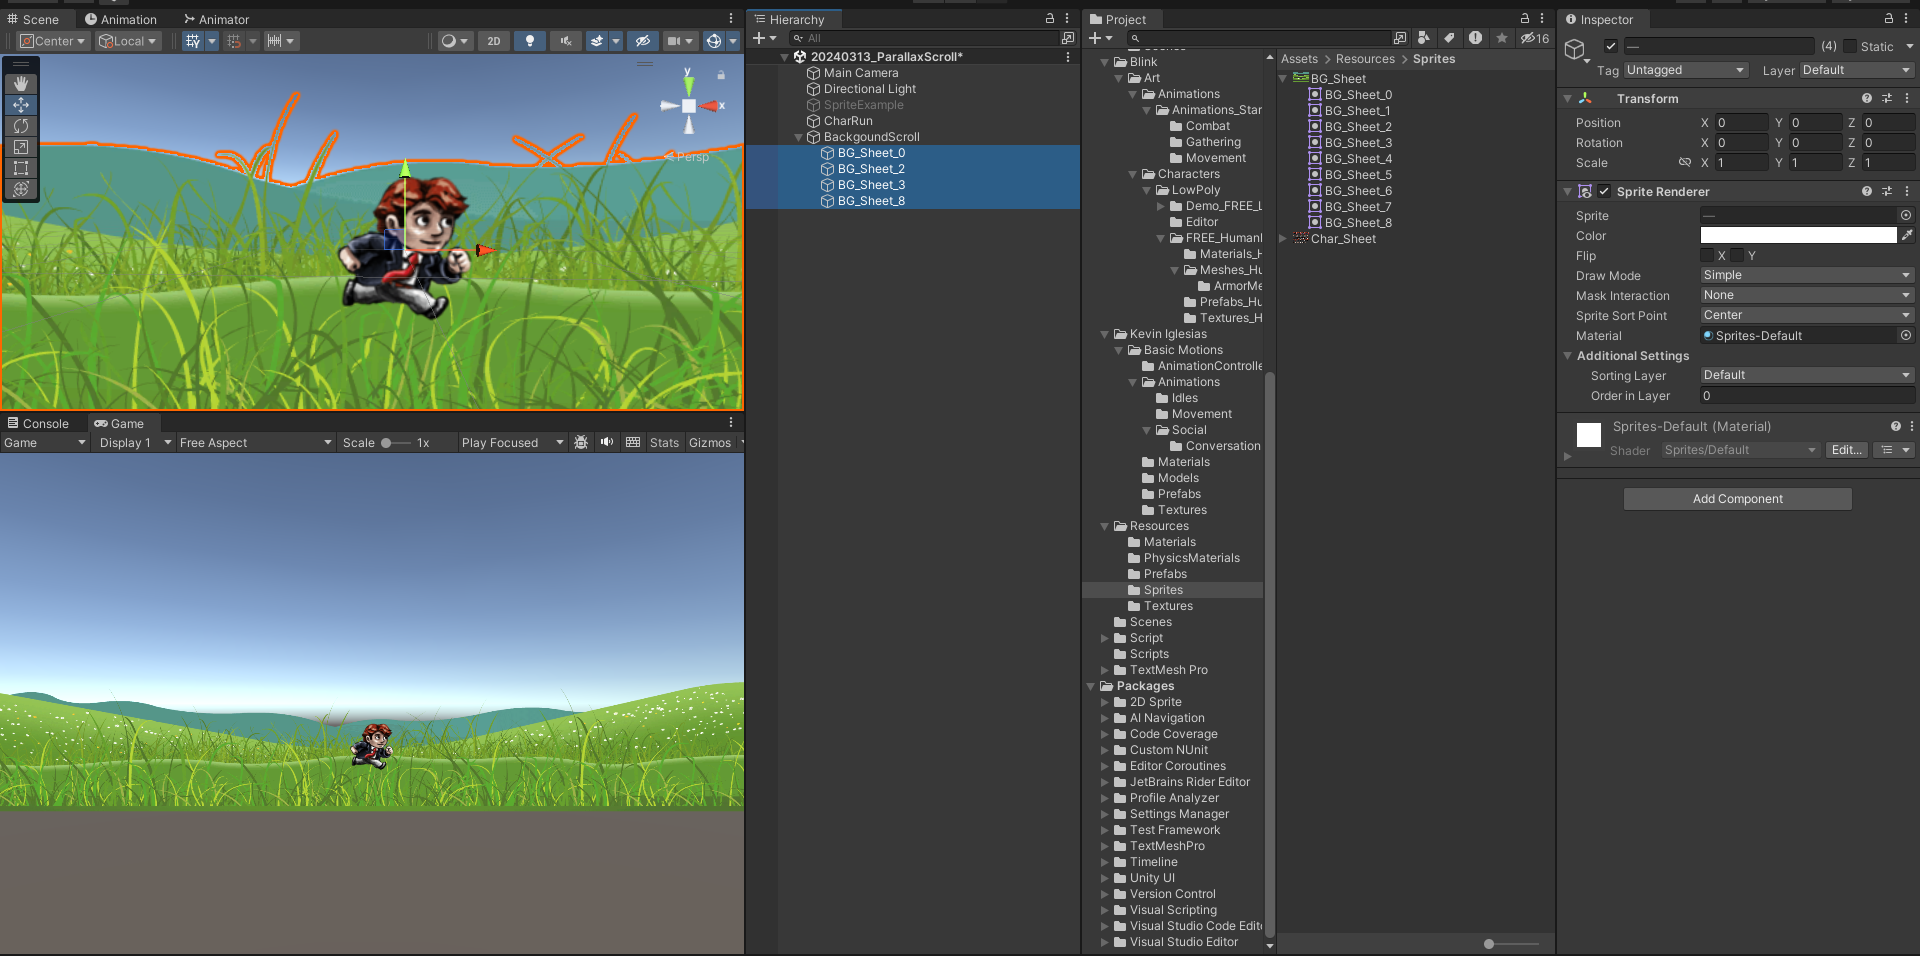
0,2,3,8번을 빼옵니다.
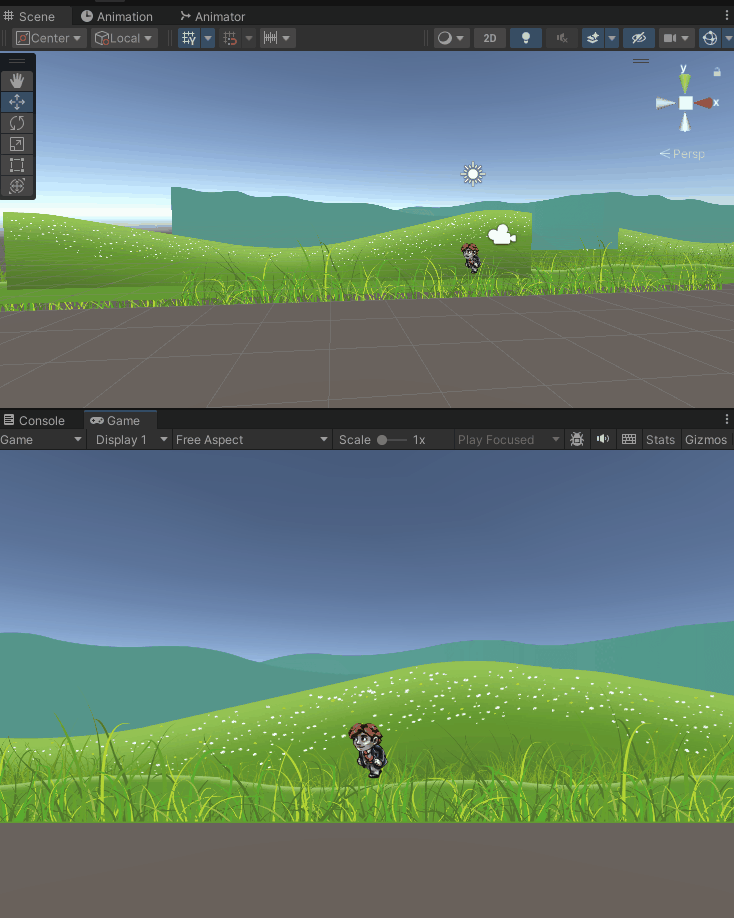
과제 :
캐릭터가 좌,우 로 움직이는대로 배경화면도 같이 움직이는 걸 만들고 배경이 계속 되게 또, 거리에 따라 배경의 속도가 달라지게 만든다.
BackGroundMove.cs
using System.Collections;
using System.Collections.Generic;
using UnityEngine;

public class BackgroundMove : MonoBehaviour
{
    [SerializeField] private Transform target;
    [SerializeField] private float scrollAmount;
    [SerializeField] private float moveSpeed;
    [SerializeField] private Vector3 moveDirection;
    [SerializeField] private CharMove charmove;

    private void Update()
    {


        if (charmove.renderer.flipX)
        {
            moveDirection = new Vector3(1, 0, 0);
            transform.position += moveDirection * moveSpeed * Time.deltaTime;
        }
        else if (!charmove.renderer.flipX)
        {
            moveDirection = new Vector3(-1, 0, 0);
            transform.position += moveDirection * moveSpeed * Time.deltaTime;
        }

        if(transform.position.x <= -scrollAmount)
        {
            transform.position = target.position - moveDirection * scrollAmount;
        }
        if (transform.position.x >= scrollAmount)
        {
            transform.position = target.position - moveDirection * scrollAmount;
        }
    }
}
CharMove.cs
using System.Collections;
using System.Collections.Generic;
using UnityEngine;

public class CharMove : MonoBehaviour
{
    public SpriteRenderer renderer;

    private void Start()
    {
         renderer = GetComponent<SpriteRenderer>();
    }

    private void Update()
    {
        if (Input.GetKey(KeyCode.A))
        {
            renderer.flipX = true;
        }
        else if (Input.GetKey(KeyCode.D))
        {
            renderer.flipX = false;
        }
    }

}

게임 개발자가 된사람