이미지 분류 모델
데이콘에서 이미지 분류 모델 대회에 참가한적이 있다. 생각보다 직관적이지 않아 모델을 만드는데 재미가 없는 편이다. 근데 이번에 알게된 티쳐블머신은 직관적으로 누구나 쉅게 모델을 구현이 가능해서 한번 소개하고 싶다.
요즘 AI시장은 예측모델보다는 분류모델을 많이 만들고 찾는편이다. 분류모델이 더 기업에 실용적이고 사용하기 좋기 떄문이라고 생각한다. 영상이나 이미지를 보고 AI을 학습시켜 새로운 이미지나 동영상을 보고 AI가 학습한 내용을 토대로 이게 어떤 상황인지 분류해서 그 상황에 따라 AI가 조치해야하는 방향으로 발전하고 있다. 그래서 분류모델을 직관적이고 쉅게 만들어 보겠습니다.
Teachable Machine
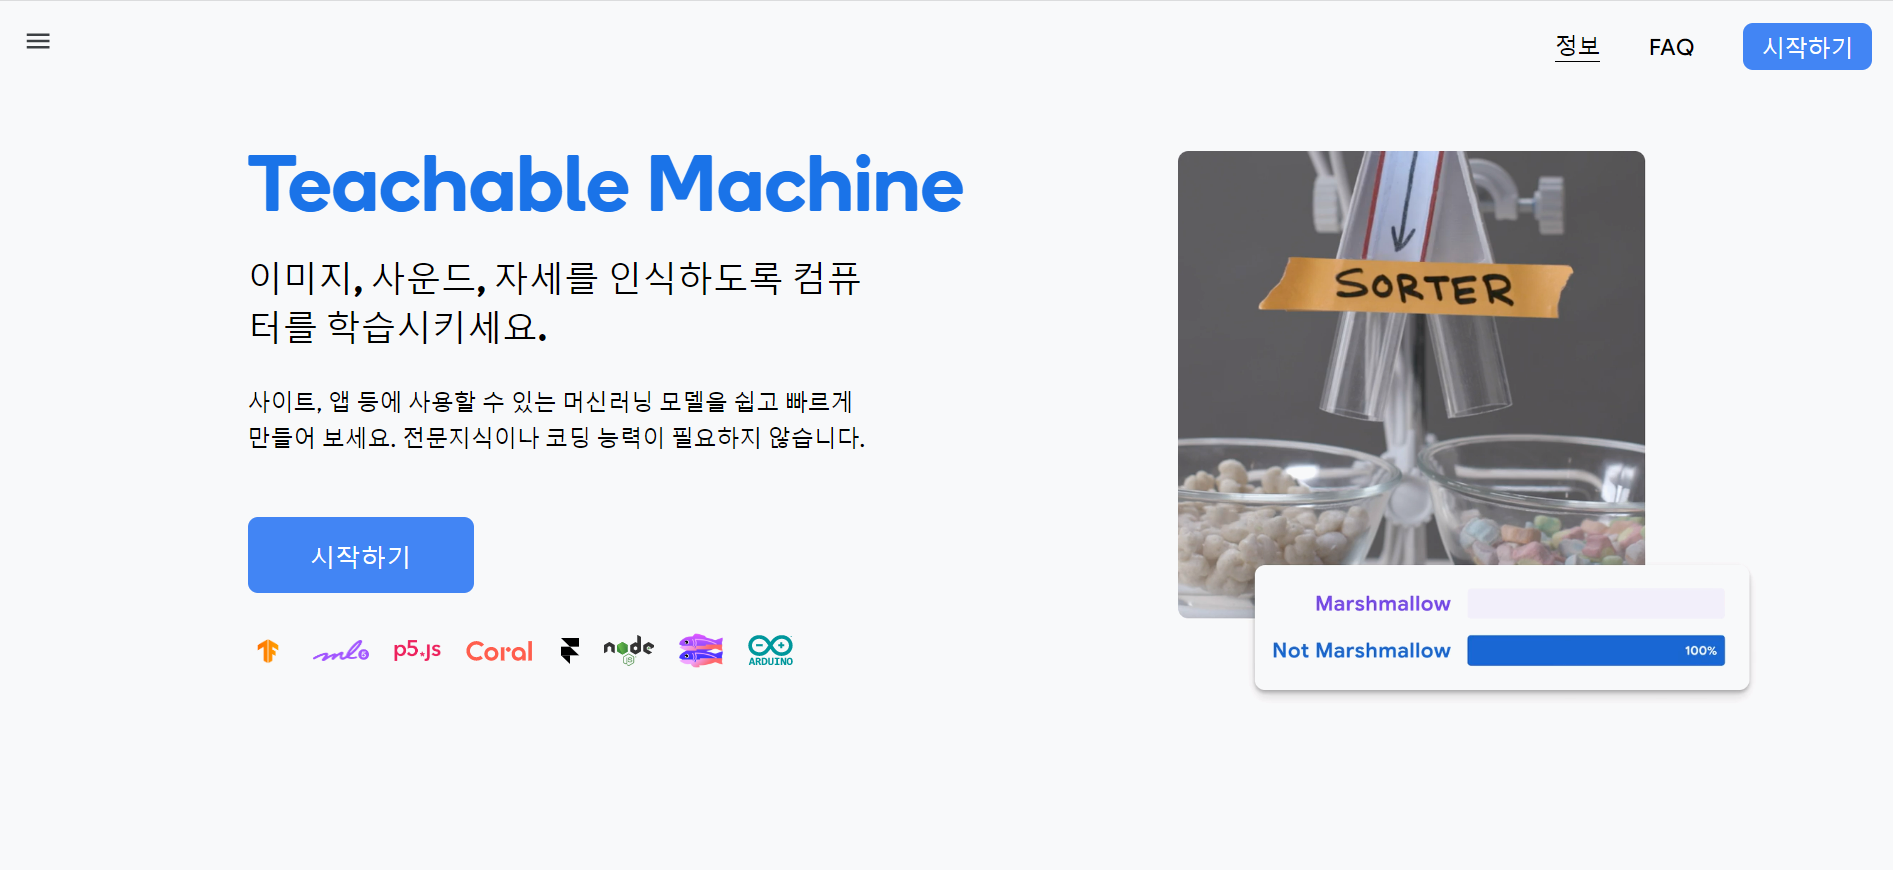
Teachable Machine머신의 메인화면이다. 아주 간편하게 분류 모델을 시작하겠습니다. 시작하기를 클릭하면
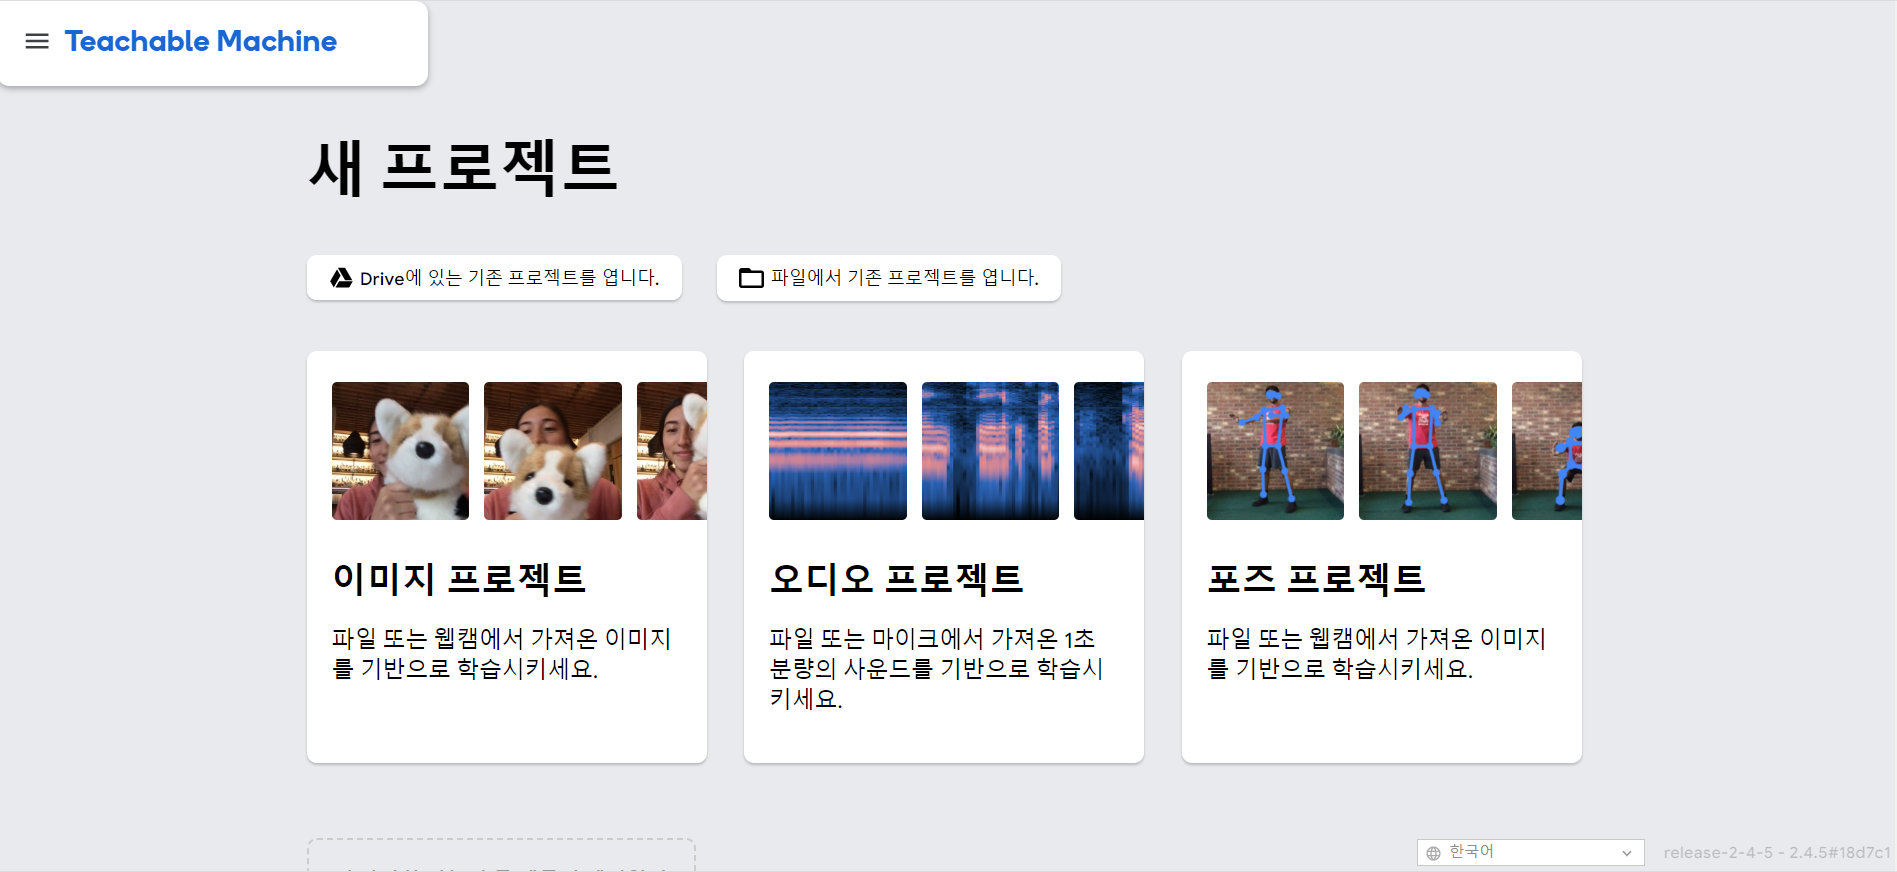
이렇게 프로젝트를 이미지, 오디오, 포즈를 나눠서 만드는게 가능합니다.
저는 오늘은 이미지 분류 모델을 만들어 보겠습니다. 분류 모델을 만들때 가장 중요한 점은 바로 데이터입니다. 요즘 AI를 만들때 데이터를 구하기 힘들고 직접 데이터를 구축하는데 엄청난 돈과 인력이 사용됩니다. 그래서 정부 차원에서 AI데이터를 구축하기 위한 사업을 많이 하는데 오늘 소개할 데이터허브는 정부에서 구축하는 AI허브라는 사이트입니다.
링크텍스트
이 링크에 들어가시면 AI에 필요한 데이터가 많이 구축되어 있습니다. 저는 요즘 제주도에 심각한 문제인 해양쓰레기에 대해서 분류 해보겠습니다.
일단 해양쓰레기 이미지가 있어야 하니 한번 찾아보겠습니다.
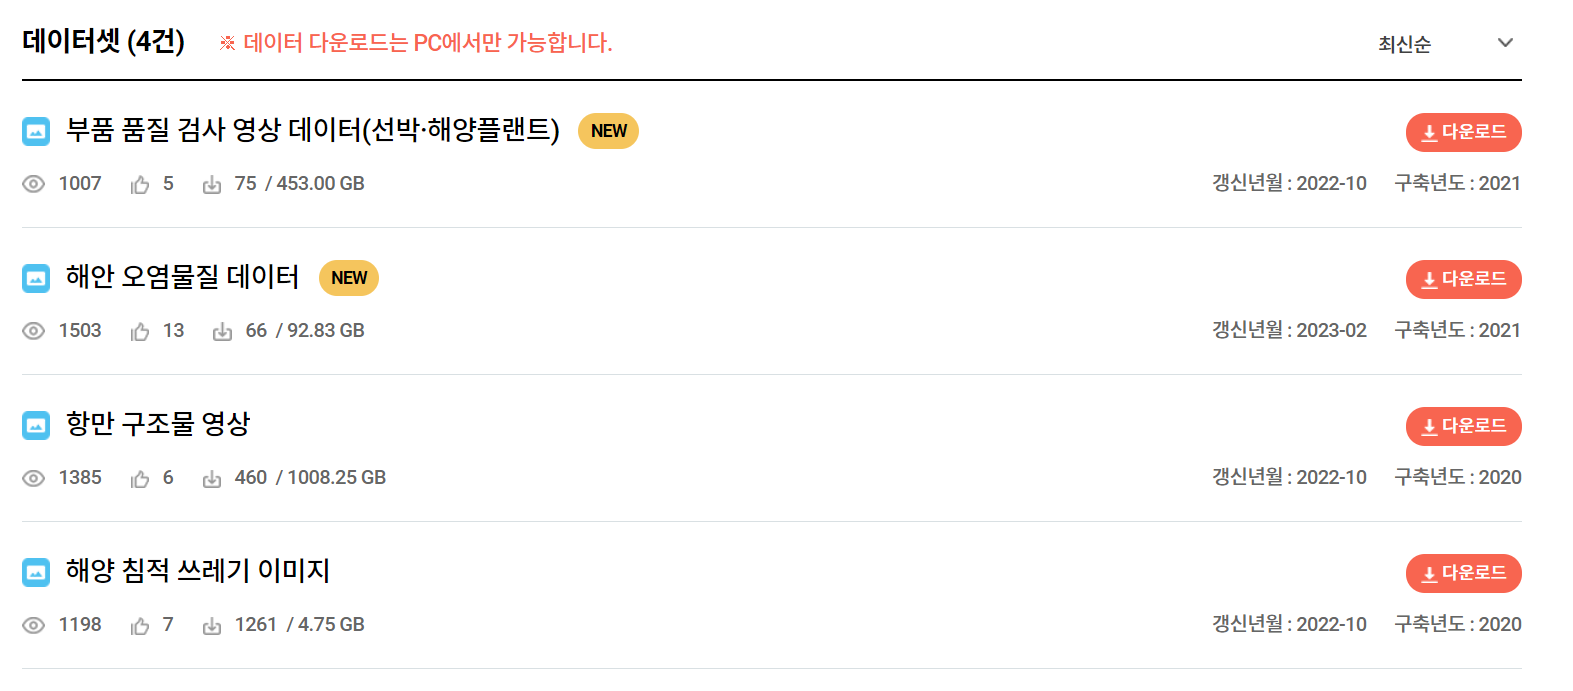
해양 쓰레기를 관련된 데이터가 있네요 다행입니다. 그러면 해안 오염물질 데이터와 해양 침적 쓰레기 이미지를 다운받아 모델을 한번 만들어 보겠습니다.
또 추가적으로 요즘 제주에 문제인 괭생이모자반도 같이 분류하겠습니다.
괭생이모자반이 중국에서 다량하게 황해와 제주도 해안으로 오는 경우가 많아 문제가 많아 이 괭생이모자반에 대한 활용에 대해 연구를 하고 있습니다. 그러면 해양쓰레기와 괭생이모자반을 분류하여 재활용 가능한 괭생이모자반의 활동범위와 이동경로를 추척하기 위해 해양쓰레기와 분류를 해야겠습니다.
링크텍스트 참고:괭생이 모자반의 대한 설명 나무위키입니다.
모델 학습
이제 데이터도 수집했으니 한번 모델을 만들어보겠습니다.
아까 티처블 머신에 들어가서 이미지 분류 모델에 들어가겠습니다.
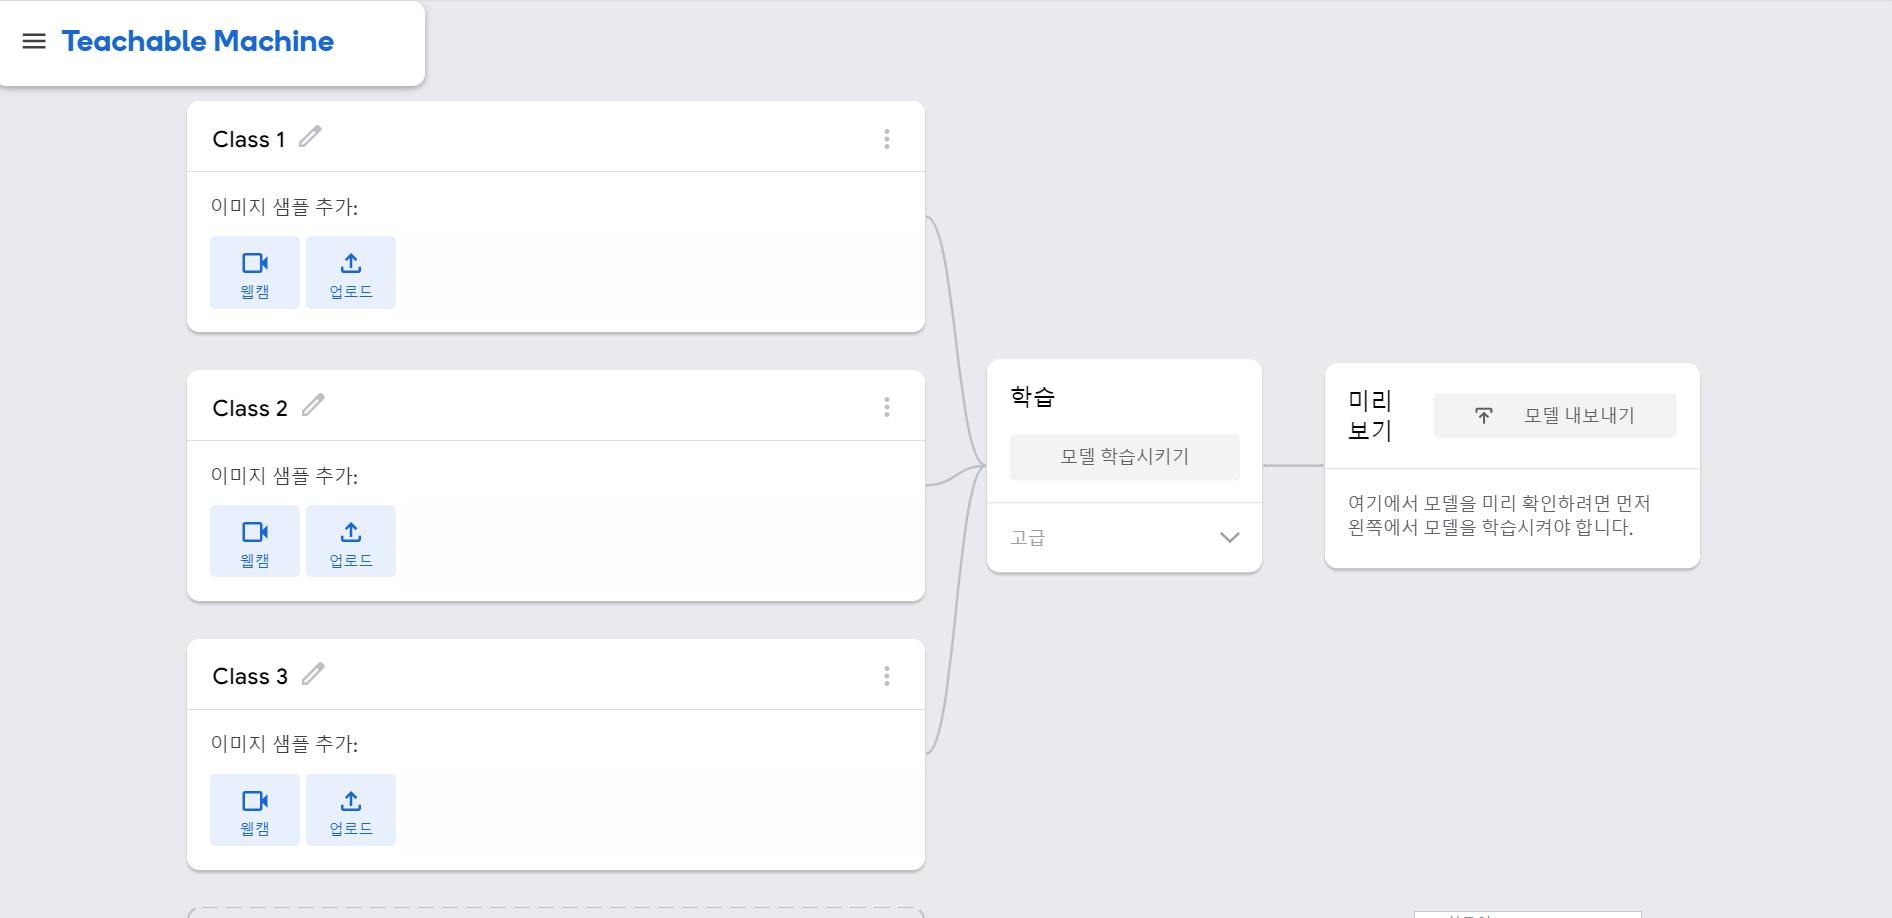
이렇게 3개 이미지를 학습시켜서 3개 이미지로 분류하겠습니다. 각 모델마다 이미지를 등록해서 AI가 학습하면 AI는 그 내용을 토대로 제일 가까운 모델에 대해서 분류가 가능합니다.
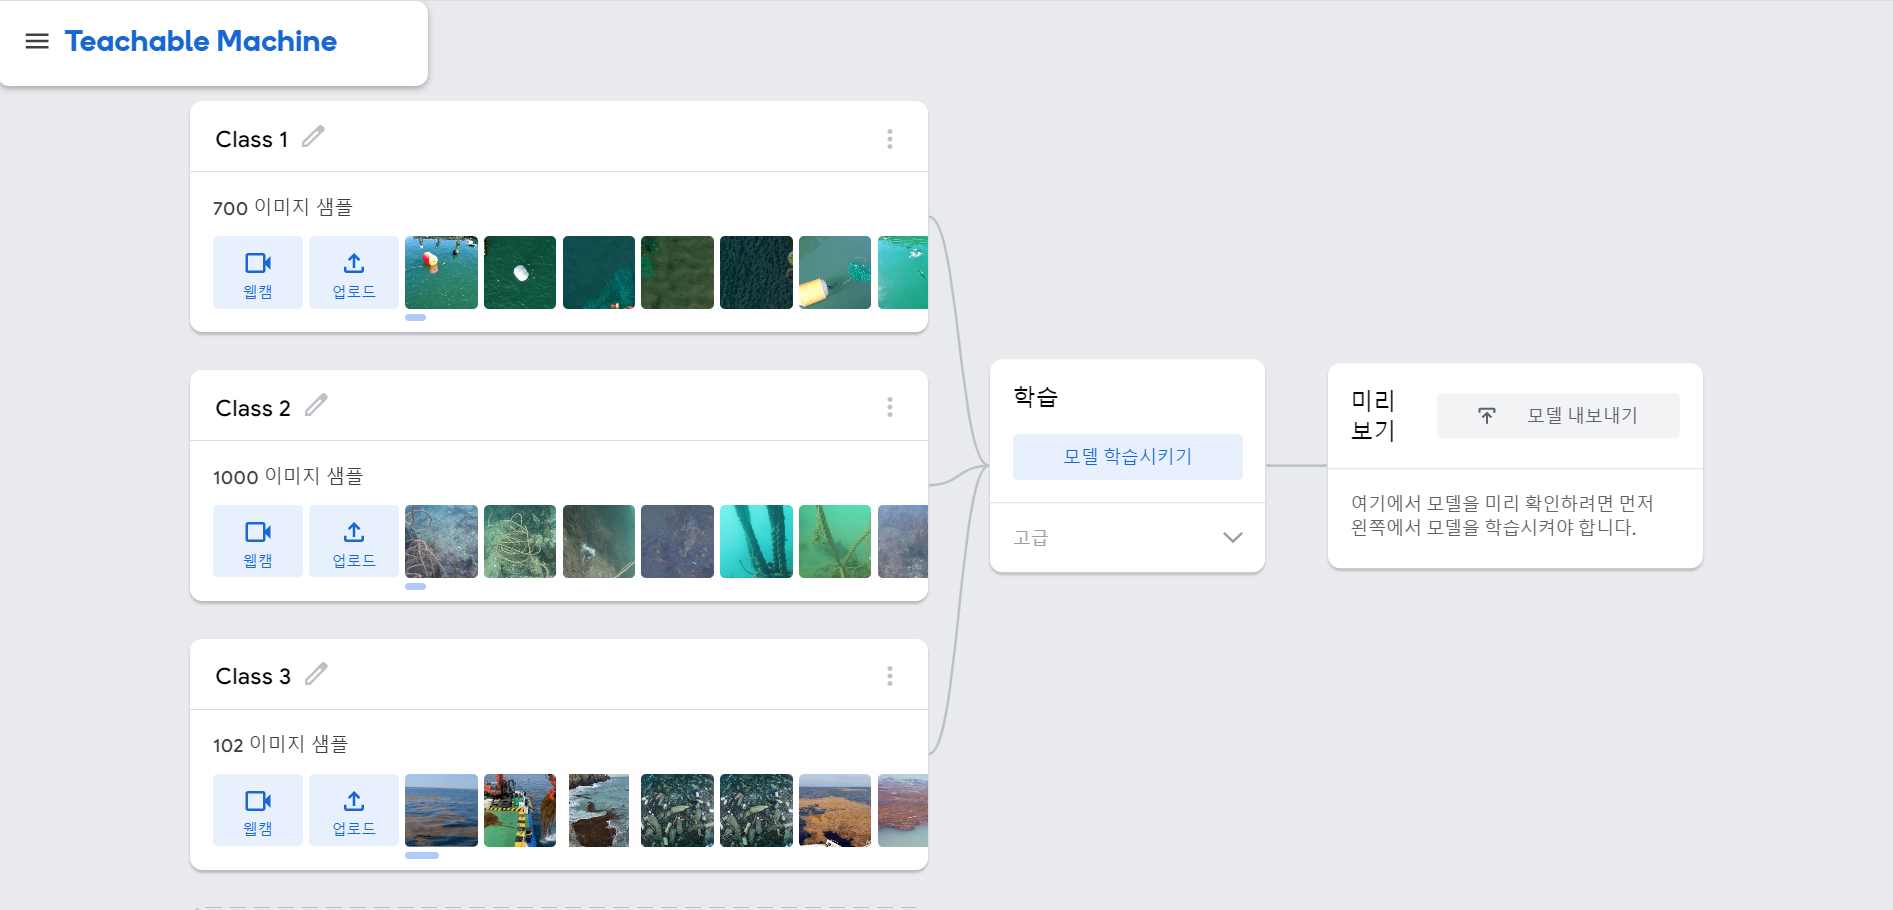
각 클래스마다 분류할 이미지 데이터를 입력했습니다. 해양쓰레기와 침척쓰레기는 AI허브 샘플데이터를 활용했고 괭생이 모자반의 데이터는 없어서 네이버를 통해서 스크래핑을 하여 이미지 100개만 추출하여 활용했습니다.
이제 학습해보겠습니다.
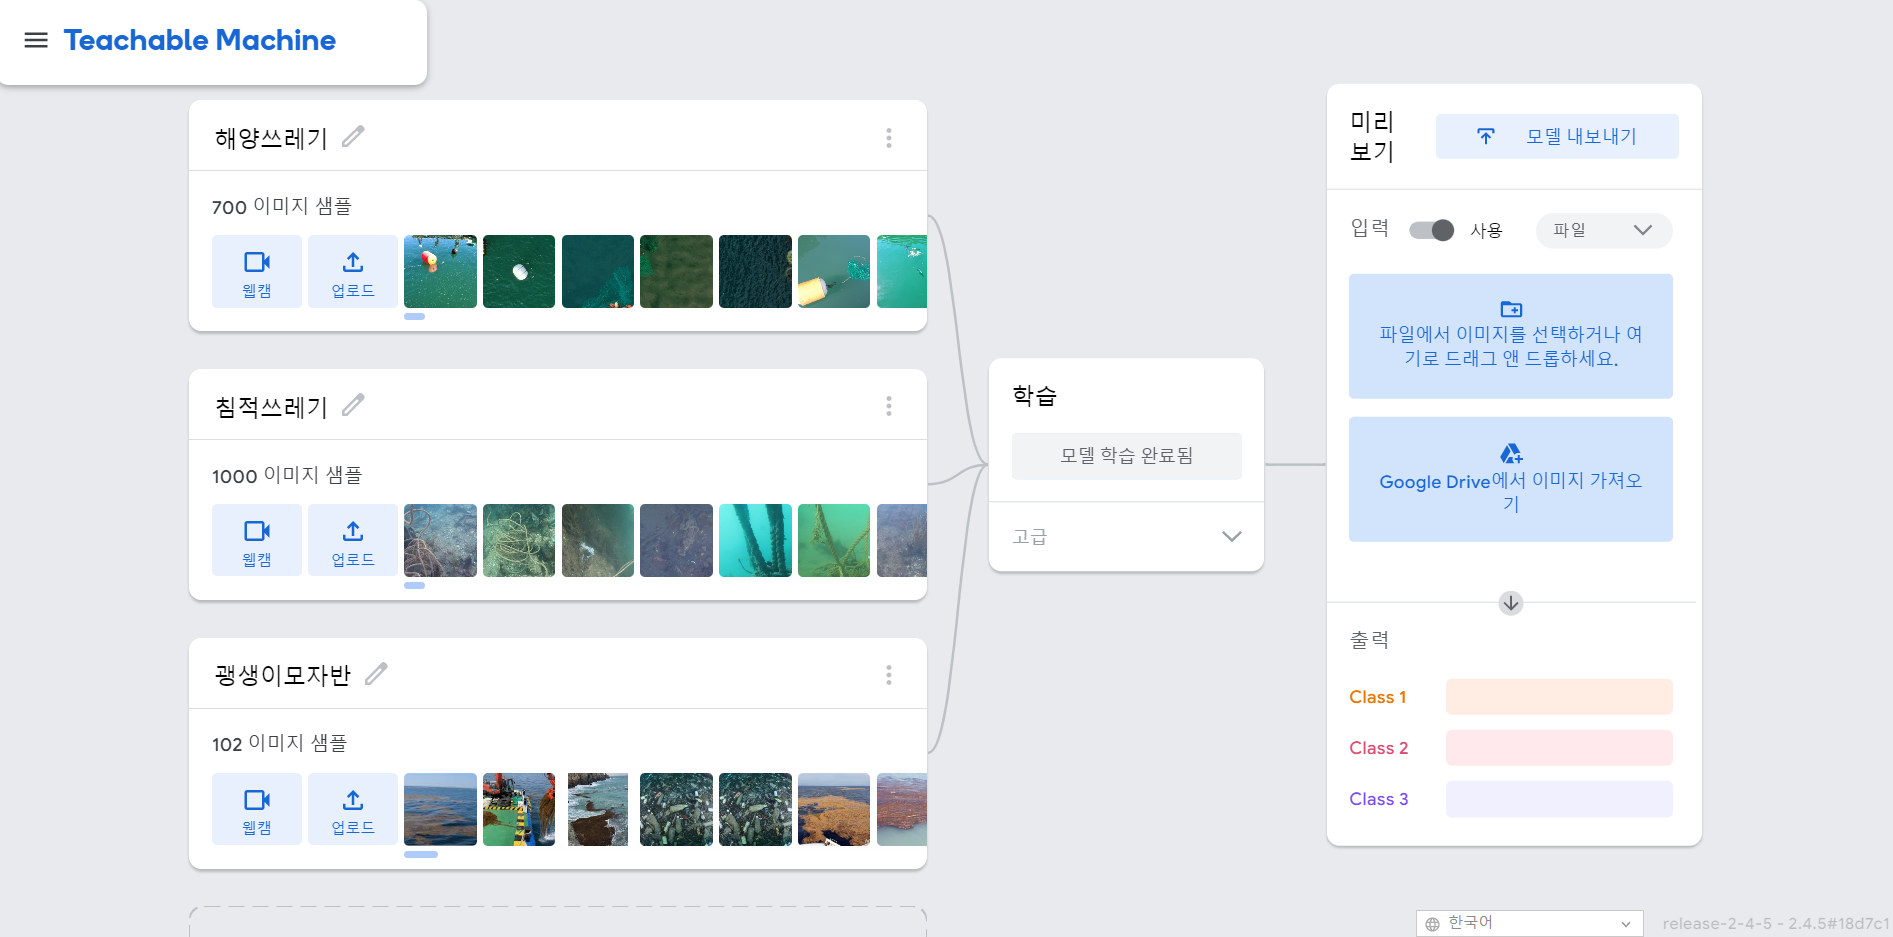
이제 학습이 완료된 상태입니다. AI친구가 해양쓰레기, 침적쓰레기, 괭생이모자반을 잘 분류하는지 이제 직접 확인해보겠습니다. 웹캠으로도 확인이 가능하나 쓰레기를 웹캡으로 보기 힘들기 떄문에 구글에 있는 새로운 이미지를 다운받아 AI가 잘 분류하는지 확인해보겠습니다.
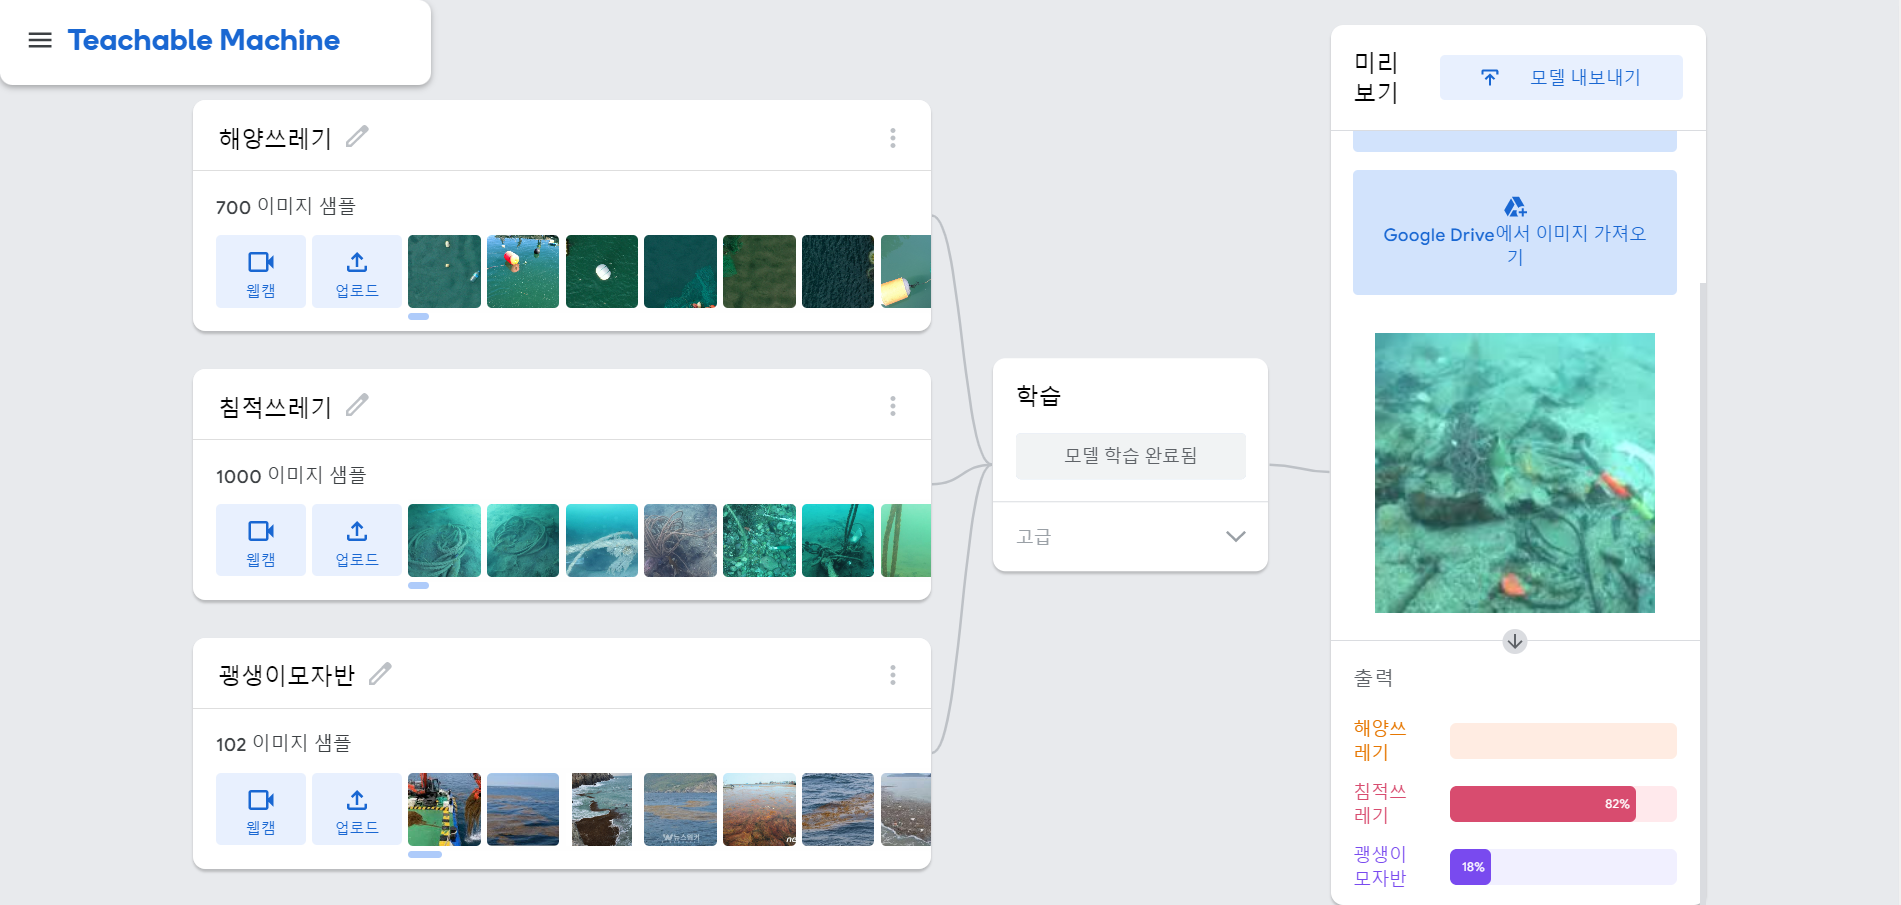
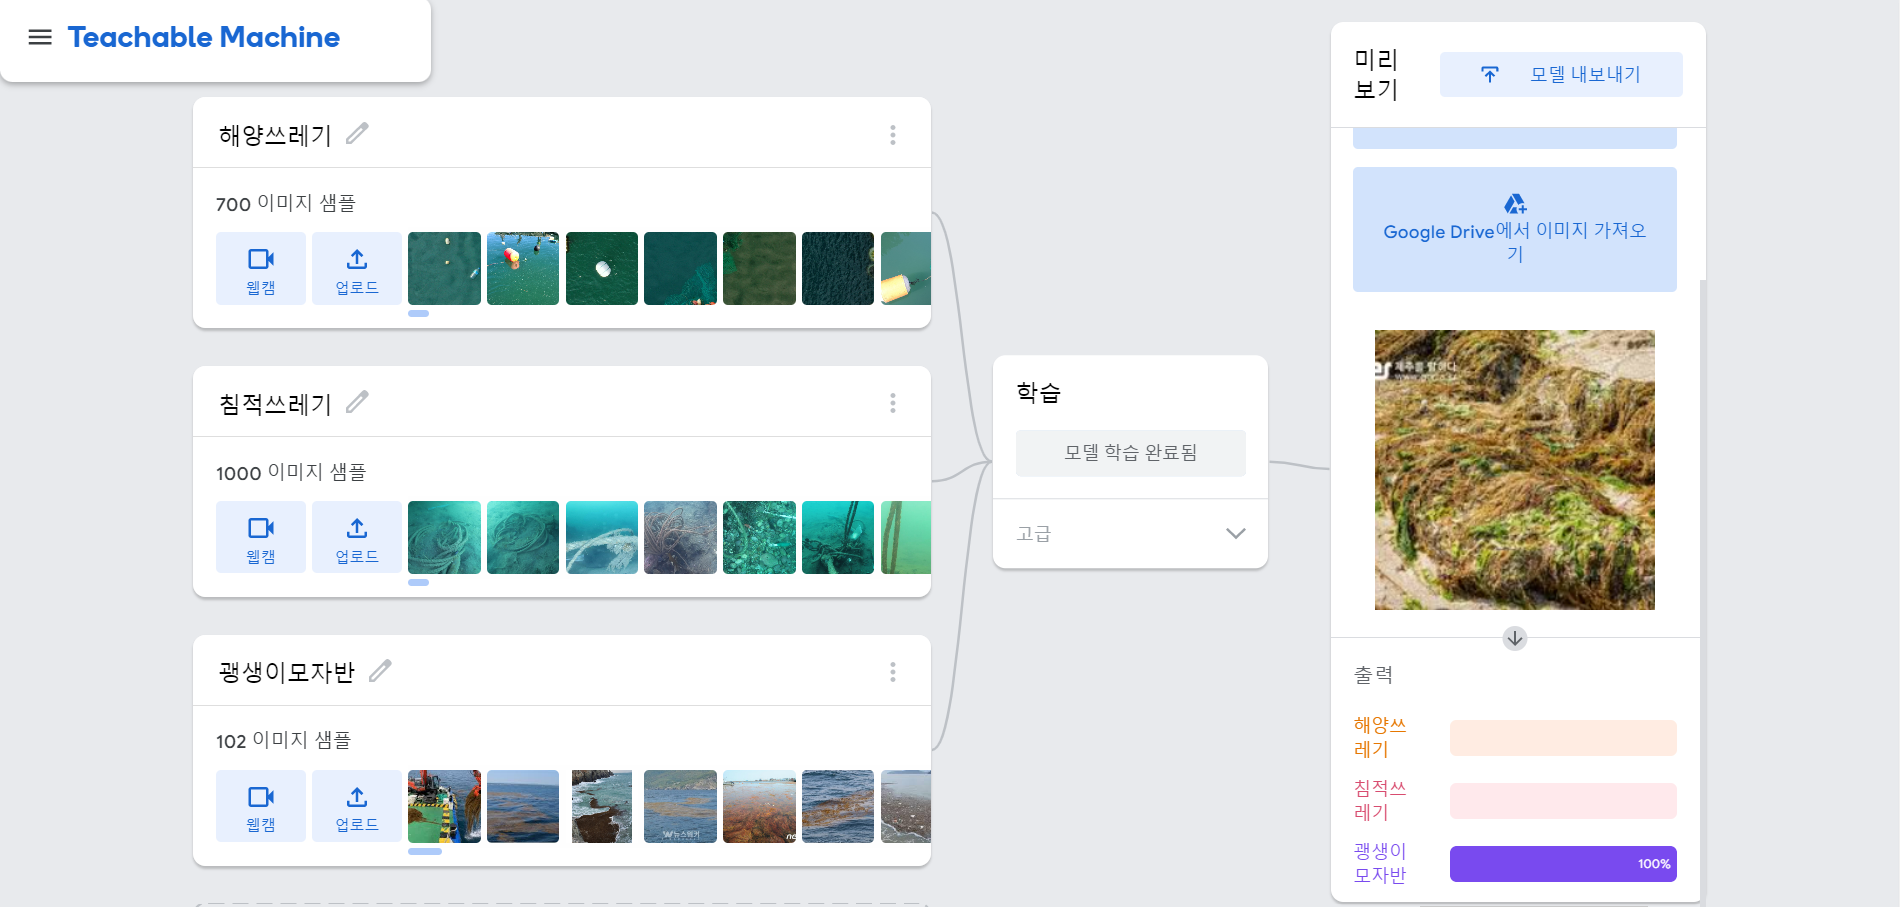
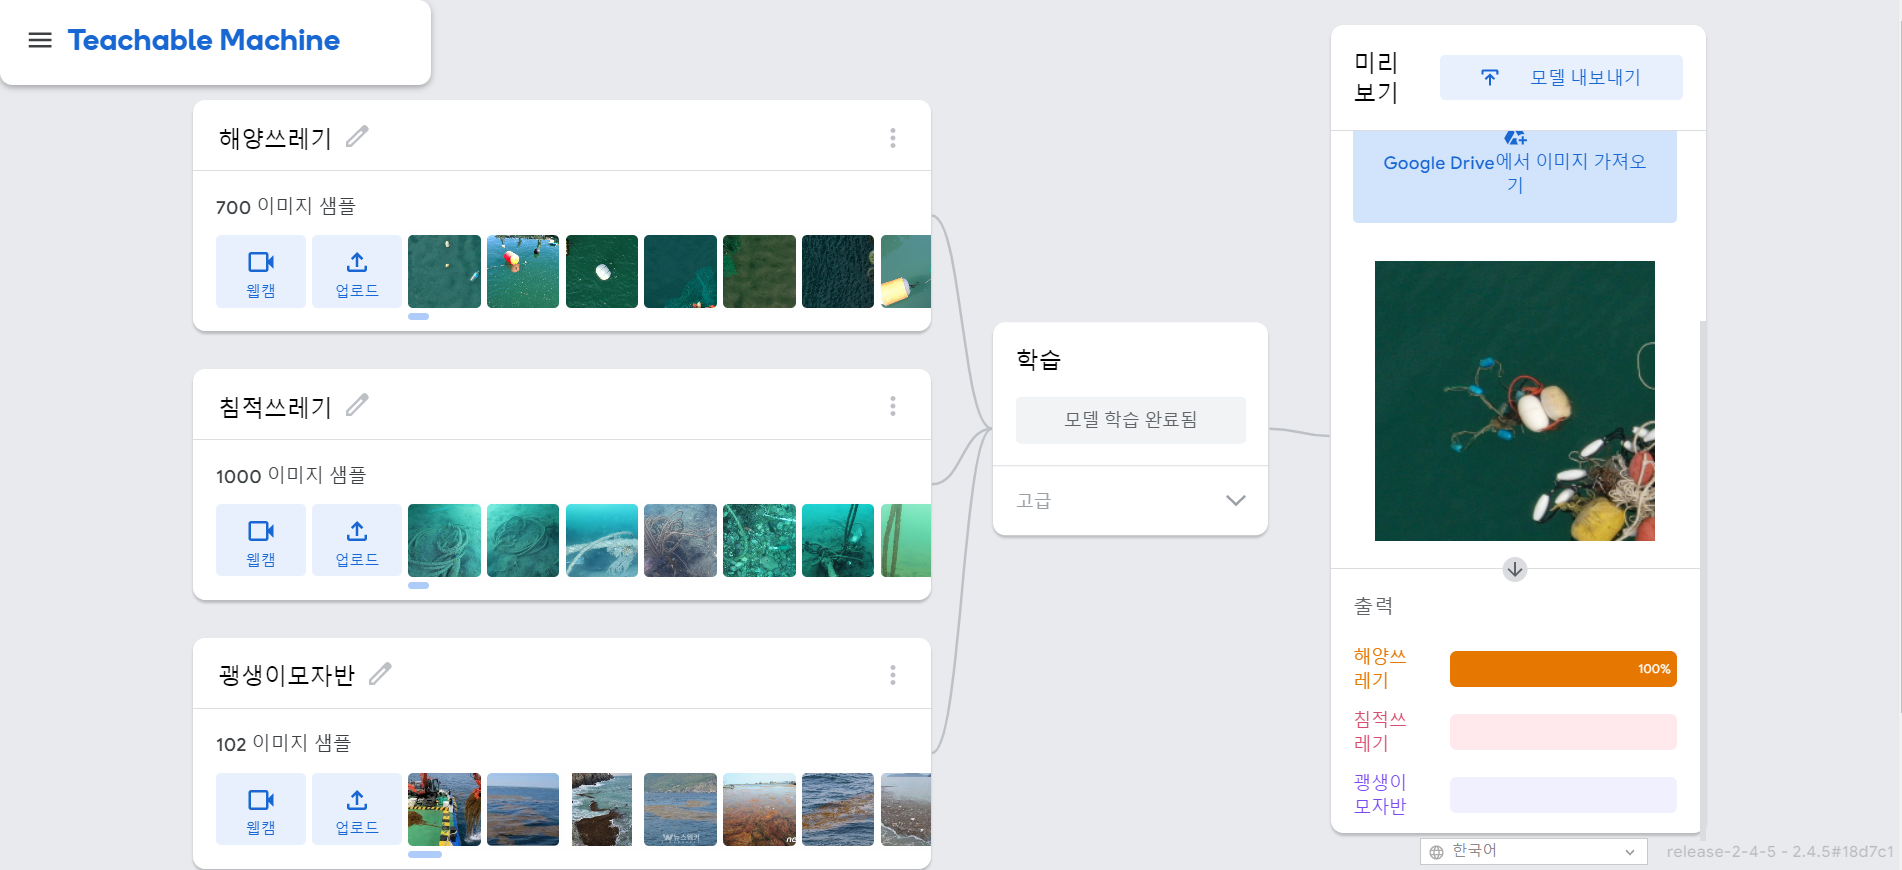
새 이미지를 다운받아서 한번 분류를 해보니 생각보다 분류를 잘하고 있습니다. 데이터가 적어서 분류가 잘안될꺼 같은데 생각보다 AI친구가 똑똑하네요.
이 모델을 코드로 내보내기도 가능해서 내보내기를 해서 한번 작성하겠습니다.
자바스크립트 코드
<div>Teachable Machine Image Model</div>
<button type="button" onclick="init()">Start</button>
<div id="webcam-container"></div>
<div id="label-container"></div>
<script src="https://cdn.jsdelivr.net/npm/@tensorflow/tfjs@latest/dist/tf.min.js"></script>
<script src="https://cdn.jsdelivr.net/npm/@teachablemachine/image@latest/dist/teachablemachine-image.min.js"></script>
<script type="text/javascript">
    // More API functions here:
    // https://github.com/googlecreativelab/teachablemachine-community/tree/master/libraries/image

    // the link to your model provided by Teachable Machine export panel
    const URL = "./my_model/";

    let model, webcam, labelContainer, maxPredictions;

    // Load the image model and setup the webcam
    async function init() {
        const modelURL = URL + "model.json";
        const metadataURL = URL + "metadata.json";

        // load the model and metadata
        // Refer to tmImage.loadFromFiles() in the API to support files from a file picker
        // or files from your local hard drive
        // Note: the pose library adds "tmImage" object to your window (window.tmImage)
        model = await tmImage.load(modelURL, metadataURL);
        maxPredictions = model.getTotalClasses();

        // Convenience function to setup a webcam
        const flip = true; // whether to flip the webcam
        webcam = new tmImage.Webcam(200, 200, flip); // width, height, flip
        await webcam.setup(); // request access to the webcam
        await webcam.play();
        window.requestAnimationFrame(loop);

        // append elements to the DOM
        document.getElementById("webcam-container").appendChild(webcam.canvas);
        labelContainer = document.getElementById("label-container");
        for (let i = 0; i < maxPredictions; i++) { // and class labels
            labelContainer.appendChild(document.createElement("div"));
        }
    }

    async function loop() {
        webcam.update(); // update the webcam frame
        await predict();
        window.requestAnimationFrame(loop);
    }

    // run the webcam image through the image model
    async function predict() {
        // predict can take in an image, video or canvas html element
        const prediction = await model.predict(webcam.canvas);
        for (let i = 0; i < maxPredictions; i++) {
            const classPrediction =
                prediction[i].className + ": " + prediction[i].probability.toFixed(2);
            labelContainer.childNodes[i].innerHTML = classPrediction;
        }
    }
</script>
파이썬(Keras)
from keras.models import load_model  # TensorFlow is required for Keras to work
from PIL import Image, ImageOps  # Install pillow instead of PIL
import numpy as np

# Disable scientific notation for clarity
np.set_printoptions(suppress=True)

# Load the model
model = load_model("keras_Model.h5", compile=False)

# Load the labels
class_names = open("labels.txt", "r").readlines()

# Create the array of the right shape to feed into the keras model
# The 'length' or number of images you can put into the array is
# determined by the first position in the shape tuple, in this case 1
data = np.ndarray(shape=(1, 224, 224, 3), dtype=np.float32)

# Replace this with the path to your image
image = Image.open("<IMAGE_PATH>").convert("RGB")

# resizing the image to be at least 224x224 and then cropping from the center
size = (224, 224)
image = ImageOps.fit(image, size, Image.Resampling.LANCZOS)

# turn the image into a numpy array
image_array = np.asarray(image)

# Normalize the image
normalized_image_array = (image_array.astype(np.float32) / 127.5) - 1

# Load the image into the array
data[0] = normalized_image_array

# Predicts the model
prediction = model.predict(data)
index = np.argmax(prediction)
class_name = class_names[index]
confidence_score = prediction[0][index]

# Print prediction and confidence score
print("Class:", class_name[2:], end="")
print("Confidence Score:", confidence_score)
이미지 경로만 변경해서 실행하시면 바로 적용이 가능합니다. 이것으로 이미지 분류 모델을 간편하게 만들었습니다. 다음에는 더 어려운 이미지 분류모델도 한번 도전해보겠습니다.