
📕 paymentStore.ts 파일에서의 Zustand를 이용한 상태 관리
- Zustand 상태 정의 및 스토어 생성
// Zustand 상태 정의
interface PaymentState {
  totalAmount: number;
  txId: string | null;
  paymentId: string | null;
  setTotalAmount: (amount: number) => void;
  setTxId: (txId: string) => void;
  setPaymentId: (paymentId: string) => void;
}
// Zustand 스토어 생성
export const usePaymentStore = create<PaymentState>((set) => ({
  totalAmount: 0,
  txId: null,
  paymentId: null,
  setTotalAmount: (amount) => set({ totalAmount: amount }),
  setTxId: (txId) => {
    set({ txId });
  },
  setPaymentId: (paymentId) => {
    set({ paymentId });
  }
}));
PaymentState 인터페이스 : 결제와 관련된 상태를 정의 totalAmount, txId, paymentId를 상태로 관리하며, 이를 업데이트하기 위한 함수도 함께 정의 usePaymentStore 스토어 : Zustand를 사용하여 결제 상태를 관리하는 스토어를 생성 setTotalAmount, setTxId, setPaymentId 함수는 각각의 상태를 업데이트하는 역할을 함
📕결제 요청 함수 및 옵션 설정
- 결제 요청 함수
// 결제 요청 함수 (redirectUrl 수정)
export async function initiatePayment(
  post: any,
  user: any,
  totalAmountInCents: number,
  isMobile: boolean,
  redirectUrl?: string // redirectUrl을 선택적 매개변수로 변경
): Promise<PaymentResponse | undefined> {
  console.log('redirectUrl in initiatePayment:', redirectUrl);
initiatePayment 함수 : 결제 요청을 처리하는 주요 함수 post, user, totalAmountInCents, isMobile, redirectUrl을 매개변수로 받음 redirectUrl은 선택적 매개변수로, 모바일 환경에서 결제 후 리디렉션할 URL을 지정할 수 있음
2-1. 기본 결제 옵션 설정
  try {
    // 기본 결제 옵션 설정
    const paymentOptions: any = {
      storeId: process.env.NEXT_PUBLIC_POSTONE_STORE_ID || '',
      channelKey: process.env.NEXT_PUBLIC_POSTONE_KG_CHANNEL_KEY || '',
      paymentId: `payment${crypto.randomUUID().split('-')[0]}`,
      orderName: post.title,
      totalAmount: totalAmountInCents,
      currency: 'CURRENCY_KRW',
      payMethod: 'CARD',
      customer: {
        fullName: user?.name || 'Unknown',
        phoneNumber: user?.phone || '010-0000-0000',
        email: user?.email || 'test@portone.io'
      },
      locale: 'EN_US'
    };
2-2.웹 환경 결제 옵션 설정
// 웹 환경인 경우
paymentOptions.bypass = {
  inicis_v2: {
    logo_url: 'https://portone.io/assets/portone.87061e94.avif',
    logo_2nd: 'https://admin.portone.io/assets/img/auth/lock.png',
    parentemail: 'parentemail',
    Ini_SSGPAY_MDN: '01012341234',
    acceptmethod: ['SKIN(#BA68C8)', 'below1000', 'noeasypay'],
    P_CARD_OPTION: 'selcode=14',
    P_MNAME: '포트원',
    P_RESERVED: ['below1000=Y', 'noeasypay=Y']
  }
};
paymentOptions 설정 : 결제 요청에 필요한 기본 옵션을 설정 storeId, channelKey는 환경 변수에서 가져옴 paymentId는 고유한 결제 ID를 생성 orderName, totalAmount, currency, payMethod, customer 등의 정보를 설정웹 환경 처리 : paymentOptions.bypass에서 웹 환경에 필요한 설정을 지정 logo_url과 logo_2nd: 결제 페이지에 표시될 로고 URL을 설정 parentemail, Ini_SSGPAY_MDN: 결제에 필요한 정보와 설정을 추가 acceptmethod와 P_RESERVED: 결제 방식에 대한 추가 옵션을 지정
📕 결제 성공 후 응답 데이터를 처리하는 함수
- 결제 성공 처리 함수
const handlePaymentSuccess = useCallback(
  async (response: any) => {
    console.log('Payment Response:', response);
    if (response.txId && response.paymentId) {
      const paymentData = {
        id: response.txId, // 고유 트랜잭션 ID
        user_id: user?.id, // 로그인한 사용자 ID
        user_email: user?.email,
        post_id: post?.id, // 결제한 게시물 ID
        pay_state: response.paymentId, // 결제 서비스 제공자에서 생성한 고유 결제 ID
        total_price: totalAmount // 총 결제 금액
      };
      try {
        // 결제 내역을 서버에 저장
        await axios.post('/api/detail/payment', paymentData);
        router.push(`/detail/payment/${response.txId}`);
      } catch (error) {
        console.error('Error saving payment data:', error);
        await handleCancel(response.paymentId, router);
        router.push(`/${user?.id}/mypage`);
      }
    } else {
      console.error('Invalid payment response:', response);
      router.back();
    }
  },
  [router, user?.id, user?.email, post?.id, totalAmount]
);
handlePaymentSuccess 함수 : response에서 txId와 paymentId를 확인하여 결제 데이터를 생성 생성된 결제 데이터를 서버에 저장 데이터 저장에 실패하거나 응답이 유효하지 않을 경우, 오류를 처리하고 사용자를 이전 페이지로 돌려보냄
전체적인 틀은 이 정도라서 나머지 코드는 생략하도록 하겠다❗️
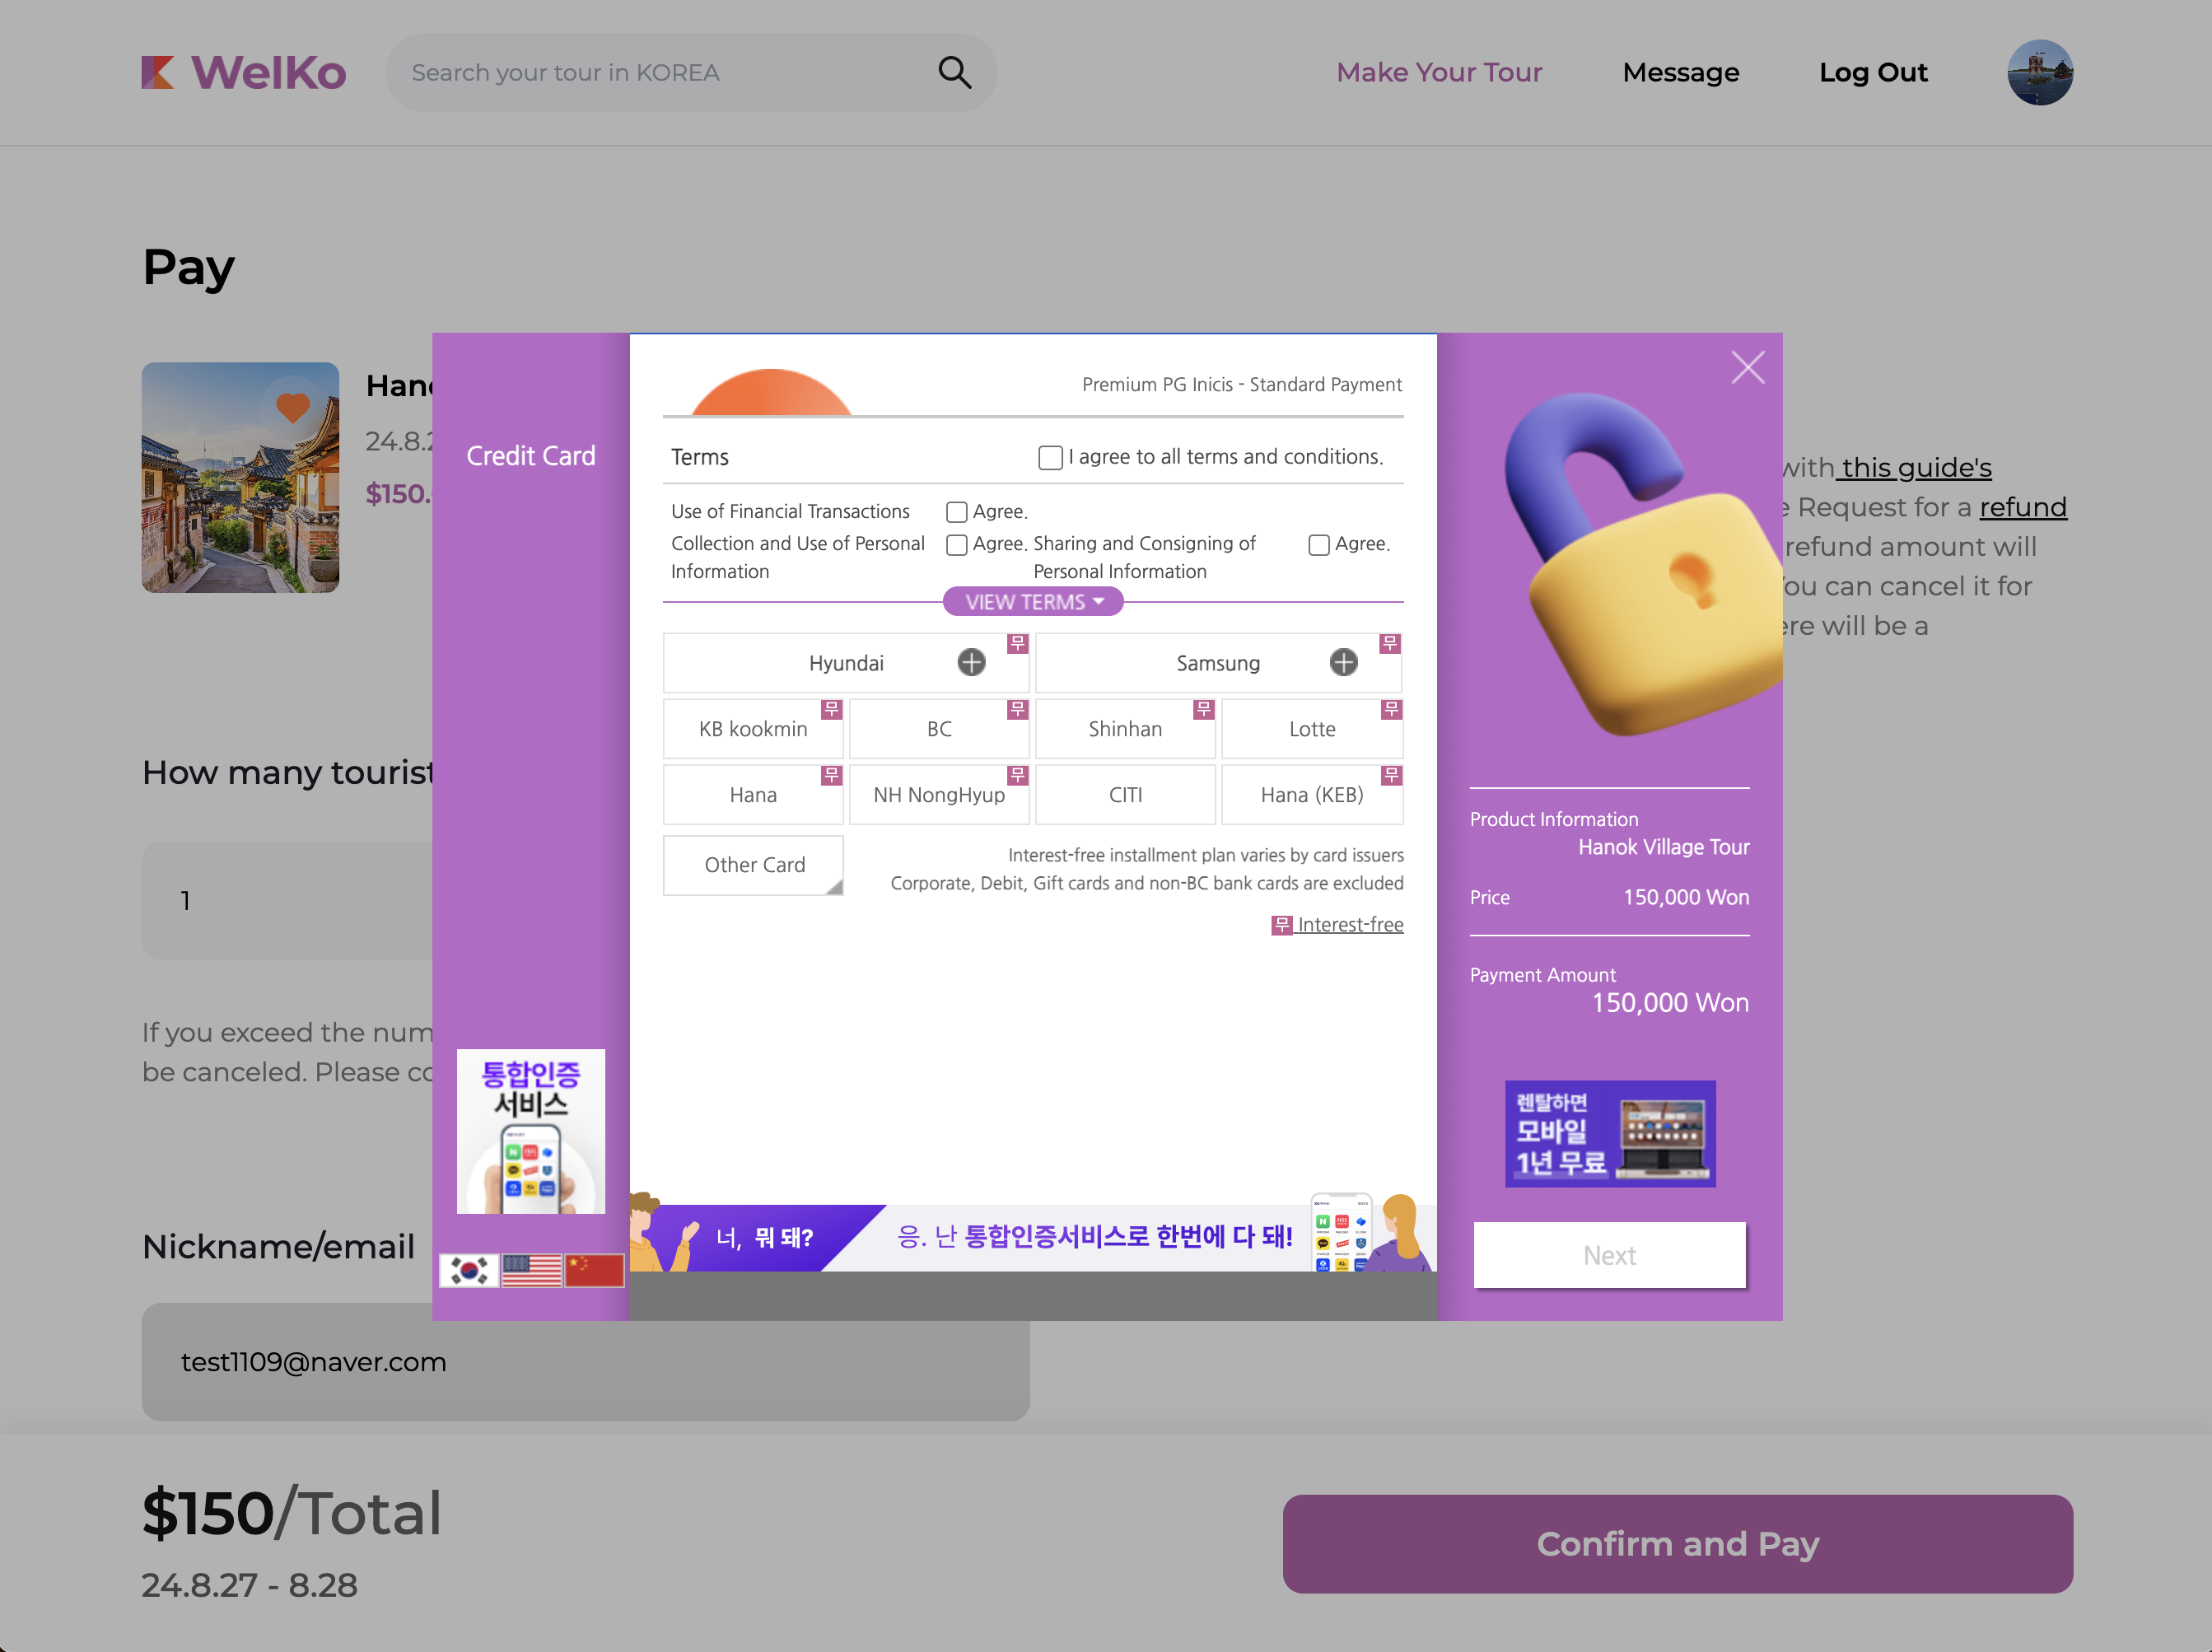
🖥️ 결과물

프론트 개발자 꿈꾸는 중