오늘 배운 것
- 댓글(2)
댓글(2)
FETCH-API
- ajax를 이용한 FETCH-API를 이용하여 데이터를 전송
/**
 * Fetch API를 사용해 AJAX 로
 * 쉽게 GET, POST, PUT, DELETE 하는 라이브러리
 * 비동기를 async 메소드 , await 를 이용해 대기후 결과 리턴함
 **/
class EasyHTTP {
  // GET
  async get(url) {
    const response = await fetch(url); // ajax 통신으로 결과 받기(await 실행완료된 후에 다음 줄로 넘어가게하는 명령어)
    const resData = await response.json(); // 결과에서 제이슨 데이터를 JS 객체로 변환
    return resData; // JSON 데이터 리턴
  }

  // POST 생성(입력)
  async post(url, data) {
    const response = await fetch(url, {
      method: 'POST',
      headers: {
        'Content-type': 'application/json', //보내는 데이터 json 타입 선언
      },
      body: JSON.stringify(data), //js object(객체)를 json타입으로 변환
    });

    const resData = await response.json();
    return resData;
  }

  // PUT 업데이트
  async put(url, data) {
    const response = await fetch(url, {
      method: 'PUT',
      headers: {
        'Content-type': 'application/json',
      },
      body: JSON.stringify(data),
    });

    const resData = await response.json();
    return resData;
  }

  // DELETE 삭제
  async delete(url) {
    const response = await fetch(url, {
      method: 'DELETE',
      headers: {
        'Content-type': 'application/json',
      },
    });

    const resData = await '데이터가 삭제됨...';
    return resData;
  }
}
참고(FETCH-API에 대해서)
https://developer.mozilla.org/ko/docs/Web/API/Fetch_API
https://ko.javascript.info/fetch
참고(FETCH-API와 AXIOS 비교)
https://velog.io/@sisofiy626/JavaScript-Fetch-API%EC%99%80-Axios
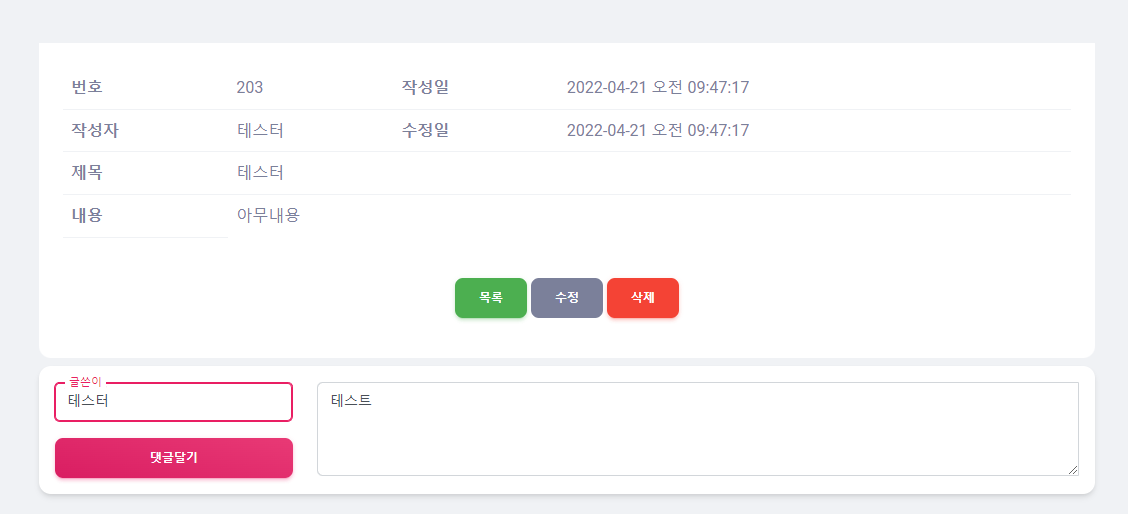
댓글 'C'RUD
- RESTful방식으로 데이터 전송
- @RequestBody로 데이터 받음
	@PostMapping
	public ReplyVO replyEnrollPost(@RequestBody ReplyVO reply) {
		// 입력한 json 타입 데이터를 받아서 reply객체 리턴
		replyService.enroll(reply);

		return reply;
}- fetch-api사용하기위하여 js파일 선언
<script th:src="@{/js/Fetch-API.js}"></script>- fetch-api을 이용하여 데이터 전송
- 댓글들을 출력하기위해 location.reload()사용
      // fetch-api 객체 선언하기
      const http = new EasyHTTP();

	// 댓글 달기 버튼 클릭 시 이벤트 발생
      const replyButton = document.getElementById('reply-btn');
      replyButton.addEventListener('click', function () {
        const data = {
          reply_bno: '[[${board.bno}]]',
          content: document.getElementById('content').value,
          writer: document.getElementById('writer').value,
        };
        http
          .post('/reply', data)
          .then((res) => console.log(res))
          .catch((err) => console.log(err));

        location.reload();
      });
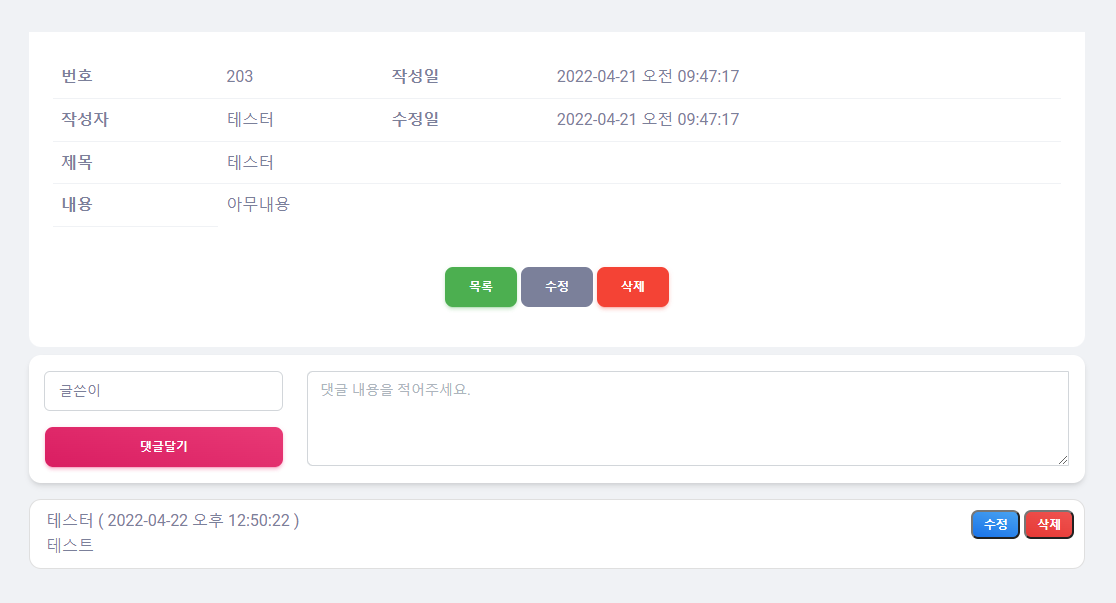
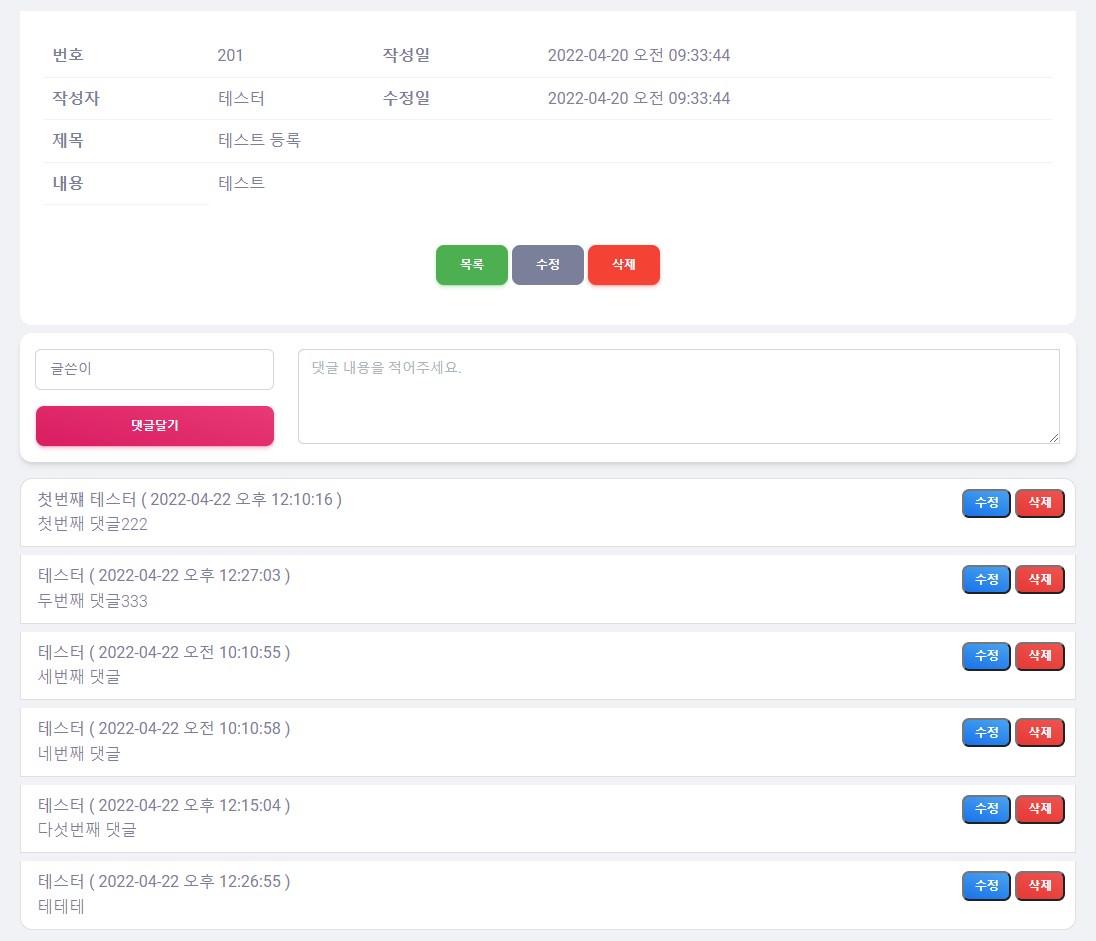
댓글 C'R'UD
	@GetMapping("/{bno}")
	public List<ReplyVO> replyListGet(@PathVariable("bno") int reply_bno) {
		return replyService.getReplyList(reply_bno); // json 형태로 전달됨
}- 페이지 로딩이 완료되면 함수실행
- 전송받은 List를 foreach문으로 반복문 실행
- innerHTML에 사용할 태그와 함께 사용할 변수를 간편하게 사용하기 위해 벡틱(``)을 사용
- innerHTML로 태그까지 출력하여 댓글리스트를 출력
      // html문서가 준비되면 실행하기(자동실행)
      document.addEventListener('DOMContentLoaded', function () {
        // 댓글들 출력하기
        http
          .get('/reply/' + '[[${board.bno}]]')
          .then((data) => replyListView(data))
          .catch((err) => console.log(err));
      });

      function replyListView(items) {
        // 댓글을 입력할 ul태그 객체 선택
        const replyList = document.getElementById('reply-list');
        let lis = '';

        items.forEach(function (item) {
          let writer = item.writer;
          let content = item.content;
          let updateTime = item.updated_at;
          let id = item.reply_no;

          // ``(벡틱)은 변수를 바로 넣을 수 있음, 문자열 취급
          let li = `<li class="list-group-item mt-2" style="position: relative">
              <div>${writer}  ( ${updateTime} ) </div>
              <p class="mb-0">${content}</p>
              <textarea class="w-100" style="display:none">${content}</textarea>
              <div style="position: absolute; top: 10px; right: 10px">
                <button class="badge bg-gradient-info ms-auto" data-id="${id}">수정</button>
                <button class="badge bg-gradient-danger" data-id="${id}">삭제</button>
              </div>
            </li>`;

          lis += li; // lis에 li를 계속 더해준다
        });
        // 댓글들 출력
        replyList.innerHTML = lis;
      }
댓글 CR'U'D
- @RequestBody로 데이터 받음
	// View에 data-id 속성을 줬기 때문에 객체를 특정할 값을 안받아도 됨
	@PutMapping
	public ReplyVO replyUpdatePut(@RequestBody ReplyVO reply) {
		replyService.modify(reply); // DB에 댓글 데이터 수정하기
		return reply;
}- 수정버튼에 onClick속성과 data-id속성을 넣어 이벤트와 id값 추가
(data-id속성의 값을 불러올 때는 dataset.id로 값을 불러 올 수 있음)
- parentElement는 상위태그 선택, previousElementSibling
- 보이지 않았던 textarea를 보이게 하고 보여지고 있던 p태그를 안보이게해서 입력창으로 바뀌는 느낌을 줌
      function updateReply(el) {
        // el은 매개변수
        const 댓글내용 = el.parentElement.previousElementSibling.previousElementSibling;
        const 댓글수정 = el.parentElement.previousElementSibling;
        const 삭제버튼 = el.nextElementSibling;

        if (el.textContent === '수정') {
          댓글내용.style.display = 'none';
          댓글수정.style.display = 'block';
          삭제버튼.style.visibility = 'hidden';
          el.textContent = '수정 완료';
        } else {
          // 수정완료로 바뀐 버튼을 눌렀을 때
          const data = {
            reply_no: el.dataset.id,
            content: 댓글수정.value,
          };
          http
            .put('/reply', data)
            .then((res) => (댓글내용.textContent = res.content))
            .catch((err) => console.log(err));

          댓글내용.style.display = 'block';
          댓글수정.style.display = 'none';
          삭제버튼.style.visibility = 'visible';
          el.textContent = '수정';

          location.reload();
        }
      }

참고(previousElementSibling과 previousSibling 차이)
댓글 CRU'D'
	@DeleteMapping("/{no}")
	public void replyDelete(@PathVariable("no") int no) {

		replyService.delete(no);
}- 삭제버튼에 onClick속성과 data-id속성을 넣어 이벤트와 id값 추가
(data-id속성의 값을 불러올 때는 dataset.id로 값을 불러 올 수 있음)
      function deleteReply(e) {
        http
          .delete('/reply/' + e.dataset.id)
          .then((res) => console.log(res))
          .catch((err) => console.log(err));

        location.reload();
      }