Lifecycle(앱 상태) 이벤트 5편
Lifecycle(앱 상태) 이벤트 1편
Lifecycle(앱 상태) 이벤트 2편
Lifecycle(앱 상태) 이벤트 3편
Lifecycle(앱 상태) 이벤트 4편
provider | Flutter Package
shared_preferences | Flutter Package
App Life Cycle에 대하여 정리해 놓은 인트로 참고하세요 !
App Lifecycle Intro
이번 글에서는 Android에서 Kotlin코드를 통해서 앱 상태를 받아오는 방법에 대해서 작성하도록 하겠다.
이전에 Swift에서 사용했던 방식과 동일하게 플랫폼 채널은 Message Channel을 사용하였다.
Flutter
Flutter에서 이벤트를 수신받아 이전과 동일하게 로컬 저장소에 상태를 저장하여 저장된 상태 데이터를 화면에 보여주는 방법으로 개발을 하였다.
State Management는 Provider를 사용하였고, PlatformChannel은 제 블로그에서는 처음 다뤄보는 방법인 MessageChannel로 플랫폼간 통신을 하도록 하겠다.
MessageChannel은 간단한 문자열을 플랫폼간 송수신하기에 간편하게 사용할 수 있어 EventChannel이나 MethodChannel을 사용하지 않았다.
dependencies
dependencies:
	proivder: ^6.0.4
	shared_preferences: ^2.0.17
UI
전체적인 UI 구조는 이전 글에서 살펴본 구조와 동일한 구조이다.
네이티브와 Flutte의 Platform Channel 방법 중 MessageChannel을 사용하여 개발을 하였고, Message Channel을 등록하기 위해 appLifeCycleState 채널을 생성하였다.
Message Channel은 간단한 문자열을 플랫폼 간의 통신을 사용할 때 간단하게 구성할 수 있는 Platform Channel이다.
Provider를 사용을 위해 Consumer 빌드를 생성하여 구성 하였고, setMessageHandler, started 기능은 아래에서 살펴보도록 하겠다.
context.read<LifeCycleNativeProvider>().started();
    const BasicMessageChannel<String> appLifeCycleState =
        BasicMessageChannel<String>('appLifeCycle', StringCodec());
    return Consumer<LifeCycleNativeProvider>(builder: (context, state, child) {
      appLifeCycleState.setMessageHandler(state.appLifeCycleChecked);
      return Scaffold(
        appBar: appBar(title: "Life Cycle With Native"),
        body: lifeCycleUIListView(data: state.lifeCycle, context: context),
      );
    });
ListView lifeCycleUIListView({
required List<String> data,
required BuildContext context,
}) {
return ListView(
children: [
const SizedBox(height: 12),
...data.map(
(e) => Padding(
padding: const EdgeInsets.symmetric(horizontal: 20, vertical: 8),
child: Row(
crossAxisAlignment: CrossAxisAlignment.center,
children: [
SizedBox(
width: MediaQuery.of(context).size.width * 0.2,
child: Text(
e.split("/")[0],
style: TextStyle(
fontSize: 16,
fontWeight: FontWeight.bold,
color: e.split("/")[0] == "inactive"
? Colors.amber
: e.split("/")[0] == "stop"
? Colors.amber.shade200
: e.split("/")[0] == "detached"
? Colors.deepOrange
: e.split("/")[0] == "restart"
? Colors.blue.shade200
: e.split("/")[0] == "resumed"
? Colors.blue
: Colors.green,
),
)),
const SizedBox(width: 12),
Text(
e.split("/")[1],
style: const TextStyle(
color: Color.fromRGBO(195, 195, 195, 1),
),
),
],
),
),
)
],
);
}Provider
Provider에서 앱 상태 문자열을 로컬 저장소로 받아오기 위한 lifeCycle 변수를 선언해주었다.
lifeCycleKey는 로컬 저장소에 사용할 고유 키이다.
  List<String> lifeCycle = [];
  final String _lifeCycleKey = "APP_LIFE_CYCLE_CHECK_WITH_NATIVE";
앱의 상태를 Native로 부터 수신 받아 처리하는 부분의 코드이다. MessageChannel을 통해 문자열을 수신 받아 로컬 저장소에 저장해주면 된다.
Future<String> appLifeCycleChecked(String? message) async {
    if (message != null) {
      switch (message) {
        case "lifeCycleStateWithDetached":
          _detachedStateToApi();
          _setLocalStorage("Detached");
          break;
        case "lifeCycleStateWithResumed":
          _setLocalStorage("Resumed");
          _getLocalStorage();
          break;
        case "lifeCycleStateWithInactive":
          _setLocalStorage("Inactive");
          break;
        case "lifeCycleStateWithStop":
          _setLocalStorage("Stop");
          break;
        case "lifeCycleStateWithRestart":
          _setLocalStorage("Restart");
          break;
        default:
      }
    }
    return message!;
  }
로컬 저장소에 저장해둔 문자열을 가져오기 위한 코드이다.
Future<void> _getLocalStorage() async {
    SharedPreferences _pref = await SharedPreferences.getInstance();
    List<String> _list = _pref.getStringList(_lifeCycleKey) ?? [];
    lifeCycle = _list;
    notifyListeners();
  }
각 상태에 대해서 문자열을 로컬 저장소에 저장해두기 위한 코드이다.
  Future<void> _setLocalStorage(String value) async {
    String _saveData = "$value/${DateTime.now().toString().substring(0, 19)}";
    SharedPreferences _pref = await SharedPreferences.getInstance();
    List<String> _list = _pref.getStringList(_lifeCycleKey) ?? [];
    _list.add(_saveData);
    notifyListeners();
    _pref.setStringList(_lifeCycleKey, _list);
  }
Kotlin
Android에서 라이프 사이클 이벤트는 onResume, onStop, onPaused, onRestart, onDestroy 이렇게 5가지의 라이프 사이클이 존재한다.
onStop은 Activity가 더 이상 화면에 보여지지 않을 경우 호출되는 이벤트이고, onPaused는 Activity가 상호 작용할 수 없는 경우와 다른 Activity가 활성화 될 때에 호출되는 이벤트로, 두 가지 이벤트 모두 백그라운드 상태에서 호출된다.
onRestart는 위에서 설명한 onStop이 먼저 호출되고, 다시 Activity와 상호작용이 가능할 때 호출되는 이벤트이다.
onResume은 Activity가 상호 작용할 수 있을 때 호출되는 상태로 onRestart와 동일하게 앱이 실행되면 다시 호출된다. 최초 실행이 아니니 헷갈리면 안된다.
onDestroy는 시스템이 Activity를 닫기 직전에 호출되는 이벤트로, 처리 가능 허용 쓰레드 시간이 밀리세컨 단위로만 제공한다.
MainActivity
Kotlin과 Flutter간의 플랫폼 채널 연결을 위하여 MessageChannel을 등록하자.
각 상태에 따른 이벤트를 수신받는 코드를 아래에 추가하여 Flutter와 플랫폼 채널로 등록한 MessageChannel을 보내보자.
class MainActivity: FlutterActivity() {

      private lateinit var appLifeCycle: BasicMessageChannel<String>

      override fun configureFlutterEngine(@NonNull flutterEngine: FlutterEngine) {
         GeneratedPluginRegistrant.registerWith(flutterEngine)

          appLifeCycle = BasicMessageChannel(
              flutterEngine.dartExecutor.binaryMessenger,
              "appLifeCycle",
              StringCodec.INSTANCE)
          appLifeCycle.setMessageHandler { message, reply ->
              Log.d("AppLifeCycle", "AppLifeCycle Message = $message")
              reply.reply("From Android Life Cycle")
          }
     }
        override fun onCreate(savedInstanceState: Bundle?, persistentState: PersistableBundle?) {
          super.onCreate(savedInstanceState, persistentState)
      }
     ...lifeCycle
}
각 라이프 사이클 상태를 MainActivity에 등록하도록 하자.
override fun onResume() {
          super.onResume()
          appLifeCycle.send("lifeCycleStateWithResumed")
      }
override fun onStop() {
          super.onStop()
          appLifeCycle.send("lifeCycleStateWithStop")
      }
override fun onRestart() {
super.onRestart()
appLifeCycle.send("lifeCycleStateWithRestart")
}override fun onPause() {
super.onPause()
appLifeCycle.send("lifeCycleStateWithInactive")
} override fun onDestroy() {
appLifeCycle.send("lifeCycleStateWithDetached")
super.onDestroy()
}이전 글에서 확인해 본 IOS와 동일하게 앱 종료 상태 이벤트에 해당되는 부분의 쓰레드 허용 시간이 밀리세컨 단위로 동일하기에 Kotlin 코드에서도 쓰레드를 멈추는 로직을 추가하여야 정상적인 API를 호출할 수 있다.
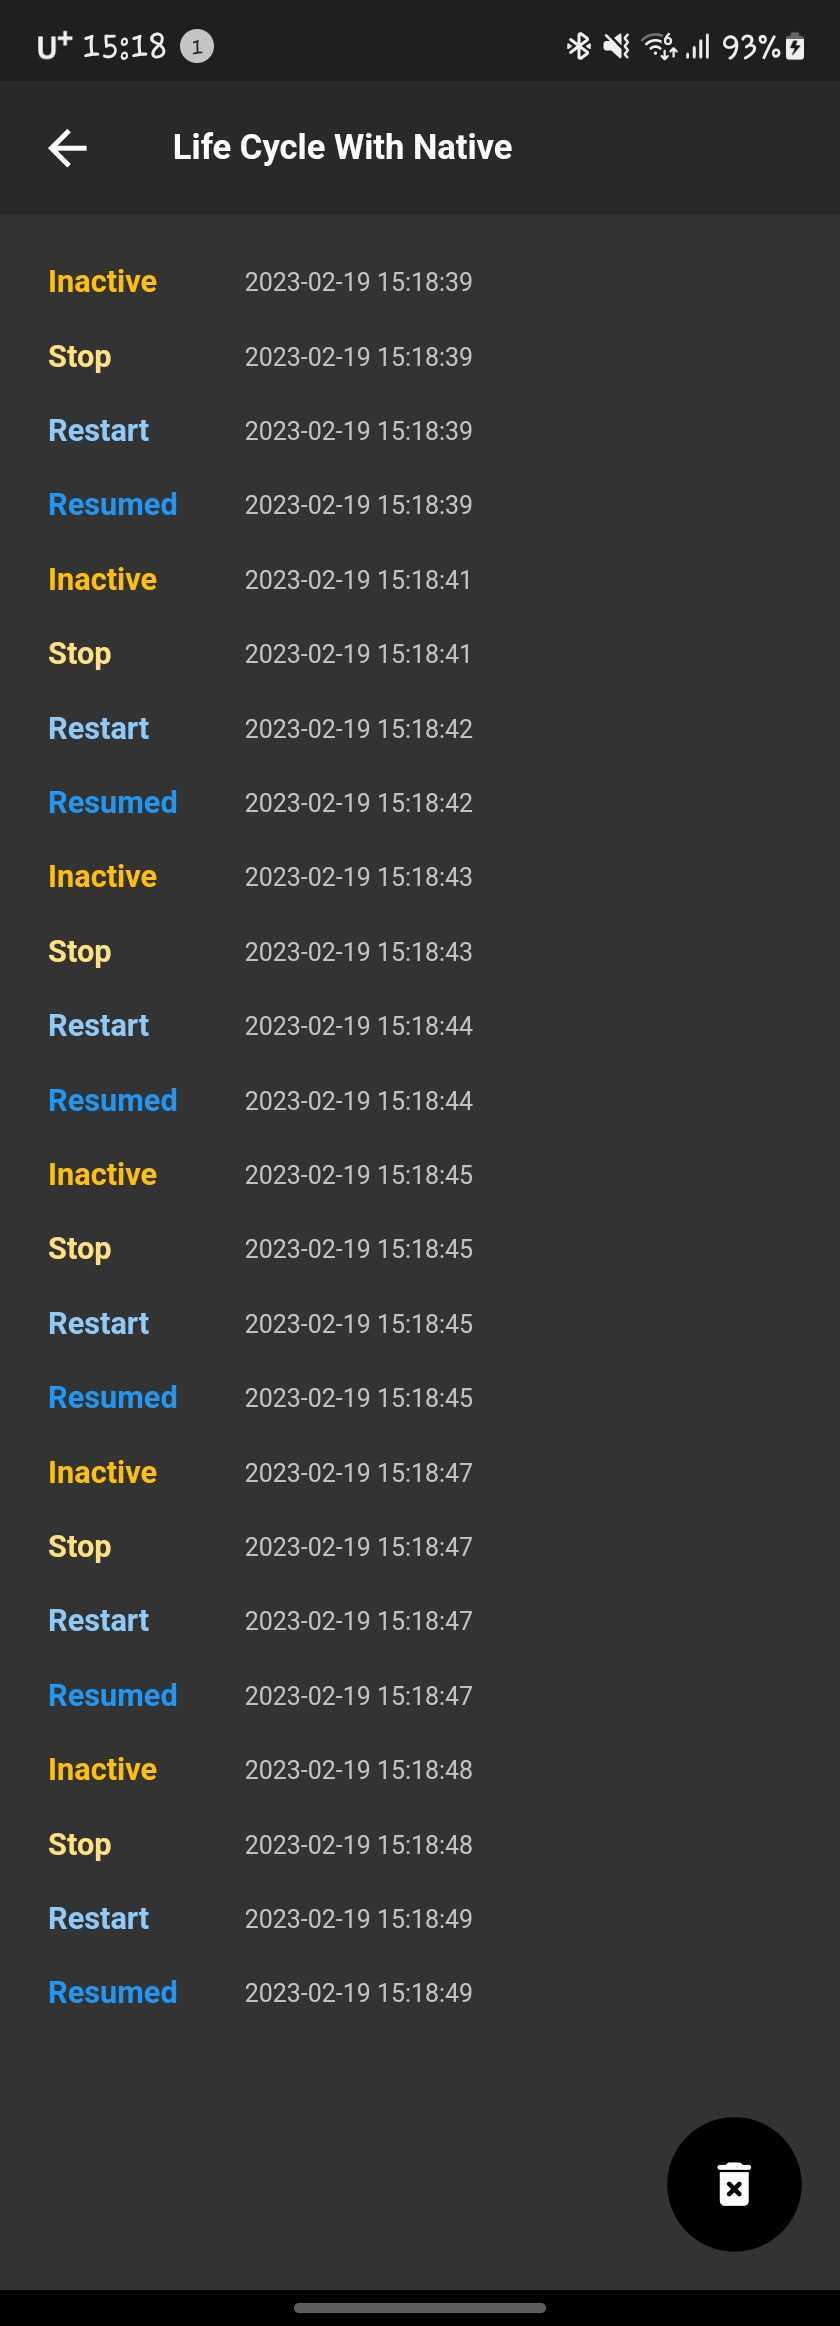
Result
Git
Flutter
Kotlin
마무리
이번 글까지 해서 Flutter에서 StateFul, GetX로 앱의 라이프사이클을 확인하는 방법에 대해서 알아보았고, Flutter에서 앱 종료 상태에 해당하는 detached 이벤트가 수신되지 않은 문제점도 확인해 봤다.
이러한 문제점을 해결하고자 Native에서 앱 상태를 확인하기 위해 Swift, Kotlin 코드를 작성하여 Flutter에서 처리하지 못하는 부분을 처리하는 방법에 대해서도 알아보았다.
앱 종료 상태에서는 최대한 기능을 작동시키지 않는 방법이 좋은 듯 보이고, 백그라운드, 포어그라운드 상태만 사용하는 개발을 하는게 가장 좋은 방법이다.