
"크롤링을 두배로 빠르게 하고 싶다구요?" Colab에서도 크롤링을 돌려보세요!
저는 요즘 데이터 크롤링할때 로컬 환경에서 하나, colab에서 하나 돌려서 두배로 크롤링을 하고 있습니다. 환경설정 하는데 시간이 좀 걸리는데 이거 보시고 그냥 복붙 하시면 환경설정 5분컷으로 끝납니다. :)
1. 왜 Colab에서 크롤링해야 할까요?
Colab은 무료로 사용할 수 있는 Python 실행 환경으로, 강력한 리소스까지 제공합니다. 로컬 환경을 설정하는 번거로움을 줄이고 클라우드에서 작업을 실행할 수 있어 언제 어디서나 크롤링 작업을 이어나갈 수 있습니다.
2. Colab에서 셀레니움 사용 준비하기
Colab에서 셀레니움을 돌리려면 리눅스용 크롬과 크롬 WebDriver가 필요합니다. 직접 설정이 필요하지만, 단계별로 차근차근 따라와주세요!
3. 단계별 설정 가이드
Step 1: Selenium 설치
셀레니움 라이브러리를 설치합니다.
!pip install selenium
Step 2: Google Drive 마운트하기
크롤링한 데이터를 저장하거나 불러오기 쉽게 Google Drive를 마운트합니다.
from google.colab import drive
drive.mount('/content/drive')
Step 2: Chrome 브라우저와 WebDriver 설치
먼저, 아래 링크에서 필요한 파일을 다운로드하세요:
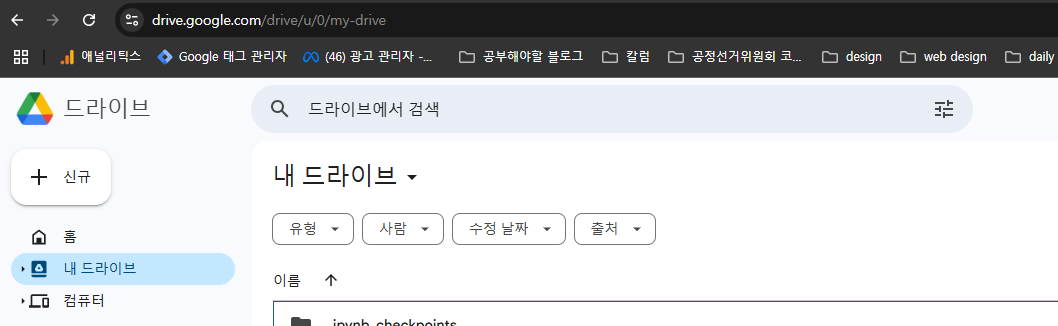
다운로드한 파일을 Google Drive에 업로드합니다. 예를 들어, 내 드라이브 폴더에 넣어두세요.
Step 3: Colab에 환경 세팅
아래 코드를 colab에 복붙 하고 실행하세요:
CHROME_DEB_PATH = '/content/drive/MyDrive/google-chrome-stable_current_amd64.deb'
CHROMEDRIVER_ZIP_PATH = '/content/drive/MyDrive/chromedriver-linux64.zip'

# Step 1: Install Chrome from Google Drive
!dpkg -i $CHROME_DEB_PATH || apt-get -f install -y  # Install Chrome and fix dependencies

# Step 2: Unzip and Install Chromedriver
!unzip -o $CHROMEDRIVER_ZIP_PATH -d /usr/bin/
!mv /usr/bin/chromedriver-linux64/chromedriver /usr/bin/chromedriver
!chmod +x /usr/bin/chromedriver

# Step 3: Verify Installations
!google-chrome --version
!chromedriver --version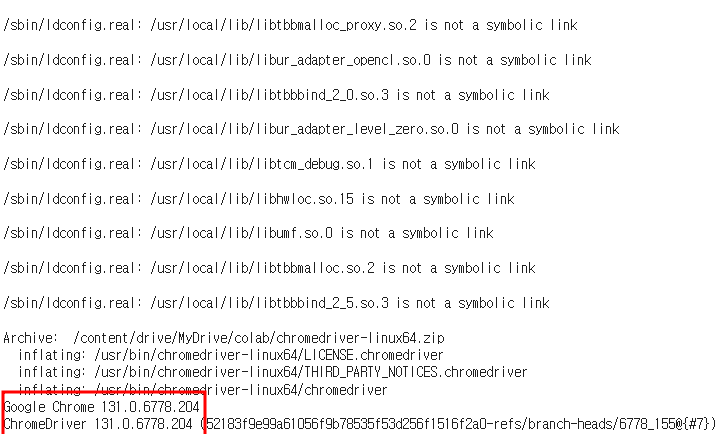
Colab에서 실행했을때 크롬과 크롬 드라이버의 버전이 맞게 잘 나오죠?
Step 4: Colab에 환경 세팅
이제 셀레니움을 Colab에서 사용할 준비가 끝났습니다. 아래 코드를 실행해 Chrome 브라우저를 무인 모드로 실행해 보세요.
from selenium import webdriver
from selenium.webdriver.chrome.service import Service
from selenium.webdriver.common.by import By
from selenium.webdriver.chrome.options import Options

# Chrome 옵션 설정
chrome_options.add_argument('--headless')  # 화면 없이 실행
chrome_options.add_argument('--no-sandbox')  # Sandbox 비활성화 (Colab 호환)
chrome_options.add_argument('--disable-dev-shm-usage')  # 메모리 관련 오류 방지

# ChromeDriver 경로 설정
chromedriver_path = '/usr/bin/chromedriver'  # 위에서 설치된 경로를 사용

# WebDriver 실행
service = Service(chromedriver_path)

# WebDriver 생성
driver = webdriver.Chrome(service=service, options=chrome_options)

# 테스트: Google 홈페이지 열기
driver.get("https://www.google.com")
print(driver.title)

driver.quit()
요걸 실행했을떄
Page Title: Google
이 메세지 가 나오면 성공!
Step 5: Colab 런타임 연결 해제 방지하기
# 개발자 콘솔창에 넣기
function ClickConnect(){
    console.log("Clicking connect button");
    document.querySelector("colab-connect-button").click()
}
setInterval(ClickConnect, 60000)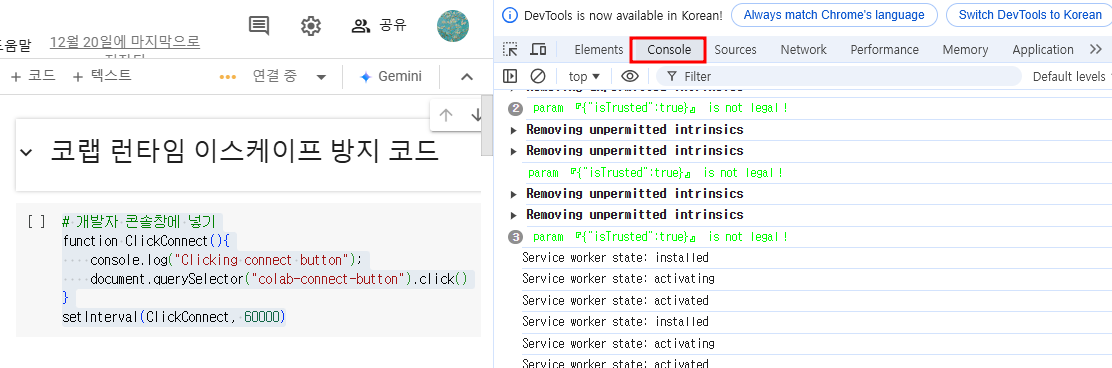
코랩창에서 F12를 누르면 나오는 개발자도구의 콘솔(Console)창을 눌러서 위 Javascript를 붙여넣고 Enter 눌러주세요. 12시간 동안 런타임 연결 해제를 방지해 줍니다.
4.Tip! 크롤링 데이터 저장하기
크롤링 데이터를 CSV 파일로 저장하면 Google Drive에서 바로 확인할 수 있습니다.

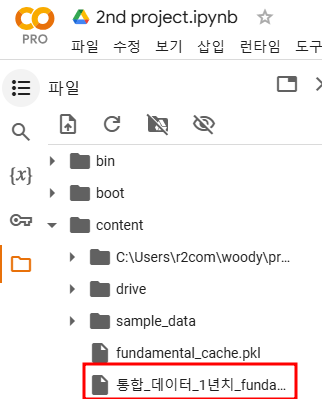
요 경로로 쇽 들어갑니다.
이 글이 여러분의 작업 속도와 효율을 높이는 데 도움이 되길 바랍니다.
잘 안 되시는 분은 댓글로 물어봐주세요.🚀