📋 목차
- ItemData
- Item
- Inventory
- PickUpItem
- 최종 결과
- 오늘의 배운 점
- 다음 계획
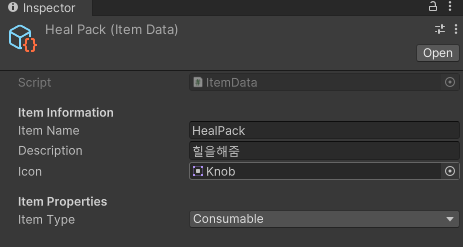
📦 ItemData
각 아이템들은 모두 다른 속성과 효과를 가지고 있죠. 그것을 저장할 스크립트가 필요합니다. ItemData.cs를 생성합시다.
using UnityEngine;

[CreateAssetMenu(fileName = "New Item", menuName = "Inventory/Item")]
public class ItemData : ScriptableObject
{
    [Header("Item Information")]
    public string itemName;
    public string description;
    public Sprite icon;

    [Header("Item Properties")]
    public ItemType itemType;
}

public enum ItemType
{
    Consumable,
    Weapon,
    Armor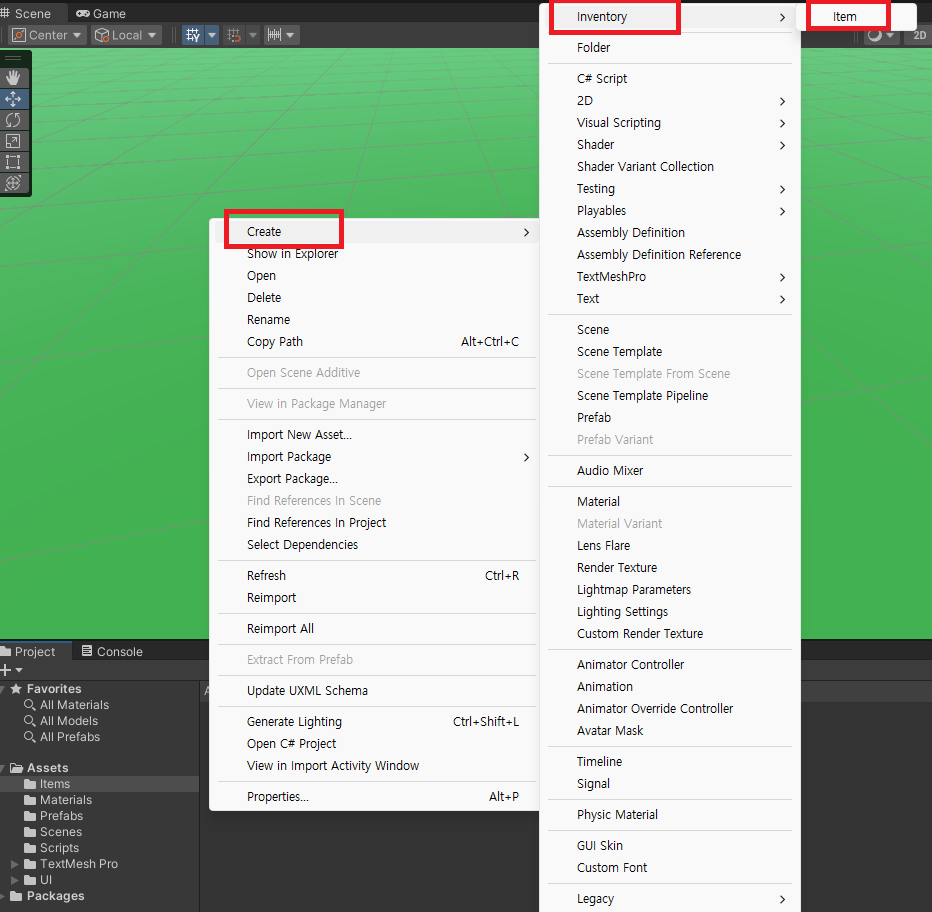
}CreateAssetMenu를 하게 되면 Item을 에디터에서 만들 수 있습니다.
📦 Item
아이템에 붙일 Item스크립트를 생성합시다.
using UnityEngine;

public class Item : MonoBehaviour
{
    [SerializeField] public ItemData itemData; // ScriptableObject 참조

    private void Start()
    {

    }
    public ItemData GetItemData()
    {
        return itemData;
    }

    public void OnPickup()
    {
        Destroy(gameObject);
    }
}
📜 Inventory
아이템들을 관리하는 쪽은 인벤토리 입니다. 자주 사용될 기능이므로 Inventory.cs란 새로운 스크립트를 만듭시다. 그리고 Player에 붙여주세요!
using UnityEngine;

public class Inventory : MonoBehaviour
{
    [Header("Inventory Settings")]
    public int maxSlots = 21;
    public List<ItemData> items = new List<ItemData>();

    public bool AddItem(ItemData itemData)
    {
        if (!itemData) return false;
        if (items.Count >= maxSlots)
        {
            Debug.Log("인벤토리가 가득 찼습니다!");
            return false;
        }

        items.Add(itemData);
        Debug.Log(" 아이템을 추가했습니다: " + itemData.itemName);
        return true;
    }
}
👌 PickUpItem
InteractionDetector에서 바라보는 대상에 F를 누를 시 UI가 띄워지는 코드가 있었죠? 해당 스크립트에 다음 코드를 추가합니다.
// InteractionDetector.cs
public Item GetCurrentTarget()
{
    Ray ray = Camera.main.ScreenPointToRay(new Vector3(Screen.width / 2, Screen.height / 2));
    if (Physics.Raycast(ray, out hit, 5f))
    {
        Item item = hit.collider.GetComponent<Item>();
        if (item != null)
        {
            return item;
        }
    }
    return null;
}
그리고 PlayerController에 현재 바라보고 있는 아이템이 있고, 그 상태에서 F를 누른다면 아이템을 가져갈 수 있도록 하는 함수를 만듭니다.
// PlayerController.cs

private Inventory inventory;
private InteractionDetector interactionDetector;

void Start()
{
	inventory = GetComponent<Inventory>();
    interactionDetector = GetComponent<InteractionDetector>();
}

void Update()
{
	HandleItemPickup();
}

void HandleItemPickup()
{
    if (Input.GetKeyDown(KeyCode.F))
    {
        TryPickupItem();
    }
}

void TryPickupItem()
{
    if (!interactionDetector) return;

    Item item = interactionDetector.GetCurrentTarget();

    if (item != null)
    {
        bool success = inventory.AddItem(item.itemData);
        if (success)
        {
            Destroy(item.gameObject);
        }
    }
}
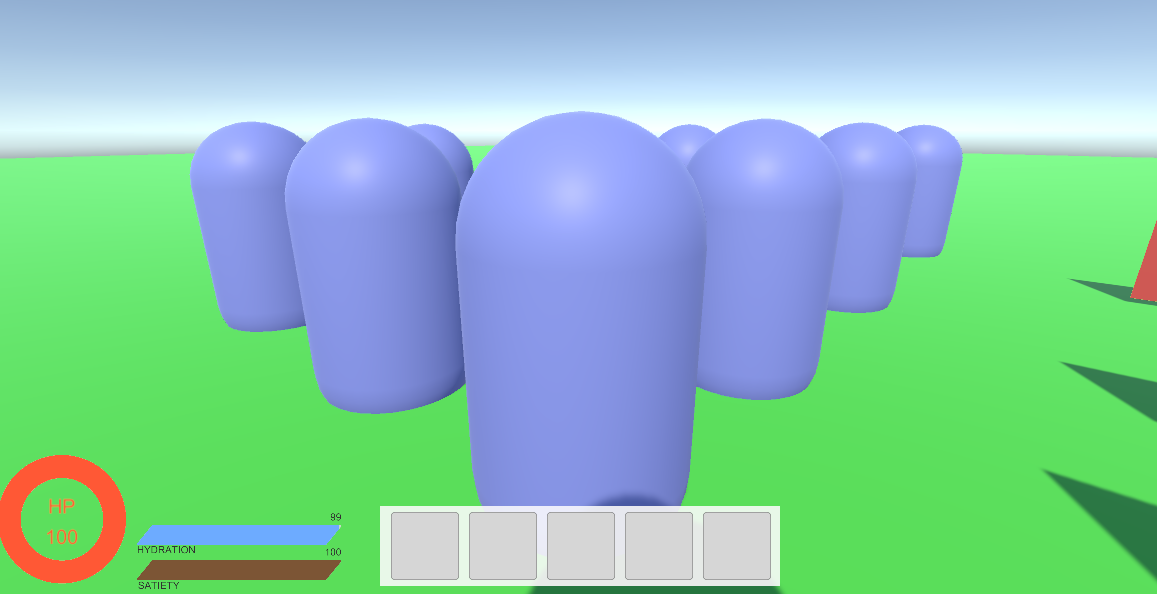
🎮 최종 결과
발견한 아이템을 먹고 인벤토리에 넣는 화면입니다.
📚 오늘의 배운 점
- CreateAssetMenu를 이용한 Data 생성
- GameObject 삭제
🎯 다음 계획
다음 글에서는:
- 아이템을 인벤토리에 추가를 시각화
- 아이템 삭제

Unreal Engine & Unity 게임 개발자