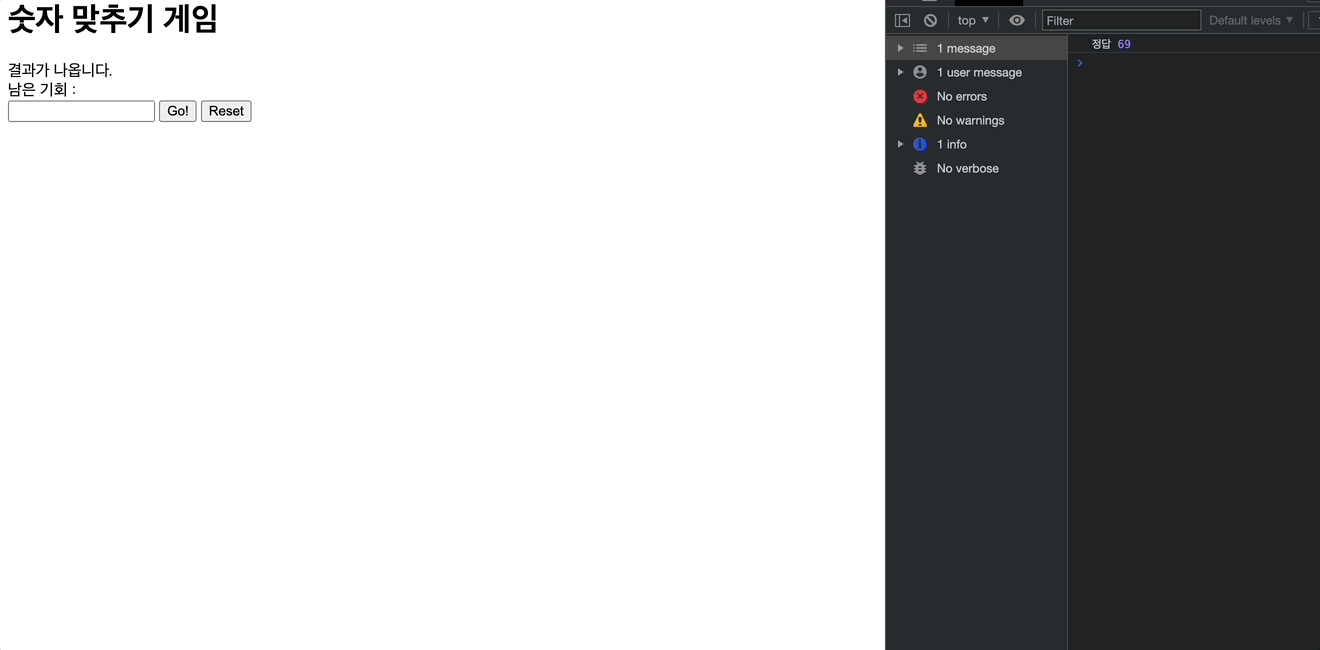
랜덤번호를 지정하여 user가 input 창에 번호를 입력하면 Up, Down, Success 결과를 알려준다.
게임설명
- 랜덤번호 지정
- 유저가 번호를 입력한다. 그리고 go라는 버튼을 누름
- 만약에 유저가 랜덤번호를 맞추면,
Success - 랜덤번호가 < 유저번호
Down - 랜덤번호가 > 유저번호
Up - Reset 버튼을 누르면 게임 리셋
- 5번의 기회를 다 쓰면 게임이 끝난다(더이상 추측 불가, 버튼 disable)
- 유저가 1~100범위 밖에 숫자를 입력하면 기회를 깎지않고 "범위 밖의 숫자"라고 알려준다.
- 유저가 이미 입력한 숫자를 또 입력해도 기회를 깎지 않는다.
let playBtn = document.getElementById("playBtn");
let userInput = document.getElementById("userInput");
let resultArea = document.getElementById("resultArea");
let restBtn = document.getElementById("resetBtn");
let chancesArea = document.getElementById("chancesArea");
let chances = 5;
let gameOver = false;
let history = [];
랜덤숫자로 들어갈 computerNum 변수는 0으로 값을 할당해주고
html에서 사용된 필요한 부분의 id 값을 getElementById를 사용하여 불러옴
- playBtn : 버튼을 클릭했을때 결과 확인 이벤트가 실행되어야 함
- userInput : 유저번호와 랜덤번호를 비교할때 사용함
- resultArea : 랜덤번호와 유저번호를 비교할때 사용함
- resetBtn : 버튼을 클릭했을때 초기화 이벤트가 실행되어야 함
- chancesArea : 게임을 실행할 수 있는 기회를 숫자로 나타내줌
- chances & gameOver : 5번의 기회가 끝나면 play 버튼이 비활성화 되어야 함
- history : 이미 입력했던 숫자 알려줘야하며 여러번의 숫자를 입력할수 있으므로 빈배열로 변수를 지정해준다.
//이벤트 실행
playBtn.addEventListener("click", play)
resetBtn.addEventListener("click",reset)
userInput.addEventListener("focus", function(){
	userInput.value="";
})
let computerNum = 0;
function pinkRandomNum(){
	computerNum = Math.floor(Math.random()*100)+1
}
playBtn버튼을 클릭했을때 play함수가 실행된다.
-
computerNum는
Math.random()메소드를 사용하여 숫자를 랜덤으로 지정해주고, -
Math.floor()메소드를 사용하여 소수점을 없애주었다.
📌 Math.floor()를 사용하면 0~1까지만 나타나므로 참고해야 할 부분이다
그래서+1로 값을 주어 1부터 랜덤숫자가 시작할 수 있도록 함 -
랜덤숫자는 1~99까지 나와야하므로
*100을 주어 두자리 숫자까지 나오도록 지정해주었다.
function play(){
	let userValue = userInput.value;
    if(userValue < 1 || userValue > 100){
    	resultArea.textContent = "1과 100 사이의 숫자를 입력해주세요"
        return;
    }
    if(history.includes(userValue)){
    	resultArea.textContent = "이미 입력한 숫자입니다. 다른 숫자를 입력헤주세요"
        return;
    }
    chances--;
    chancesArea = `남은 기회 : ${chances}번`;
    if(userValue < computerNum){
    	resultArea.textContent = "Up!!"
    } else if(userValue > computerNum) {
    	resultArea.textContent = "Down!!"
    } else {
    	resultArea.textContent= "Success!!"
        playBtn.disabled = true;
    }
    if(chances < 1){gameOver = true;}
    if(gameOver == true){disabled = true;}
}- 원하는 범위의 숫자가 맞는지 유효성 검사
- 이미 입력했던 숫자를 입력했을때 유저를 위해 메세지로 알려줌
- playBtn버튼을 클릭했을때 실행될 play함수
userValue변수에 input값을 할당해줌
만약에 userValue가 < computerNum 보다 작을 경우 결과값이 나오는 텍스트가 Up!!으로 바뀐다.
또 만약에 userValue가 > computerNum 보다 클 경우 결과값이 나오는 텍스트가 Down!!으로 바뀐다.
uservalue 와 computerNum 숫자가 일치하면 Success!! 라는 결과값이 나온다
function reset(){
	userInput.value = "";
    chancesArea = `남은 기회 : ${chances}번`
    result.value= "결과가 나옵니다."
}
reset버튼을 클릭했을 때 처음으로 돌아가야하므로 모든 내용을 초기화 시켜줌
남은 기회의 내용은 (``)백틱을 사용하여 ${} 문자열과 변수를 사용했다.

나는야 예빈부기,,,