- Fastcampus의 C#과 유니티로 배우는 게임 개발 올인원 패키지 Online - 유니티 개발을 위한 필수 수학&물리 강의를 수강하면서 정리한 내용입니다.
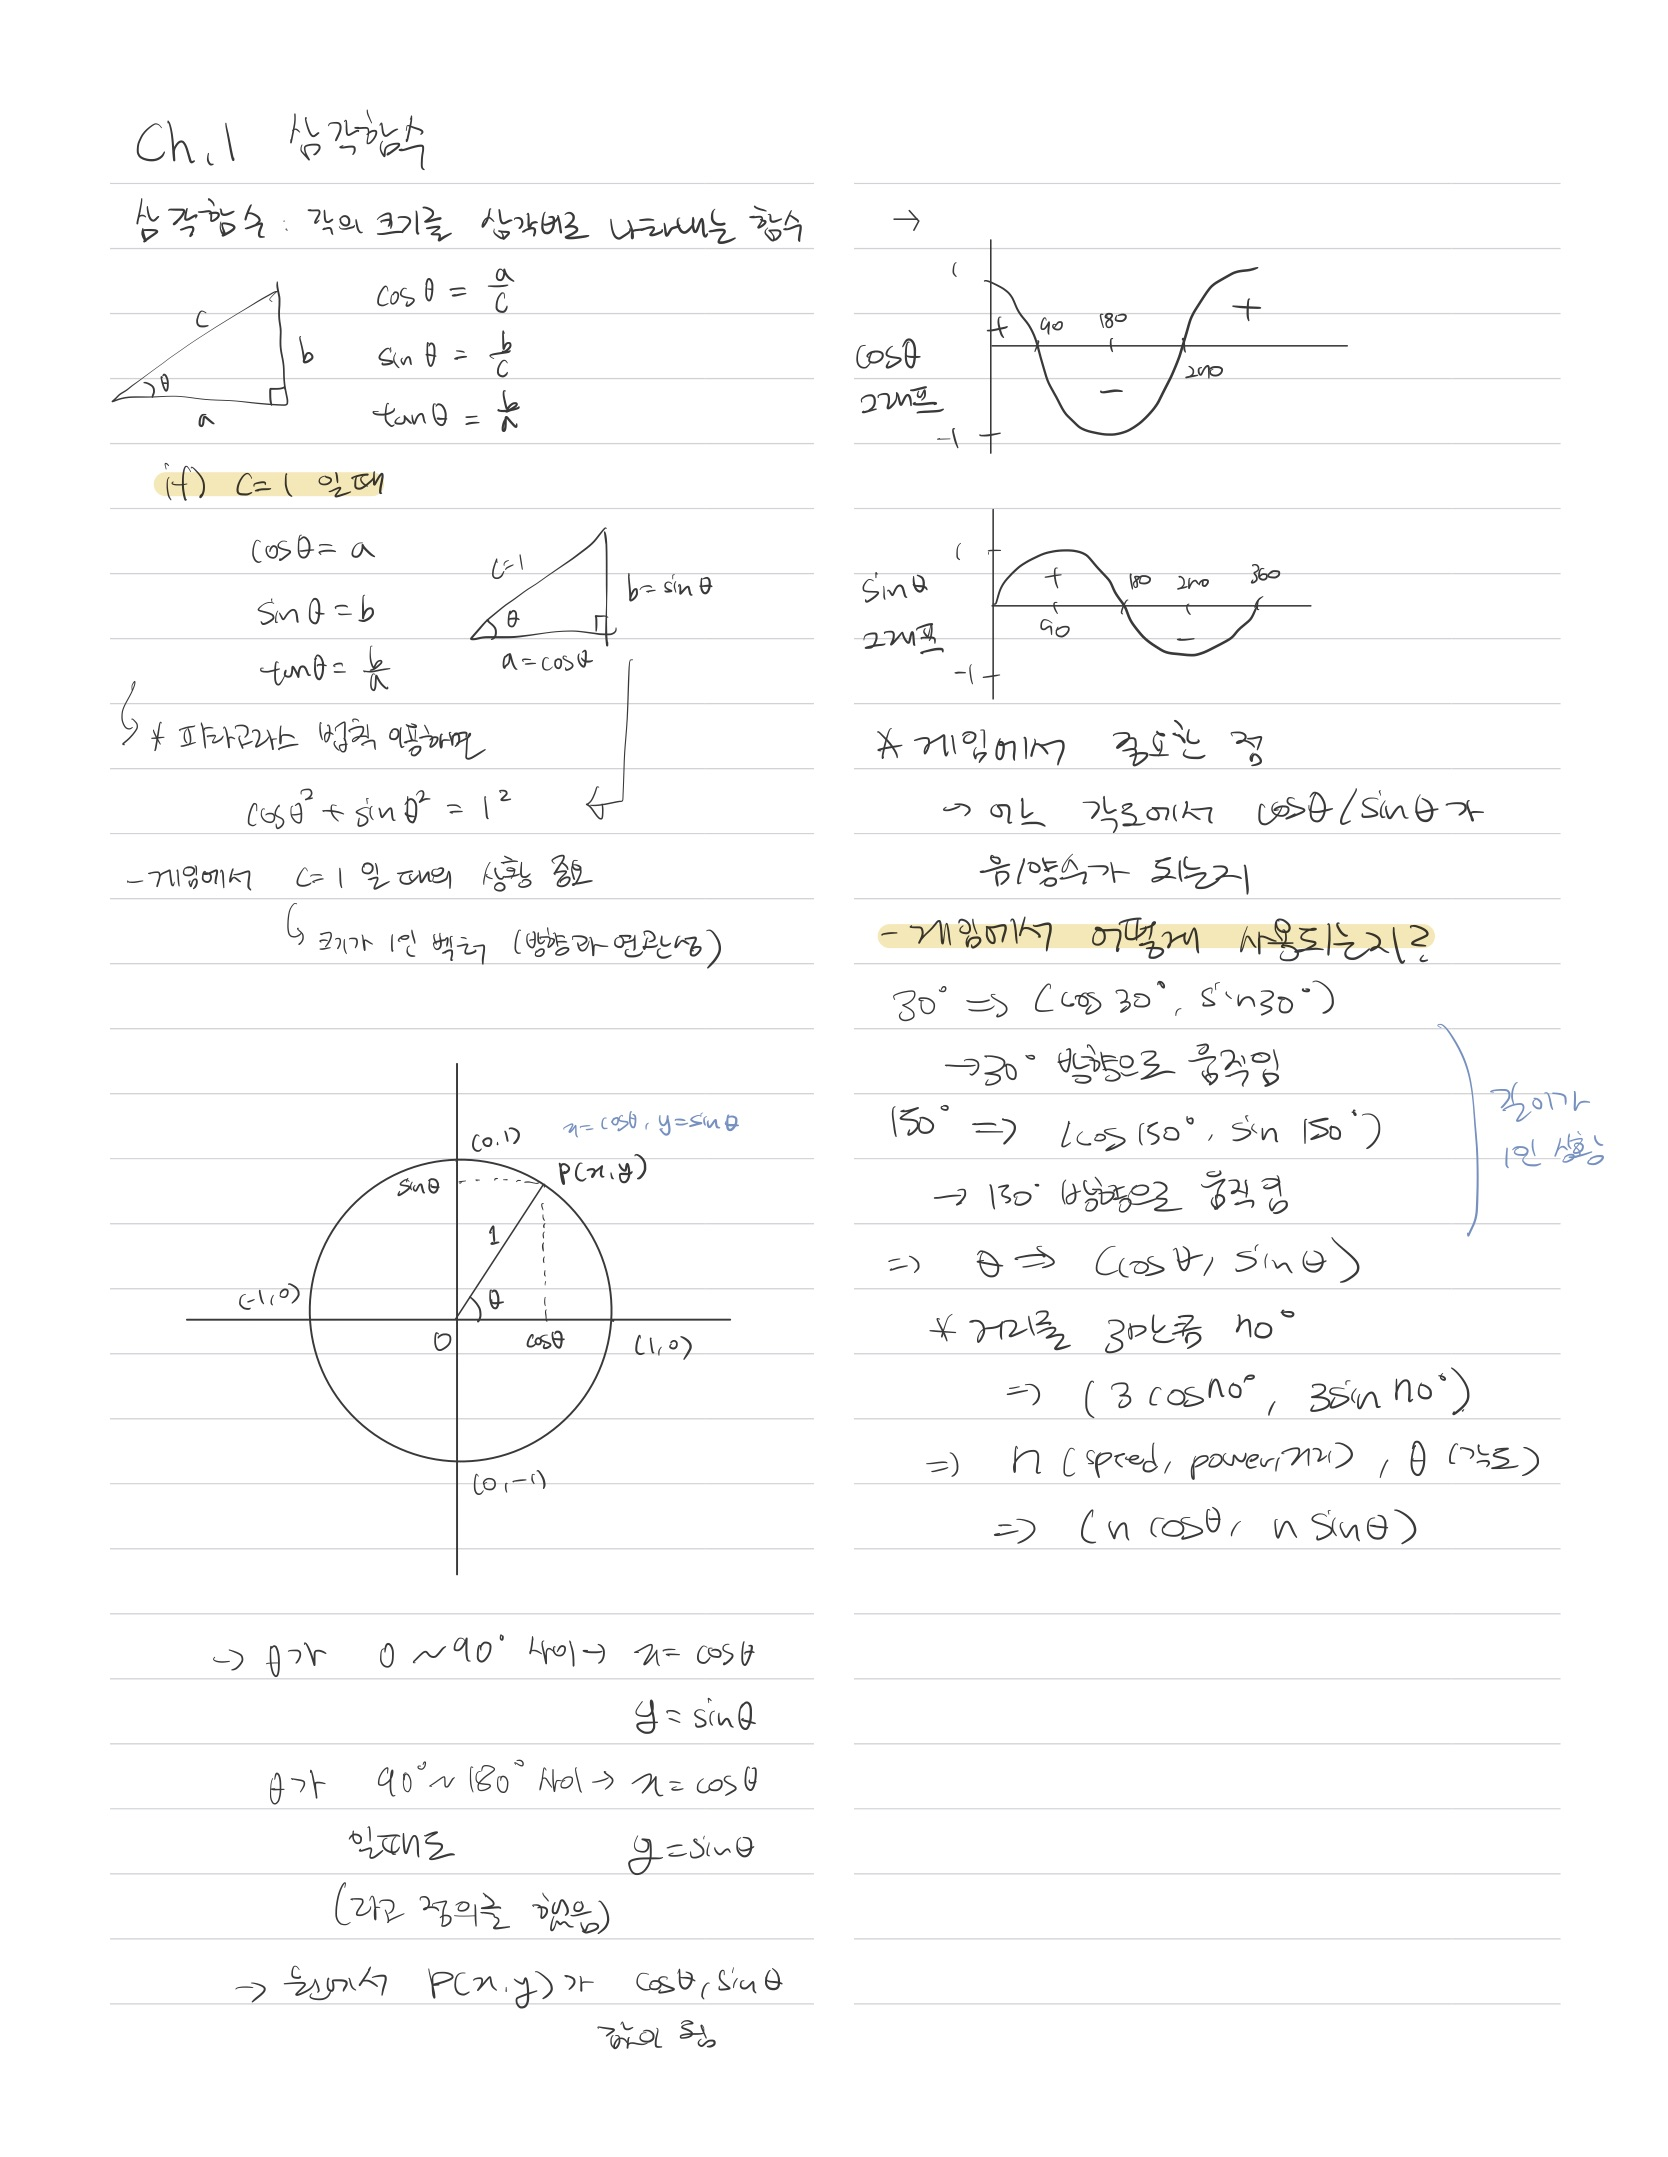
1. 삼각함수 강의 정리
2. 실제 사용 실습1
1) 플레이어 이동
    void PlayerMove(float _angle)
    {
        if (Input.GetKey(KeyCode.Space))
        {
            Vector2 direction = new Vector2(Mathf.Cos(_angle * Mathf.Deg2Rad), Mathf.Sin(_angle * Mathf.Deg2Rad));
            transform.Translate(moveSpeed * direction * Time.deltaTime);
        }
    }
- Math.cos, Math.sin은 Rad(라디안) 값을 인자로 가짐
-> Deg값을 Rad로 바꿔주는 Mathf.Deg2Rad 사용Rad : 0~2pi
Deg : 0~360' - Time.deltaTime : 프레임 간 시간 차이 곱해줌 -> 컴퓨터 성능과 무관하게 동일한 속도로 이동
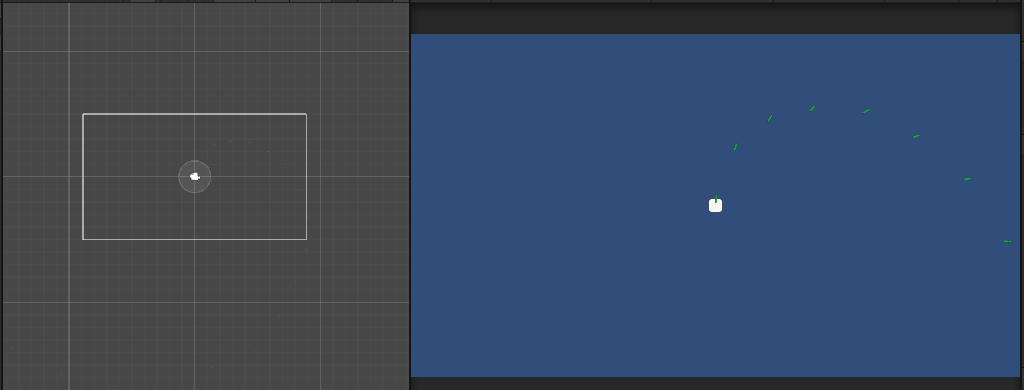
2) 원을 그리면서 이동
 void PlayerCircle()
    {
        //iteration 0->360도로 각도가 1씩 증가
        Vector2 direction = new Vector2(Mathf.Cos(iteration * Mathf.Deg2Rad), Mathf.Sin(iteration * Mathf.Deg2Rad));
        transform.Translate(direction * (circleScale * Time.deltaTime));
        iteration++;
        if (iteration > 360) iteration -= 360;
    }
3) 원을 그리면서 총알 발사
private IEnumerator MakeBullet()
    {
        int fireAngle = 0;
        while (true)
        {
            GameObject tempObject = Instantiate(bulletObject, bulletContainer, true);
            //BulletContainer 안에 bulletObject 생성
            Vector2 direction = new Vector2(Mathf.Cos(fireAngle*Mathf.Deg2Rad),Mathf.Sin(fireAngle*Mathf.Deg2Rad));

            //총알 오브젝트의 오른쪽이 direction 방향으로 설정되도록
            tempObject.transform.right = direction;
            //총알 오브젝트 위치는 플레이어 위치로
            tempObject.transform.position = transform.position;

            //0.1초간 기다리고
            yield return new WaitForSeconds(0.1f);

            //발사한 각도를 설정한 값에 따라서 증가
            fireAngle += angleInterval;

            //0~360도 사이가 되도록
            if (fireAngle > 360) fireAngle -= 360;
        }
}- Instantiate()에서 prefab이 생성될 컨테이너 지정
- Vector2 direction = new Vector2(Mathf.Cos(fireAngleMathf.Deg2Rad),Mathf.Sin(fireAngleMathf.Deg2Rad))
-> 지정한 각도만큼 방향 지정

4) 지정 각도 사이에서 총알 발사
private IEnumerator MakeBullet2()
    {
        while (true)
        {
            for (int fireAngle = startAngle; fireAngle < endAngle; fireAngle += angleInterval)
            {
                GameObject tempObject = Instantiate(bulletObject, bulletContainer, true);
                Vector2 direction = new Vector2(Mathf.Cos(fireAngle*Mathf.Deg2Rad),Mathf.Sin(fireAngle*Mathf.Deg2Rad));

                tempObject.transform.right = direction;
                tempObject.transform.position = transform.position;
            }

            yield return new WaitForSeconds(4f);
        }
    }
3. 실제 사용 실습2
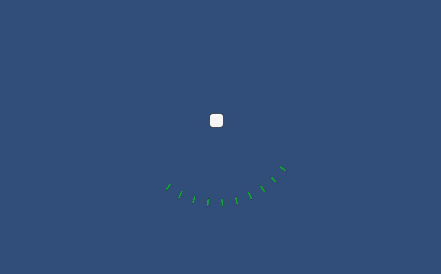
1) 궁수
using System.Collections;
using System.Collections.Generic;
using UnityEngine;

public class ArcherController : MonoBehaviour
{
    public GameObject arrowObject;
    public Transform arrowContainer;

    public float shotInterval = 2f;

    void Start()
    {
        StartCoroutine(FireArrow());
    }

    IEnumerator FireArrow()
    {
        while (true)
        {
            for (int i = 0; i < 3; i++)
            {
            //화살 발사 각도, 위치 지정
                GameObject tempObject = Instantiate(arrowObject, arrowContainer);
                Vector3 direction = new Vector2(Mathf.Cos((20+20*i)*Mathf.Deg2Rad), Mathf.Sin((20+20*i)*Mathf.Deg2Rad));

                tempObject.transform.right = direction;
                //궁수의 위치에서 조금 더 떨어진 곳으로
                tempObject.transform.position = transform.position + shotInterval * direction;
                //direction 곱하는 이유 : 각도에 따라 띄워주는 간격을 다르게
                //나아가고자 하는 방향으로 간격을 띄움
            }

            yield return new WaitForSeconds(5f);
        }
    }

}
2) 활 발사체
using System;
using System.Collections;
using System.Collections.Generic;
using UnityEngine;

public class ArrowController : MonoBehaviour
{
    private Rigidbody2D arrowRigidbody2D;
    private float arrowPower = 12f;
    void Start()
    {
        arrowRigidbody2D = GetComponent<Rigidbody2D>();
        arrowRigidbody2D.AddForce(arrowPower*transform.right,ForceMode2D.Impulse);
    }

    private void Update()
    {
        /화살 발사체의 방향을 발사되는 방향으로 계속 업데이트
        transform.right = arrowRigidbody2D.velocity.normalized;
        //내 오른쪽 방향을 내 현재 속도의 방향으로 설정하겠다
        //normalized -> 방향 벡터를 만든다는 뜻;
    }
}- normalized -> 현재 속도의 방향과 일치시키기 위해 방향 벡터를 만들어줌.
*AddForce VS velocity
참고 : https://superwony.tistory.com/65 [개발자 키우기]
1) Velocity
RigidBody의 속도를 나타낸다. velocity에 값을 지정하면 물체의 질량과 상관없이 일정 속도를 가진다.
*rigidbody2d 컴포넌트가 있어야만 velocity 사용 가능
Rigidbody2D.velocity = new Vector2(xSpeed, ySpeed);
2) AddForce
RigidBody에 힘을 가해 가속도를 준다. addForce는 'F=ma' 공식이 적용된다.
따라서 같은 힘을 주었을 때 오브젝트의 질량에 따라 가속도가 달라진다.
Vector3 vector= Quaternion.AngleAxis(angle, Vector3.forward)*Vector3.right;
rigidbody2d.AddForce(vector * speed);
- angle : 힘을 가해줄 각도 값
- speed : 속도 값

기록용.