Web components
Custom element
가령, <custom-input> 이라고 입력하면 <label> , <input> 가 출력되게 만들고 싶을 때 쓸 수 있다.
<custom-input> 같은 커스텀 태그를 컴포넌트라고 할 수 있다.
이 컴포넌트를 만들기 위해 class문법을 쓰면 된다.
class 클래스 extends HTMLElement {
	connectedCallback() {
      this.innerHTML = '<label>이름을 입력하쇼</label><input>'
   }
}

customElements.define('custom-input', 클래스);
// index.html
<custom-input></custom-input>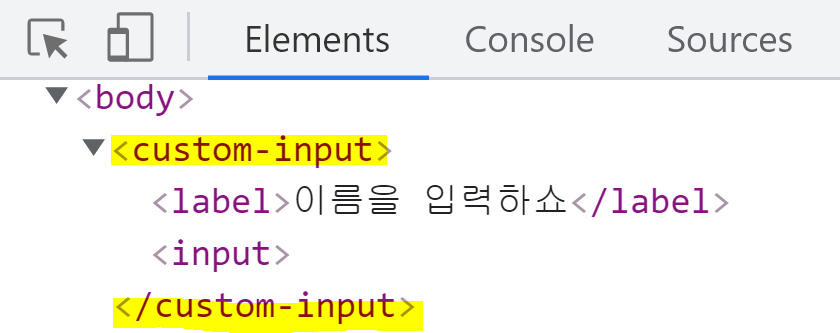
-
컴포넌트에 어떤 html들을 집어 넣을지 설정 가능하다.
class를 만들고 그 안에 있는connectedCallback()안에 만들고 싶은 커스텀 html을 만들면 된다.(
connectedCallback()는 컴포넌트가 html에 장착될 때 실행 됨.) -
html 만들고 싶으면 JS로 html 만드는 문법을 쓰면 된다.
-
customElements.define(작명, 클래스)
(컴포넌트 이름 작명시 대시기호를 넣는게 관습이다.)
getAttribute(attr)
class 클래스 extends HTMLElement {

   connectedCallback() {
      let name = this.getAttribute('name');
      this.innerHTML = '<label>${name}을 입력하쇼</label><input>'
   }
}

customElements.define("custom-input", 클래스);
// index.html
<custom-input name="이메일"></custom-input>
<custom-input name="비번"></custom-input>getAttribute(attr) 를 쓰면 현재 요소의 정의된 attribute를 가져올 수 있다.
observedAttributes(), attributeChangedCallback()
class 클래스 extends HTMLElement {

   connectedCallback() {
      let name = this.getAttribute('name');
      this.innerHTML = '<label>${name}을 입력하쇼</label><input>'
   }

   static get observedAttributes() {
       return ['name']
   }
   attributeChangedCallback() {
       (attribute 변경시 실행할 코드)
   }
}

customElements.define("custom-input", 클래스);
static get observedAttributes() 안에 감시할 attribute들을 array 형태로 적으면 된다.
그럼 그 attribute가 변경되는 순간 attributeChangedCallback() 를 실행 한다.
React, Vue에서 제공하는 자동 html 재렌더링 기능을 구현한 것이다.
차이점은 React는 웹앱을 만드는 라이브러리라 state가 변할 경우 자동으로 html 재렌더링을 해주는 기능 제공하고 virtual DOM을 이용해서 재렌더링을 매우 빠르고 효율적으로 도와준다.