1.학습한 내용
어제에 이어 NAVER 쇼핑 footer 영역까지의 도면작업을 진행하였다.
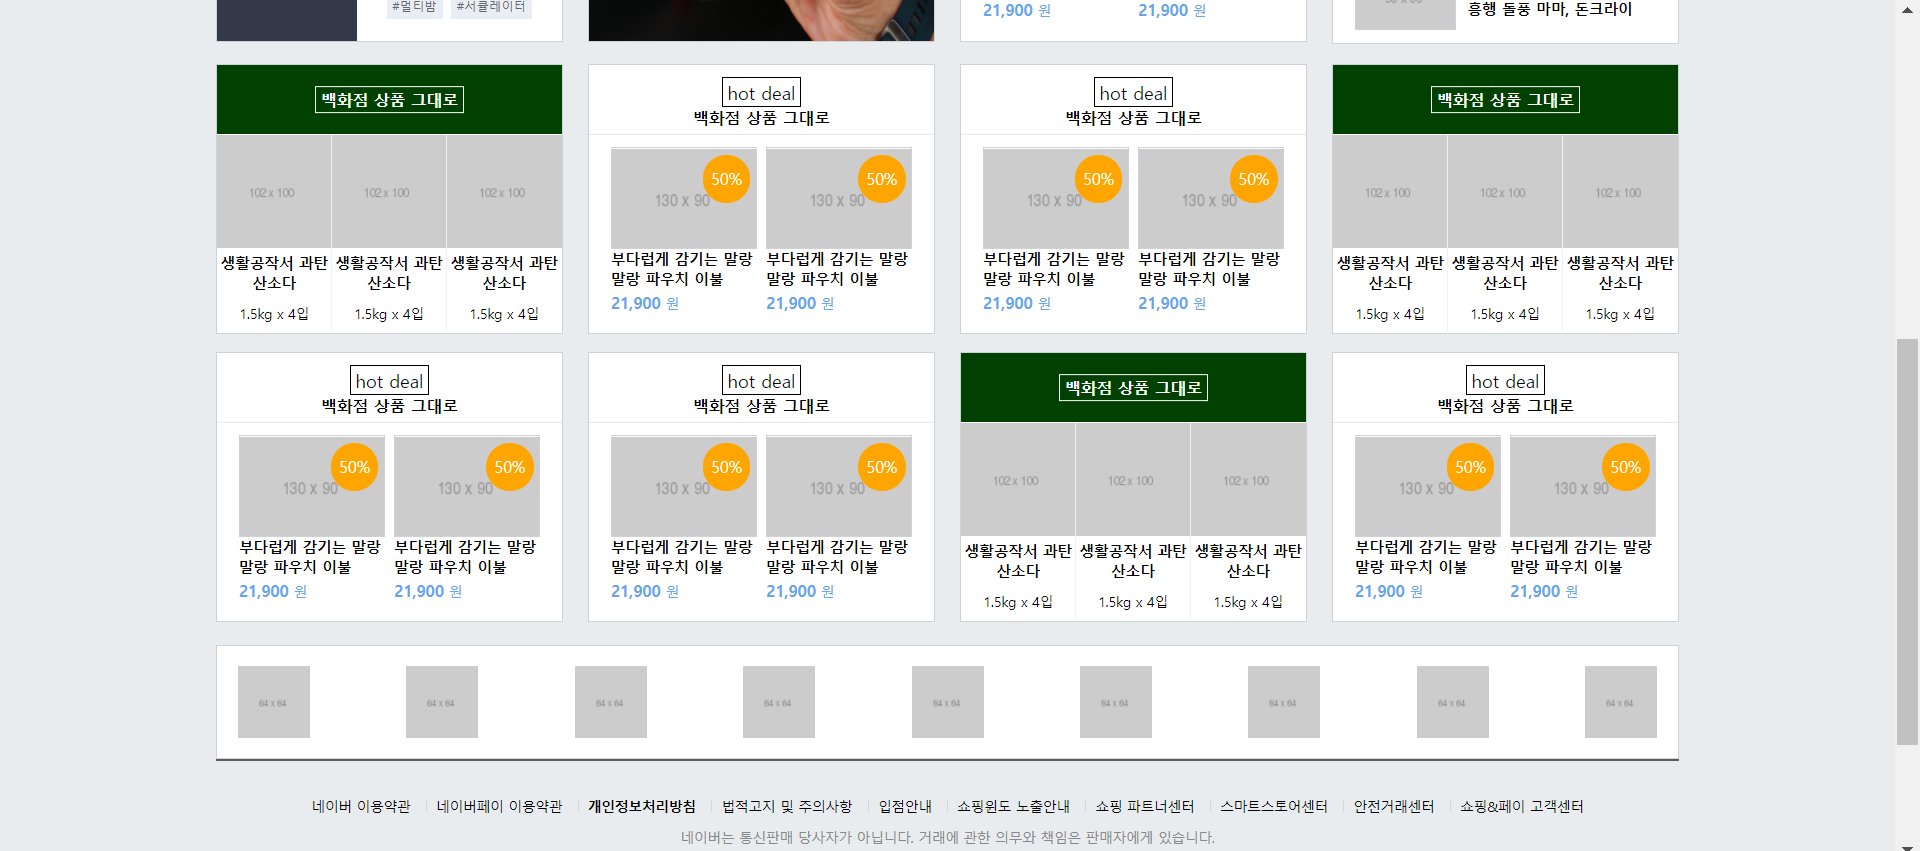
(1) 페이지 실습

(2) 학습한 내용
overlay
검은색 header 부분에 배경으로 사진을 덮고, 그 위에 검은색 배경을 겹치게 만들기 위해 header 태그에 배경사진 삽입을 위한 list-half-bg 클래스를 만들어주었다.
overlay를 통해 배경의 위에 다른 색이나 효과를 덮어 씌웠다.
[HTML]
<div class="list-half list-half-top shop-border">
  <div class="list-half-header list-half-bg">
    <div class="half-overlay"></div>
    <h3 class="shop-title-border">백화점 상품 그대로</h3>
  </div>
</div>```

[css]
```#shop-main .list-item .list-half .list-half-header .half-overlay {
    position: absolute;
    width: 100%;
    height: 100%;
    background-color: rgb(0, 0, 0, 0.5);
}
#shop-main .list-item .list-half .list-half-header.list-half-bg {
	background-color: green;
	border-bottom: solid 1px #ffffff;
	padding-top: 0;
}
할인율 겹치기
사진 위에 할인율이 표시를 위해 감싸는 영역 만든 후 그 안에서 absolute, z-index 등 사용하였다.
가격 표시할 때 사용된 em태그는 강조 표시로 기본적으로 font-style:italic (이탤릭체)을 가지고 있어 초기화가 필요하다.
글자 태그 내용을 정 중앙에 오게 하기: line-height를 공간 높이와 동일하게 맞추고 text-align:center로 중앙정렬을 하였다.
[HTML]
						<div class="list-half-header list-half-bg">
							<div class="half-overlay"></div>
							<h3 class="shop-title-border">백화점 상품 그대로</h3>
						</div>

						<ul class="content-lists content-lists-3">
							<li>
								<img src="img/apple.jpg">
								<h3>생활공작서 과탄산소다</h3>
								<span>1.5kg x 4입</span>
							</li>

							<li>
								<img src="img/apple.jpg">
								<h3>생활공작서 과탄산소다</h3>
								<span>1.5kg x 4입</span>
							</li>

							<li>
								<img src="img/apple.jpg">
								<h3>생활공작서 과탄산소다</h3>
								<span>1.5kg x 4입</span>
							</li>
						</ul>
					</div>
[css]
#shop-main .list-item .list-half .content-lists {
   overflow: hidden;
   height: 177px;
}
#shop-main .list-item .list-half .content-lists.content-lists-3 li {
   float: left;
   width: 33.33%;
   height: 100%;
   border-right: solid 1px #f0f0f0;
   text-align: center;
}
#shop-main .list-item .list-half .content-lists.content-lists-2 {
   display: flex;
   justify-content: center;
   padding-top: 11px;
}
#shop-main .list-item .list-half .content-lists.content-lists-2 li {
   width: 130px;
   height: 150px;
   margin-right: 8px;
}

#shop-main .list-item .list-half .content-lists.content-lists-2 li .content-image-wrap .discount {
   position: absolute;
   display: inline-block;

   width: 42px;
   height: 42px;
   background-color: orangered;
   border-radius: 50%;

   font-size: 14px;
   color: #ffffff;
   line-height: 42px;
   text-align: center;

   top: 6px;
   right: 5px;
}
footer 영역
[HTML]
		<div class="shop-container">
			<div class="policy-wrap">
				<span>네이버 이용약관</span>
				<span>네이버페이 이용약관</span>
				<span><strong>개인정보처리방침</strong></span>
				<span>법적고지 및 주의사항</span>
				<span>입점안내</span>
				<span>쇼핑윈도 노출안내</span>
				<span>쇼핑 파트너센터</span>
				<span>스마트스토어센터</span>
				<span>안전거래센터</span>
				<span>쇼핑&페이 고객센터</span>
			</div>
			<p>네이버는 통신판매 당사자가 아닙니다. 거래에 관한 의무와 책임은 판매자에게 있습니다.</p>
		</div>
	</footer> ```


[css] ```
#shop-footer .policy-wrap span:first-child:before {
	content: initial;
}

#shop-footer .policy-wrap span:before {
	content: "";
	display: inline-block;
	width: 1px;
	height: 11px;
	margin: 0 8px;
	background-color: #d7d7d7;
	vertical-align: -1;
}

#shop-footer p {
	font-size: 12px;
	color: #888;
	margin-bottom: 11px;
}
▽ 7월 20일에 했던 footer 영역과 똑같은 방식을 사용하였다.
무료 이미지 site
- pixabay (https://pixabay.com)
- unsplash (https://unsplash.com)
- 네이버 로고 프로젝트 (https://logoproject.naver.com)
- 기타 카카오나 다른 포털 사이트도 검색을 하면 다운로드를 받을 수 있다.
2. 실습
깃허브 소스코드:
naver 쇼핑 -2 실습 HTML
https://github.com/Yeonsu-Hong/Daegu-AI-school/issues/31
naver 쇼핑 -2 실습 css
https://github.com/Yeonsu-Hong/Daegu-AI-school/issues/32
3. 어려웠던 내용 & 해결방법
어제와 동일하였다.
그리고 외부 이미지를 다운받아서 넣었는데, 정해진 규격의 이미지가 아니라 타영역으로 침범하는 경우가 있었는데, 만일 정말 꼭 넣어야 되는 이미지라면 width와 height를 편집하여 넣어야 할 것 같은데, 포토샵이나 기타 이미지 수정 프로그램을 적극적으로 써야 할 것 같다.
4. 소감
사실 단기간에 조금 많이 타이트한 교육과정이다. 거기에다가 java-script 같은 경우에는 제공된 강좌로 독학을 하여야 할 것 같은데, 미리 커리큘럼을 보고 8월말 협업 프로젝트 시작전에 다 끝내 보도록 하겠다.
이번 여름에 주말은 없다.