앱과 서버
- 데이터가 담겨있는 곳
동장 방식
- 서버가 정한 규칙에 따라 요청(Request)를 해야한다.
- 정해진 규칙에 어긋나면 응답(Response)이 오지 않는다. - ERROR
- 서버 쪽에서 정한 규칙을 우린 보통 API(Application Programming Interface)라고 한다.
API
서버가 제공하는 도메인일 수도 있고
www.yoon.com/getData <- 데이터 조회 API
www.seoung.com/setData <- 데이터 저장 API
ex)날씨 데이터를 제공해주는 openweathermap API
- 현재 위치(좌표)데이터 필요, 가져오기
https://docs.expo.dev/versions/latest/sdk/location/
앱 위치 정보 권한 설정
expo install expo-location
import * as Location from "expo-location";

  const getLocation = async () => {
    //수많은 로직중에 에러가 발생하면
    //해당 에러를 포착하여 로직을 멈추고,에러를 해결하기 위한 catch 영역 로직이 실행
    try {
      //자바스크립트 함수의 실행순서를 고정하기 위해 쓰는 async,await
      await Location.requestForegroundPermissionsAsync();
      const locationData= await Location.getCurrentPositionAsync();
      console.log(locationData)
      console.log(locationData['coords']['latitude'])
      console.log(locationData['coords']['longitude'])

    } catch (error) {
      //혹시나 위치를 못가져올 경우를 대비해서, 안내를 준비합니다
      Alert.alert("위치를 찾을 수가 없습니다.", "앱을 껏다 켜볼까요?");
    }
- async / await -> JS는 실행이 먼저 끝난 순서대로 최적화를 하기 때문에 실행 순서가 정해져있는 문법(무거운 작업: Library나 패키지 활용 코드)은 명시해주어야 한다.
- 위치 데이터를 이용해 현재 위치 날씨 데이터 가져오기
https://openweathermap.org/API
서비스에 가입하여 해당 API에 접근할 수 있는 key를 받아와야 한다.
axios - 서버가 제공하는 도메인 형식의 API를 사용하기 위한 도구
https://www.npmjs.com/package/axios
yarn add axios#외부 도구라서 yarn으로 설치
//날씨 데이터 상태관리 상태 생성!
  const [weather, setWeather] = useState({
    temp : 0,
    condition : ''
  })

const getLocation = async () => {
    //수많은 로직중에 에러가 발생하면
    //해당 에러를 포착하여 로직을 멈추고,에러를 해결하기 위한 catch 영역 로직이 실행
    try {
      //자바스크립트 함수의 실행순서를 고정하기 위해 쓰는 async,await
      await Location.requestForegroundPermissionsAsync();
      const locationData= await Location.getCurrentPositionAsync();
      console.log(locationData)
      console.log(locationData['coords']['latitude'])
      console.log(locationData['coords']['longitude'])
      const latitude = locationData['coords']['latitude']
      const longitude = locationData['coords']['longitude']
      const API_KEY = "cfc258c75e1da2149c33daffd07a911d";
      const result = await axios.get(
        `http://api.openweathermap.org/data/2.5/weather?lat=${latitude}&lon=${longitude}&appid=${API_KEY}&units=metric`
      );

      console.log(result)
      const temp = result.data.main.temp;
      const condition = result.data.weather[0].main

      console.log(temp)
      console.log(condition)

      //오랜만에 복습해보는 객체 리터럴 방식으로 딕셔너리 구성하기!!
      //잘 기억이 안난다면 1주차 강의 6-5를 다시 복습해보세요!
      setWeather({
        temp,condition
      })

    } catch (error) {
      //혹시나 위치를 못가져올 경우를 대비해서, 안내를 준비합니다
      Alert.alert("위치를 찾을 수가 없습니다.", "앱을 껏다 켜볼까요?");
    }
  }
서버가 만들어 놓은 함수일 수도
db.ref('/like/').on('value') <- 데이터 조회 API
db.ref('/like/').set(new_like) <- 데이터 저장 API
React Native에서 주로 데이터를 준비하는 시점
- 앱 화면이 그려진 다음 데이터를 준비 <- useEffect
- 앱에서 사용자가 '저장'버튼을 누를때 <- 함수 설정
서버리스
- 서버를 직접 구축하지 않고 서버를 사용하는 방법
- 서버를 대신 만들어놓고 필요한기능을 사용할 수 있게하는 서비스를 사용
1.데이터 생성
2.데이터 조회
3.데이터 삭제/수정 등을 제공해주는 서비스들이 존재
파이어베이스
- 서버리스의 한 종류인 파이어베이스
- 구글에서 만든 것
- 파이어베이스 가입
https://firebase.google.com/
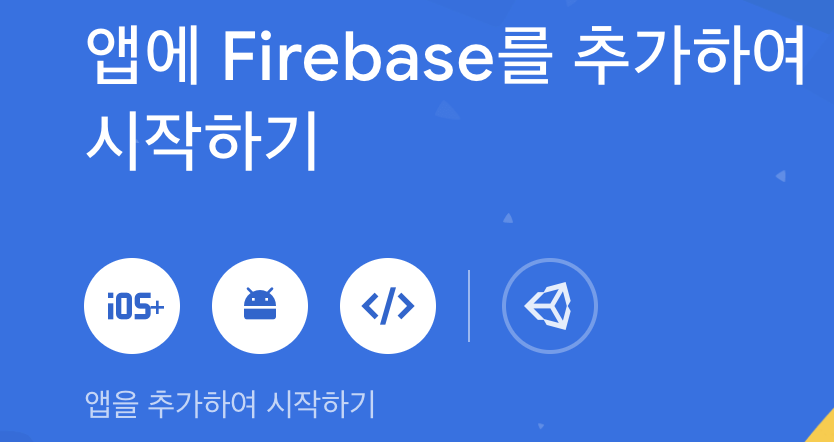
사용 언어에 따라 골라주면 된다.
- 연결하기
expo install firebase
firebase의 key가 될 파일을 만들기
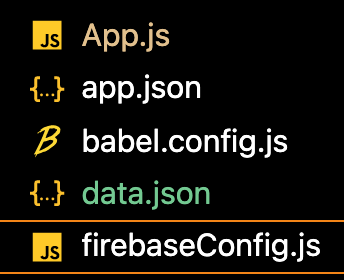
code
import firebase from "firebase/compat/app";
>
// 사용할 파이어베이스 서비스 주석을 해제합니다
//import "firebase/compat/auth";
import "firebase/compat/database";
//import "firebase/compat/firestore";
//import "firebase/compat/functions";
import "firebase/compat/storage";
>
// Initialize Firebase
//파이어베이스 사이트에서 봤던 연결정보를 여기에 가져옵니다
const firebaseConfig = {
    apiKey:
    authDomain:
    projectId:
    storageBucket:
    messagingSenderId:
    appId:
    measurementId:
  };
>
//사용 방법입니다.
//파이어베이스 연결에 혹시 오류가 있을 경우를 대비한 코드로 알아두면 됩니다.
if (!firebase.apps.length) {
    firebase.initializeApp(firebaseConfig);
}

export const firebase_db = firebase.database()
파일 저장소 vs 리얼타임 데이터베이스
- 이미지 저장 -> 파일저장소 스토리지
- JSON데이터 -> 리얼타임 데이터베이스
-
파일 저장소 스토리기
이미지 저장하기
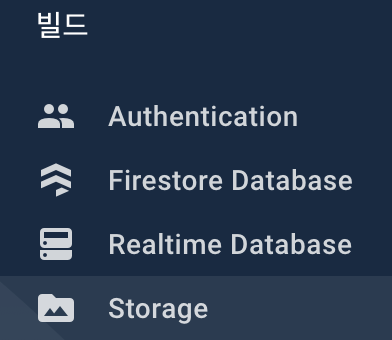
자신의 위치와 가까운 곳으로

이미지를 관리할 폴더 생성
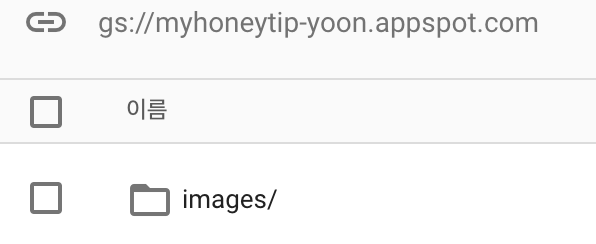
-
리얼타임 데이터 베이스
- JSON형태로 저장/관리되는 데이터베이스 서비스. (NO_SQL)

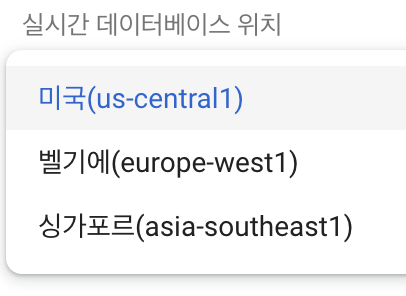
가까운 싱가포르 설정
보안 상의 이유로 database key값이 누락되어 있으므로 키값을 복사하여 설정해준다

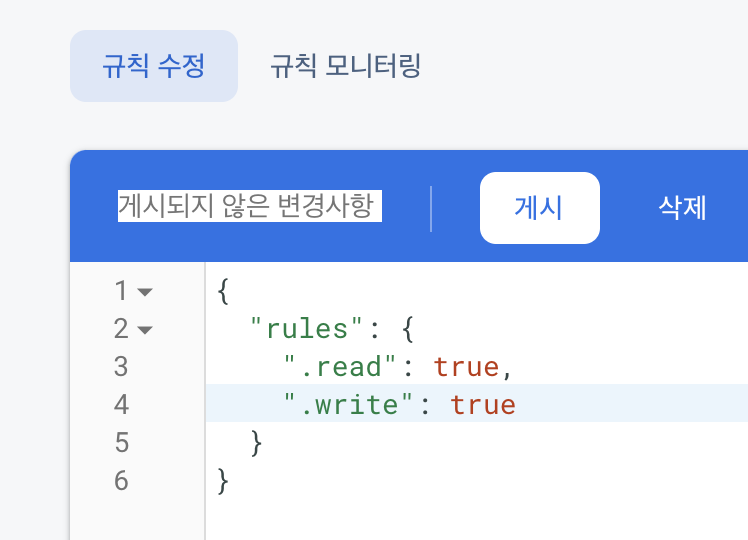
expo앱에서 데이터베이스에 접근할 수 있도록 공개범위를 수정

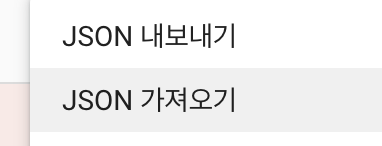
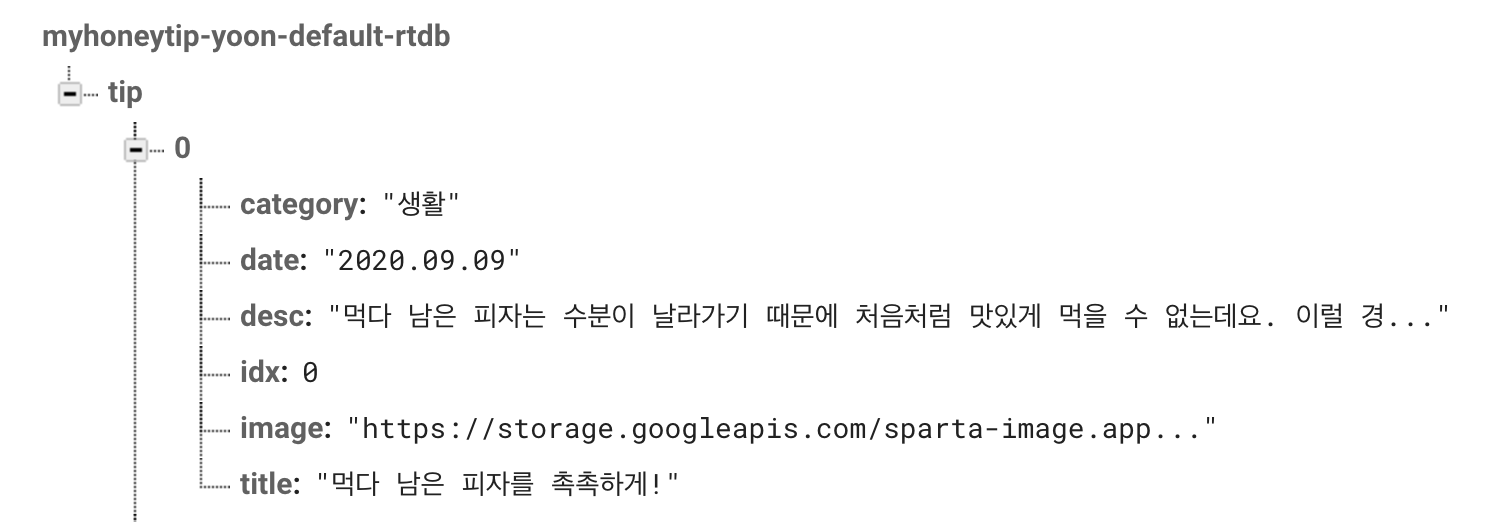
firebase 앱에서 사용하기
-
데이터 가져오기

-
데이터 관리하기

-
데이터 추출(함수형 API이용)
https://firebase.google.com/docs/reference/js?authuser=0
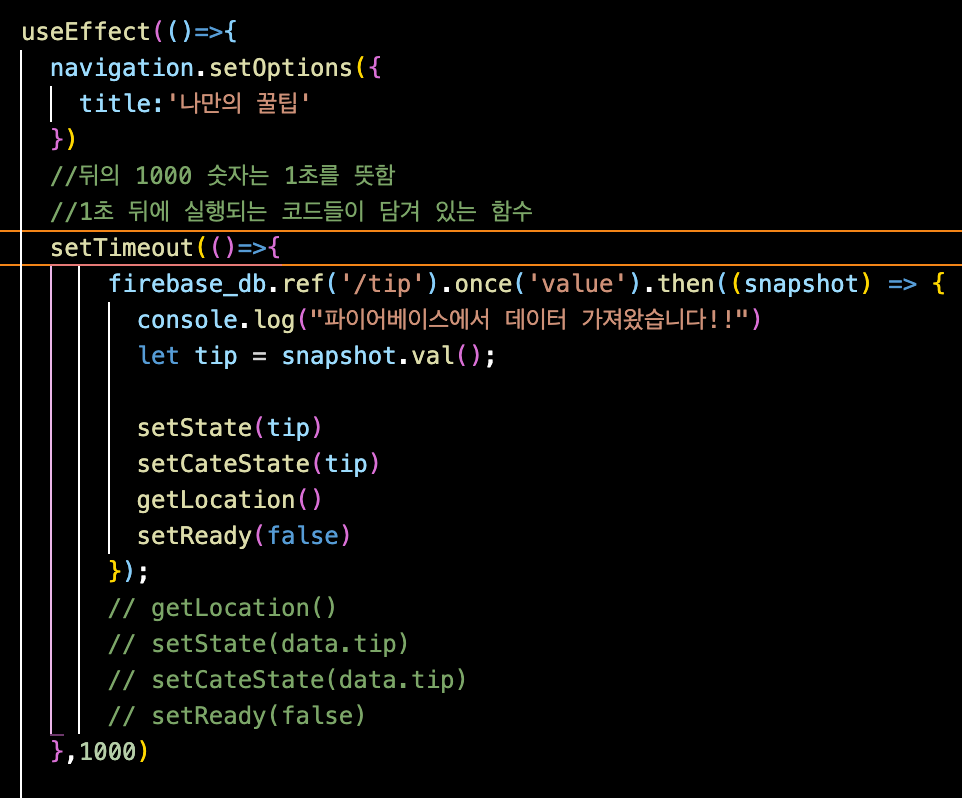
->firebase_db는 database의 접속 정보를 받고 있으므로 해당 객체는 ref라는 함수를 지니고 있어서 해당 db에 접근하여 value값을 요청할 수 있다.
snapshot이라는 변수에 담아온다. -
데이터 효율적으로 조회하기

카드에서 효율적으로 전체 데이터가 아닌 idx번호만 보내주어 데이터 전송량을 낮춘다.
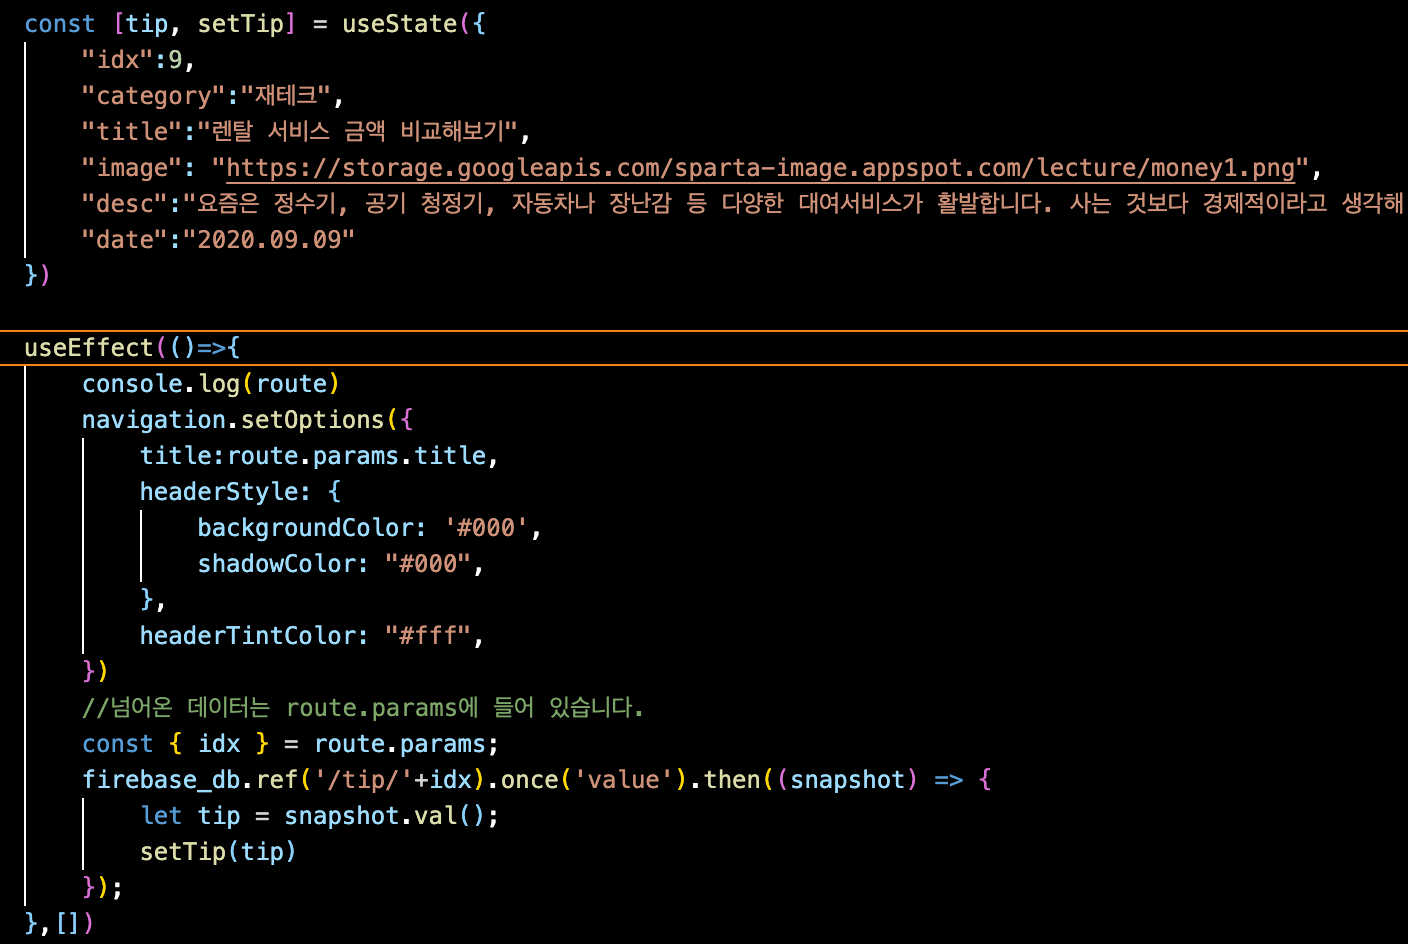
넘겨받은 idx로 데이터를 조회해야하므로 ref에 '/tip/'+idx로 경로를 설정해준다.
- 데이터 쓰기
- 사용자 고유번호로 구별하기
expo install expo-application
`import {Platform} from 'react-native';
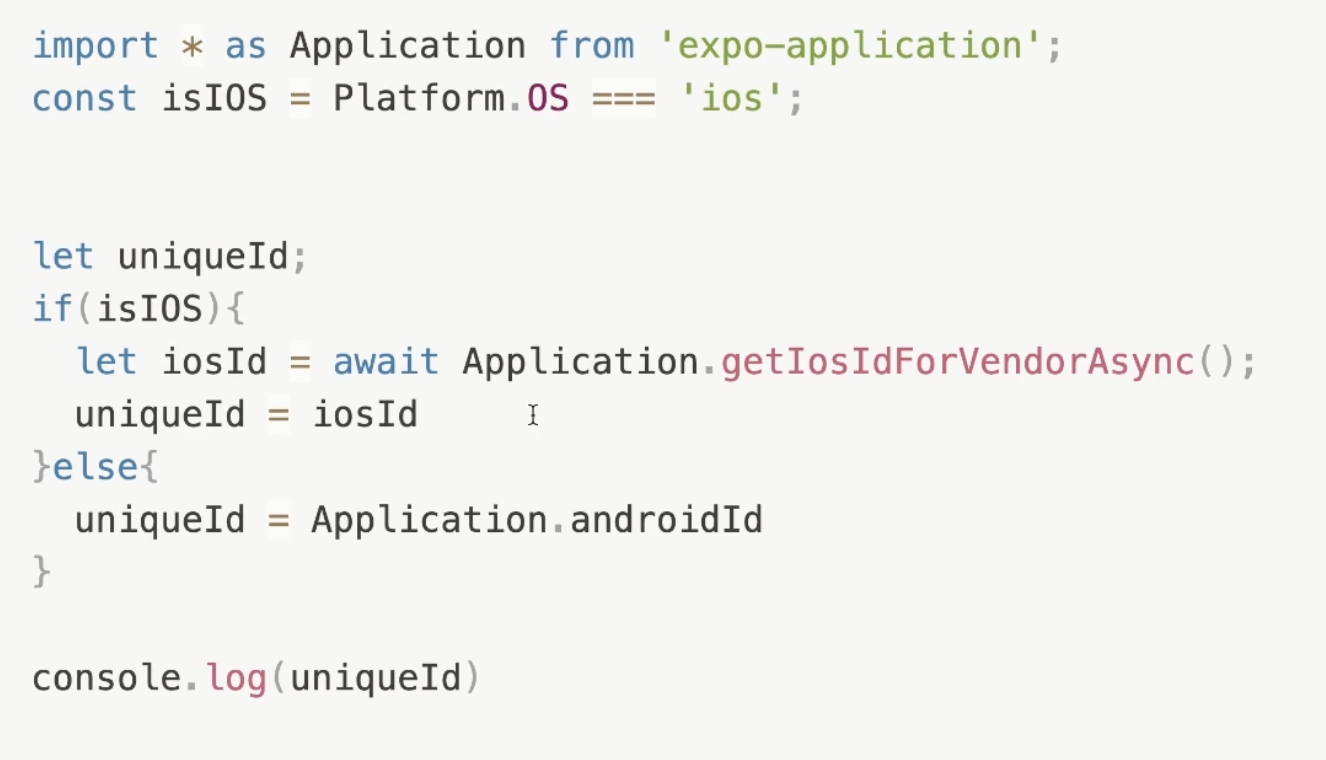
    const like = async () => {
        // like 방 안에
        // 특정 사용자 방안에
        // 특정 찜 데이터 아이디 방안에
        // 특정 찜 데이터 몽땅 저장!
        // 찜 데이터 방 > 사용자 방 > 어떤 찜인지 아이디
        let userUniqueId;
        if(isIOS){
        let iosId = await Application.getIosIdForVendorAsync();
            userUniqueId = iosId
        }else{
            userUniqueId = await Application.androidId
        }
        console.log(userUniqueId)
	       firebase_db.ref('/like/'+userUniqueId+'/'+ tip.idx).set(tip,function(error){
             console.log(error)
             Alert.alert("찜 완료!")
         });
}- 저장하는 시점
<TouchableOpacity style={styles.button} onPress={()=>like()}><Text style={styles.buttonText}>팁 찜하기</Text></TouchableOpacity>- 고유 아이디로 데이터 가져오기
import {ScrollView, Text, StyleSheet, Platform} from 'react-native';
import * as Application from 'expo-application';
const isIOS = Platform.OS ==='ios';
import{firebase_db} from "../firebaseConfig"
    useEffect(()=>{
        navigation.setOptions({
            title:'꿀팁 찜'
        })
        //화면이 그려지기 전에 시작되어야 하므로
        getLike()
    },[])

    const getLike = async() => {
        let userUniqueId;
        if(isIOS){
            userUniqueId = await Application.getIosIdForVendorAsync();
        }else{
            userUniqueId = await Application.androidId;
        }
        firebase_db.ref('/like/'+userUniqueId).once('value').then((snapshot) =>{
            let tip = snapshot.val();
            setTip(tip)
        })
}- 고유 아이디에 따른 데이터 삭제하기
- 우선 찜 목록을 보여주는 페이지는 삭제 버튼이 눌릴때마다 refresh되면서 해당 데이터를 삭제한 화면을 reload해야 한다.
- 그러기 위해선, 카드 component에서 삭제를 실행하고 화면을 보여주는 부모격인 likePage에 업데이트를 다시 해줘야 하기때문에, 부모격인 likePage는 자식격인 likecard에 해당 상태를 넘겨주어 동기화한다.
return(<LikeCard key={i} content={content} navigation={navigation} tip={tip} setTip={setTip}/>)
- LikeCard에서 데이터 지우기
- 이미 데이터베이스에서 전달받은 데이터를 삭제한 후, 다시 리로드하기 위해서 또한번 데이터베이스에 접근하여 데이터를 가져오면 처리과정이 조금 복잡해지므로 filter함수를 이용하여 미리 받아둔 데이터에서 내가 지우려고한 데이터를 제외하고 반환하여 상태를 업데이트하는것이 조금 더 효율적인 방법으로 보인다.
import React from 'react';
import {Alert,View, Image, Text, StyleSheet,TouchableOpacity,Platform} from 'react-native'
import {firebase_db} from "../firebaseConfig"
const isIOS = Platform.OS === 'ios';
import * as Application from 'expo-application';
//MainPage로 부터 navigation 속성을 전달받아 Card 컴포넌트 안에서 사용
export default function LikeCard({content,navigation,tip, setTip})


const remove = async (cidx) => {
      let userUniqueId;
      if(isIOS){
      let iosId = await Application.getIosIdForVendorAsync();
          userUniqueId = iosId
      }else{
          userUniqueId = await Application.androidId
      }

      console.log(userUniqueId)
      firebase_db.ref('/like/'+userUniqueId+'/'+cidx).remove().then(function(){
        Alert.alert("삭제 완료");
        //내가 찝 해제 버튼을 누른 카드 idx를 가지고
        //찝페이지의 찜데이터를 조회해서
        //찜해제를 원하는 카드를 제외한 새로운 찜 데이터(리스트 형태!)를 만든다
        let result = tip.filter((data,i)=>{
          return data.idx !== cidx
        })
        //이렇게 만들었으면!
        //LikePage로 부터 넘겨 받은 tip(찜 상태 데이터)를
        //filter 함수로 새롭게 만든 찜 데이터를 구성한다!
        console.log(result)
        setTip(result)

      })

    }


<TouchableOpacity style={styles.button} onPress={()=>remove(content.idx)}><Text style={styles.buttonText}>찜 해제</Text></TouchableOpacity>
