React의 4가지 개념 중 첫 번째인 React만의 문법, JSX에 대해 알아봅시다.
React 개발을 시작할 때 최소한으로 알아야 할 것이 무엇이냐고 묻는다면, 저는 4가지를 꼽을 수 있을 것 같습니다.
- JSX 문법
- Component
- State
- Props
이 강의를 끝까지 들으셨을 때, 저 4가지가 무엇인지 설명할 수 있다면 여러분은 React를 안다 라고 말할 수 있을겁니다.
코드 간소화
빠른 이해를 위해, create-react-app 이 만들어준 폴더를 조금 간소화해봅시다. src 폴더 밑의 파일들을 깨끗하게 삭제해주시고, 새롭게 index.js파일 하나만 만들어주세요.
cd src
rm -f *
touch index.js
cd ..
그리고 나서 index.js 파일에 다음과 같이 입력해주세요.
import React from "react";
import ReactDom from "react-dom";

class App extends React.Component {
  render() {
    return (
      <div>
        <h1>Hello React!</h1>
      </div>
    );
  }
}

ReactDom.render(<App />, document.getElementById("root"));
다시 React를 실행해봅시다.
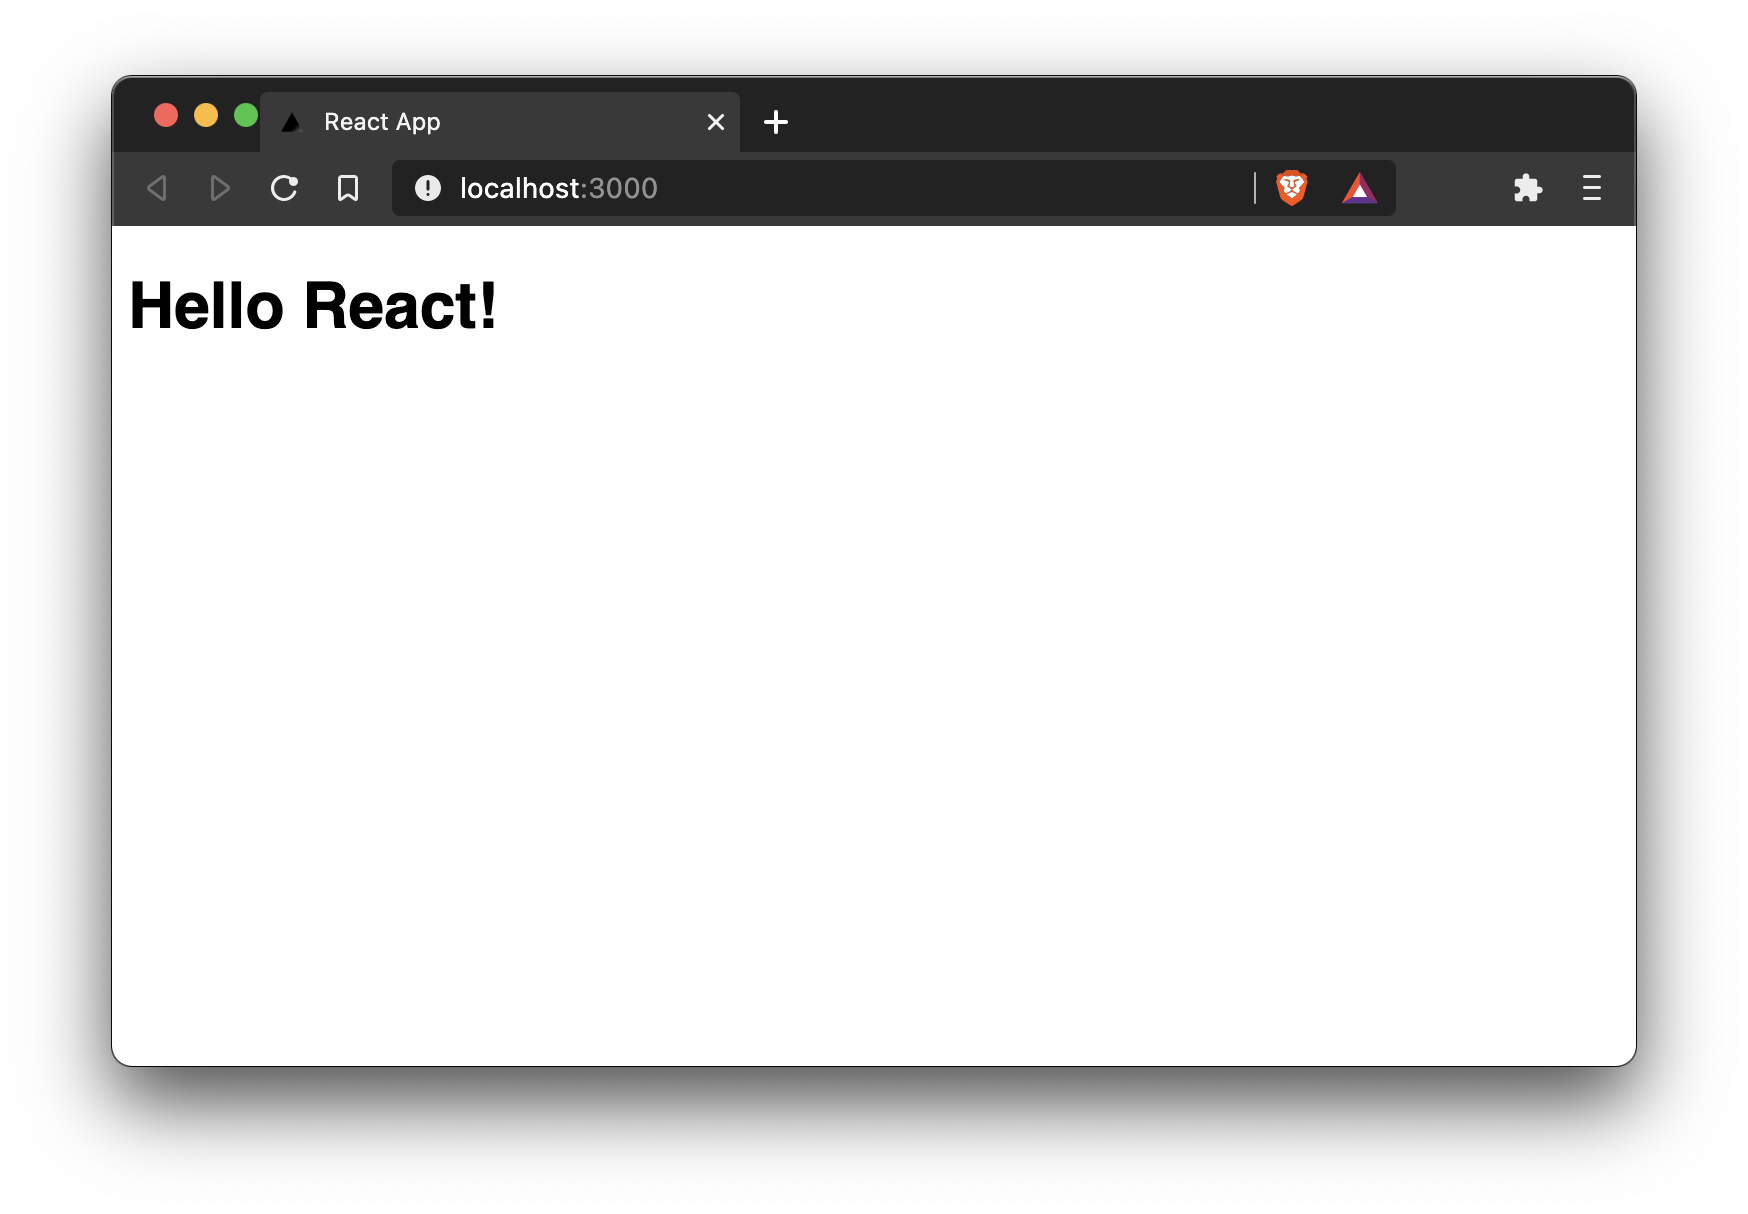
yarn start그러면 다음과 같이 화면이 나타나게 됩니다.

코드 분석
그럼, 코드와 화면을 하나 하나 매치하면서 분석해봅시다.
import React from "react";
import ReactDom from "react-dom";
이 두 줄은 React를 사용하려면 반드시 필요한 library를 가져오는 줄입니다. 두 번째 줄은 전체 React 프로젝트에서 한 번만 가져오면 되는 library이고, 첫번째 줄은 다음 시간에 배울 component를 만들 때마다 가져와야 하는 library입니다.
class App extends React.Component {
  render() {
    return (
      <div>
        <h1>Hello React!</h1>
      </div>
    );
  }
}
이 부분이 App이라는 이름의 component를 만드는 부분입니다. component에 대해서는 다음 시간에 자세히 다룰테니, 이번 시간에 주의 깊게 봐야 하는 부분은 3번째줄의 return문 안쪽입니다. return 구문 안쪽에 있는 구문은 우리가 알고 있는 JavaScript 구문과 조금 생긴 모양이 다릅니다. 저 구문을 JSX라고 부릅니다. JSX는 React에서만 사용되는 구문으로, 우리가 이미 알고 있는 HTML형태와 비슷합니다. HTML과 다른 점이 몇가지 있지만, 꼭 기억해야 할 것은 두 가지가 있습니다.
- class 대신 className
React는 JavaScript와 JSX의 문법이 섞여서 사용되기 때문에, JavaScript에 이미 예약어로 선언되어 있는 class를 JSX에서 사용할 수가 없습니다. 따라서 JSX안에서 HTML의 class를 사용하고 싶으면, class대신에 className을 사용해야 합니다. 우리의 예시에 사용한다고 하면 아래와 같은 식으로 사용하셔야 합니다.
import React from "react";
import ReactDom from "react-dom";

class App extends React.Component {
  render() {
    return (
      <div>
        <h1 className="title">Hello React!</h1>
      </div>
    );
  }
}

ReactDom.render(<App />, document.getElementById("root"));- {}를 통한 JavaScript 구문 사용
JSX안에서 JavaScript의 기능들을 사용할 수 있습니다. 다만 두 가지의 문법을 혼합하여 사용하면 컴퓨터가 알아들을 수 없기 때문에, 그 구분을 {} (중괄호 / brace)로 구분하여 사용합니다. 우리의 예시에서 Hello 다음에 이름을 출력하고 싶다면 아래와 같이 사용할 수 있습니다.
import React from "react";
import ReactDom from "react-dom";

class App extends React.Component {
  render() {
    const name = "Tarrazu";
    return (
      <div>
        <h1>Hello {name}!</h1>
      </div>
    );
  }
}

ReactDom.render(<App />, document.getElementById("root"));ReactDom.render(<App />, document.getElementById("root"));그리고 우리 파일의 마지막 부분입니다. 이 부분은 두번째 줄에서 import한 ReactDom에 우리가 작성한 App component를 render하는 부분입니다.
그런데 render함수의 두번째 인자가 우리가 흔히 알고 있는 JavaScript 문법이죠? 이 부분은 우리 프로젝트 폴더 아래에 public/index.html의 root라는 아이디를 가진 부분 밑에 우리가 만든 App component를 렌더링하는 명령입니다. 한번 index.html 파일을 열어봅시다.
<!DOCTYPE html>
<html lang="en">
  <head>
    <meta charset="utf-8" />
    <link rel="icon" href="%PUBLIC_URL%/favicon.ico" />
    <meta name="viewport" content="width=device-width, initial-scale=1" />
    <meta name="theme-color" content="#000000" />
    <meta
      name="description"
      content="Web site created using create-react-app"
    />
    <link rel="apple-touch-icon" href="%PUBLIC_URL%/logo192.png" />
    <!--
      manifest.json provides metadata used when your web app is installed on a
      user's mobile device or desktop. See https://developers.google.com/web/fundamentals/web-app-manifest/
    -->
    <link rel="manifest" href="%PUBLIC_URL%/manifest.json" />
    <!--
      Notice the use of %PUBLIC_URL% in the tags above.
      It will be replaced with the URL of the `public` folder during the build.
      Only files inside the `public` folder can be referenced from the HTML.

      Unlike "/favicon.ico" or "favicon.ico", "%PUBLIC_URL%/favicon.ico" will
      work correctly both with client-side routing and a non-root public URL.
      Learn how to configure a non-root public URL by running `npm run build`.
    -->
    <title>React App</title>
  </head>
  <body>
    <noscript>You need to enable JavaScript to run this app.</noscript>
    <div id="root"></div>
    <!--
      This HTML file is a template.
      If you open it directly in the browser, you will see an empty page.

      You can add webfonts, meta tags, or analytics to this file.
      The build step will place the bundled scripts into the <body> tag.

      To begin the development, run `npm start` or `yarn start`.
      To create a production bundle, use `npm run build` or `yarn build`.
    -->
  </body>
</html>
(React 버전에 따라 파일이 조금 다를 수 있습니다.)
이 파일이 우리가 만든 App component를 감싸는 파일입니다. 웹페이지 아이콘이나 그 외 css framework를 import 하실 경우 이 파일을 수정해주시면 됩니다. 다만, root를 id로 가지고 있는 div태그는 수정하시면 안됩니다!
여기까지 해서 React의 고유 문법인 JSX와 우리가 만든 component가 어떻게 render되는지 알아보았습니다. 다음 시간에는 component에 대해 알아보겠습니다. 수고하셨습니다.
