- 패키지 설치
npm install swagger-ui-express
npm install swagger-autogen- app.js 수정
const swaggerUi = require("swagger-ui-express");
const swaggerFile = require("./swagger-output");


app.use("/swagger", swaggerUi.serve, swaggerUi.setup(swaggerFile));- swagger.js 파일을 root 디렉토리에 추가
endpointsFiles에 라우터의 js들을 모두 추가해준다.
const swaggerAutogen = require("swagger-autogen")();

const doc = {
  info: {
    title: "My API",
    description: "Description",
  },
  host: "localhost:3000",
  schemes: ["http"],
};

const outputFile = "./swagger-output.json";
const endpointsFiles = [
  "./app.js"
];

swaggerAutogen(outputFile, endpointsFiles, doc);
- 명령어 실행
node ./swagger.js-
서버 시작 후 접속 (localhost:3000/swagger)
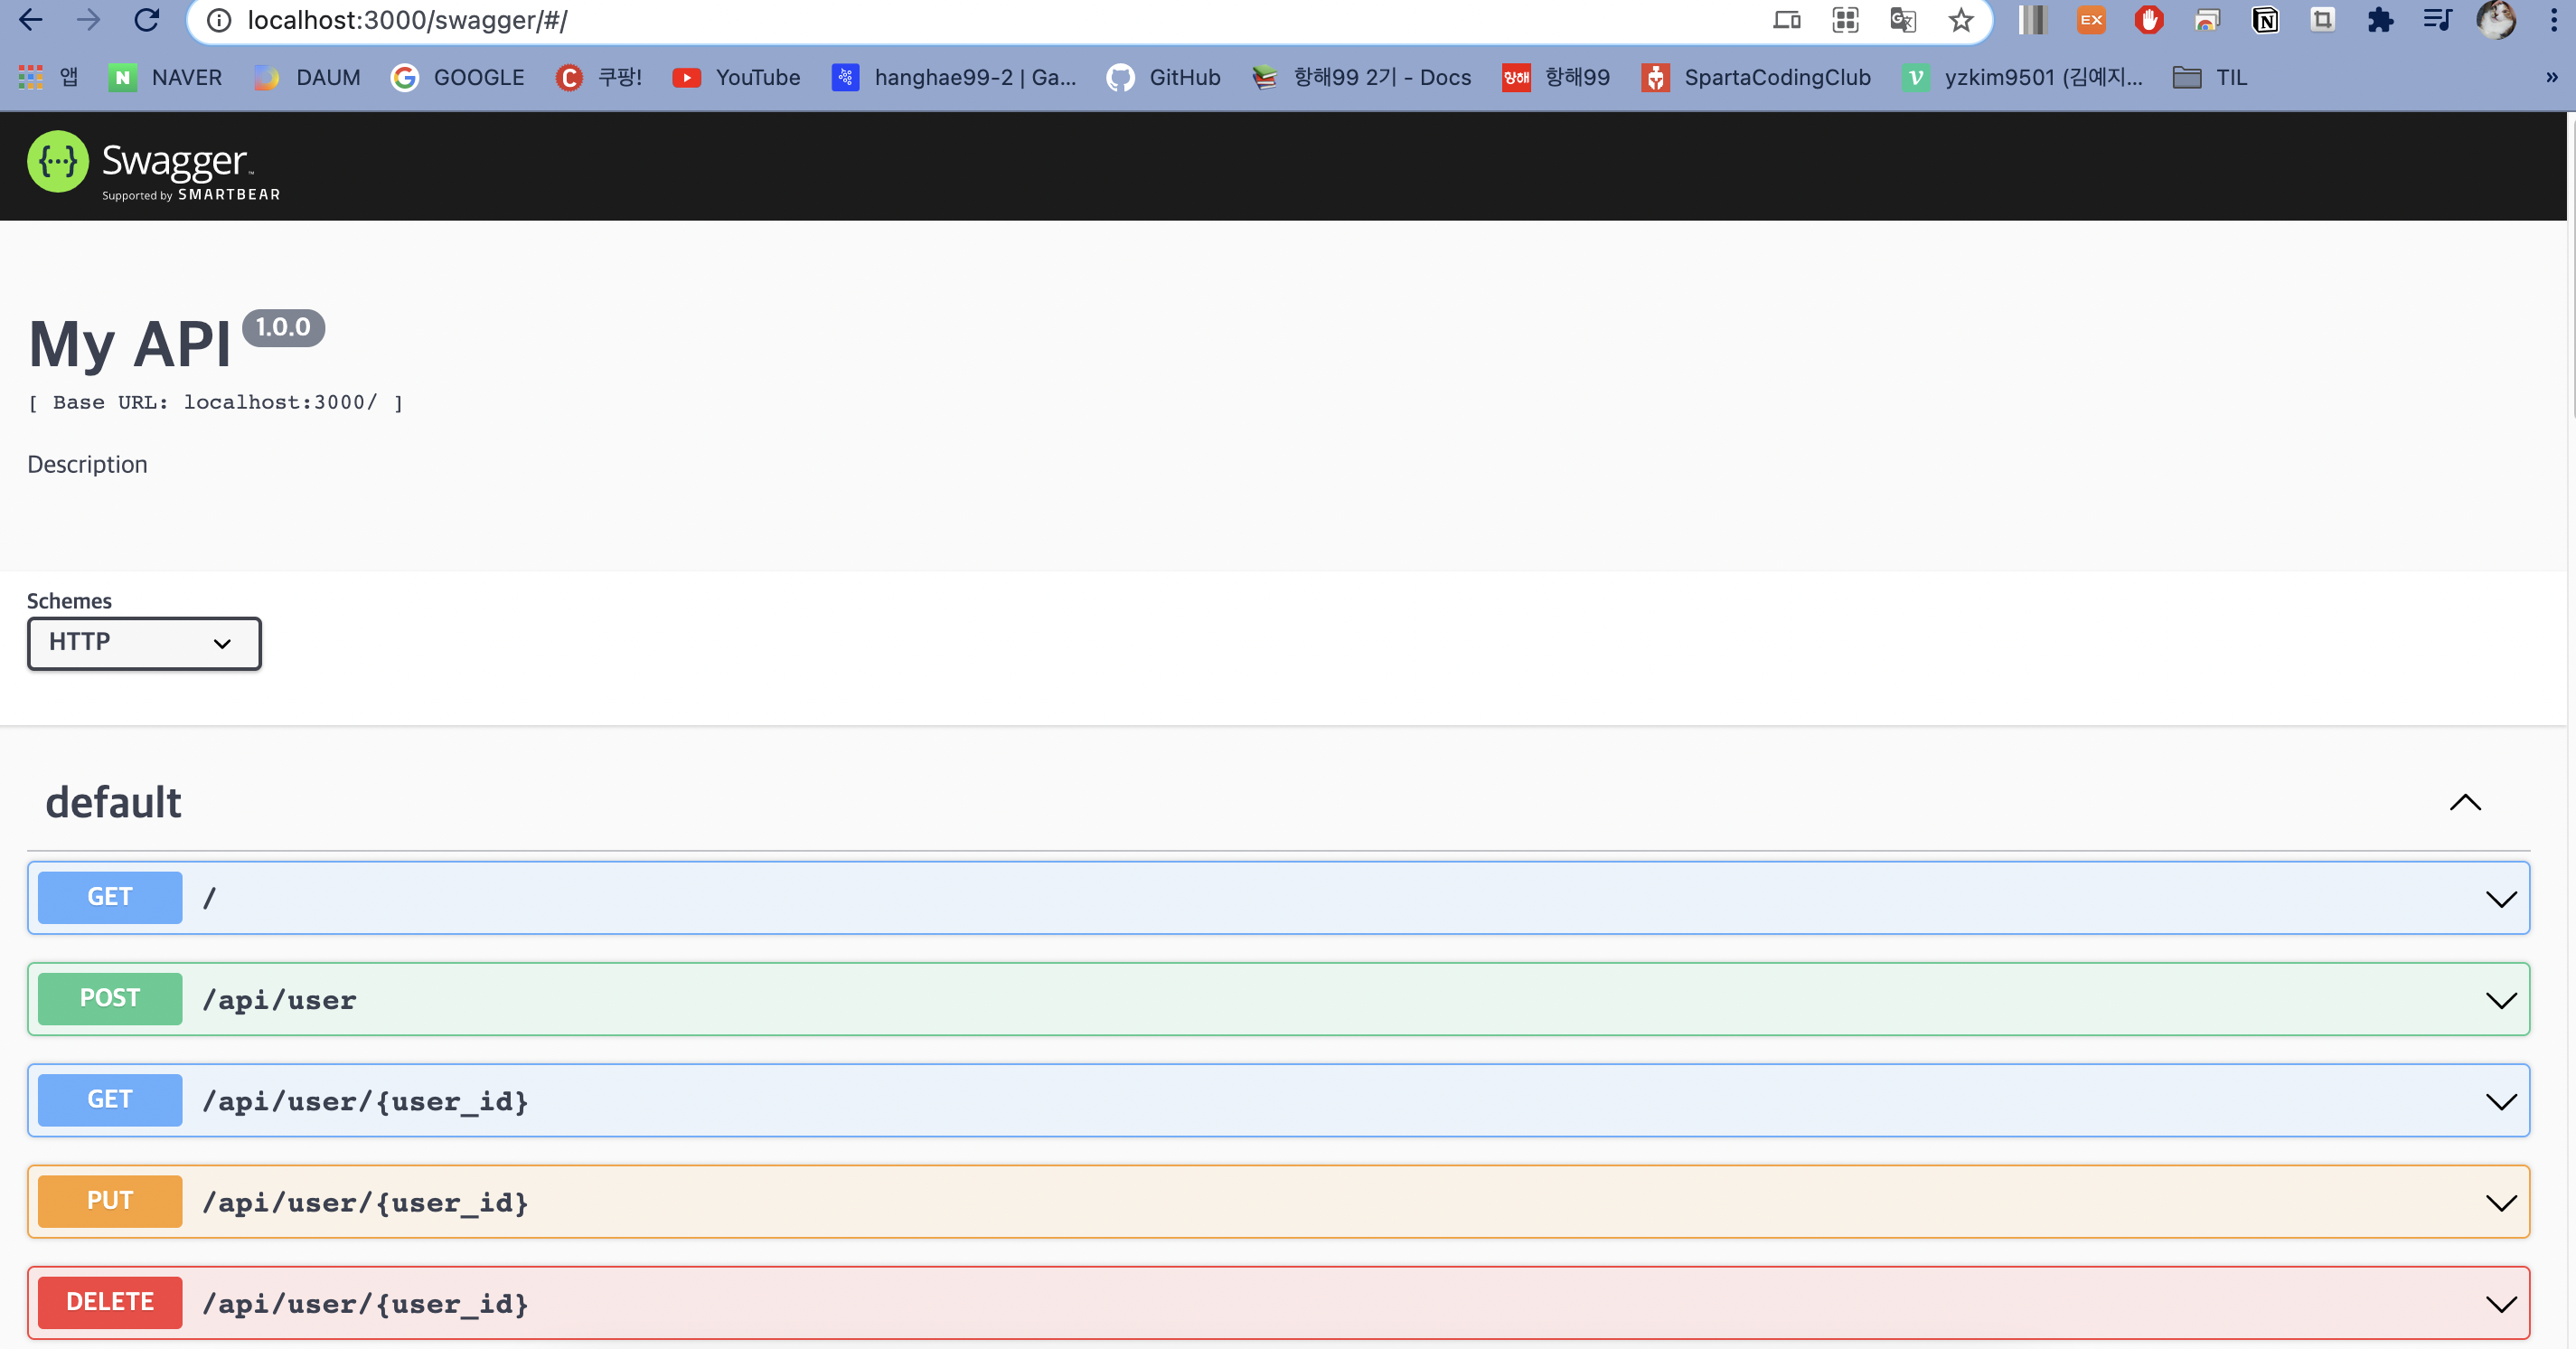
-
내용에 맞게 상세 정보 수정하기
- autogen으로 들어가지 않는 부분들 (parameter type, tag 등)을 잘 수정해준다.

새싹