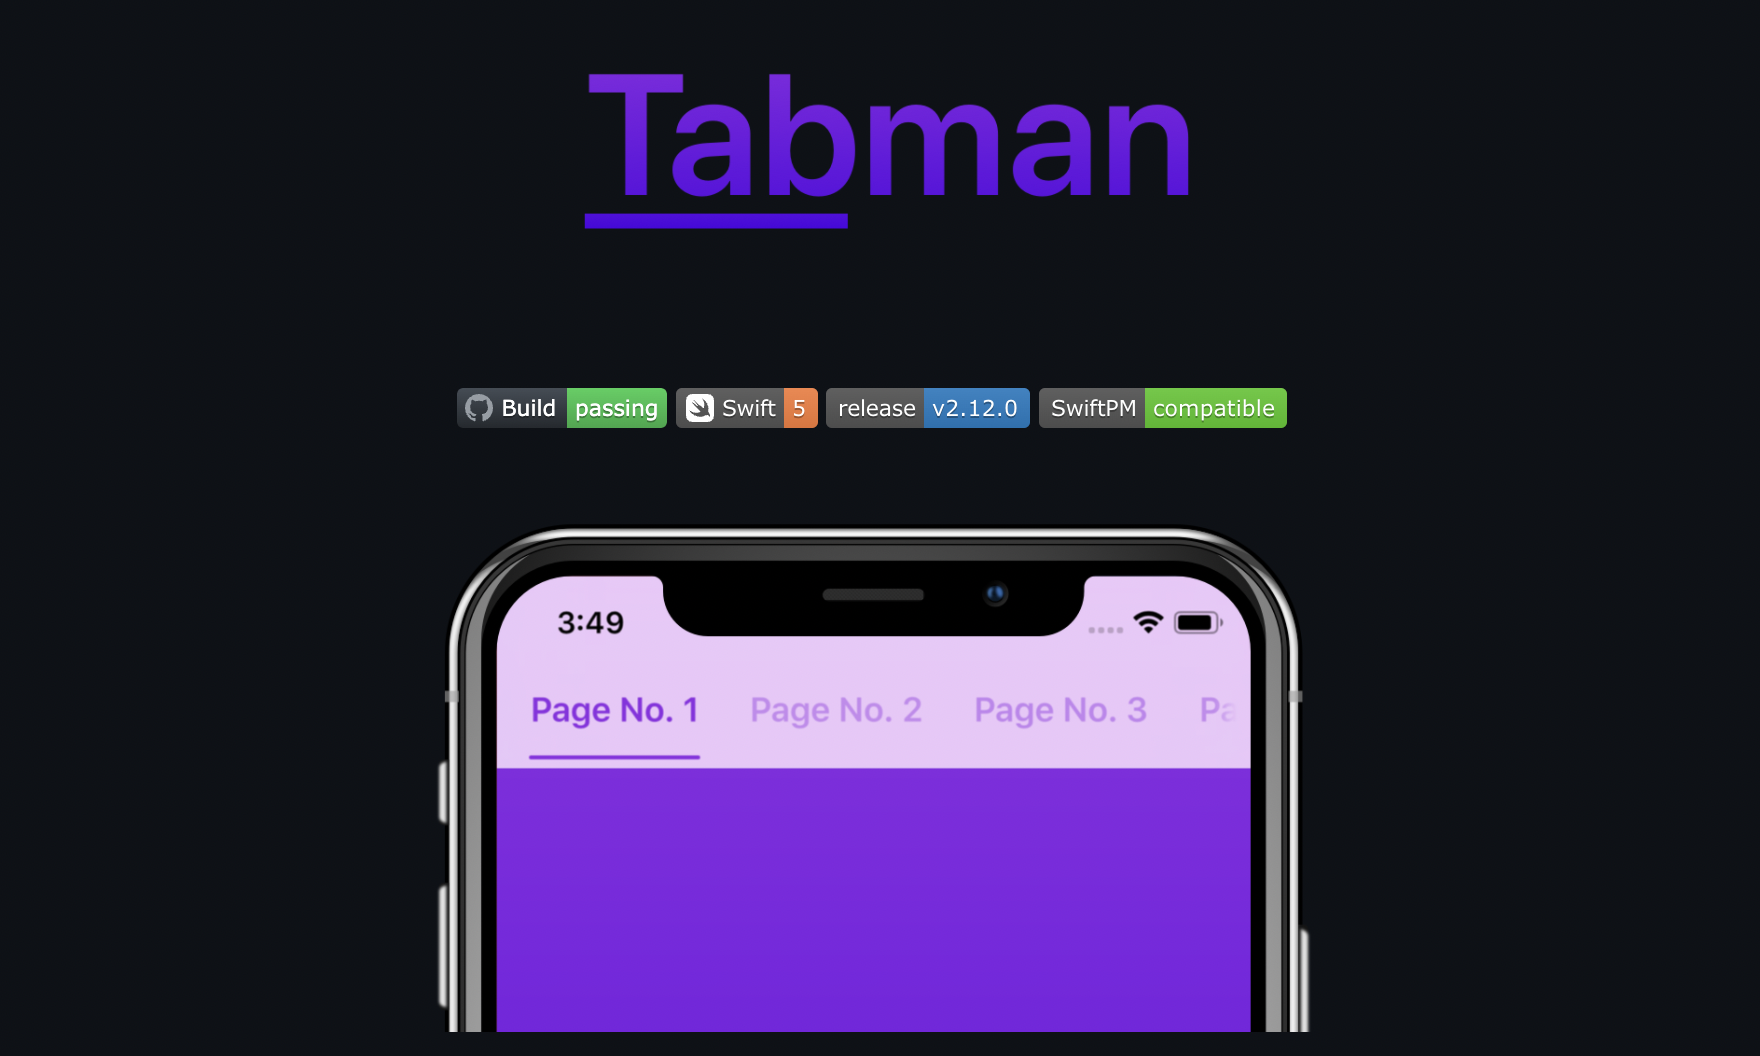
TabMan library
-
https://github.com/uias/Tabman 에서 github링크를 통해 패키지 추가 / cocoapods로 다운도 가능
-
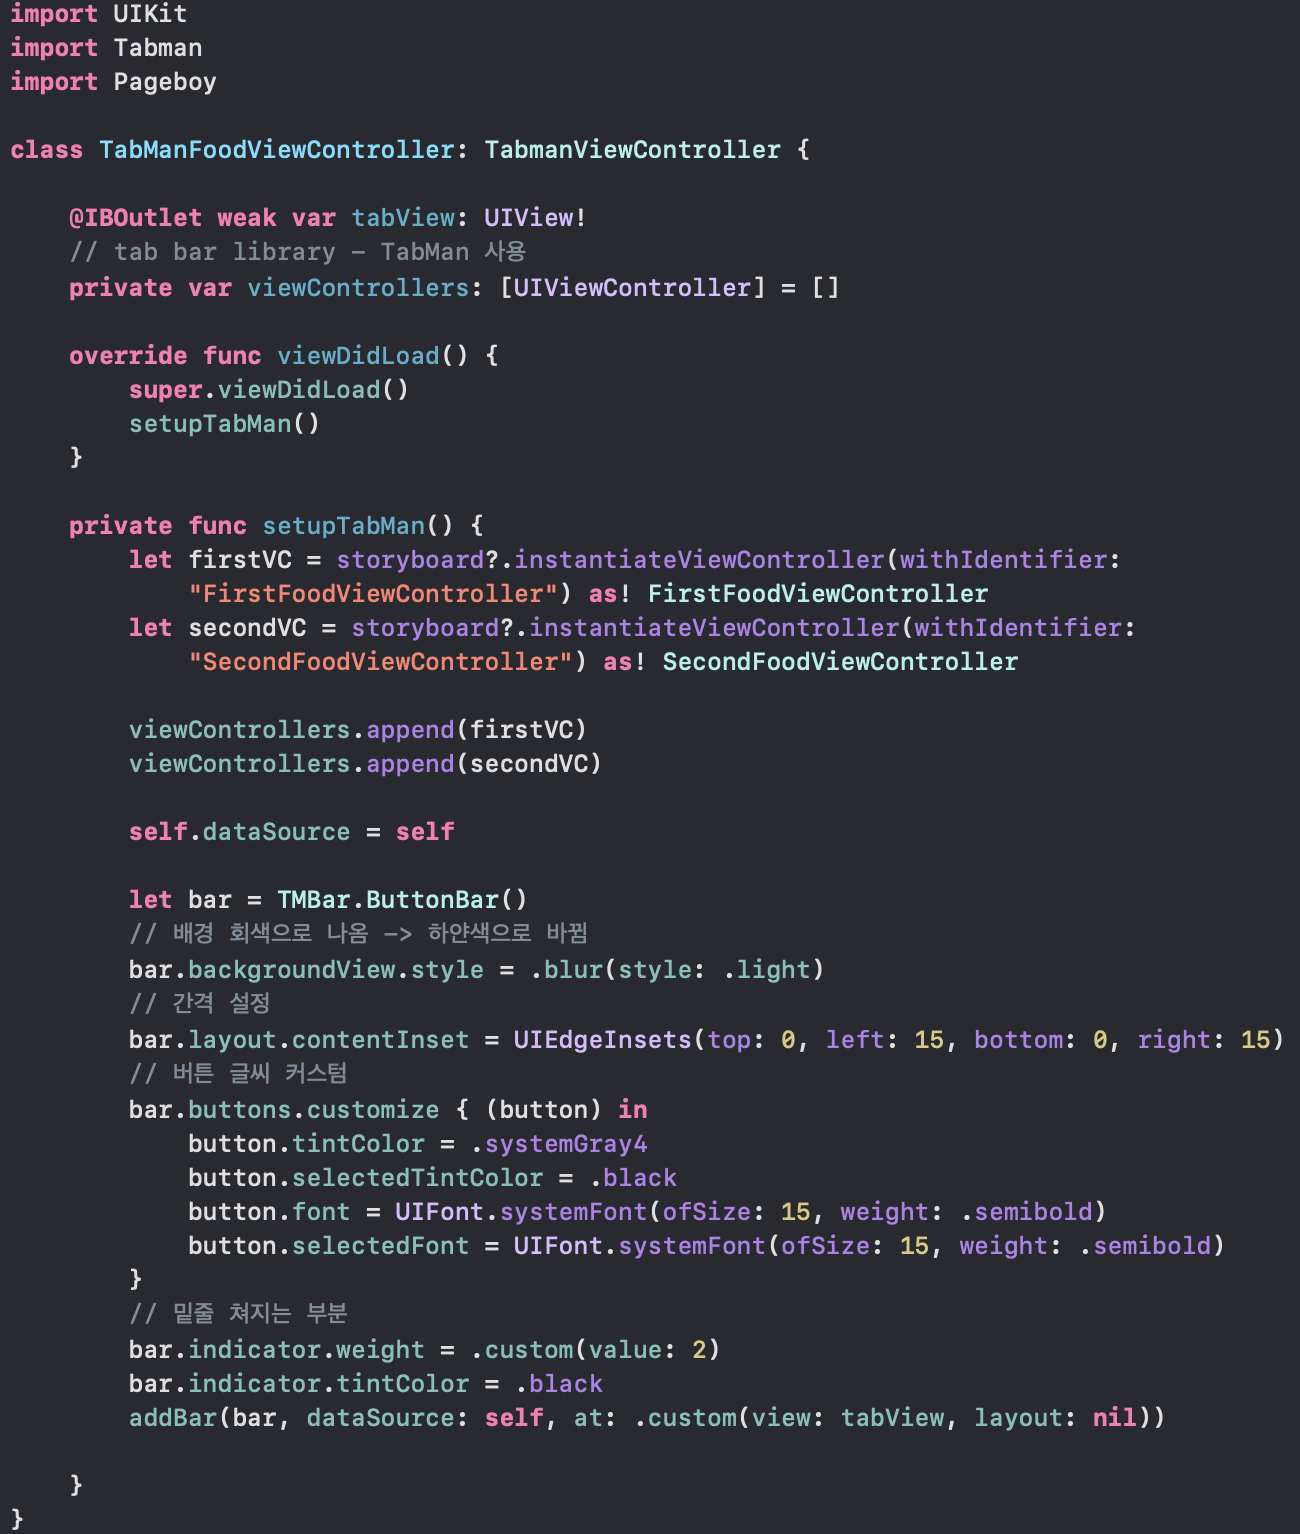
tab 상단바 uiview로 만들기
@IBOutlet weak var tabView: UIView!- 탭바로 넘길 viewcontroller들 선언
private var viewControllers: [UIViewController] = []

let firstVC = storyboard?.instantiateViewController(withIdentifier: "FirstFoodViewController") as! FirstFoodViewController
let secondVC = storyboard?.instantiateViewController(withIdentifier: "SecondFoodViewController") as! SecondFoodViewController

viewControllers.append(firstVC)
viewControllers.append(secondVC)- tab 상단바 생성 및 커스텀
self.dataSource = self
let bar = TMBar.ButtonBar()
// 배경 회색으로 나옴 -> 하얀색으로 바뀜
bar.backgroundView.style = .blur(style: .light)
// 간격 설정
bar.layout.contentInset = UIEdgeInsets(top: 0, left: 15, bottom: 0, right: 15)
// 버튼 글씨 커스텀
bar.buttons.customize { (button) in
	button.tintColor = .systemGray4
	button.selectedTintColor = .black
	button.font = UIFont.systemFont(ofSize: 15, weight: .semibold)
	button.selectedFont = UIFont.systemFont(ofSize: 15, weight: .semibold)
}
// 밑줄 쳐지는 부분
bar.indicator.weight = .custom(value: 2)
bar.indicator.tintColor = .black
addBar(bar, dataSource: self, at: .custom(view: tabView, layout: nil))- extension
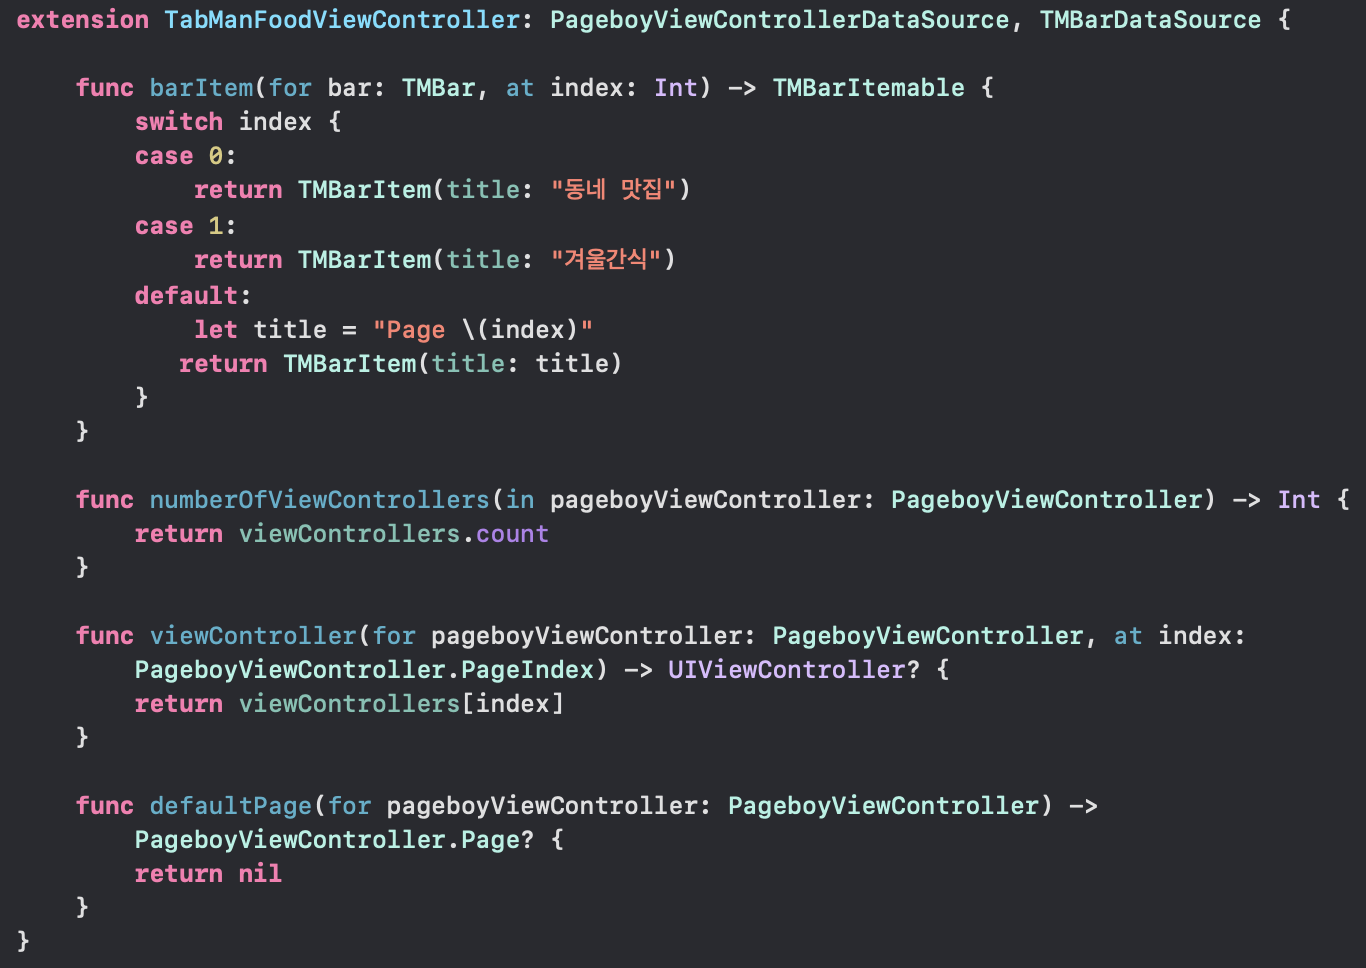
extension TabManFoodViewController: PageboyViewControllerDataSource, TMBarDataSource {

    func barItem(for bar: TMBar, at index: Int) -> TMBarItemable {
        switch index {
        case 0:
            return TMBarItem(title: "동네맛집")
        case 1:
            return TMBarItem(title: "겨울간식")
        default:
            let title = "Page \(index)"
           return TMBarItem(title: title)
        }
    }

    func numberOfViewControllers(in pageboyViewController: PageboyViewController) -> Int {
        return viewControllers.count
    }

    func viewController(for pageboyViewController: PageboyViewController, at index: PageboyViewController.PageIndex) -> UIViewController? {
        return viewControllers[index]
    }

    func defaultPage(for pageboyViewController: PageboyViewController) -> PageboyViewController.Page? {
        return nil
    }
}
전체 코드


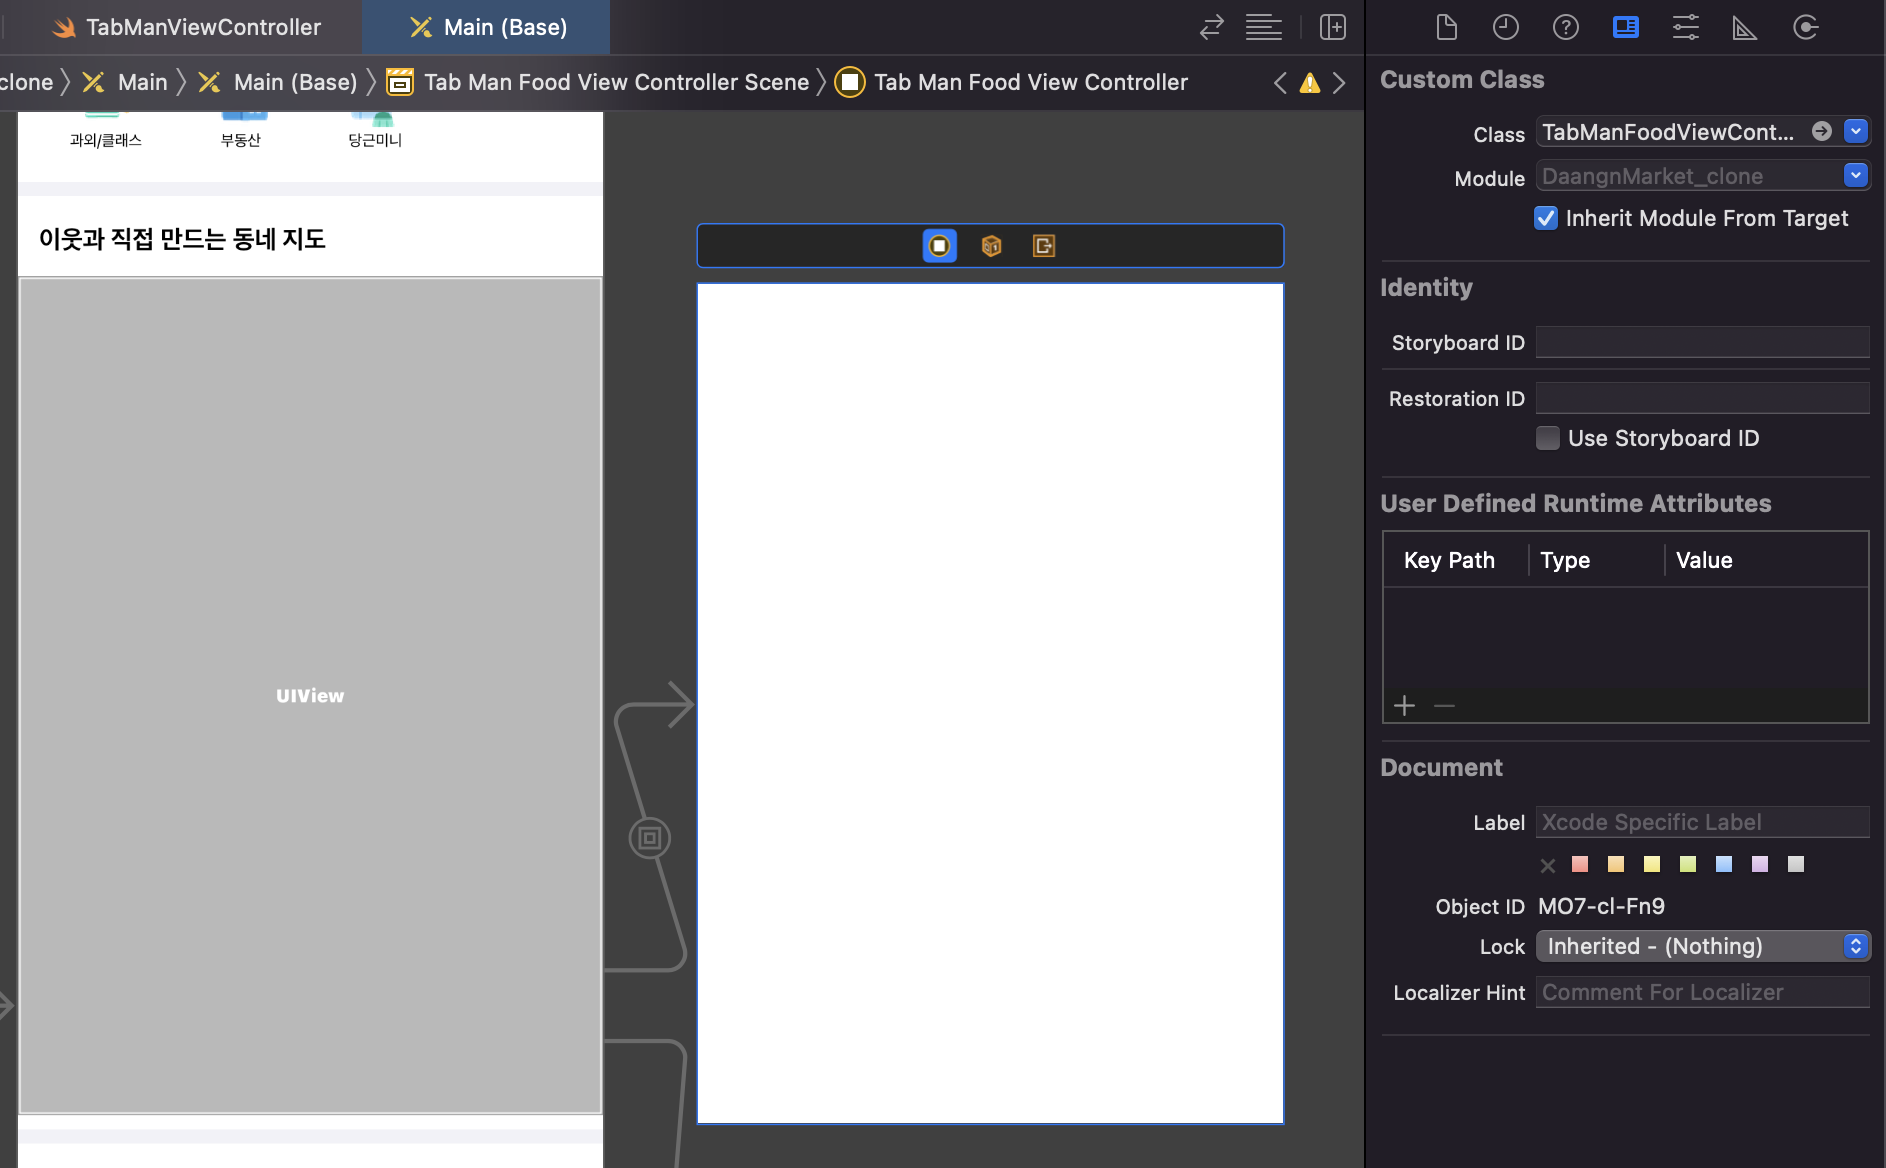
Q. 여기서 이 tabbar를 uiview안에 넣어야 한다면 ?
A. 원하는 크기의 container view 만든 후,생성된 오른쪽 viewController를 위에서 만든 TabManController로 설정
결과 화면
 성공적으로 실행 !
참조 사이트
https://velog.io/@iammiori/iOS-opensource-tabman
https://github.com/uias/Tabman
