1. CSS : 기초
1) 스타일 올바르게 담기
  <head>
	<title>Documents</title>
    <link rel="stylesheet" href="style.css">
  </head>
<body>-
head태그 내 link태그 생성하여 html문서와 연결시켜줘야함.
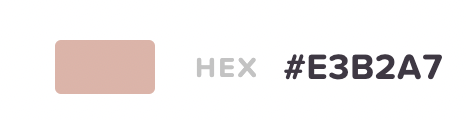
2) RGB
-
https://htmlcolorcodes.com/
rgb 조합찾기
3) 헥스컬러: 16진법
4) 일반텍스트 속성
1) text-align : 문자의 위치 결정.
ex) left, center , right
2) font-weight : 문자의 굵기 결정 (400 평균, 700 굵은편).
ex) normal, bold, lighter, bolder
3)text-decoration : 텍스트를 꾸미는 선을 조정.
ex) (color) underline (style) , overline, line-through
style ex) wavy ,dobule, dotted, dashed
- 링크설정하고 unline 없애고싶으면 'none'으로 설정
4) line-height : 텍스트들간의 줄 간격 지정. (텍스트크기 자체는 그대로).
5) letter-spacing : 텍스트들간의 간격.
5) 픽셀로 글꼴 크기 지정하기.
font-size : 가장 많이 사용되는 단위는 px
px - by far the most commonly used absolute unit.
6) 글꼴 집합.
font - family : 요소의 폰트를 변경할때 사용.
font - stack : 패밀리폰트사용(패밀리폰트 내 무작위 하나) - 콤마로 구분해 해당 os에 지원하지 않은 폰트일경우 다음 폰트 사용.
참고사이트: https://www.cssfontstack.com/
Hipster Logo Excercise.
h1 {
    text-transform: uppercase;
    font-family:monospace;
    text-align:center;
    font-weight:100;
    font-size:40px;
    letter-spacing:20px;
    text-decoration:plum underline wavy;
}
2 . CSS 선택자의 세계
1. 전체 요소 선택자
1) universal selector (select everything !)
* {
    color: black;
}
2) Element Selector
button {
  font-size: 30px;
}
3) Selector List
h1, h2 {
  color: blue;
}
2) ID 선택자
	in html
     1) <button id="signup">Sign Up</button>
	in css
     2) #signup {
  background-color: #606c38;
  color: #bde0fe;
}

- 하나의 ID는 하나의 페이지에서만 존재 (중복x , 고유한 식별자).
- 너무 많이 사용 not recommend
3) 클래스 선택자
in html
1) <span class="tag">funny</span></h2>
2) <span class="tag">dogs</span>
3) <span class="tag">gunners</span>


in css
.tag {
  background-color: #00b4d8;
  font-size: 15px;
  color: white;
}

- 클래스는 같은 태그끼리만 사용할 수 있는 것 아님 태그명이 달라도 사용 가능
label 즉, 그저 스티커 같은것.
Basic Selector Practice !
<html code>

<h1>Todos</h1>
<ul>
  <li class="done">Walk Chickens</li>
  <li>Clean Out Coop</li>
  <li class="done">Collect Chicken Eggs</li>
  <li>Incubate Chicken Eggs</li>
  <li>Hatch New Chickens!</li>
</ul>
<button id="clear">Clear List</button>
<button>Add Todo</button>

<css code>
li {
    color:blue;
}/* Make all LI's blue */

.done {
    color:grey;
}

#clear {
    background-color:red;
    color:white;
}
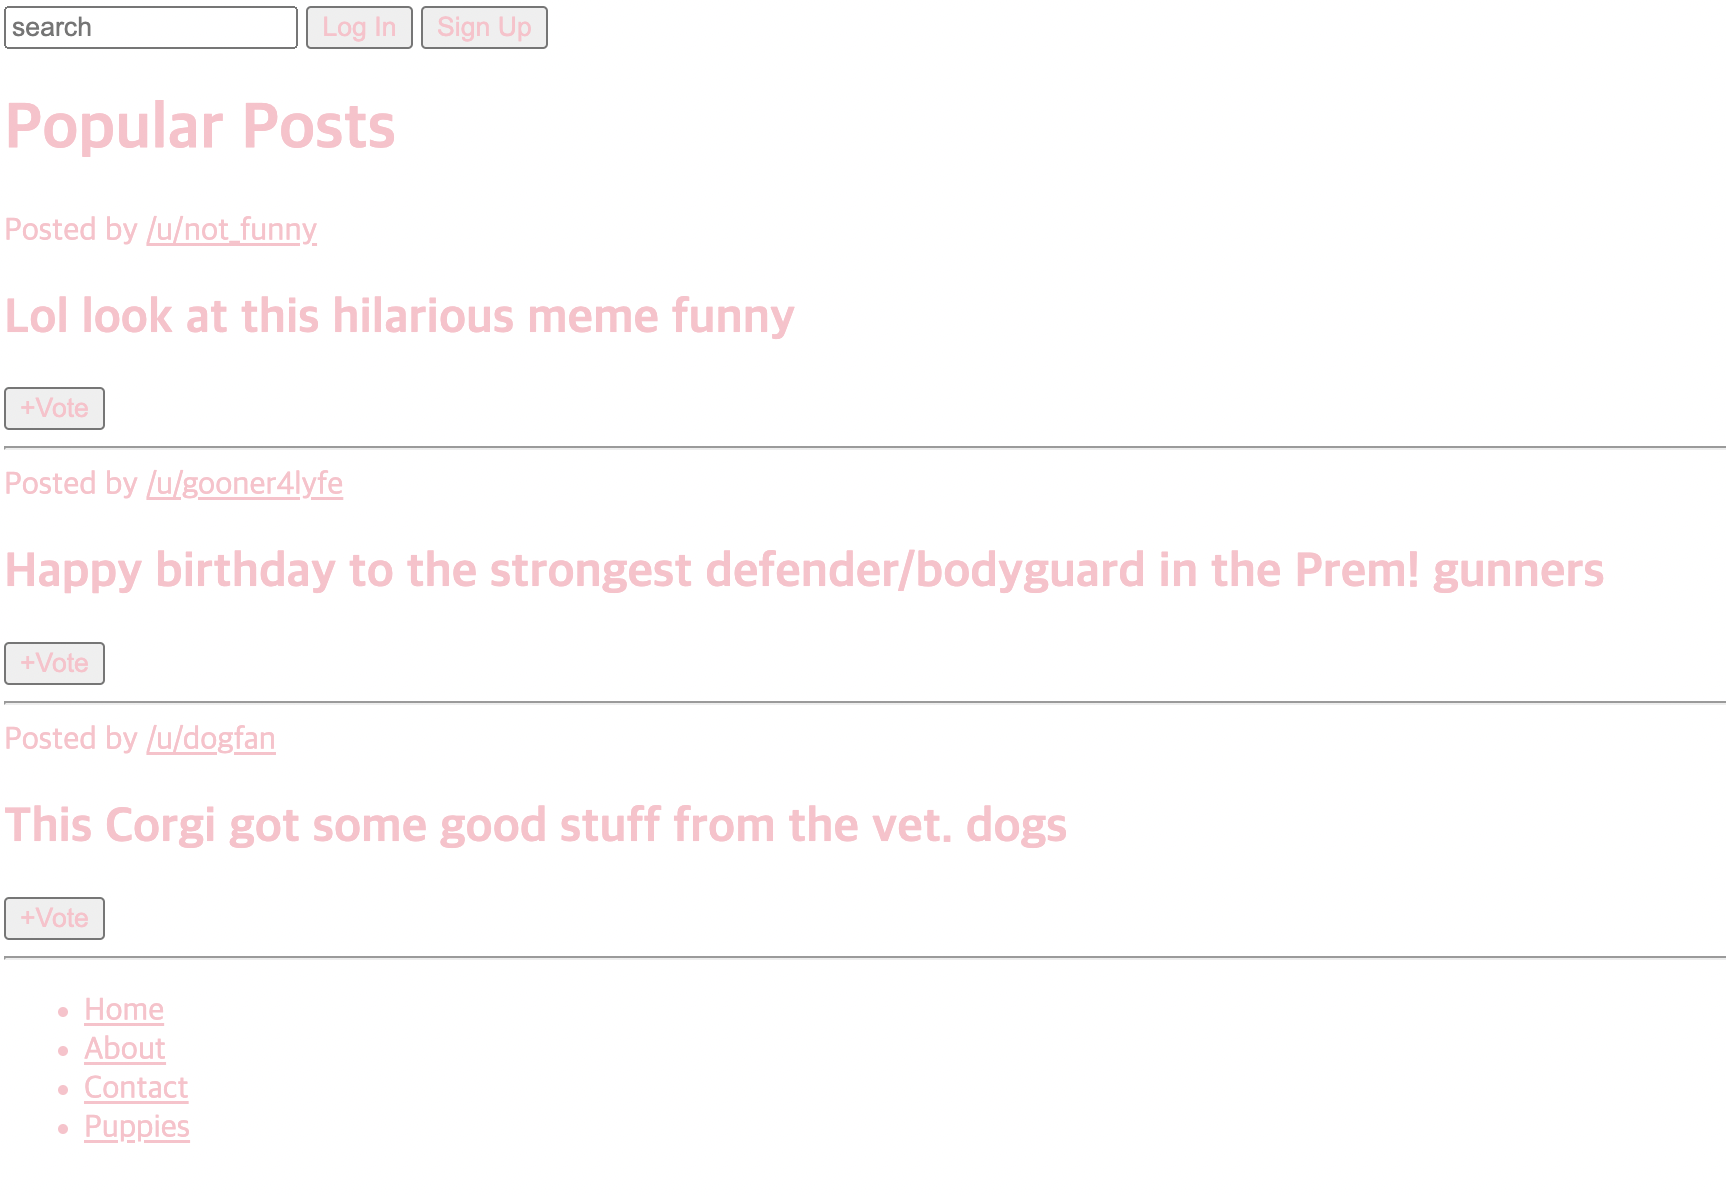
4) 자손 선택자
- Descendant Selector
ex) li a {
	color : teal;
}

--> Select all <a>'s that are nested inside an <li>- space 로 구분 (not comma)
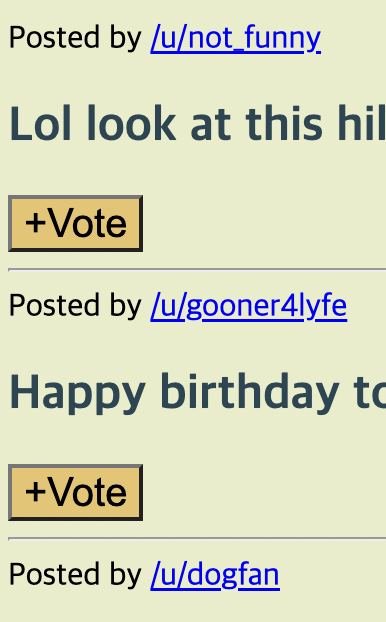
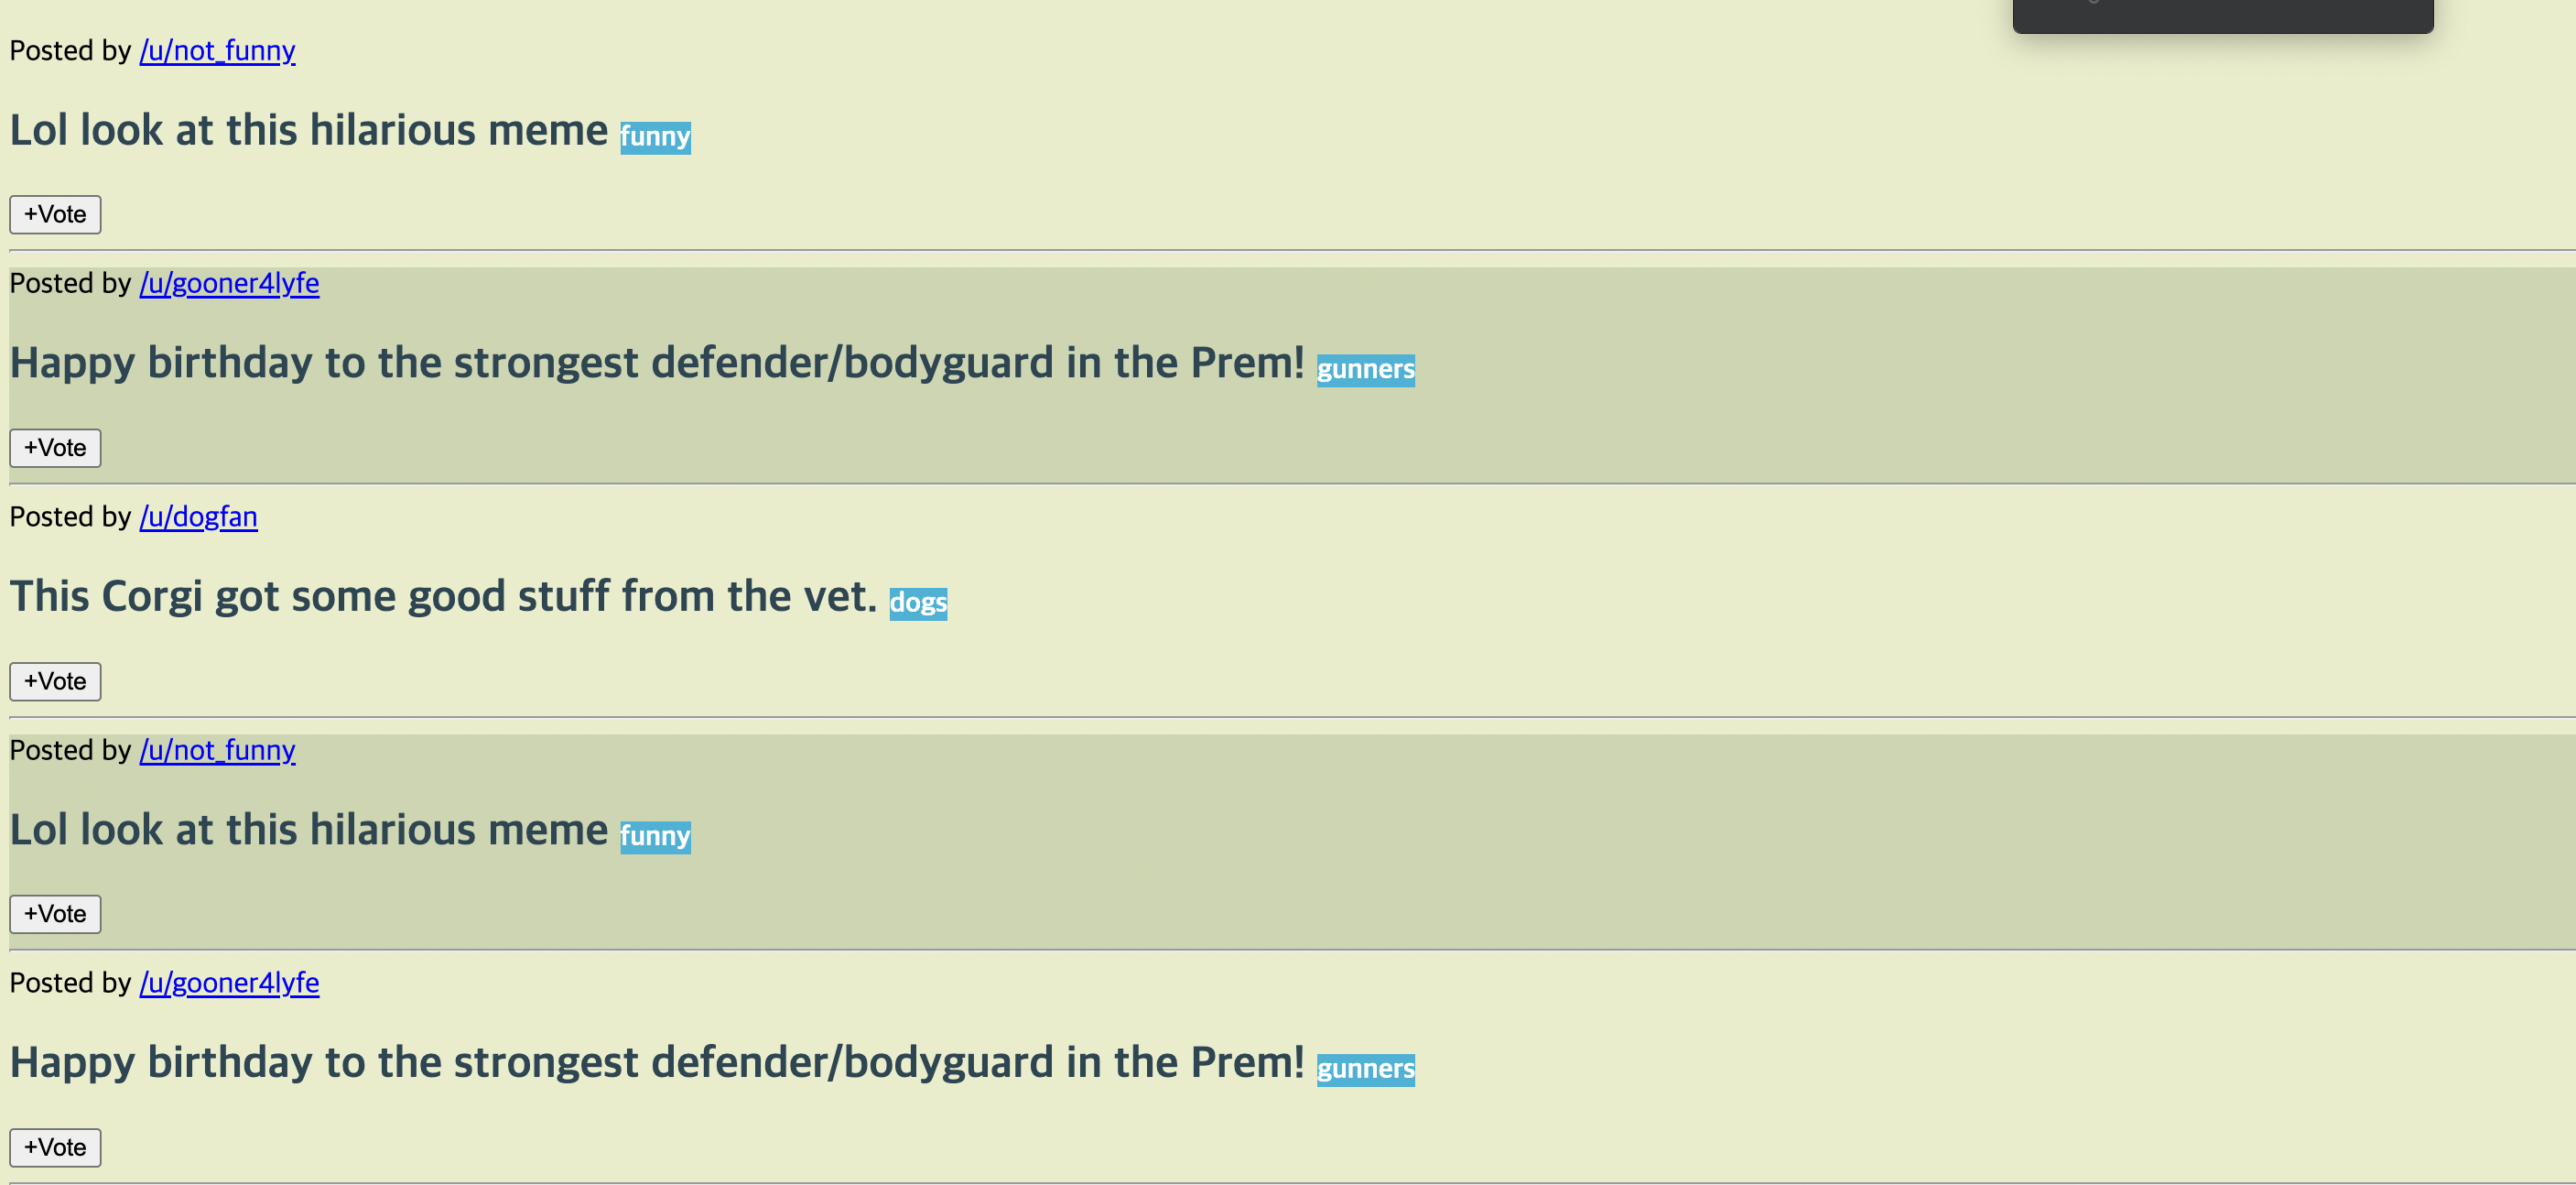
1)
<html code>
<section class="post">
<span>Posted by <a href="#213adas">/u/not_funny</a></span>
<h2>Lol look at this hilarious meme <span class="tag">funny</span></h2>
<button>+Vote</button>
<hr />
</section>
<section class="post">
<span>Posted by <a href="#345adas">/u/gooner4lyfe</a></span>
<h2>
Happy birthday to the strongest defender/bodyguard in the Prem!
<span class="tag" n>gunners</span>
</h2>
<button>+Vote</button>
<hr />
</section>
<section class="post">
<span>Posted by <a href="#981adas">/u/dogfan</a></span>
<h2>
This Corgi got some good stuff from the vet.
<span class="tag" n>dogs</span>
</h2>
<button>+Vote</button>
<hr />
</section>
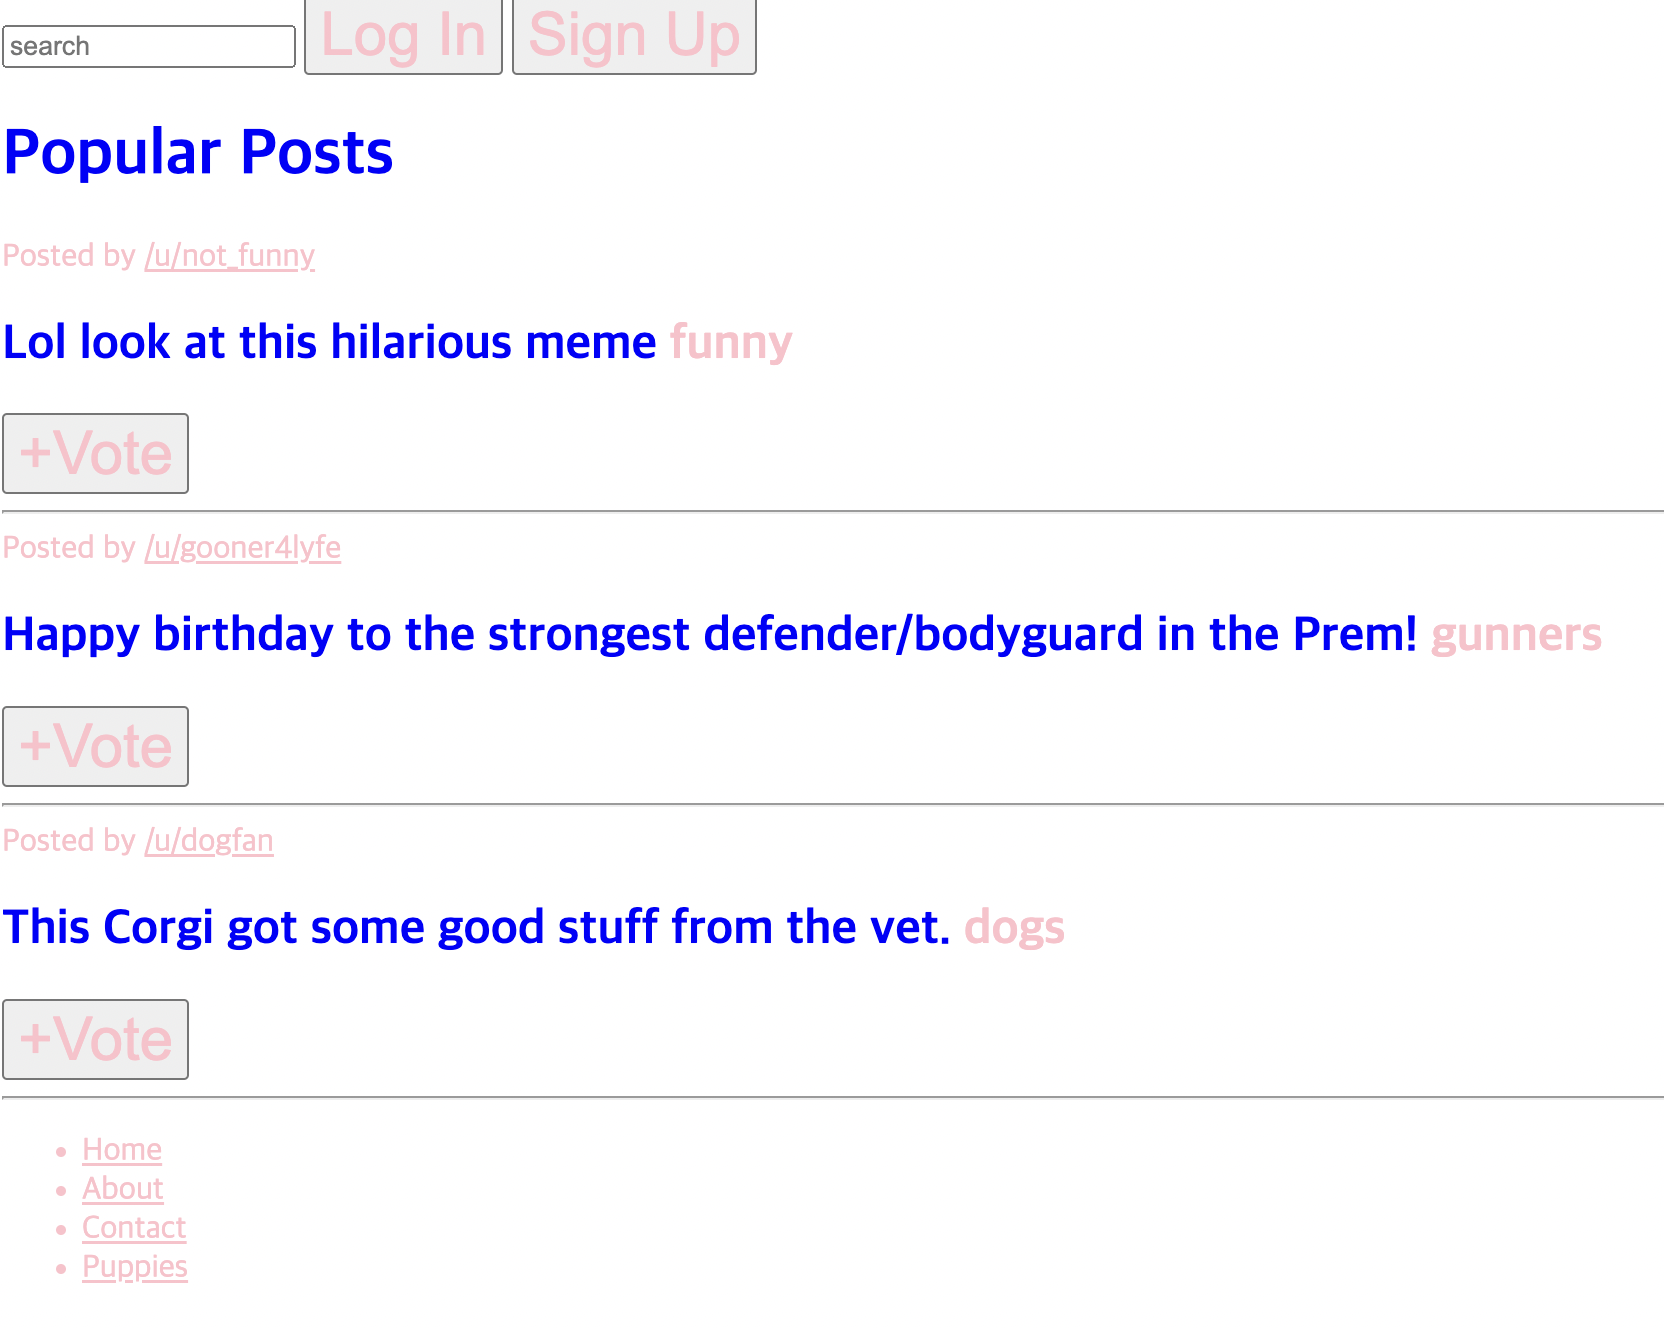
<css code>
.post a { -> 클래스와 자손태그
color: blue;
} 
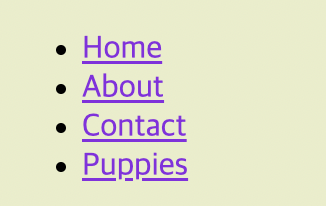
<html code>

 <footer>
      <nav>
        <ul>
          <li>
            <a href="#home">Home</a>
          </li>
          <li>
            <a href="#about">About</a>
          </li>
          <li>
            <a href="#contact">Contact</a>
          </li>
          <li>
            <a href="#puppies">Puppies</a>
          </li>
        </ul>
      </nav>
    </footer>

<css code>
footer a {   -> 부모태그 안의 자손태그
  color: blueviolet;
}
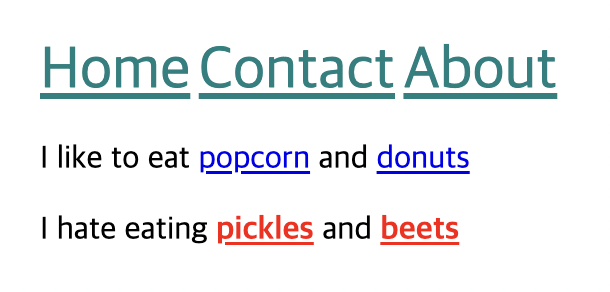
Descendent Combinator Practice !
<!--DON'T CHANGE THIS FILE (PLEASE!)-->
<header>
  <a href="/home">Home</a>
  <a href="/contact">Contact</a>
  <a href="/about">About</a>
</header>

<p>
  I like to eat <a href="/popcorn">popcorn</a> and <a href="/donuts">donuts</a>
</p>

<p id="dislikes">
  I hate eating <a href="/pickles">pickles</a> and <a href="/beets">beets</a>
</p>
header a {
font-size : 30px;
color: teal;
}
#dislikes a {
color:red;
font-weight:bold;
}
5) 인접 선택자와 직계 자손 선택자
1) Adjacent Selector
- Select only the paragraphs that are immediately preceded by an h1 tag.
ex)
<html code>

<input type="text" placeholder="search" id="search" />
<button>Log In</button>


<css code>

input + button {
  background-color: pink;
}- 전체 코드 내에서 input 태그 바로 다음에 오는 같은 단계에있 는 button 태그 선택. (부모자식 관계 x , 형제 o ).

2) Direct child
- Select only the li tags' that are direct children of a div tag element.
<html code>

 <footer>
      <nav>
        <ul>
          <li>
            <a href="#home">Home</a>
          </li>
          <li>
            <a href="#about">About</a>
          </li>
          <li>
            <a href="#contact">Contact</a>
          </li>
          <li>
            <a href="#puppies">Puppies</a>
          </li>
        </ul>
      </nav>
      <a href="#license">Content is avilable under these license.</a>
    </footer>

<css code>
footer > a {
  color: lightcoral;
}- 중간에 나오는 a 태그들은 footer의 직계자손 태그가 아니라 nav ,ul, li 태그 등으로 감싸져 있어 적용x , 오로지 '직계' 자손의 태그에게만 적용되는 '>'

6) 속성 선택자
- Attribute Selector
-> select all input elements where the type attribute is set to "text" or somthing else.
input[type="text"] {
  color: firebrick;
}
7) 유사 클래스
- Pseudo Classes
-> keyword added to a selector that specifies a special state of the selected element(s) - Ex) active , checked , first, first-child, hover, not(), nth-child(), nth-of-type().
1) hover
button:hover {
  color: sienna;
  background-color: cyan;
}
or
.post button:hover {
  color: sienna;
  background-color: cyan;
}
-> 특정 클래스 내에서 선택도 가능
2) active
- 클릭했을 때 반응.
.post button:active {
  background-color: forestgreen;
}
3) checked
- 체크된 라디오박스나 체크박스 선택.
iput[type="text"]:checked {
	box-shadow: 0 0 0 3px orange;
}
4) nth-of-type
- 형제 그룹 내 위치에 따라 선택가능.
.post:nth-of-type(3) {
  background-color: #ccd5ae;
}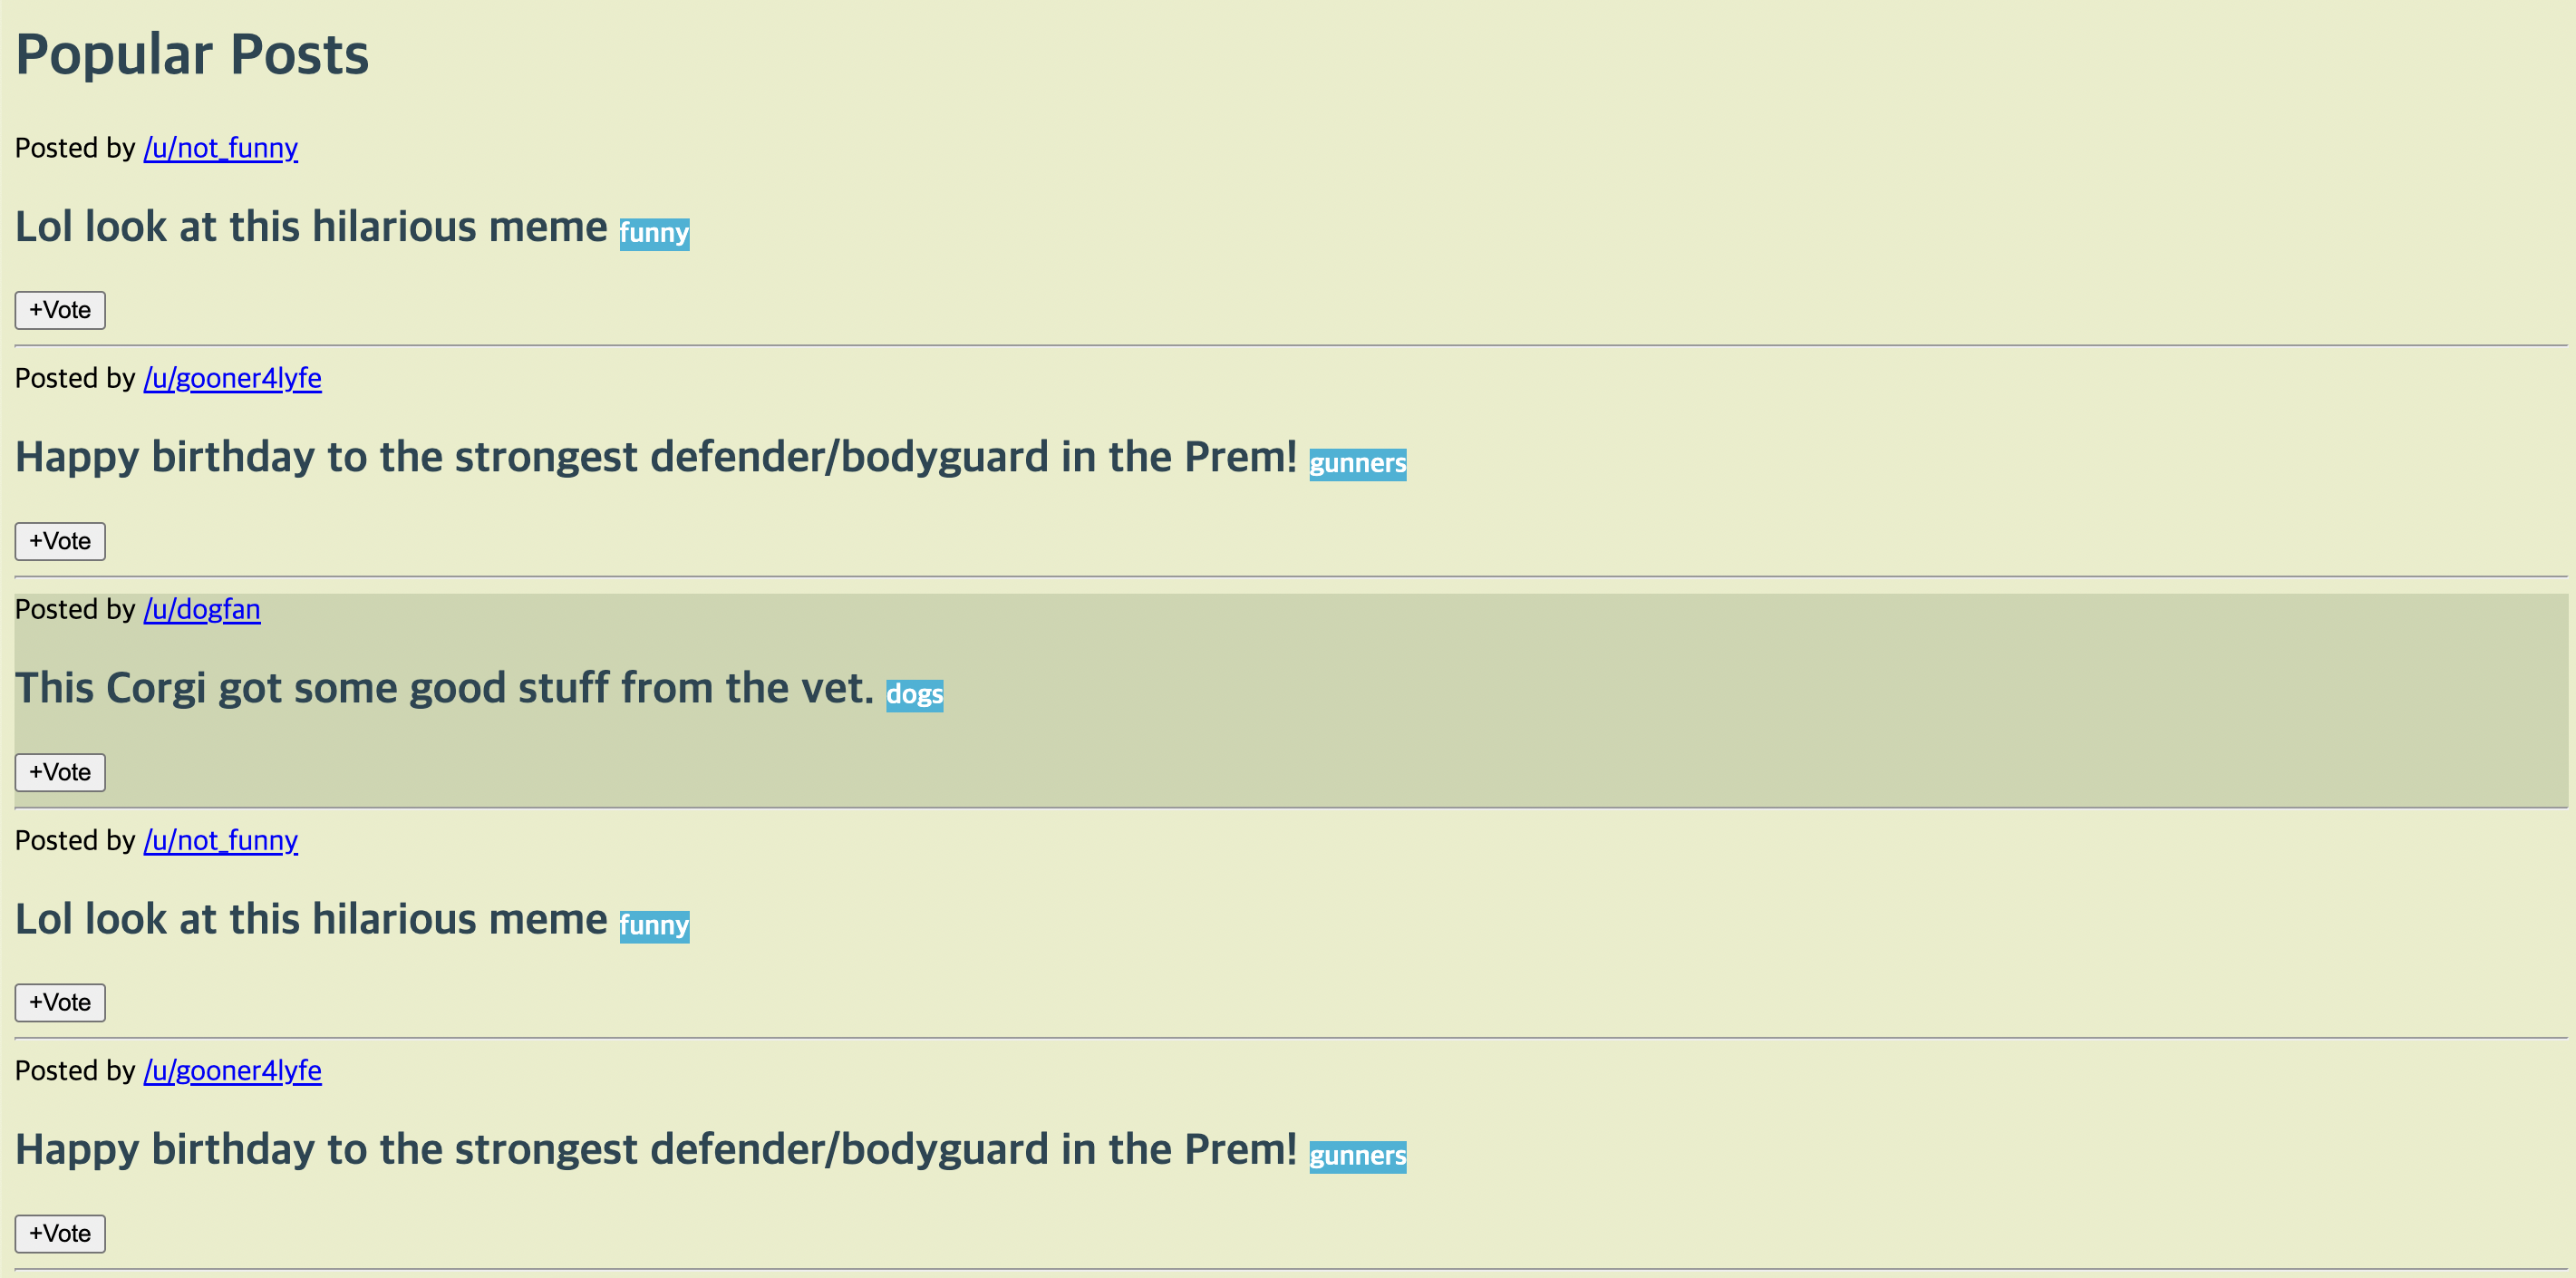
.post:nth-of-type(2n) {   ->2의배수의 post calss에 적용하고 싶은경우.
  background-color: #ccd5ae;
}
Checkerbxoard Exercise !
<html cde>

<body>
    <!--DON'T TOUCH ANYTHING IN THIS FILE!-->
    <div id="board">
      <div class="square"></div>
      <div class="square"></div>
      <div class="square"></div>
      <div class="square"></div>
      <div class="square"></div>
      <div class="square"></div>
      <div class="square"></div>
      <div class="square"></div>
      <div class="square"></div>
      <div class="square"></div>
      <div class="square"></div>
      <div class="square"></div>
      <div class="square"></div>
      <div class="square"></div>
      <div class="square"></div>
      <div class="square"></div>
      <div class="square"></div>
      <div class="square"></div>
      <div class="square"></div>
      <div class="square"></div>
      <div class="square"></div>
      <div class="square"></div>
      <div class="square"></div>
      <div class="square"></div>
      <div class="square"></div>
    </div>
</body>
</html>

<css code>
.square:nth-of-type(2n+1) {
    background-color:red;
}

.square:nth-of-type(2n) {
    background-color:black;
}
8) 유사요소
- 특정한 대상이나 선택한 요소의 일부를 변경하고 싶을때.
1) first-letter
h2::first-letter {
  font-size: 50px;
  color: #00b4d8;
}
2) first-line
p::first-line {
  color: purple;
}
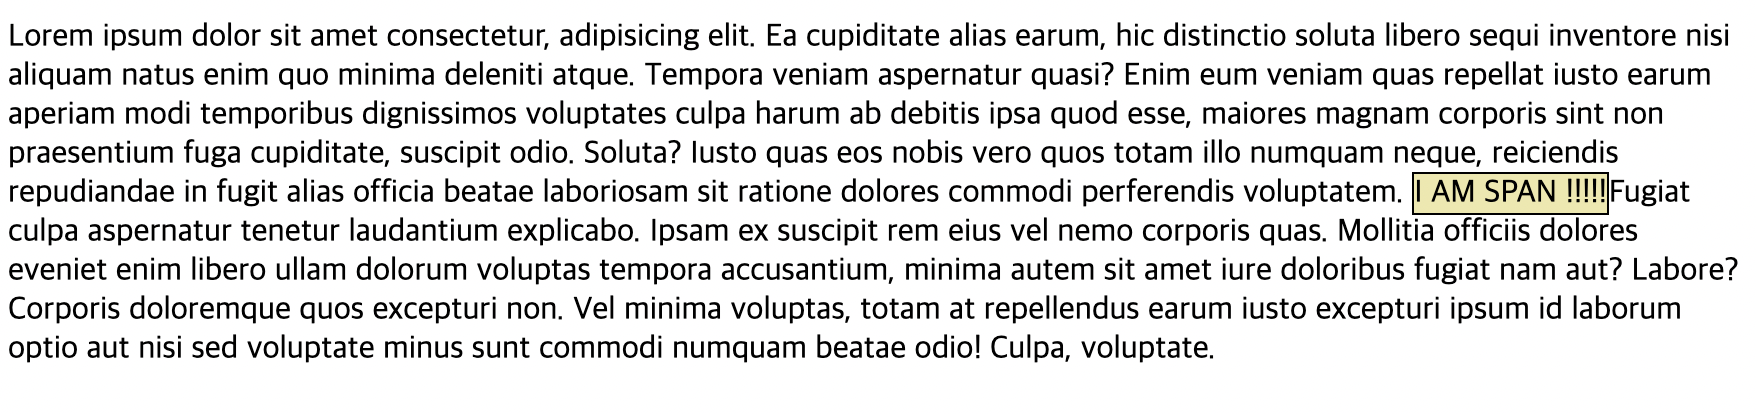
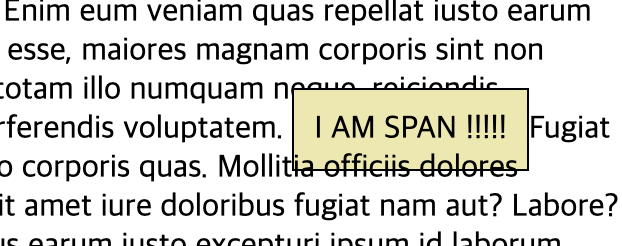
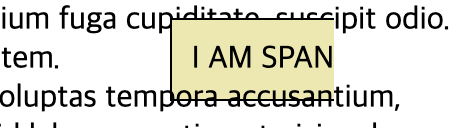
3)::selection
p::selection {
  background-color: yellow;
}
9)계단식 CSS
- The Cascade
-> The order your styles are declared in and linked to matters !
h1 {
    color:red
}
h1 {
    color:purple;
}
-> purple wins !
10) 우선순위 CSS
- Specificty
동일한 태그에게 다른 스타일을 적용할 경우 선택자가 더 구체적으로 쓰여진 css 스타일을 적용시킴.
ex)
1)
.post button:hover {
    background-color: olive;
    font-size: 10px ;
}
2)
button:hover {
  color: sienna;
  background-color: cyan;
}
1) Wins!
ex2)

1)
p {
	color:yellow;
}

2)
section p {
	color: teal;
}
2) wins!
Generral Formulation !
ID > CLASS > ELEMENT
- https://specificity.keegan.st/ (구체성 점수 계산)
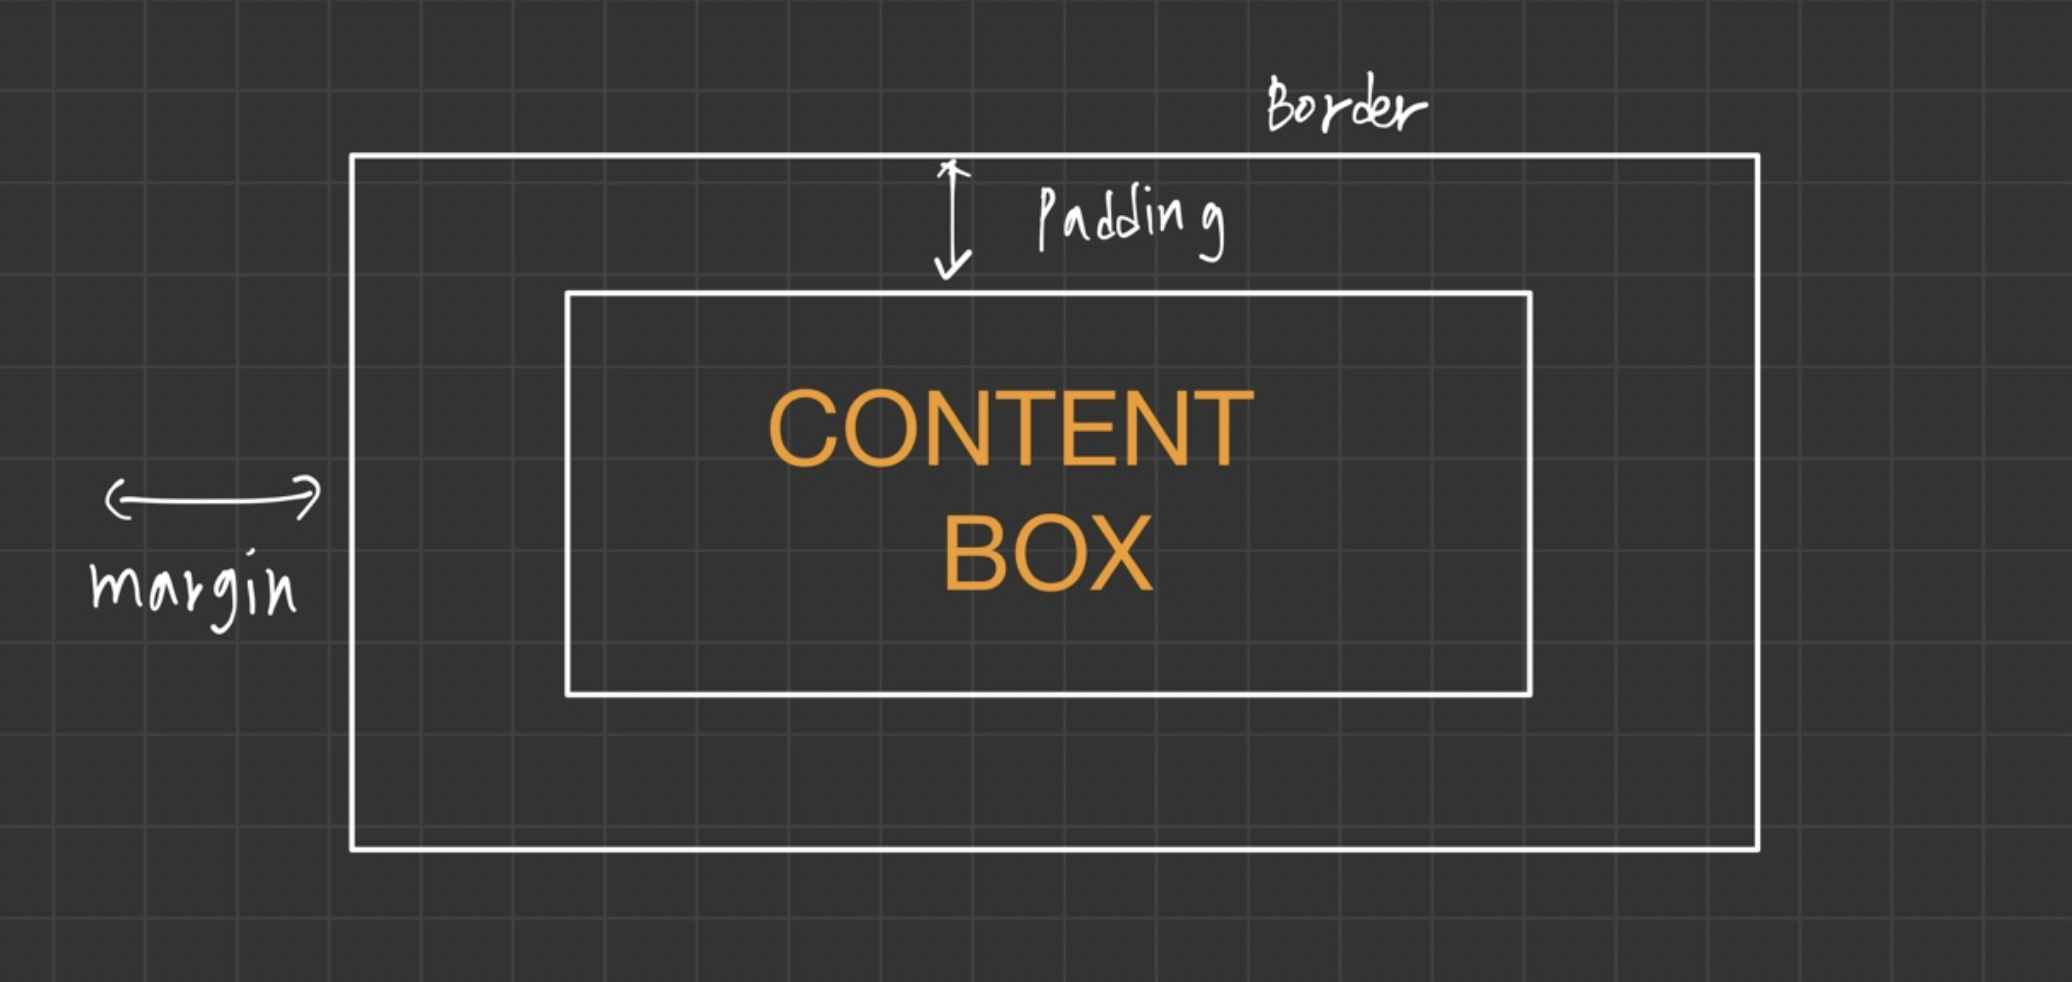
3. CSS 박스 모델
1) 박스모델 : 가로와 세로
div {
  width: 200px;
  height: 200px;
  background-color: pink;
}

h1 {
  background-color: blue;
  width: 100px;
}
-> 박스사이즈가 width로 설정해준만큼으로만 설정됨.

2) 박스모델: 테두리와 모깎기
1) 테두리
<html code>
<body>
    <h1>Hello !</h1>
    <div id="one">
      Lorem ipsum dolor sit amet, consectetur adipisicing elit. Quod, tempore!
      Sunt quaerat nam nulla explicabo aliquid quibusdam, corporis dolorem, iure
      quo dignissimos voluptatem delectus sequi odio! Recusandae quos aut neque?
    </div>
    <div id="two">
      Lorem ipsum, dolor sit amet consectetur adipisicing elit. Atque, nam
      nesciunt nemo placeat excepturi minima aspernatur accusamus.
      Necessitatibus nihil, et dolore earum deserunt similique ratione dolores
      laborum adipisci tempora tenetur!
    </div>
    <div id="three">
      Lorem ipsum, dolor sit amet consectetur adipisicing elit. Facilis autem
      veritatis accusantium facere tenetur debitis quaerat pariatur, repellendus
      libero magnam neque, voluptatum tempore enim vitae provident totam laborum
      inventore ipsum.
    </div>
  </body>

 <css code>
div {
  width: 200px;
  height: 200px;
}


#one {
  background-color: yellow;
  border-width: 4px;
  border-color: black;
  border-style: solid;
  box-sizing: border-box;
}

#two {
  background-color: mediumslateblue;
  border-color: mediumseagreen;
  border-width: 3px;
  border-style: dashed;
  border-left-width: 8px;
}

#three {
  background-color: beige;
  border: 4px solid brown;
  border-left-style: dotted;
  border-radius: 30px;
}
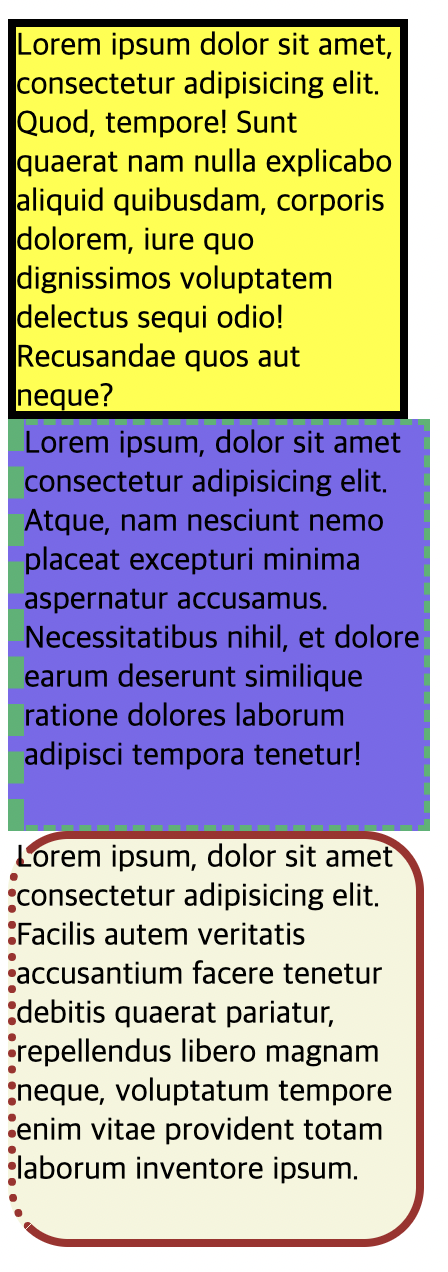
-
원래는 border-width를 적용시키면 박스의 크기가 늘어나지만 box-sizing: border-box; 을 적용시키면 원래의 박스크기안(width,height)에서 border이 생성됨.
-
border 성질 적용 순서
-> width | style | color
Box Model Practice !
<html code>
  <div class="card">
  <img alt="" src="https://assets.codepen.io/123865/dog.png">
  <h1>I Am Dog</h1>
</div>

<css code>

.card {
    width:210px;
    border : 1px solid grey;
    border-radius:5px;
    text-align:center;
}

img {
    width:200px;
    border-radius:50%;
    border: 5px solid rgb(236,183,191);
}
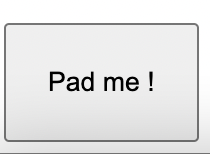
3) 박스모델: 패딩
- 컨텐츠와 테두리사이의 공간을 넓힘.
1) Individual Properties
Padding - Left
Padding - Right
Padding - BOTTOM
Padding - TOP
2) Shorthand Property
-> Set all four sides a at ONCE!
Apply to all four sides
- padding : 30px;
Vertical | horizontal
- padding : 5px 10px;

top | horizontal | bottom
- padding : 1px 2px 2px;
top | right | bottom | left
- padding : 10px 20px 30px 40px;
4) 박스 모델 : 여백
1) Individual Properties
Margin - Left
Margin - Right
Margin - BOTTOM
Margin - TOP
2) Shorthand Property
-> Set all four sides a at ONCE!
Apply to all four sides
- Margin : 30px;
Vertical | horizontal
- Margin : 5px 10px;
top | horizontal | bottom
- Margin : 1px 2px 2px;
top | right | bottom | left
- Margin : 10px 20px 30px 40px;
5) 디스플레이 속성
1) Inline
2) Block
3) Inline - block!
1) INLINE 요소
ex) span 태그
span {
  background-color: palegoldenrod;
  border: 1px solid black;
  width: 500px;  ->적용안됨xxxx
}- 1-1 요소가 인라인특성이라면 너비나 높이를 설정해도 무시됨.
- 1-2 padding 은 가능. -> 단, 다른요소를 밀어내지 않고 단순 공간
만 차지. - 1-3 margin 은 세로줄은 적용안되고 가로줄은 밀어냄.( 단, 기본적인 틀의 범위는 훼손시키지 않음).
1-1
1-2
1-3
2) BLOCK 요소
ex) h1 태그
h1 {
  background-color: orange;
  border: 1px solid black;
  width: 300px;
  height: 100px;
  padding: 40px;
  margin: 100px;
}- blcok 요소는 상하좌우넓이, 패딩, 마진 모두 다 적용가능.

3) INLINE-BLOCK 요소
ex) div 태그
div {
  height: 200px;
  width: 200px;
  background-color: khaki;
  border: 5px solid black;
  display: lnline-block;
  margin: 40px;
}

6) CSS 단위
- Relative
EM
REM
VH
VM
% (relative value to some other)
width: 50% -> half the width of the parent
- Abosulte
PX
PT
CM
IN
MM
-> px 제외 거의 안씀.
1) %
<html code>
<section>
	<div></div>
</section>

<css code>
section {
 background-color: lightsalmon;
 width: 200px;
 height: 200px;
}

div {
 background-color: brown;
 width: 50%;  -> 부모 태그 section의 50%
 height: 50%;  -> 부모 태그 section의 50%
} 
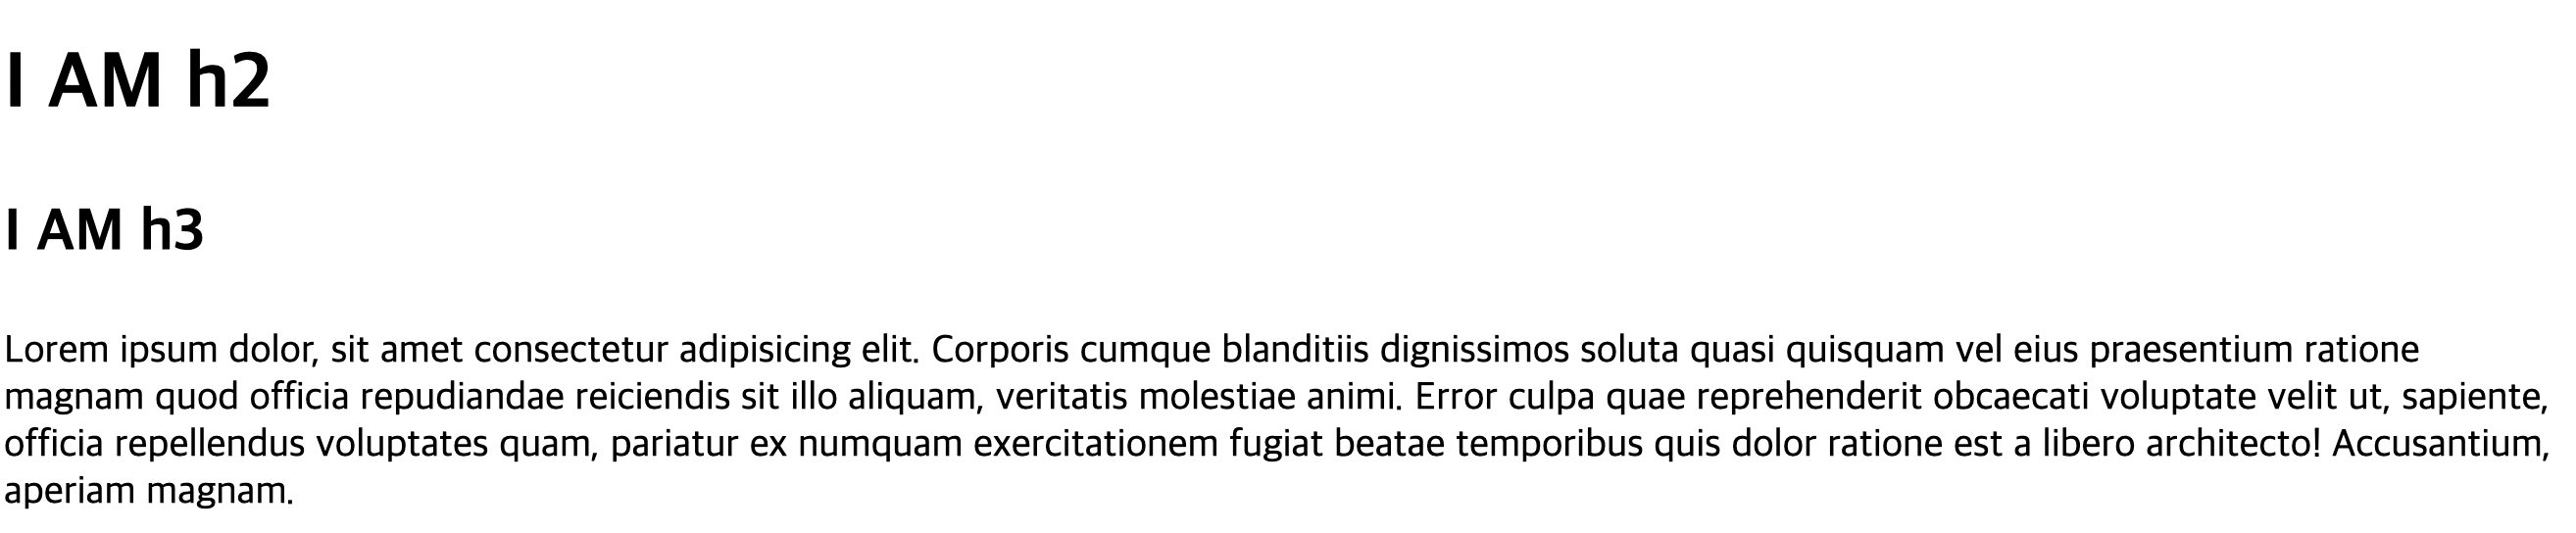
2) em
<html code>
 <h1>CSS UNITS</h1>
    <article>
      <h2>I AM h2</h2>
      <h3>I AM h3</h3>
      <p>
        Lorem ipsum dolor, sit amet consectetur adipisicing elit. Corporis
        cumque blanditiis dignissimos soluta quasi quisquam vel eius praesentium
        ratione magnam quod officia repudiandae reiciendis sit illo aliquam,
        veritatis molestiae animi. Error culpa quae reprehenderit obcaecati
        voluptate velit ut, sapiente, officia repellendus voluptates quam,
        pariatur ex numquam exercitationem fugiat beatae temporibus quis dolor
        ratione est a libero architecto! Accusantium, aperiam magnam.
      </p>
</article>


<css code>


article {
  font-size: 20px;
}

p {
  font-size: 1em;
}

h2 {
  font-size: 2em;
}

h3 {
  font-size: 1.5em;
}
ex2)
<html code>

 <article>
      <h2>I AM h2</h2>
      <h3>I AM h3</h3>
      <button>Click Me</button>
      <p>
        Lorem ipsum dolor, sit amet consectetur adipisicing elit. Corporis
        cumque blanditiis dignissimos soluta quasi quisquam vel eius praesentium
        ratione magnam quod officia repudiandae reiciendis sit illo aliquam,
        veritatis molestiae animi. Error culpa quae reprehenderit obcaecati
        voluptate velit ut, sapiente, officia repellendus voluptates quam,
        pariatur ex numquam exercitationem fugiat beatae temporibus quis dolor
        ratione est a libero architecto! Accusantium, aperiam magnam.
      </p>
</article>

<css code>
article {
  font-size: 20px;
}

button {
  font-size: 1em;
  padding: 0.1em;
  border-radius: 0.5em;
}
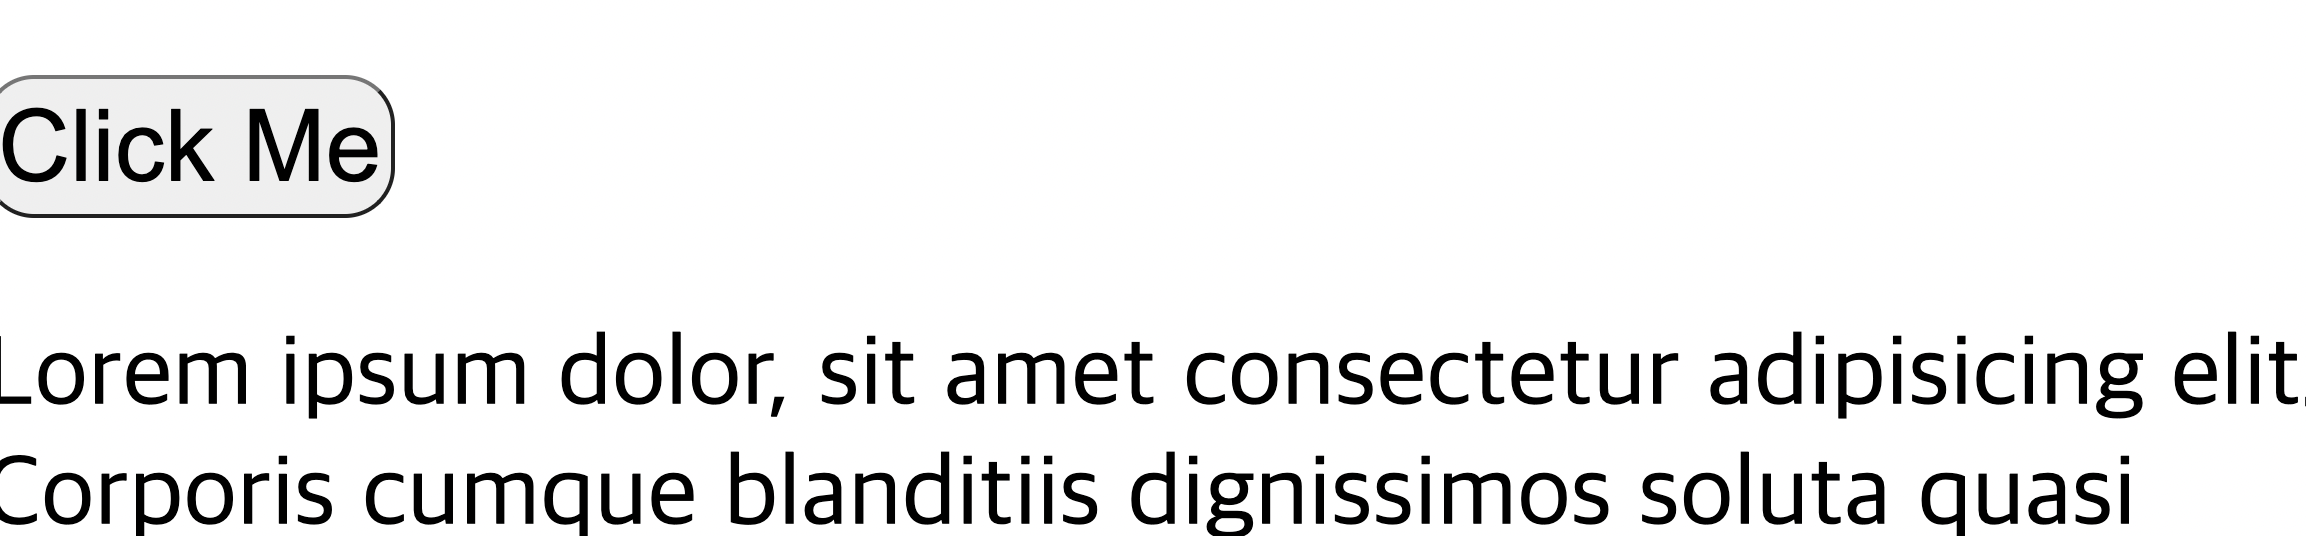
- 이 두 사진의 포인트는 밑에 사진은 article 즉 부모클래스의 폰트사이즈를 50px로(확대) 설정한것인데 현재 click me의 버튼의 형태는 변함없이 유지된다가 포인트다. 만약 button의 폰트사이즈 등 다른특성들을 px단위를 사용했다면 버튼의 모양의 비율이 유지되지않고 변동이 제각각이다.
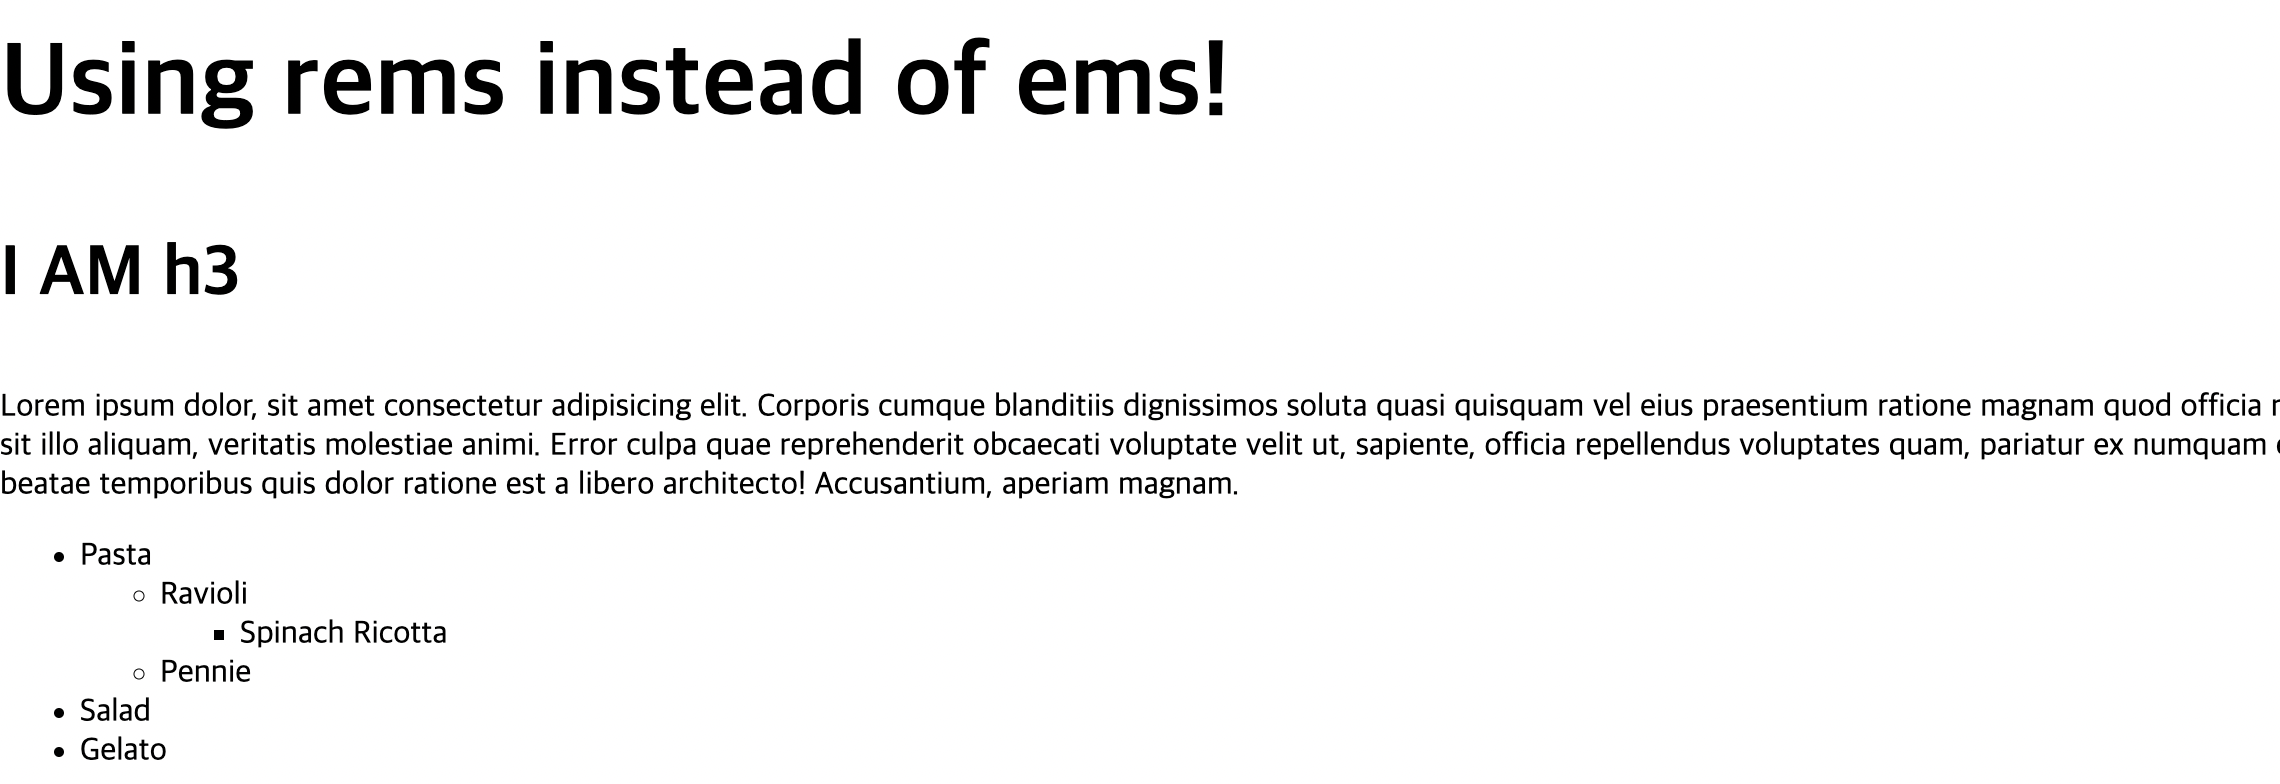
3) rem
 <article id="rems">
      <h2>Using rems instead of ems!</h2>
      <h3>I am h3</h3>
      <p>
        Lorem ipsum dolor, sit amet consectetur adipisicing elit. Corporis
        cumque blanditiis dignissimos soluta quasi quisquam vel eius praesentium
        ratione magnam quod officia repudiandae reiciendis sit illo aliquam,
        veritatis molestiae animi. Error culpa quae reprehenderit obcaecati
        voluptate velit ut, sapiente, officia repellendus voluptates quam,
        pariatur ex numquam exercitationem fugiat beatae temporibus quis dolor
        ratione est a libero architecto! Accusantium, aperiam magnam.
      </p>
      <ul>
        <li>
          Pasta
          <ul>
            <li>
              Ravioli
              <ul>
                <li>Spinach Ricotta</li>
              </ul>
            </li>
            <li>Pennie</li>
          </ul>
        </li>
        <li>Salad</li>
        <li>Gelato</li>
      </ul>
</article>- 위와같은 코드에서 css로
ul {
}font-size: 1.5em;
을 적용하면 em은 부모클래스의 폰트사이즈를 기반으로 적용되기때문에 nested 태그들은 점점 커지거나(곱절) 커지거나 작아진다.

<html code>

<article id="rems">
      <h2>Using rems instead of ems!</h2>
      <h3>I am h3</h3>
      <p>
        Lorem ipsum dolor, sit amet consectetur adipisicing elit. Corporis
        cumque blanditiis dignissimos soluta quasi quisquam vel eius praesentium
        ratione magnam quod officia repudiandae reiciendis sit illo aliquam,
        veritatis molestiae animi. Error culpa quae reprehenderit obcaecati
        voluptate velit ut, sapiente, officia repellendus voluptates quam,
        pariatur ex numquam exercitationem fugiat beatae temporibus quis dolor
        ratione est a libero architecto! Accusantium, aperiam magnam.
      </p>
      <ul>
        <li>
          Pasta
          <ul>
            <li>
              Ravioli
              <ul>
                <li>Spinach Ricotta</li>
              </ul>
            </li>
            <li>Pennie</li>
          </ul>
        </li>
        <li>Salad</li>
        <li>Gelato</li>
      </ul>
</article>

<css code>
#rems h3 {
  font-size: 2.2rem;
}

#rems h2 {
  font-size: 3.2rem;
}

#rems ul {
  font-size: 1rem;
}- rem은 모든 변화가 디폴트 글꼴 크기를 기준으로 변화함.