
개요
하이퍼 파라미터 튜닝 (랜덤포레스트, xgboost)
📌 문제
심장마비 확률이 높은사람?
- 성별, 나이, 혈압, 콜레스테롤, 공복혈당, 최대 심박수 등의 컬럼이 있음
- 평가: ROC-AUC, 정확도(Accuracy), F1 을 구하시오
- target : output (1:심장마비 확률 높음, 0:심장마비 확률 낮음)
- csv파일 생성 : 수험번호.csv (예시 아래 참조)
id,output
41,0.633
28,0.123
222,0.355
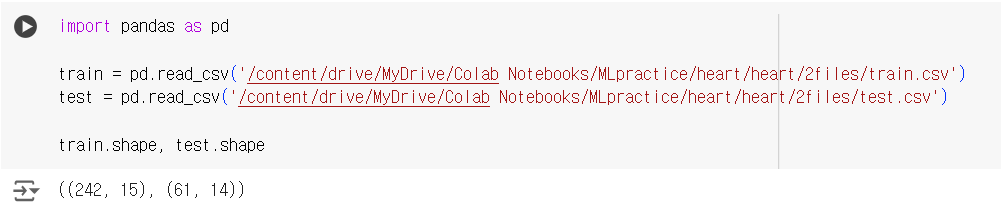
📌 데이터 불러오기
import pandas as pd
train = pd.read_csv('/content/drive/MyDrive/Colab Notebooks/MLpractice/heart/heart/2files/train.csv')
test = pd.read_csv('/content/drive/MyDrive/Colab Notebooks/MLpractice/heart/heart/2files/test.csv')
train.shape, test.shape
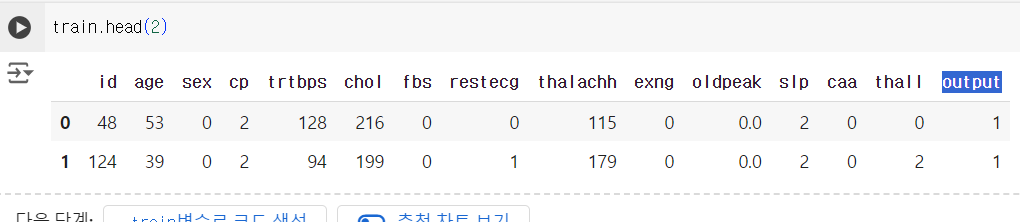
📌 EDA
# 타겟 컬럼 (output) 확인
train.head(2)
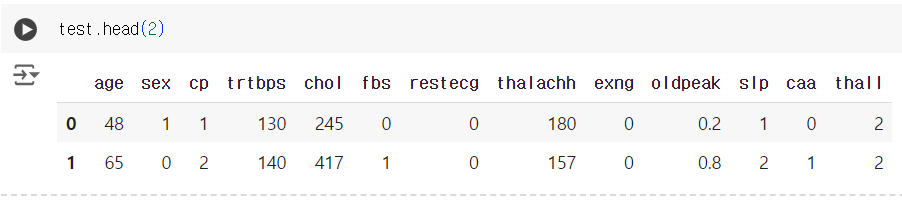
# 테스트 데이터에는 타겟 컬럼이 없다.
test.head(2)

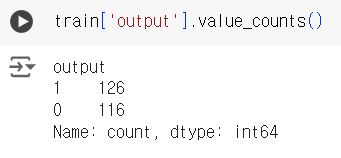
# 타겟 컬럼 값 확인
train['output'].value_counts()
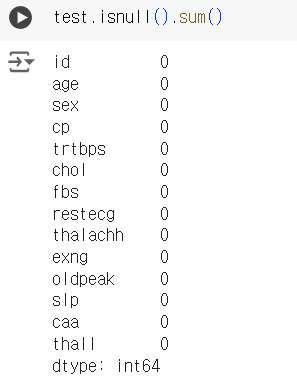
# 결측치 확인
train.isnull().sum()

test.isnull().sum()
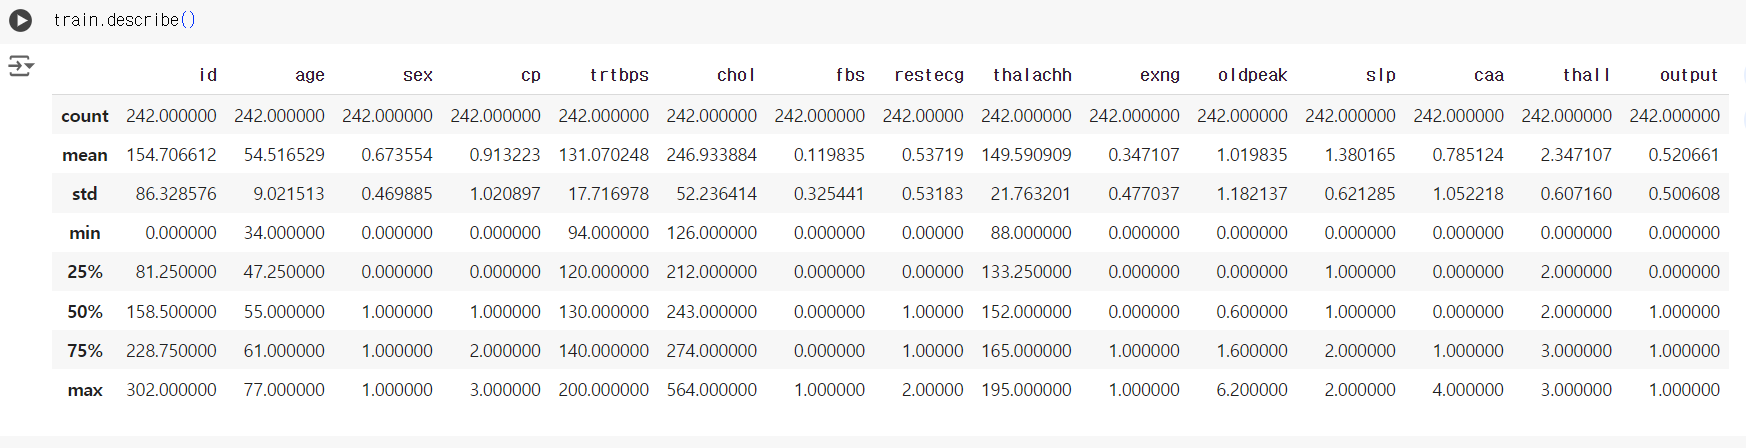
# 기초통계량 확인
train.describe()
# 데이터 형태 확인
train.info()

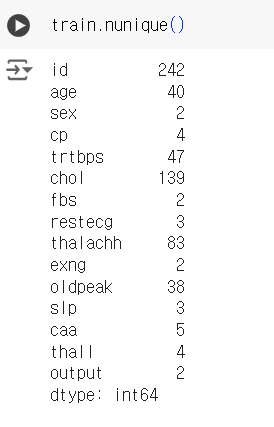
# 데이터 고유값 갯수 확인
train.nunique()
📌 데이터 전처리 및 & 피처엔지니어링
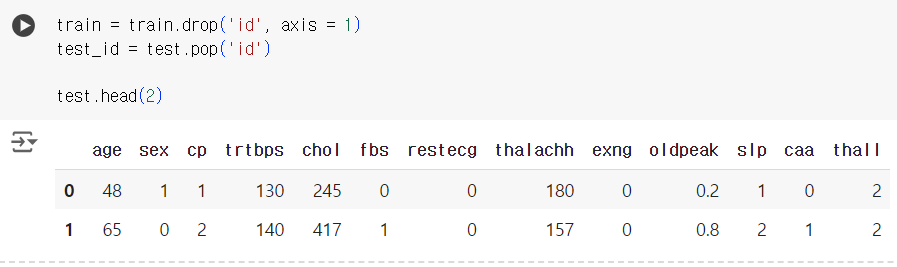
# 과적합 방지를 위해 훈련용 데이터에서는 id 컬럼 제거
# 시험용 데이터에서는 결과물에 제출하기 위해 .pop() 메서드 활용 test_id 에 빼놓기
train = train.drop('id', axis = 1)
test_id = test.pop('id')
test.head(2)
📌 검증 데이터 분리
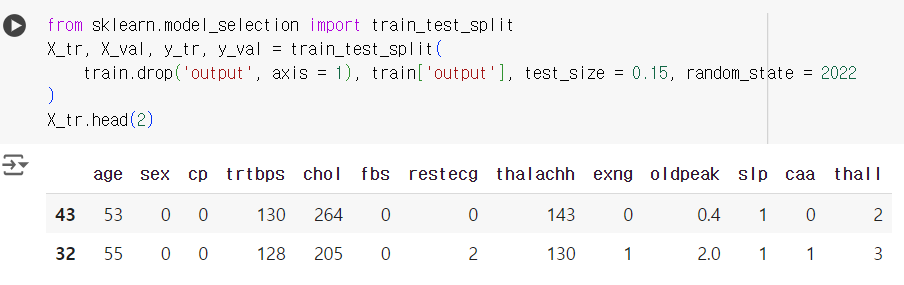
# 데이터 크기가 작기 때문에 15% 정도만 검증용으로 분리
from sklearn.model_selection import train_test_split
X_tr, X_val, y_tr, y_val = train_test_split(
    train.drop('output', axis = 1), train['output'], test_size = 0.15, random_state = 2022
)
X_tr.head(2)
📌 모델 및 평가
- 랜덤포레스트: 하이퍼 파라미터 튜닝
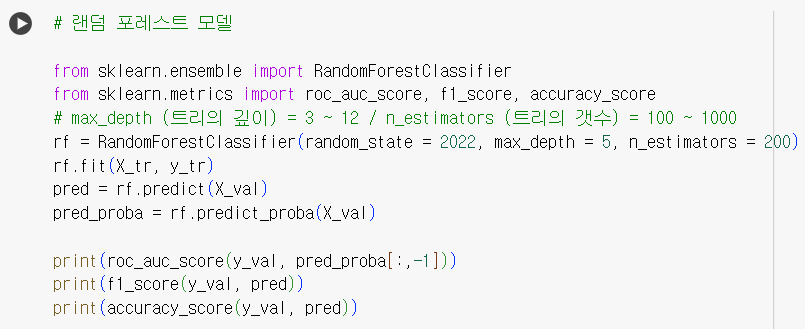
랜덤 포레스트의 하이퍼 파라미터 튜닝은
max_depth (트리의 깊이)와 n_estimators (트리의 갯수)를 조절할 수 있다.
평균적인 조절값 :
max_depth = 3 ~ 12
n_estimators = 100 ~ 1000
# 랜덤 포레스트 모델
from sklearn.ensemble import RandomForestClassifier
from sklearn.metrics import roc_auc_score, f1_score, accuracy_score
# max_depth (트리의 깊이) = 3 ~ 12 / n_estimators (트리의 갯수) = 100 ~ 1000
rf = RandomForestClassifier(random_state = 2022, max_depth = 5, n_estimators = 200)
rf.fit(X_tr, y_tr)
pred = rf.predict(X_val)
pred_proba = rf.predict_proba(X_val)
print(roc_auc_score(y_val, pred_proba[:,-1]))
print(f1_score(y_val, pred))
print(accuracy_score(y_val, pred))
- xgboost: 하이퍼 파라미터 튜닝 노하우
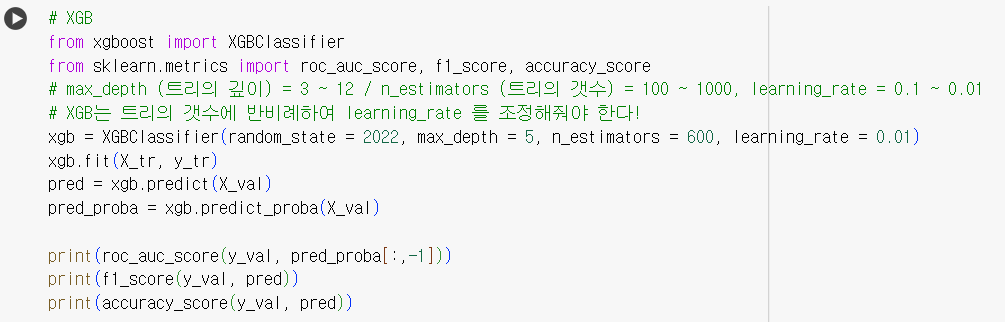
xgboost 의 하이퍼 파라미터 튜닝은
max_depth (트리의 깊이), n_estimators (트리의 갯수), learning_rate (학습률)을 조절할 수 있다.
평균적인 조절값 :
max_depth = 3 ~ 12
n_estimators = 100 ~ 1000
learning_rate = 0.1 ~ 0.01
XGB는 n_estimators에 반비례하여 learning_rate 를 조절해줘야 함.
# XGB
from xgboost import XGBClassifier
from sklearn.metrics import roc_auc_score, f1_score, accuracy_score
# max_depth (트리의 깊이) = 3 ~ 12 / n_estimators (트리의 갯수) = 100 ~ 1000, learning_rate = 0.1 ~ 0.01
# XGB는 트리의 갯수에 반비례하여 learning_rate 를 조정해줘야 한다!
xgb = XGBClassifier(random_state = 2022, max_depth = 5, n_estimators = 600, learning_rate = 0.01)
xgb.fit(X_tr, y_tr)
pred = xgb.predict(X_val)
pred_proba = xgb.predict_proba(X_val)
print(roc_auc_score(y_val, pred_proba[:,-1]))
print(f1_score(y_val, pred))
print(accuracy_score(y_val, pred))
📌 예측 및 csv제출
-
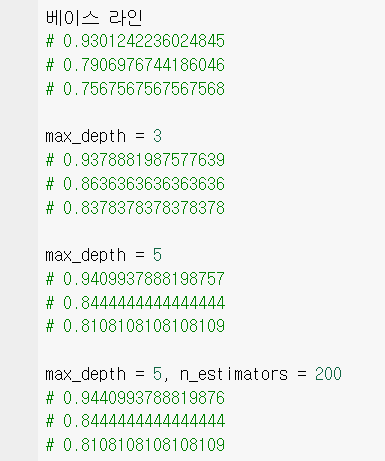
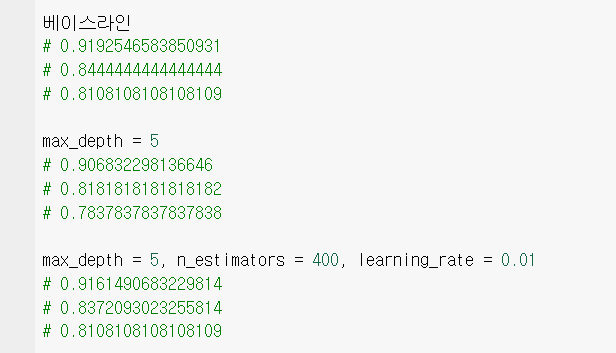
파라미터 조절 및 모델 선택에 따른 평가 지표 비교
랜덤 포레스트 모델

XGB 모델

-
roc_auc_score 기준으로
랜덤 포레스트 모델에서max_depth = 5,n_estimators = 200
파라미터 조절값을 가진 상태의 점수가 가장 높기 때문에,
랜덤 포레스트 모델 및 해당 파라미터 값 선택
test.head(2)
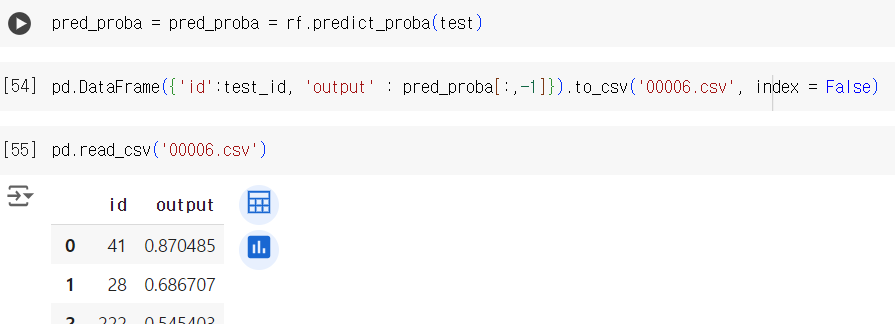
pred_proba = pred_proba = rf.predict_proba(test)
pd.DataFrame({'id':test_id, 'output' : pred_proba[:,-1]}).to_csv('00006.csv', index = False)
pd.read_csv('00006.csv')
📌 평가(정리)
- 정답 데이터와 비교 : 0.9 이상의 높은 점수를 보여줌 !
y_test = pd.read_csv("/content/drive/MyDrive/Colab Notebooks/MLpractice/heart/heart/2files/y_test.csv")
print(roc_auc_score(y_test, pred_proba[:,1]))


커피 좋아하는 데이터 꿈나무