Terraform과 Openstack
오픈스택은 두가지 타임아웃에 대비해야 한다.
-
token의 유효기간 : keysotne → 10시간으로
vi /etc/keystone/keystone.conf2224 expiration = 36000
-
web 접속에 대한 session timeout : dashboard(horizon) → 10시간으로
vi /etc/openstack-dashboard/local_settings750 SESSION_TIMEOUT = 36000
-
재부팅 이후부터는 항상 runlevel 3으로 실행되도록 하기
systemctl set-default multi-user.target
1,2,3 설정 후 재부팅
211.183.3.160으로 웹 접속하면 dashboard 접속 가능
admin / test123
Quotas 수정 → 해당 프로젝트에서 만들 수 있는 할당량 편집 가능
-
압축파일 다운로드
wget https://cloud.centos.org/centos/7/images/CentOS-7-x86_64-GenericCloud-2003.qcow2.xz -
압축해제
xz -d CentOS-7-x86_64-GenericCloud-2003.qcow2.xz -
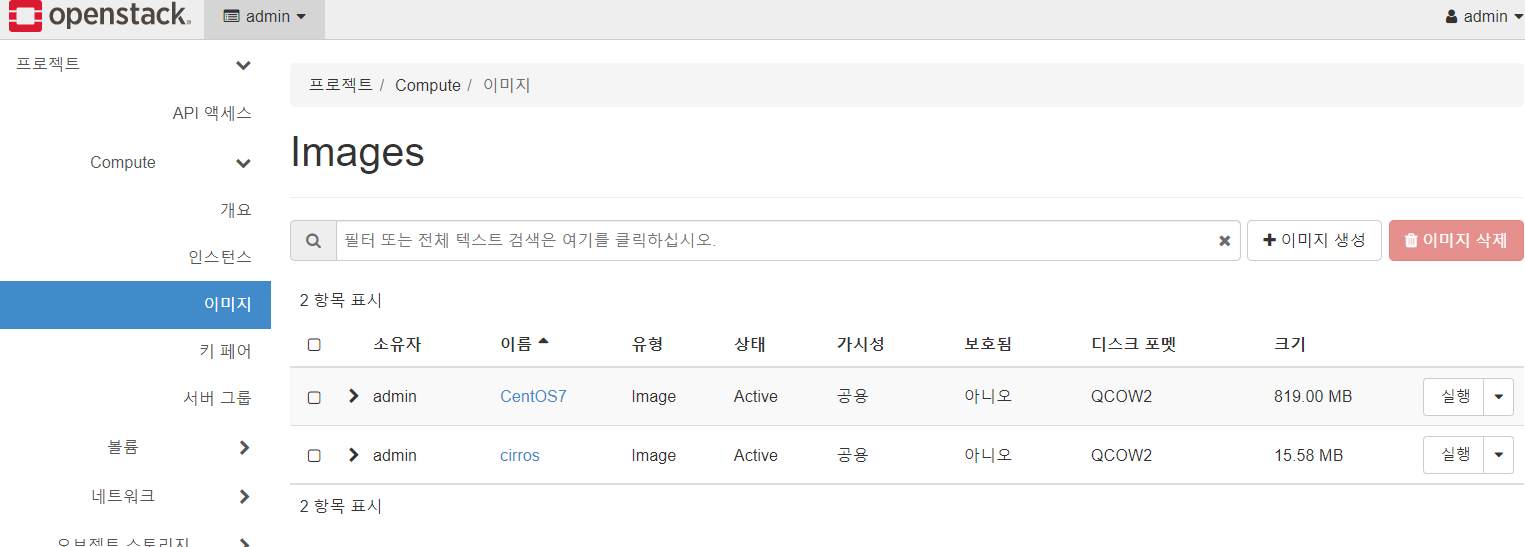
해당 이미지를 glance에 등록. 단, 리스트에서는 CentOS7이라는 이름으로 보여야 함
source keystonerc_adminopenstack image create "CentOS7" --file CentOS-7-x86_64-GenericCloud-2003.qcow2 --disk-format qcow2 --container-format bare --public -
keystonerc_admin 파일을 이용하여 로그인 한 뒤 openstack image list에서 직전에 등록한 CentOS7을 볼 수 있어야 한다.
openstack image list

테라폼에서 모든 구성을 하나의 파일에 정의한다면?
- 개발자가 해당 파일에 접근해 파일을 구성하고 있다면 다른 사용자의 접근은 차단된다. 동시 작업이 불가능하다
- 최종 상태 구성파일 tfstate도 하나가 생긴다. 만약 손실이 발생하면 전체 인프라에 영향을 미친다.
- 각각의 리소스별로 디렉토리를 구분하여 작업한다. (마치 앤서블에서 롤처럼 구분하여 작업)
- tfstate가 손실될 위험에 대비하여 로컬 환경에 저장하지 말고 원격 공유저장소에 저장하자
- 마치 k8s의 네임스페이스처럼 작업 공간을 분류하자
### workspace
- workspace list확인
```bash
[root@terraform lab1]# terraform workspace list
* default
```
- workspace 생성
```bash
terraform workspace new blockstore
```
- 다시 확인
```bash
[root@terraform lab1]# terraform workspace list
default
* blockstore
```
```bash
[root@terraform lab1]# ls -l
...
drwxr-xr-x 3 root root 24 Oct 25 10:34 terraform.tfstate.d
[root@terraform lab1]# ls terraform.tfstate.d
blockstore
```
작업을 분류해 tfstate를 관리할 수 있다.
- default로 선택
```bash
[root@terraform lab1]# terraform workspace select default
Switched to workspace "default".
[root@terraform lab1]# terraform workspace list
* default
blockstore
```
- 삭제
```bash
[root@terraform lab1]# terraform workspace delete blockstore
Deleted workspace "blockstore"!
```
```bash
[root@terraform lab1]# ls terraform.tfstate.d/
```
디렉토리 안에 있던 blockstore 디렉토리는 삭제 됨
## 실습
### openstack 노드
| 구분 | ID |
| --- | --- |
| 이미지 : CentOS7 | 973a59a8-ff61-4404-9e08-d281cdf5f257 |
| 네트워크 : extnet | 98facebd-53fc-4a1c-80be-013026471da4 |
| 네트워크 : private1 | ab0bc22b-f90b-49a2-8182-9a458101620f |
| 키페어 : terraformkey | |
| 보안그룹 : web+ssh | |
- admin계정으로 로그인
```bash
[root@localhost ~]# source keystonerc_admin
```
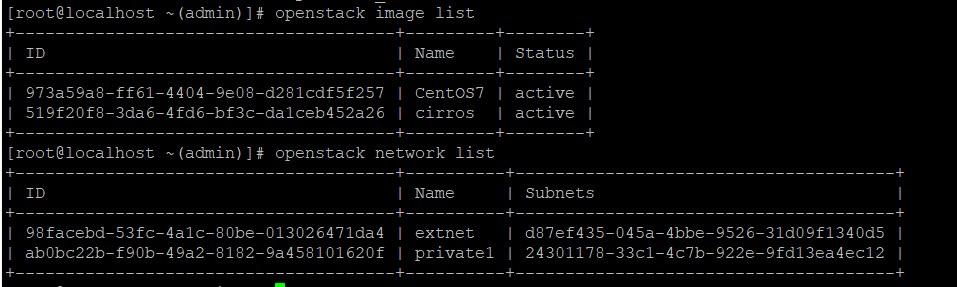
- 이미지 리스트 확인
```bash
[root@localhost ~(admin)]# openstack image list
+--------------------------------------+---------+--------+
| ID | Name | Status |
+--------------------------------------+---------+--------+
| 973a59a8-ff61-4404-9e08-d281cdf5f257 | CentOS7 | active |
| 519f20f8-3da6-4fd6-bf3c-da1ceb452a26 | cirros | active |
+--------------------------------------+---------+--------+
```
- 네트워크 리스트 확인
```bash
[root@localhost ~(admin)]# openstack network list
+--------------------------------------+----------+--------------------------------------+
| ID | Name | Subnets |
+--------------------------------------+----------+--------------------------------------+
| 98facebd-53fc-4a1c-80be-013026471da4 | extnet | d87ef435-045a-4bbe-9526-31d09f1340d5 |
| ab0bc22b-f90b-49a2-8182-9a458101620f | private1 | 24301178-33c1-4c7b-922e-9fd13ea4ec12 |
+--------------------------------------+----------+--------------------------------------+
```
- 키페어 생성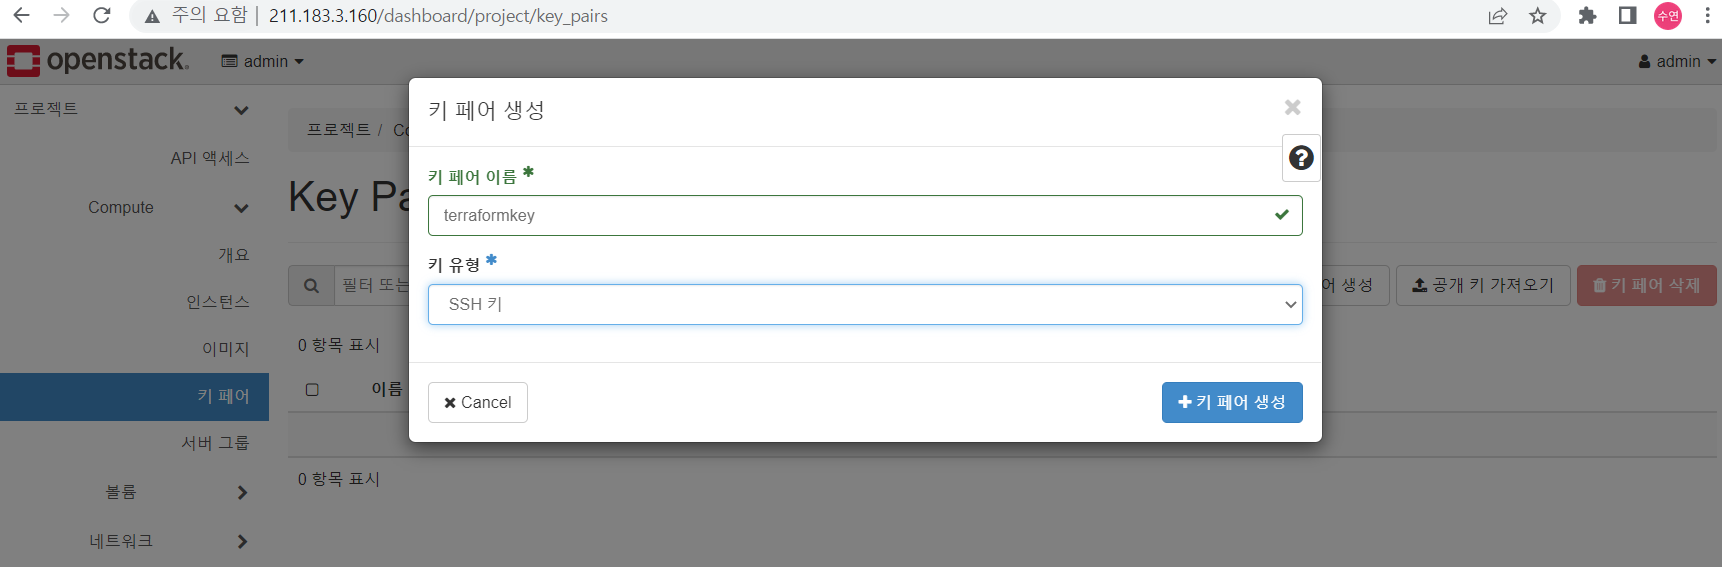
- 키페어 확인

```bash
[root@localhost ~(admin)]# openstack keypair list
+--------------+-------------------------------------------------+------+
| Name         | Fingerprint                                     | Type |
+--------------+-------------------------------------------------+------+
| terraformkey | b4:a0:83:df:c8:9a:60:e9:fc:b1:cc:54:3a:7b:60:ff | ssh  |
+--------------+-------------------------------------------------+------+
```

- 보안그룹 생성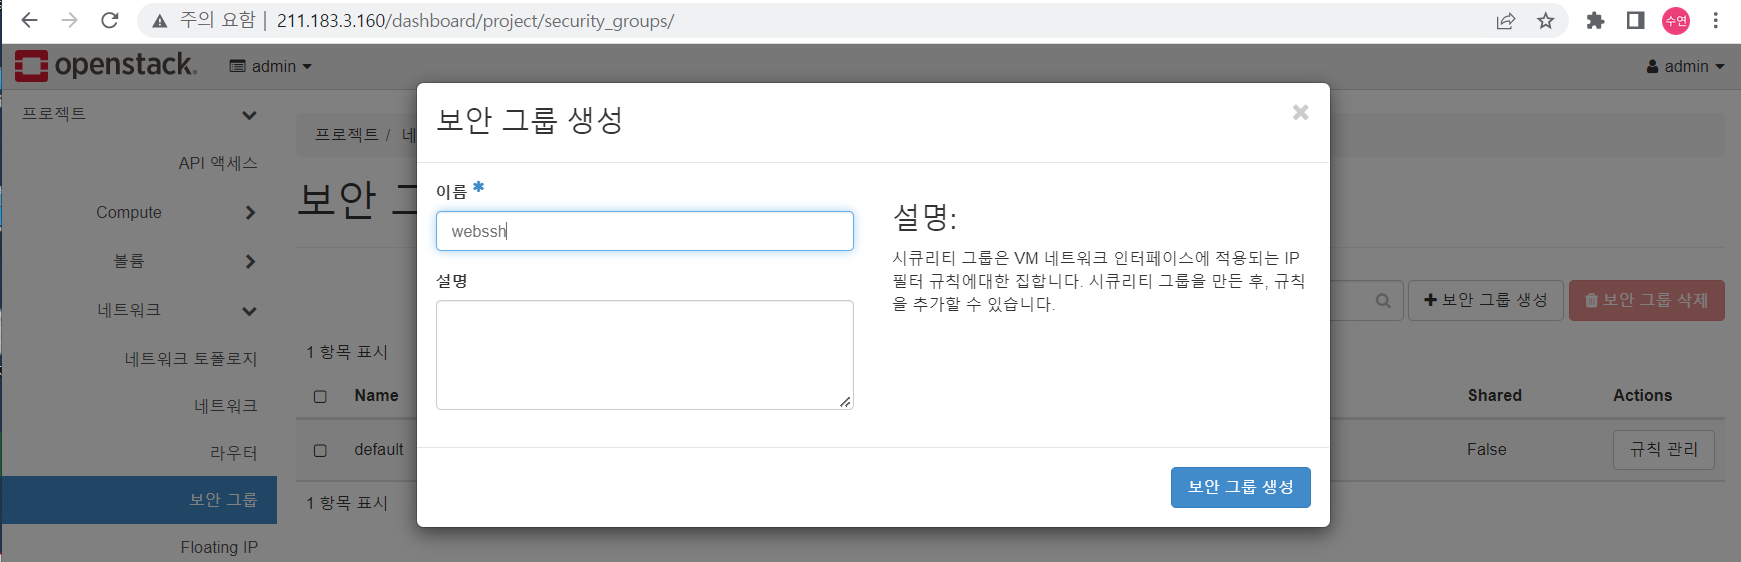
- 규칙 추가

HTTP, HTTPS, SSH 추가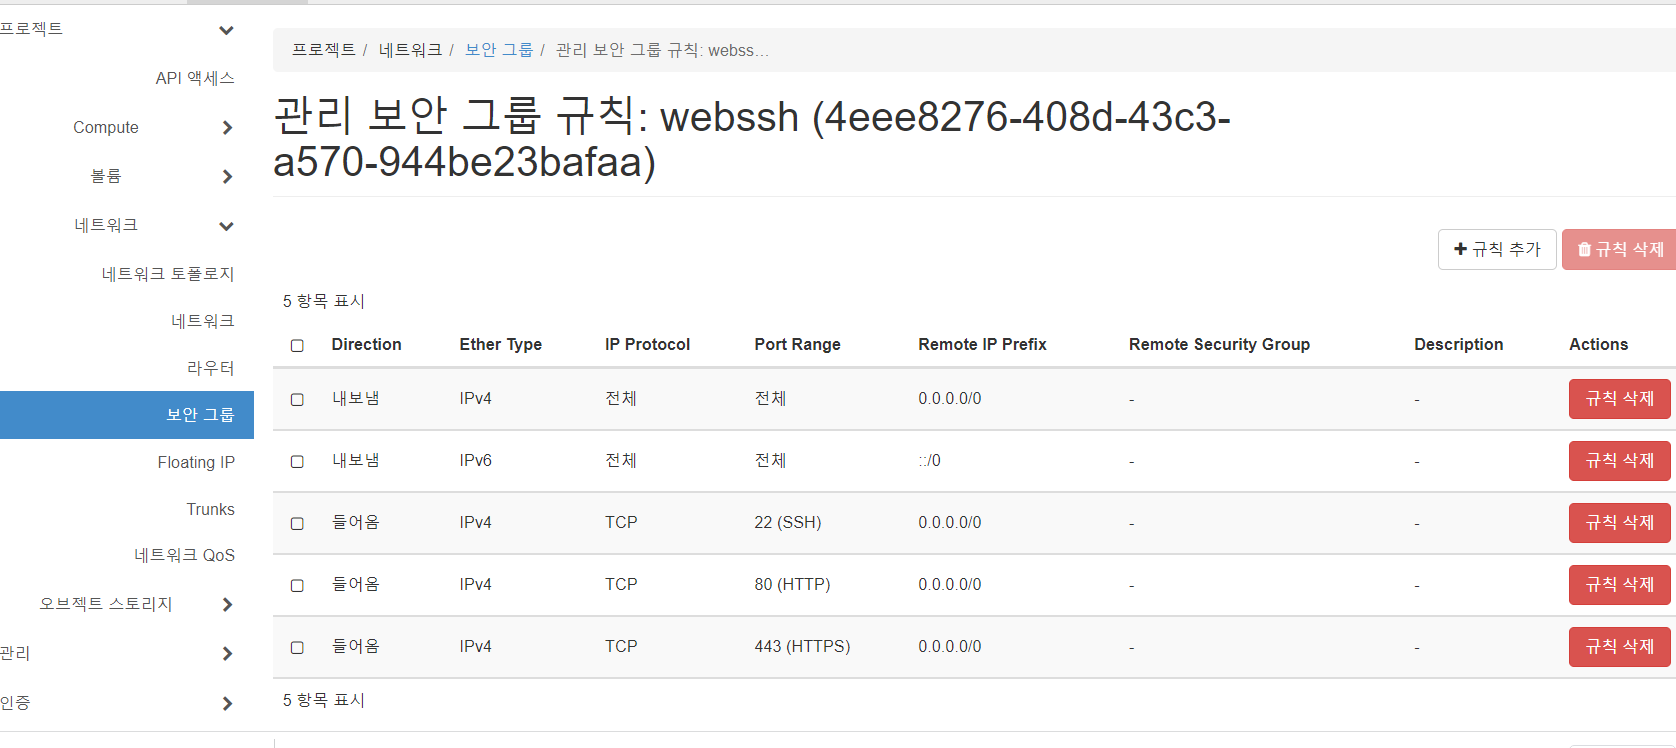
똑같이 보안그룹 ICMP 생성 → ALL ICMP 규칙 terraform 노드
해당 문서 참고
- provider.tf
terraform {
required_version = ">= 1.0.0" # 버전은 1.0.0 이상이면 됨
  required_providers {
    openstack = {
      source = "terraform-provider-openstack/openstack" # openstack 플러그인
      version = "~> 1.42.0" # 1.42.0보다 크면 됨
    }
  }
}

# api login
provider "openstack" {
  user_name     = "admin"
  password      = "test123"
  tenant_name   = "admin" #프로젝트 이름
  auth_url      = "http://211.183.3.160:5000"
  region        = "RegionOne"
}- 테라폼 시작하기
terraform init인스턴스 생성
- instance.tf
resource "openstack_compute_instance_v2" "instance01" {
  name          = "instance01"
  image_id      = "973a59a8-ff61-4404-9e08-d281cdf5f257"
  flavor_id     = "3"
  key_pair      = "terraformkey"
  security_groups = ["icmp", "webssh"]

  metadata = { key1 = "value1" }
  network {
    name = "private1"
  }
}
metadata는 라벨의 역할을 한다
문서에 있는것과 같이 image_id 대신 image_name으로 설정해도 된다.
user_data로 인스턴스 실행될 때 유저 데이터를 제공할 수 있다. (EOF 또는 쉘로 가능)
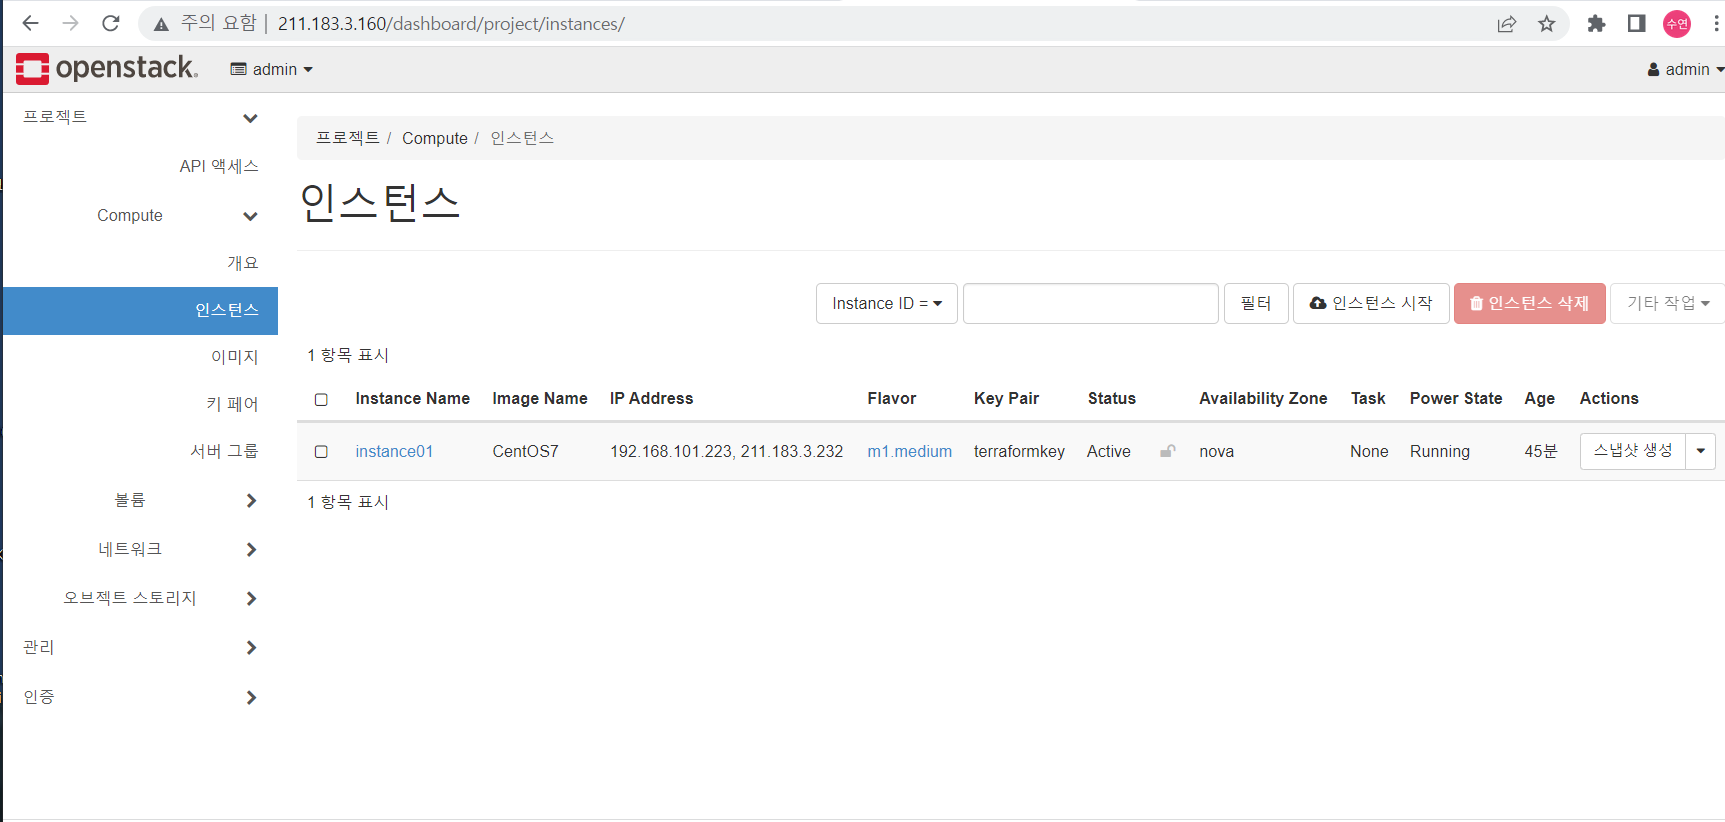
terraform apply -auto-approve- 인스턴스 확인
[root@localhost ~(admin)]# openstack server list
+--------------------------------------+------------+--------+--------------------------+---------+-----------+
| ID                                   | Name       | Status | Networks                 | Image   | Flavor    |
+--------------------------------------+------------+--------+--------------------------+---------+-----------+
| e7e52eef-0ceb-4e4e-a31f-61d239750033 | instance01 | ACTIVE | private1=192.168.101.207 | CentOS7 | m1.medium |
+--------------------------------------+------------+--------+--------------------------+---------+-----------+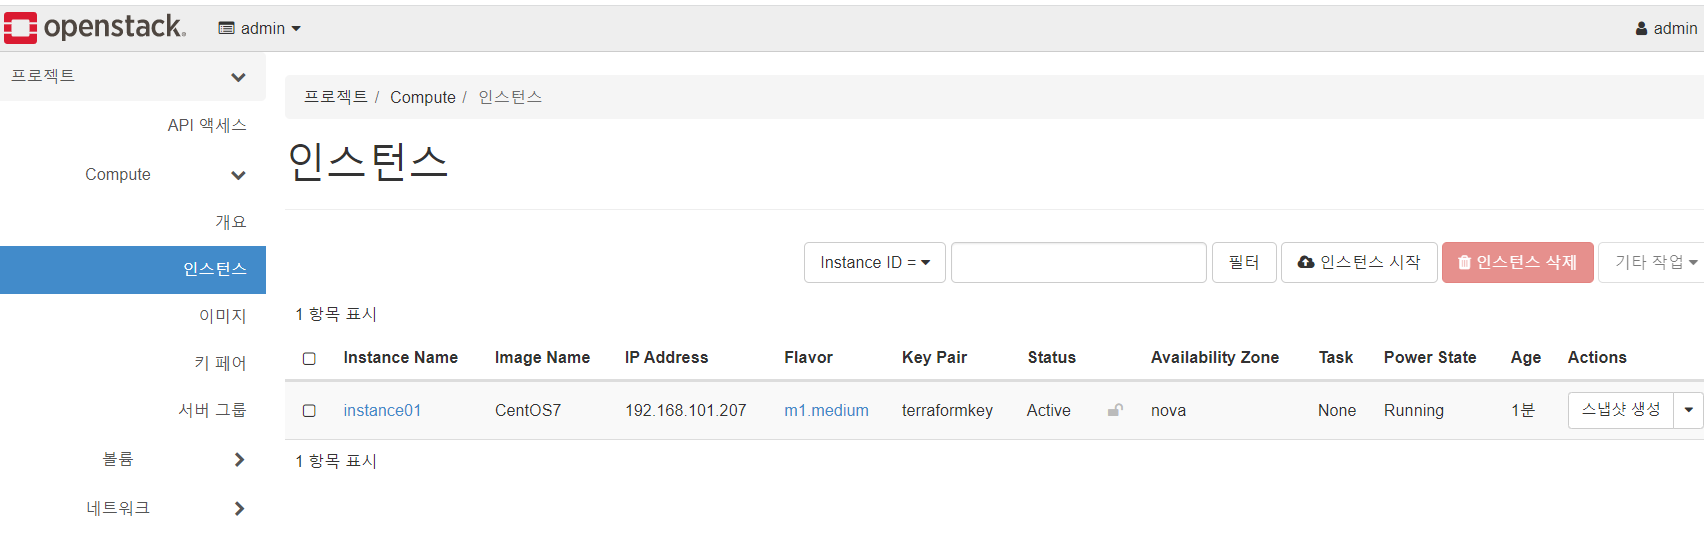
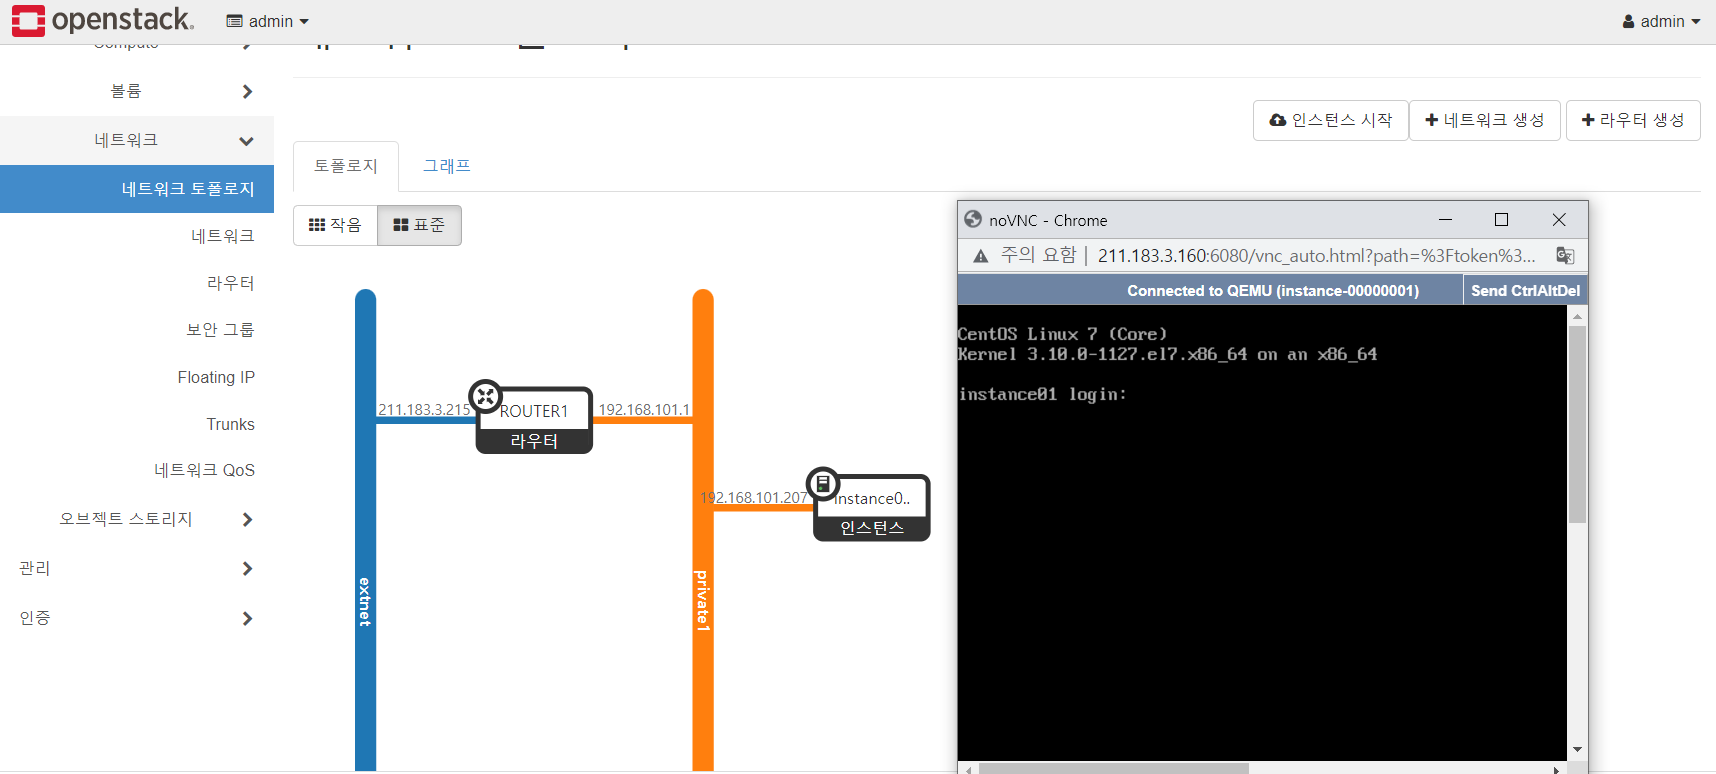
- 네트워크 토폴로지 확인 후 콘솔로 접속할 수 있다.
- 삭제
terraform destroy보안그룹을 만들며 인스턴스 생성
- instance.tf
# security group creation
resource "openstack_compute_secgroup_v2" "secgroup_1" {
  name          = "ohttpssh"
  description   = "permit http, ssh traffic"
  rule {
    from_port   = 80 # security group's port
    to_port     = 80 # instance's port
    ip_protocol = "tcp"
    cidr        = "0.0.0.0/0"# 출발지 주소, 외부에 있는 모든 사용자
  }

  rule {
    from_port   = 22
    to_port     = 22
    ip_protocol = "tcp"
    cidr        = "0.0.0.0/0"
  }

}

resource "openstack_compute_instance_v2" "instance01" {
  name          = "instance01"
  image_id      = "973a59a8-ff61-4404-9e08-d281cdf5f257"
  flavor_id     = "3"
  key_pair      = "terraformkey"
  security_groups = ["icmp", "ohttpssh"]

  metadata = { key1 = "value1" }
  network {
    name = "private1"
  }
}

output "private_address" {
  value = "${openstack_compute_instance_v2.instance01.network.0.fixed_ip_v4}"
}
만약 보안그룹의 이름을 다르게 썼을 경우 terraform plan에서는 해당 보안그룹이 있을 수도 있기 때문에 에러가 없지만, apply를 하면 에러가 뜬다.
floating ip 추가하기
# security group creation
resource "openstack_compute_secgroup_v2" "secgroup_1" {
  name          = "ohttpssh"
  description   = "permit http, ssh traffic"
  rule {
    from_port   = 80 # security group's port
    to_port     = 80 # instance's port
    ip_protocol = "tcp"
    cidr        = "0.0.0.0/0"# 출발지 주소, 외부에 있는 모든 사용자
  }

  rule {
    from_port   = 22
    to_port     = 22
    ip_protocol = "tcp"
    cidr        = "0.0.0.0/0"
  }

}

resource "openstack_compute_instance_v2" "instance01" {
  name          = "instance01"
  image_id      = "973a59a8-ff61-4404-9e08-d281cdf5f257"
  flavor_id     = "3"
  key_pair      = "terraformkey"
  security_groups = ["icmp", "ohttpssh"]

  metadata = { key1 = "value1" }
  network {
    name = "private1"
  }
}

# floating ip
resource "openstack_networking_floatingip_v2" "fip1" {
  pool = "extnet"
}

resource "openstack_compute_floatingip_associate_v2" "fip1"{
  floating_ip   = "${openstack_networking_floatingip_v2.fip1.address}"
  instance_id   = "${openstack_compute_instance_v2.instance01.id}"
  fixed_ip = "${openstack_compute_instance_v2.instance01.network.0.fixed_ip_v4}"
}

output "private_address" {
  value = "${openstack_compute_instance_v2.instance01.network.0.fixed_ip_v4}"
}

output "public_address" {
  value = "${openstack_compute_floatingip_associate_v2.fip1.floating_ip}"
}
terraform apply -auto-approve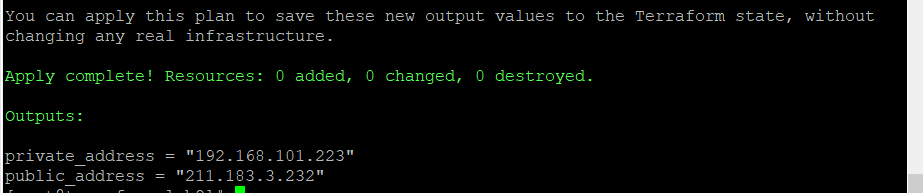
- floating ip 할당 된 것을 볼 수 있다.
인스턴스 여러개 생성하기
# security group creation
resource "openstack_compute_secgroup_v2" "secgroup_1" {
  name          = "ohttpssh"
  description   = "permit http, ssh traffic"
  rule {
    from_port   = 80 # security group's port
    to_port     = 80 # instance's port
    ip_protocol = "tcp"
    cidr        = "0.0.0.0/0"# 출발지 주소, 외부에 있는 모든 사용자
  }

  rule {
    from_port   = 22
    to_port     = 22
    ip_protocol = "tcp"
    cidr        = "0.0.0.0/0"
  }

}

resource "openstack_compute_instance_v2" "instance01" {
  name          = "instance-${count.index +1}"
  image_id      = "973a59a8-ff61-4404-9e08-d281cdf5f257"
  flavor_id     = "3"
  key_pair      = "terraformkey"
  security_groups = ["icmp", "ohttpssh"]
  count         = 2

  network {
    name = "private1"
  }
}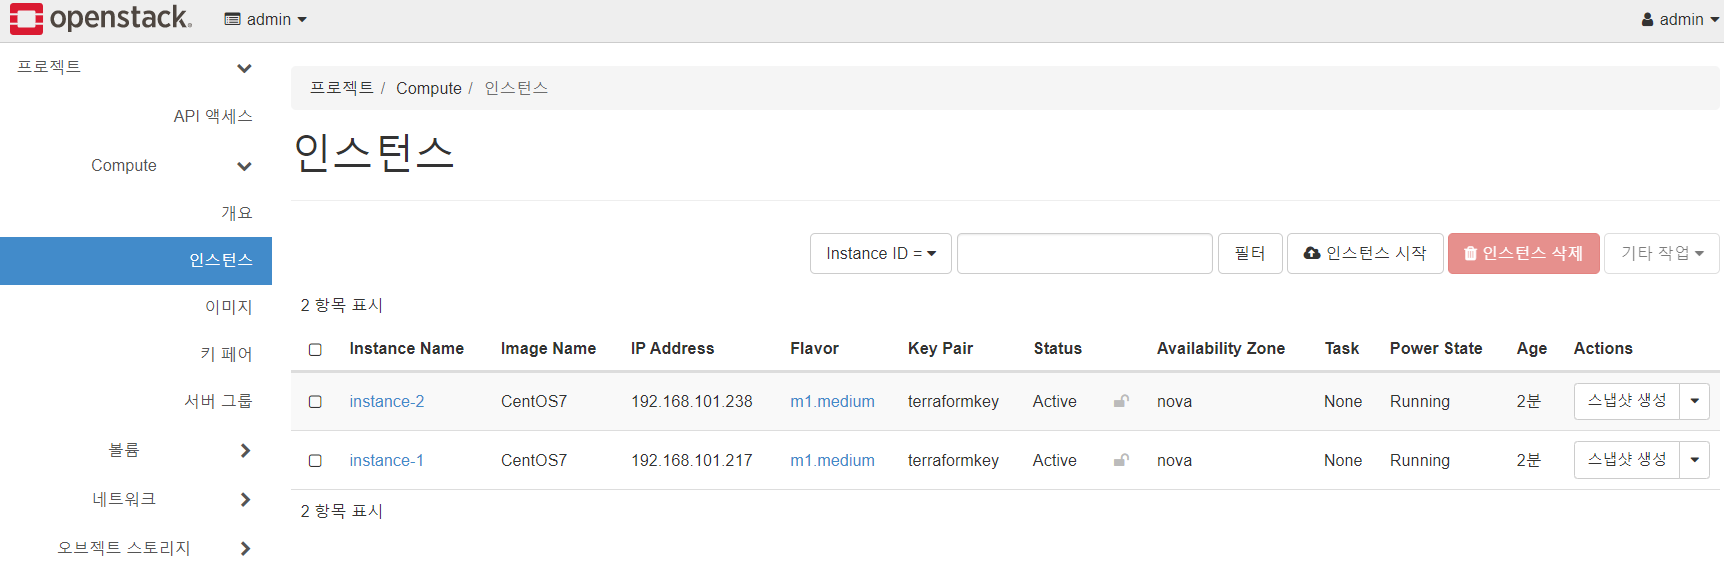
Quiz
- floating ip 할당 2개 - 인스턴스의 fixed_ip와 연결
- output에서는 다음과 같이 출력되어야 한다.
- private_address 192.168.101.X , 192.168.101.Y
- public_address 211.183.3.X, 211.183.3.Y
- 부팅시 httpd 관련 sh가 실행
# security group creation
resource "openstack_compute_secgroup_v2" "secgroup_1" {
  name          = "ohttpssh"
  description   = "permit http, ssh traffic"
  rule {
    from_port   = 80 # security group's port
    to_port     = 80 # instance's port
    ip_protocol = "tcp"
    cidr        = "0.0.0.0/0"# 출발지 주소, 외부에 있는 모든 사용자
  }

  rule {
    from_port   = 22
    to_port     = 22
    ip_protocol = "tcp"
    cidr        = "0.0.0.0/0"
  }

}

resource "openstack_compute_instance_v2" "instance" {
  name          = "instance-${count.index +1}"
  image_id      = "973a59a8-ff61-4404-9e08-d281cdf5f257"
  flavor_id     = "3"
  key_pair      = "terraformkey"
  security_groups = ["icmp", "ohttpssh"]
  count         = 2

  network {
    name = "private1"
  }

  user_data = file("firstboot.sh")
}

resource "openstack_networking_floatingip_v2" "floatIP" {
  pool = "extnet"
  count = 2
}

resource "openstack_compute_floatingip_associate_v2" "floatIP" {
  count = 2
  floating_ip = "${openstack_networking_floatingip_v2.floatIP[count.index].address}"
  instance_id = "${openstack_compute_instance_v2.instance[count.index].id}"
}

output "privateIP" {
  value = "${openstack_compute_instance_v2.instance[*].network.0.fixed_ip_v4}"
}

output "publicIP" {
  value = "${openstack_compute_floatingip_associate_v2.floatIP[*].floating_ip}"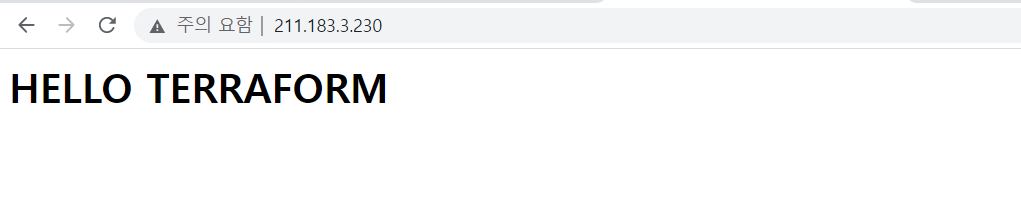
}- firstboot.sh
#!/bin/bash
sudo yum -y install httpd
sudo systemctl start httpd
sudo systemctl enable httpd
echo "<h1>HELLO TERRAFORM</h1>" | sudo tee /var/www/html/index.html
일반사용자 centos가 로컬에 있는 firstboot.sh를 실행하게 된다.
tee를 사용해 데이터를 작성할 수 있다. 만약 sudo echo “hello” > /var/www~ 는 퍼미션에러가 난다. 그래서 sudo tee로 한다.
쉘은 절차적이기 때문에 인터넷 연결이 바로 안된상태에서 부팅이 되면 바로 실행을 하게 되는데 오류가 나면 종료되기 때문에 정상적으로 index가 보이지 않는다. (인터넷 속도가 느리면)
이렇게 while로 확인하는 방법도 있다.
#!/bin/bash

while [ 1 ]
do
        ping www.google.com -c 5
        if [ $? -eq "0" ]
        then
                break
        fi
        sleep 3
done
sudo yum -y install httpd
sudo systemctl start httpd
sudo systemctl enable httpd
echo "<h1>HELLO TERRAFORM</h1>" | sudo tee /var/www/html/index.html
인터넷 속도가 정상적인 환경에서 하면 잘 된다.
파일 나누어 실습하기
-
현재까지 실습에 활용된 instance.tf 파일의 경우 모든 값을 string 형태로 tf 파일에 직접 작성
하는 형태였다. 만약 특정 값을 변경해야 하는 경우라면 전체 파일의 내용을 열고 이를 찾아 수정하는 방법을 선택해야 할 것이다. 이 경우 다수의 개발자가 해당 파일을 수정하거나 관계없는 문자열을 수정하는 등의 문제로 인하여 원하지 않는 결과가 발생할 수 있을 것이다. -
파일 만들기
[root@terraform lab3]# touch provider.tf main.tf floatingip.tf outputs.tf vars.tf- provider.tf
terraform {
required_version = ">= 1.0.0" # 버전은 1.0.0 이상이면 됨
  required_providers {
    openstack = {
      source = "terraform-provider-openstack/openstack" # openstack 플러그인
      version = "~> 1.42.0" # 1.42.0보다 크면 됨
    }
  }
}

# api login
provider "openstack" {
  user_name     = "admin"
  password      = "test123"
  tenant_name   = "admin" #프로젝트 이름
  auth_url      = "http://211.183.3.160:5000"
  region        = "RegionOne"
}- vars.tf
variable "instance" {
  default = {
    image_name  = "CentOS7"
    image_id    = "973a59a8-ff61-4404-9e08-d281cdf5f257"
    count       = 1
  }
}

variable "inside" {
  default = {
    name        = "private1"
    id          = "ab0bc22b-f90b-49a2-8182-9a458101620f"
  }
}

variable "outside" {
  default = {
    name        = "extnet"
    id          = "98facebd-53fc-4a1c-80be-013026471da4"
  }
}

variable "flavor" {
  default = {
    id          = "2"
    name        = "m1.small"
  }
}

variable "keypair" {
  default = {
    name        = "terraformkey"
  }
}- floatingip.tf
resource "openstack_networking_floatingip_v2" "fip1" {
  pool = var.outside["name"]
  count = var.instance["count"]
}

resource "openstack_compute_floatingip_associate_v2" "fip1" {
  count         = var.instance["count"]
  floating_ip   = "${openstack_networking_floatingip_v2.fip1[count.index].address}"
  instance_id   = "${openstack_compute_instance_v2.instance[count.index].id}"
}- outputs.tf
output "private_address" {
  value = "${openstack_compute_instance_v2.instance[*].network.0.fixed_ip_v4}"
}

output "public_address" {
  value = "${openstack_compute_floatingip_associate_v2.fip1[*].floating_ip}"
}- main.tf
resource "openstack_compute_instance_v2" "instance" {
  name                  = "instance-${count.index}"
  image_name            = var.instance["image_name"]
  flavor_name           = var.flavor["name"]
  key_pair              = var.keypair["name"]
  security_groups       = ["webssh", "icmp"]
  count                 = var.instance["count"]

  network {
    name = var.inside["name"]
  }
}- init
terraform init- apply
terraform apply -auto-approveprovider.tf : 프로바이더 지정 → 테라폼 서버로부터 명령을 받아 처리할 컴퓨팅 노드 libvvirt, openstack, aws 등 지정
instance.tf : 1개의 파일에 모든 리소스를 작성 → lock으로 인해 여러 명의 팀원이 동시에 하나의 파일을 두고 작업하는 것이 불가능해 진다. 이를 해결하기 위해서는 디렉토리/파일 등으로 구분해서 작업해야 한다.
