이번 포스팅과 다음 2개의 포스팅에서 만들어 볼 것은 사진첩 어플리케이션입니다. 사진첩 어플리케이션을 만들어보면서, 프로젝트 생성, 레이아웃 구성, 클릭 이벤트 리스너, Intent를 이용한 화면 전환, 스플래시 화면 구성에 대해 학습해보도록 합시다.
1. 프로젝트 빌드
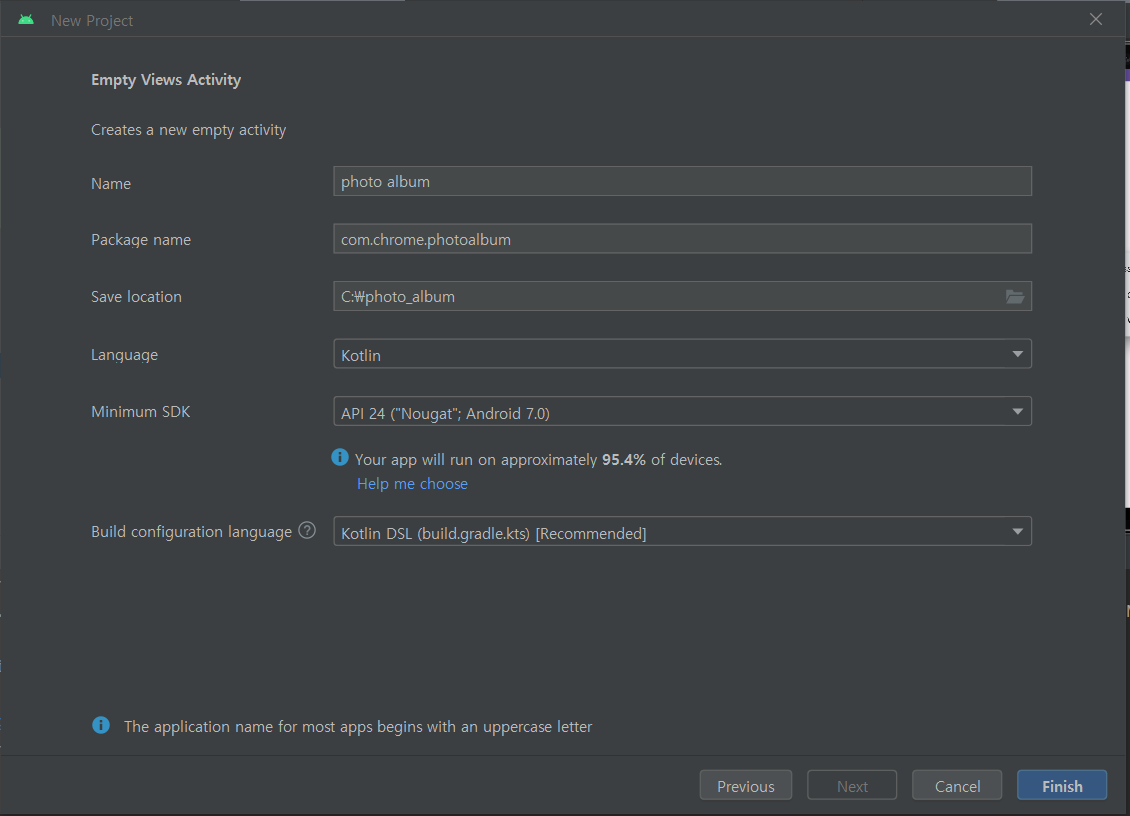
① File > New > New Project를 클릭하고, Empty View Activity를 클릭한다.
② 아래와 같이 설정한 후, Finish 버튼을 클릭한다.
2. 화면 구성하기
① res > layout > activity_main.xml에 들어간다.
② 우상단의 Code, Split, Design 버튼으로 필요에 따라 코드와 디자인을 화면에 띄울 수 있다.
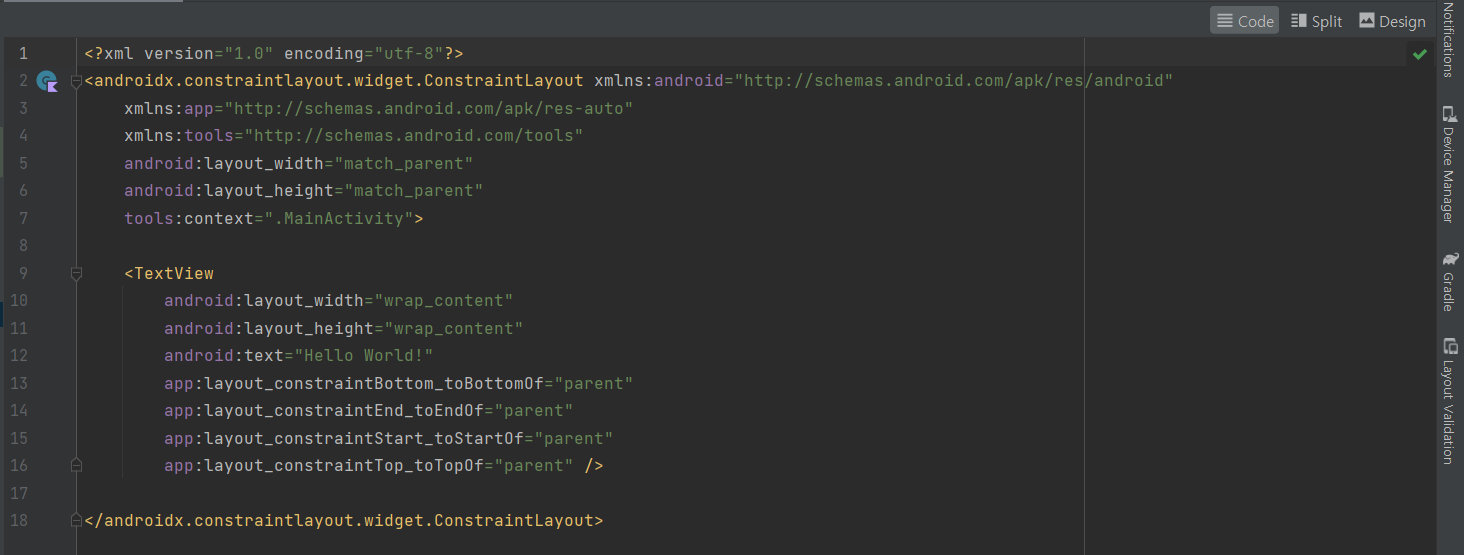
③ 화면모드를 Split으로 지정한 뒤 TextView 태그의 내용을 모두 삭제한다.
④ res > drawable 패키지 안에 사진 앨범을 장식할 사진 파일들을 드래그 앤 드롭 방식으로 추가한다.
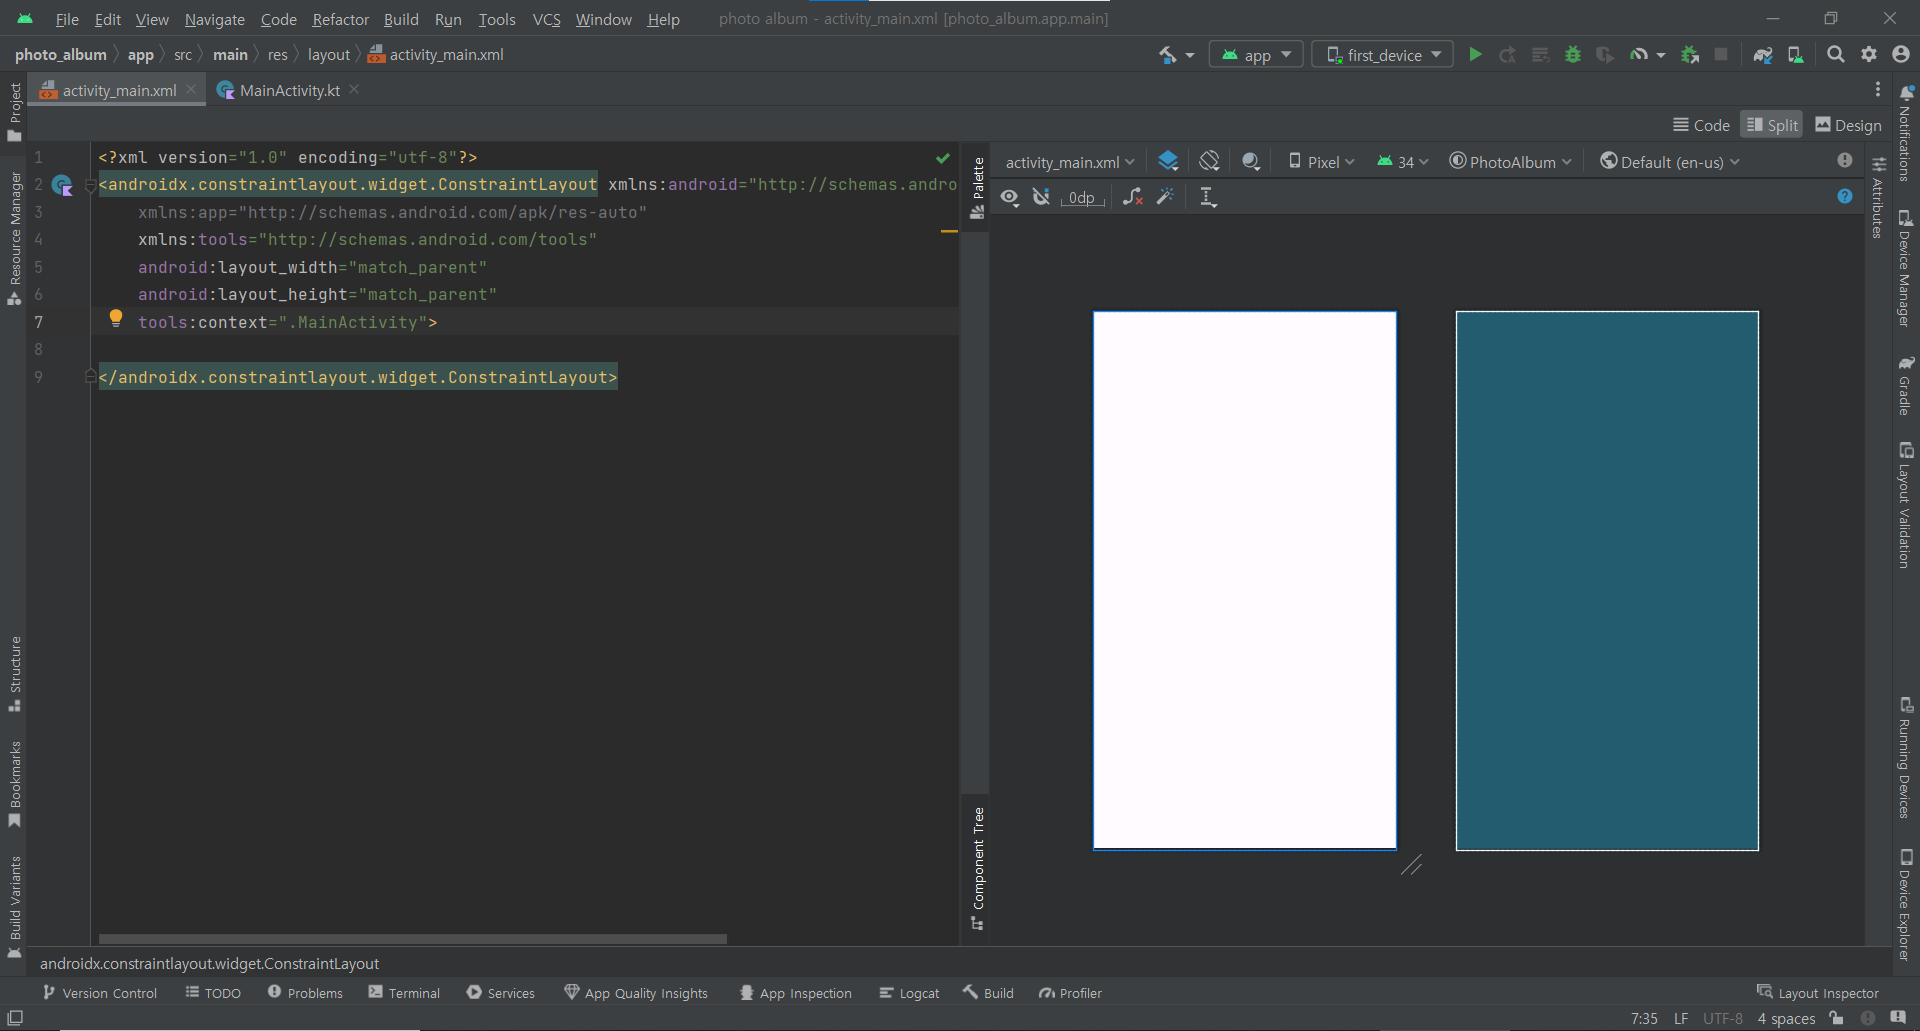
⑤ 코드를 보면 ConstraintLayout이라는 게 보이는데, 지금 사용할 레이아웃은 LinearLayout이므로 아래와 같이 코드를 수정해야 한다.
<LinearLayout
    xmlns:android="http://schemas.android.com/apk/res/android"
    xmlns:app="http://schemas.android.com/apk/res-auto"
    xmlns:tools="http://schemas.android.com/tools"
    android:layout_width="match_parent"
    android:layout_height="match_parent"
    tools:context=".MainActivity">

</LinearLayout>
⑥ Layout 컨테이너 안에 <ImageView를 입력하면, width와 height 속성에 대한 값을 입력할
수 있도록 자동 완성되는데, 여기에 120dp를 넣으면 된다. /를 입력하면 자동으로 태그가 종료된다. 화면에 어느 정도 크기로 나타날지는 우측의 Design 화면에서 확인할 수 있다.
<ImageView
        android:layout_width="120dp"
        android:layout_height="120dp"/>
※ px와 dp의 차이
px와 dp 모두 안드로이드 앱 개발에서 사용하는 단위로, 화면의 크기와 레이아웃을 정의하는 용도로 주로 사용된다. px는 픽셀을 나타내는 단위로, 절대적인 단위이다. 이는 디바이스의 화면 해상도에 직접적으로 영향을 받는다. 즉, 같은 크기의 px라도 화면 해상도가 높은 디바이스에선 더 작은 크기로 나타난다.
반면, dp는 Density independent Pixel이라는 의미로, 디바이스의 해상도와 무관하게 일정한 크기를 유지한다. 즉, dp로 크기를 나타내면 다양한 화면 크기를 가진 디바이스에서 동일한 레이아웃 및 UI 크기를 유지할 수 있다. 어떤 단위가 좋을지는 상황에 따라 달라질 수도 있겠지만, 특별한 경우가 아니라면 dp를 사용하는 것이 일반적이다.
⑦ 사진을 넣어주기 위해 ImageView 컨테이너 안에 아래의 코드를 추가한다.
<ImageView
        android:src="@drawable/photo_1"
        android:layout_width="120dp"
        android:layout_height="120dp"/>
⑧ 위 ImageView 태그를 반복하여 모든 사진을 추가해주면 된다.
⑨ 현재 Linear Layout을 사용하고 있기 때문에 4번째 사진부터 짤림 현상이 발생한다.
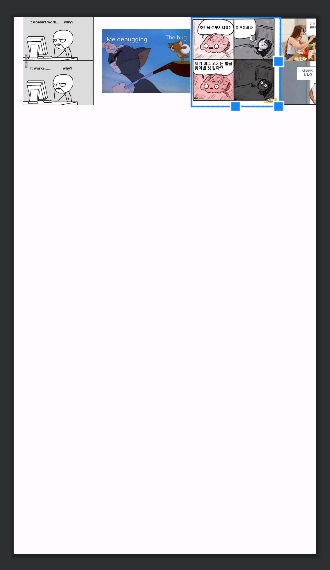
⑩ 사진 3개씩만 Linear로 묶어서 표기하기 위해, LinearLayout 안에 새로운 LinearLayout을 정의한다. 그 안에 3개의 ImageView 태그를 넣어주면 된다.
<LinearLayout
    xmlns:android="http://schemas.android.com/apk/res/android"
    xmlns:app="http://schemas.android.com/apk/res-auto"
    xmlns:tools="http://schemas.android.com/tools"
    android:layout_width="match_parent"
    android:layout_height="match_parent"
    tools:context=".MainActivity">

    <LinearLayout
        android:layout_width="match_parent"
        android:layout_height="120dp">
        <ImageView
            android:src="@drawable/photo_1"
            android:layout_width="120dp"
            android:layout_height="120dp"/>
        <ImageView
            android:src="@drawable/photo_2"
            android:layout_width="120dp"
            android:layout_height="120dp"/>
        <ImageView
            android:src="@drawable/photo_3"
            android:layout_width="120dp"
            android:layout_height="120dp"/>
    </LinearLayout>
</LinearLayout>
⑪ LinearLayout 컨테이너를 복사하여 붙여 넣으면, 다시 3개의 이미지를 포함하는 LinearLayout을 만들 수 있다.
	<LinearLayout
        android:layout_width="match_parent"
        android:layout_height="120dp">
        <ImageView
            android:src="@drawable/photo_1"
            android:layout_width="120dp"
            android:layout_height="120dp"/>
        <ImageView
            android:src="@drawable/photo_2"
            android:layout_width="120dp"
            android:layout_height="120dp"/>
        <ImageView
            android:src="@drawable/photo_3"
            android:layout_width="120dp"
            android:layout_height="120dp"/>
    </LinearLayout>

    <LinearLayout
        android:layout_width="match_parent"
        android:layout_height="120dp">
        <ImageView
            android:src="@drawable/photo_1"
            android:layout_width="120dp"
            android:layout_height="120dp"/>
        <ImageView
            android:src="@drawable/photo_2"
            android:layout_width="120dp"
            android:layout_height="120dp"/>
        <ImageView
            android:src="@drawable/photo_3"
            android:layout_width="120dp"
            android:layout_height="120dp"/>
    </LinearLayout>
⑫ 뷰 그룹의 방향을 Layout의 Orientation이라고 하는데, LinearLayout의 default orientation은 horizontal이다. 그러므로, 부모 LinearLayout의 orientation을 vertical로 변경해주어야 자식 Layout들이 수직 방향으로 연결될 수 있다. 부모 LinearLayout 컨테이너에 아래의 코드를 추가해주자.
<LinearLayout
    xmlns:android="http://schemas.android.com/apk/res/android"
    xmlns:app="http://schemas.android.com/apk/res-auto"
    xmlns:tools="http://schemas.android.com/tools"
    android:layout_width="match_parent"
    android:layout_height="match_parent"
    tools:context=".MainActivity"
    android:orientation="vertical">
⑬ photo_4와 photo_5가 나올 수 있도록 코드를 수정한다.
<LinearLayout
android:layout_width="match_parent"
android:layout_height="120dp">
<ImageView
android:src="@drawable/photo_4"
android:layout_width="120dp"
android:layout_height="120dp"/>
<ImageView
android:src="@drawable/photo_5"
android:layout_width="120dp"
android:layout_height="120dp"/>
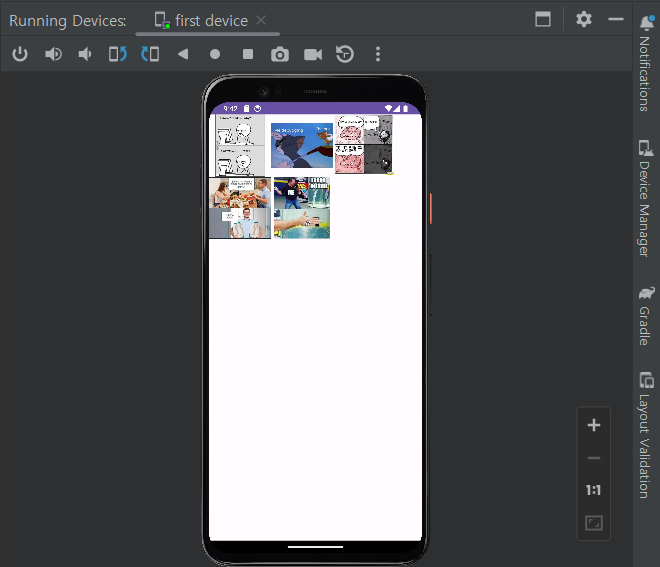
</LinearLayout>⑭ AVD를 선택한 후 재생 버튼을 눌러 코드를 실행시킨다.