Adding Padding
frame에 직접 값을 입력하는 것보다는, 다이나믹(상황에 따라 알아서 맞춰서 변함)인 패딩을 사용하는것을 권장한다.
import SwiftUI
struct PaddingAndSpacerBootcamp: View {
var body: some View {
VStack(alignment: .leading) {
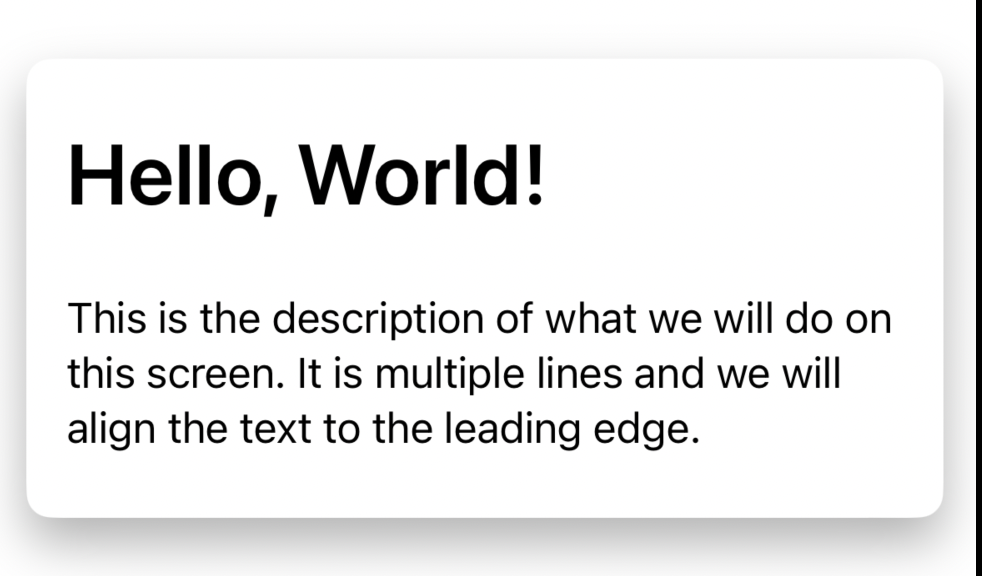
Text("Hello, World!")
//Padding real world example
.font(.largeTitle)
.fontWeight(.semibold)
.padding(.bottom, 20)
Text("This is the description of what we will do on this screen. It is multiple lines and we will align the text to the leading edge.")
}
//.background(Color.blue)
.padding()
.padding(.vertical, 10)
.background(
Color.white //패딩색
.cornerRadius(10) //모서리를 둥글게
.shadow(
color: Color.black.opacity(0.3),
radius: 10,
x: 0.0, y: 10
)
)
.padding(.horizontal, 10) //가로로 패딩을 넣음
//.background(Color.green) //위에 가로로 들어간 패딩의 색
//------------------------------------------------------------------------------
//Padding -> dynamic
//.frame(width: 100, height: 100)
// in real world, we try to avoid hardcoding values like this.
//실제로 코딩할때는, 코드에 100 이라는 값을 직접 주는 것은 피하는게 좋다
//-> 따라서 frame 보다는 padding을 쓰는걸 ㅊㅊ
.background(Color.yellow)
//.padding()
//padding() adds extra space around all four edges of the text. cuz it's dynamic.
//-> 컨텐츠가 바뀌어도 패딩은 dynamic하기 때문에 컨텐츠에 따라 패딩도 바뀐다.
.padding(.all, 10) //we can stack paddings
.padding(.leading, 20) //이렇게 스택으로 쌓을 수 있다
.background(Color.blue)
}
}
#Preview {
PaddingAndSpacerBootcamp()
}