3강(처음 ~ 01:46:30)
css를 이용하여 text를 디자인
- style에서 html 파일과 css 파일 연동 & 구글 폰트 넣어주기
	<link rel="preconnect" href="https://fonts.googleapis.com">
	<link rel="preconnect" href="https://fonts.gstatic.com" crossorigin>
	<link href="https://fonts.googleapis.com/css2?family=Noto+Sans+KR:wght@100;300;400;500;700;900&display=swap" rel="stylesheet">

	<link rel="stylesheet" type="text/css" href="style.css">
link 태그로 html 파일과 css 파일을 연동
stylesheet : link 태그로 연동될 파일은 디자인을 담당하는 문서(stylesheet)라고 명시하는 것
type : 글자 / 언어 구성
href : 연동될 파일의 경로
- View - layout - column 화면 분할(html 파일과 css 파일 한 화면에 보기 가능)
css 코드는 모두 중괄호 안에 작성
css 에서 주석처리 : /, /
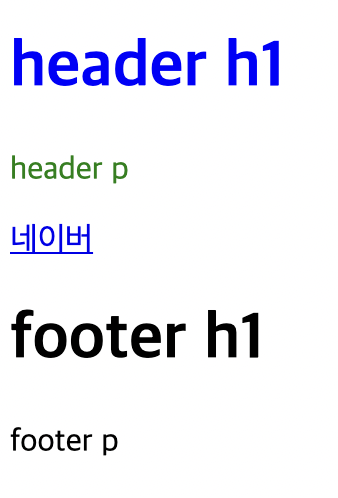
html
<header>
<h1>header h1</h1>
<p>header p</p>
<a href="#">네이</a>
</header>
<footer>
<h1>footer h1</h1>
<p>footer p</p>
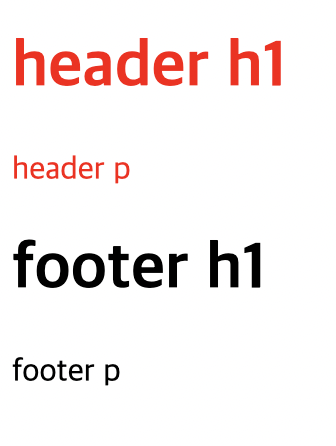
</footer>css
header {
	color: red;
}
color : 속성
red : 속성값
결과
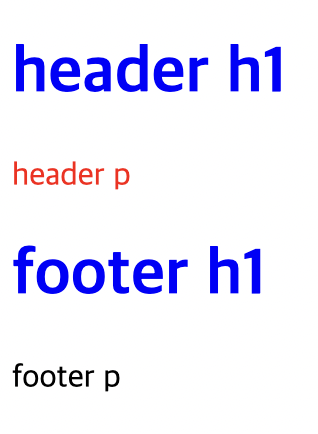
css
header h1,
footer h1 {
	color: blue;
}
결과
css
header p,
footer p {
	color: green
}
결과
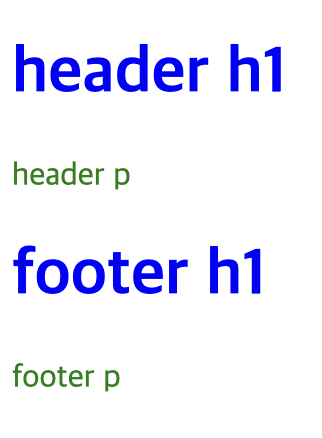
- header 부모태그 h1 자식태그
h1, p 서로는 형제태그
ex) header 가 red 여도 자기 자신의 유전자가 먼저이므로 자신이 blue이면 blue
html
	<header>
		<h1>header h1</h1>
		<p>header p</p>
		<a href="#">네이버</a>
	</header>

	<footer>
		<h1>footer h1</h1>
		<p>footer p</p>
	</footer>
css
header {
	color: red;
}

header h1,
footer h1 {
	color: blue;
}

header p,
footer p {
	color: green
}
결과
- id 선택자 : 태그에 이름 붙여서 디자인 설정
class 선택자 : 태그에 별명 붙여서 디자인 설정
id와 class 사용하는 경우 구분
id 는 이름, class 는 별명이므로
id는 속성값 하나만 사용
그렇지 않으면 오류로 인식
그 속성값도 한 곳에만 있어야 함
but, class 는 여러개 사용 가능
별명도 여러 곳에 사용 가능
이런 경우에 사용
<h1></h1>
<h1></h1>
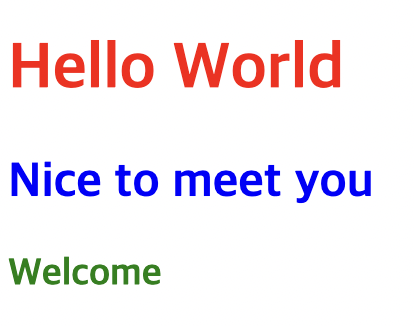
<h1></h1>html
	<h1>Hello World</h1>
	<h2 id="test1">Nice to meet you</h2>
	<h3 class="test2">Welcome</h3>
css
h1 {
	color: red;
}

#test1 {
	color: blue;
}

.test2 {
	color: green;
}
결과
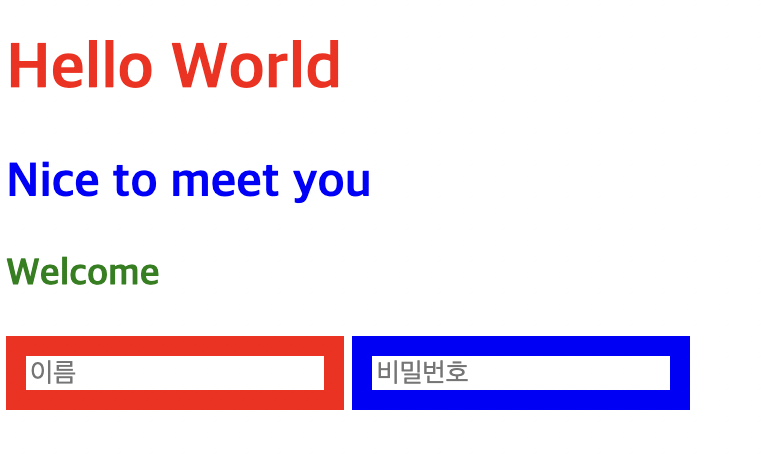
- type 안에 들어있는 속성값을 기준으로 디자인 적용 가능
html
	<input type="text" placeholder="이름">
	<input type="password" placeholder="비밀번호">
css
input[type="text"] {
	border: solid 10px red;
}

input[type="password"] {
	border: solid 10px blue;
}
결과
- ID선택자와 Class 선택자
html
	<h2 id="color-1 font-style-1">ID 선택자</h2>
	<h3 class="bg-1 font-size-1">Class 선택자</h3>


	<p class="bg-1">Welcome</p>
	<h4 id="color-1"></h4>
css
.bg-1 {
	background-color: red;
}

.font-size-1 {
	font-size: 50px;
}


#color-1 {
	color: red;
}

#font-style-1 {
	font-style: italic;
}
결과

- 아래와 같은 상황에서 적용되는 같은 표현
header div p
header .container p
#intro .container p


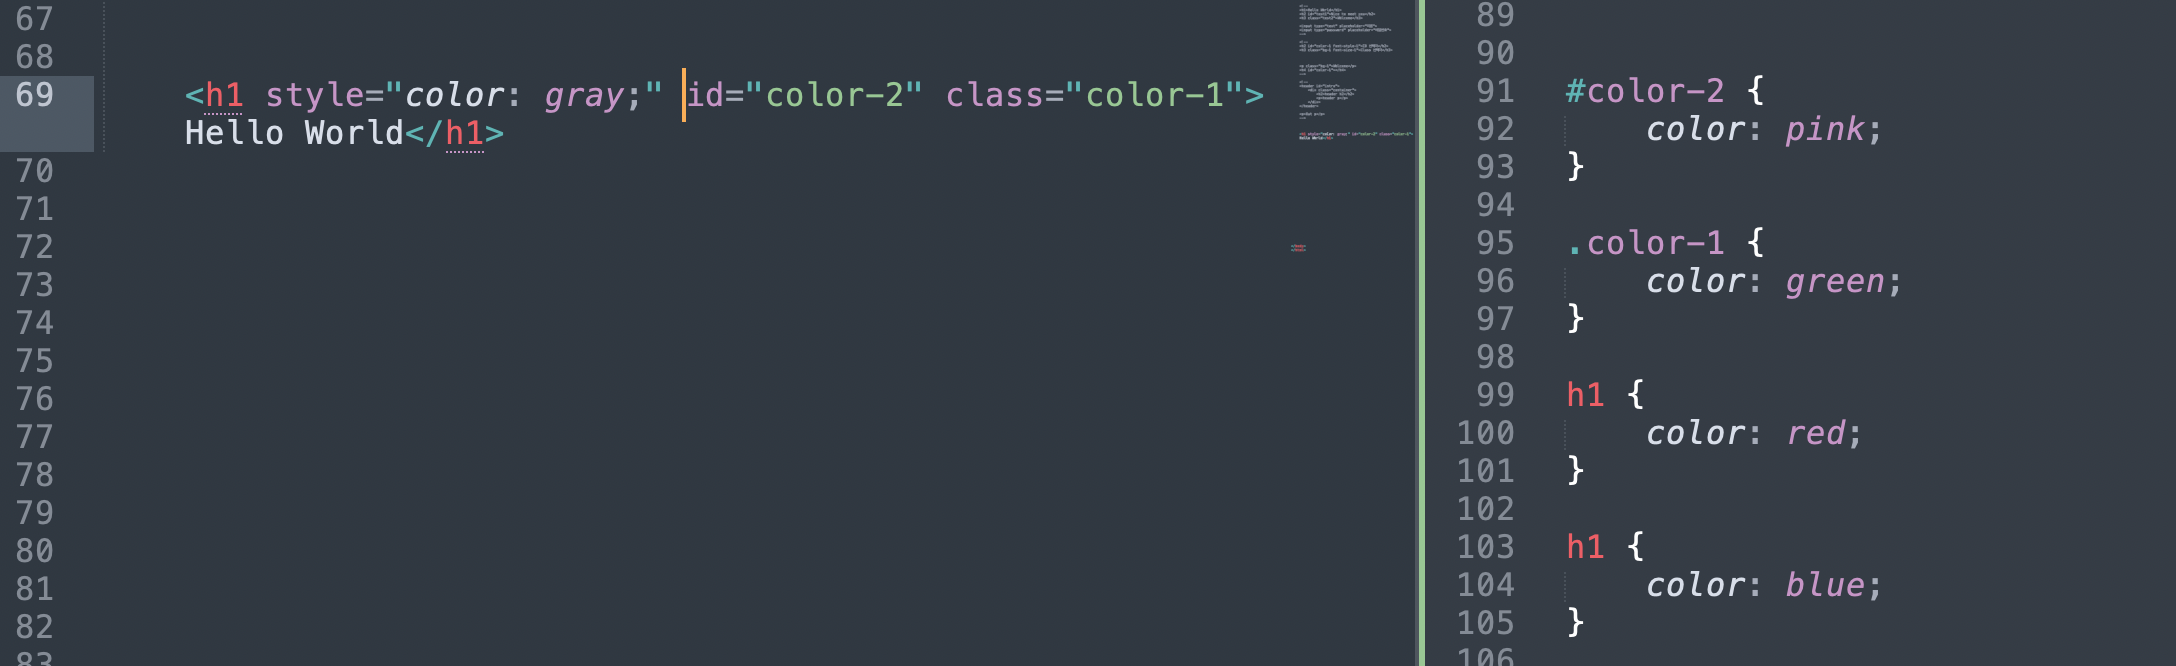
- tag와 class로 속성 지정했을 때 class의 우선순위가 높다
같은 tag에 대해 서로 다른 색상을 여러번 지정하면 마지막 색상이 적용됨
따라서, style 속성 > id > class > tag(마지막 적용)
원본 코드는 유지한 채로 새로운 코드로 덮어씌움
새로운 코드는 기존의 원본 코드를 보다 디테일
1) 같은 태그에서는 마지막에 적용한 것 - blue


2) tag 보다 class 우선 - green
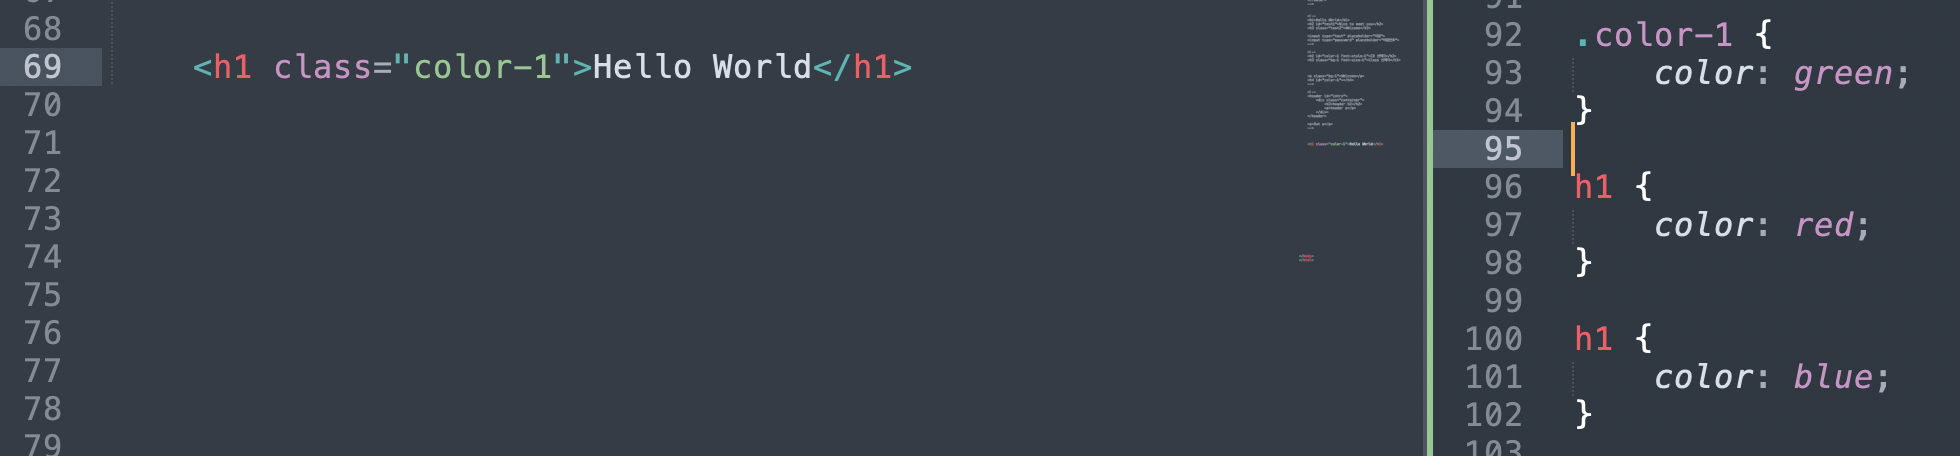

3) class 보다 id 우선 - pink


4) style 속성 - gray

% : 가변값! 기준값을 바탕으로 공간의 크기
기준값은 div태그의 부모인 body 태그
결국 부모 영향
- font 특징
font-family : 폰트 서체 3가지 설정 했을 때 앞에 입력한 것부터 적용가능한 폰트로 적용됨
앞의 서체 적용 안될 경우 차례대로 다음 폰트로 적용
마지막은 sans-serif 로 적용(모든 브라우저에서 사용 가능)
font-weight 폰트 굵기
text-decoration
:underline;
:line-through;
:none;
Text-align
:left;
:center;
:none;
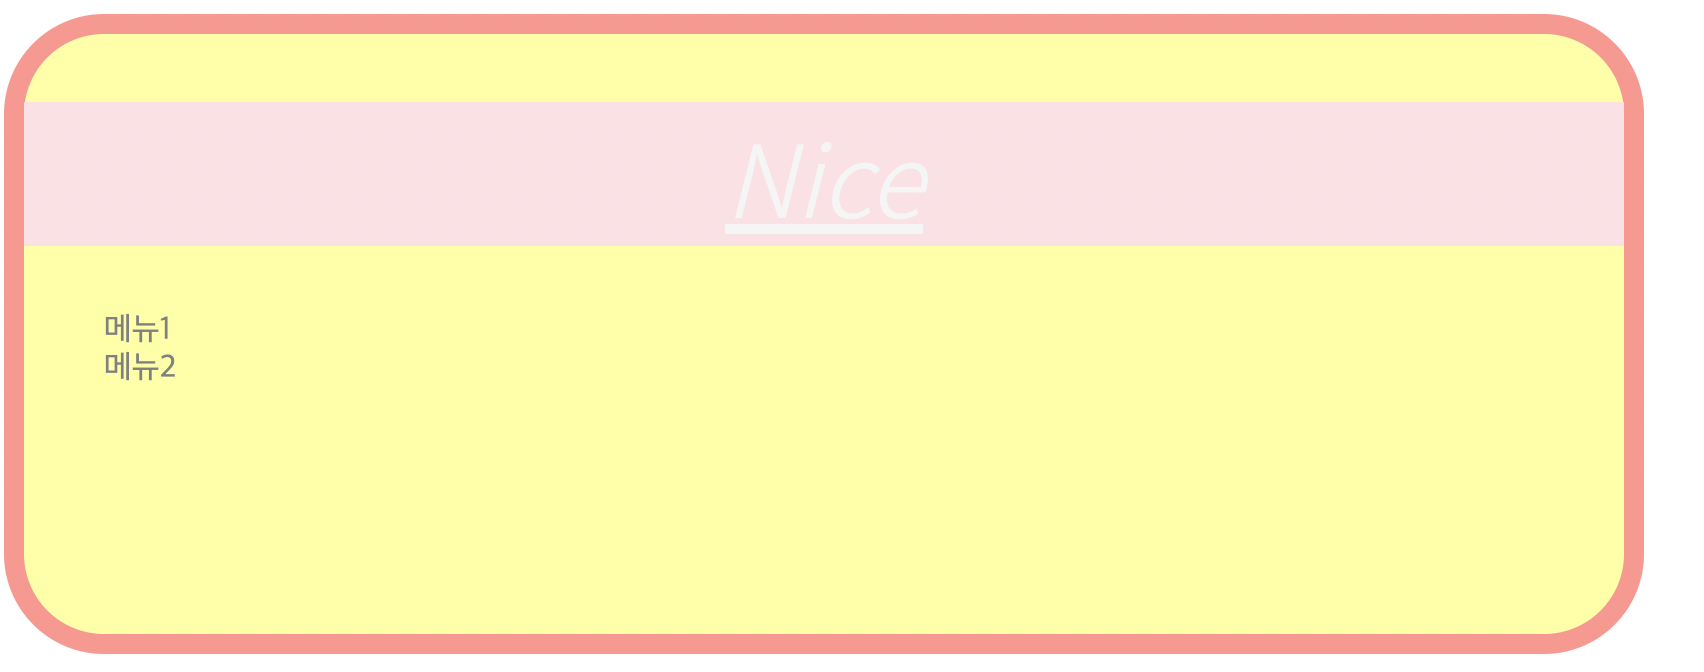
html
	<div>
		<h1>Nice</h1>
		<ul>
			<li>메뉴1</li>
			<li>메뉴2</li>
		</ul>
	</div>
css
div {
	width: 100%;
	height: 300px;
	min-width: 600px;
	max-width: 800px;

	border: solid 10px red;
	border-radius:  50px;

	background-color: yellow;
}

h1 {
	color: #eaeaea;
	font-size: 50px;
	font-style: italic;
	font-family: 'Noto Sans KR', sans-serif;
	font-weight: 300;
	text-decoration: underline;
	text-align:  center;

	background-color: pink;
}
결과

-> 변경 사항 opacity 투명도 적용, list-style none으로 메뉴1,2 앞 동그라미 없앰
css
div {

	opacity: 0.5;
}

ul {
	list-style:  none;
}
결과
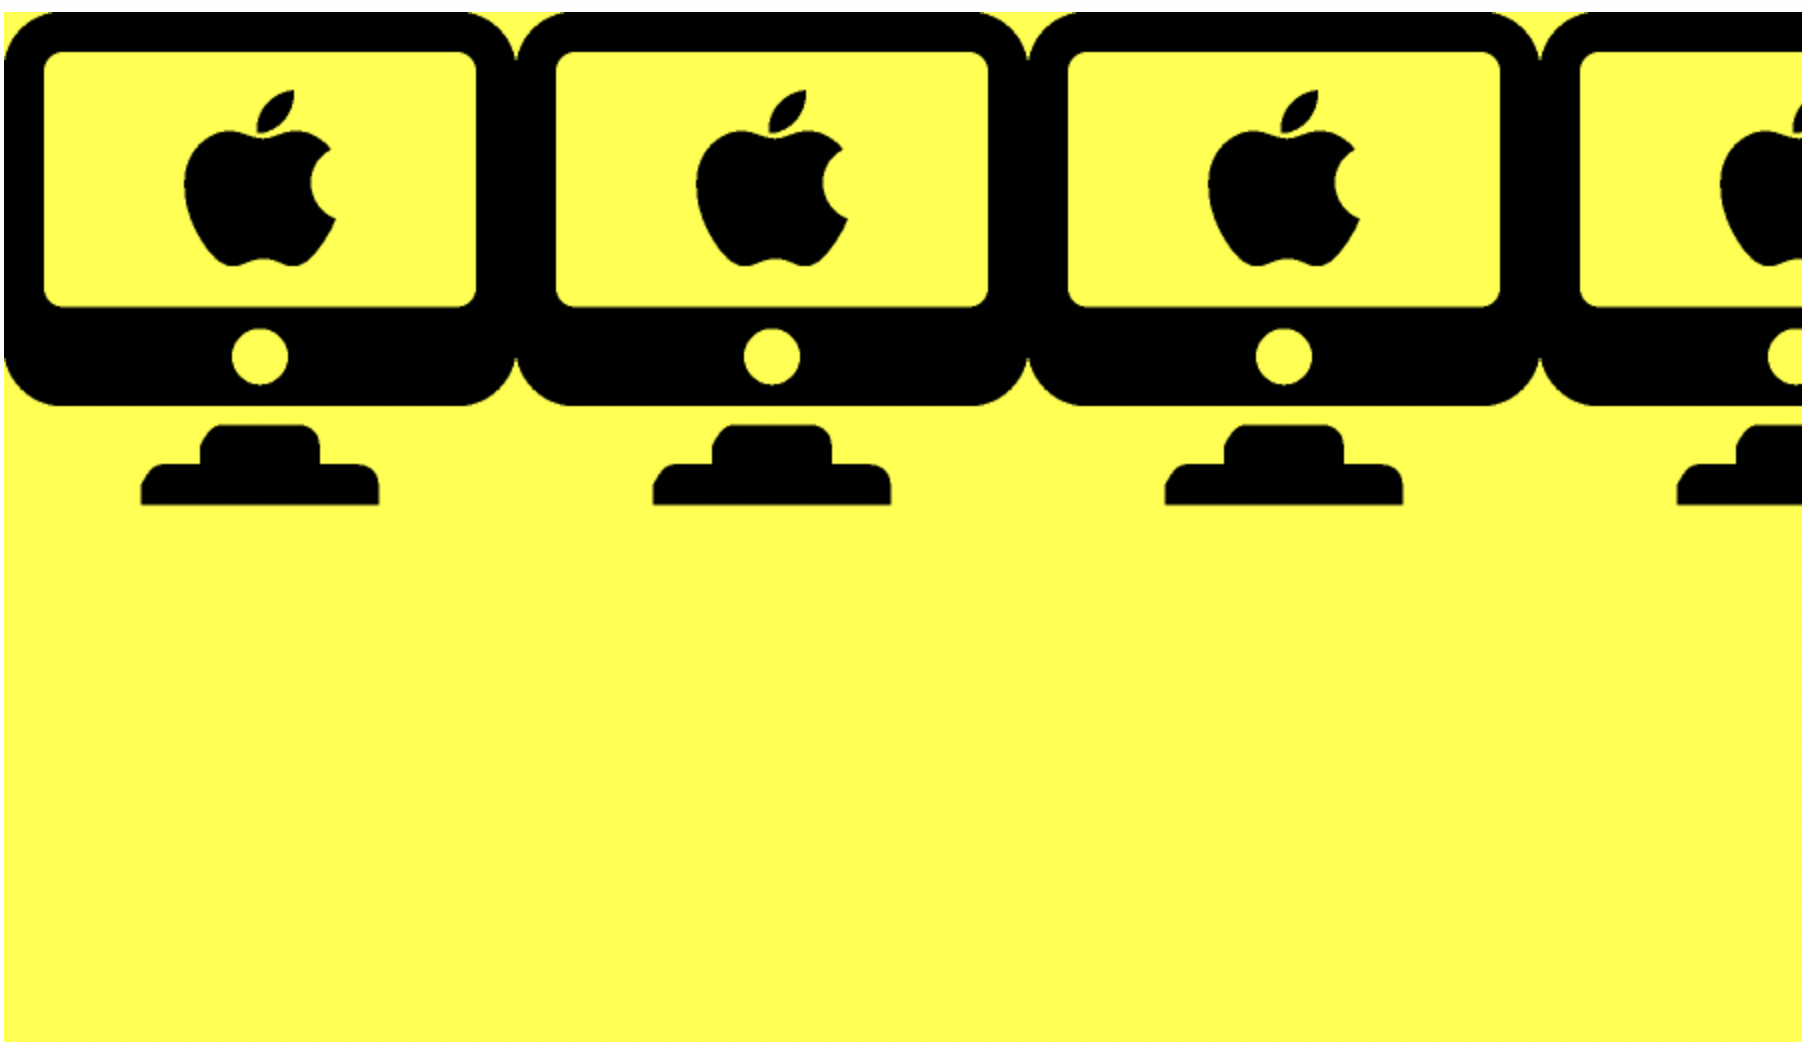
- img 삽입
background-repeat 종류
:repeat-x;
:repeat-y;
:none;
html
<div id="bg"></div>css
#bg {
	width: 900px;
	height: 900px;
	background-color: yellow;
	background-image: url(icon.ico);
	background-repeat: repeat-x;
}
결과
- background-position 종류
top left
top right
center
bottom 등
html
	<div id="bg"></div>


	<img src="icon.ico" width="100px" height="50px" alt="네이버 로">
css
#bg {
	width: 100px;
	height: 100px;
	background-color: yellow;
	background-image: url(icon.ico);
	background-repeat: no-repeat;
	background-position:  top left;
결과

여기서 예전에 궁금했던 alt
삽입의 이유를 정확히 알게 되었다.
Alt - 정보성을 가지고 있는 이미지의 경우에 사용
시각장애인들이 사용하는 스크린 리더가 이미지를 읽어들일 수 없기 때문에
어려웠던 부분
예전에 헷갈렸던 alt 속성에 대해 잘 몰랐었다. 새로 배운 부분은 다 이해를 했지만 정리를 해보니 헷갈리는 부분이 많다.
해결방법
강사님께서 설명해주셔서 이해할 수 있었다. 헷갈리는 부분은 강의를 다시 들어보았다.
학습소감
처음에는 간단해보였는데 점점 복잡한 것 같다...
설정해야 할 것들이 많고 이해가 안되는 부분은 없지만 헷갈리는 부분이 생긴다.
다른 sample들을 가지고 오늘의 학습 내용을 적용해보면서 복습을 해야겠다.