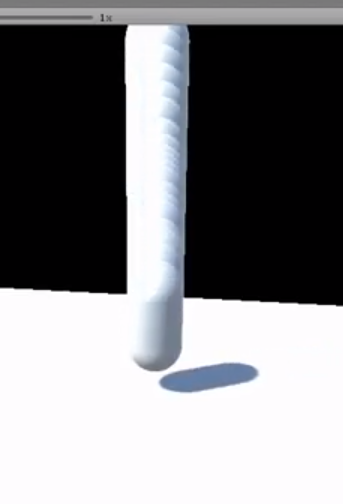
카메라 프리뷰와 게임뷰가 같음
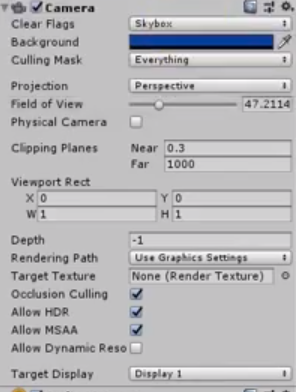
Camera
-
ClearFlags: 여백(background)를 처리
- Don't clear는 이전 프레임의 잔상이 그대로 남음 -> 자원 절약 -> 최적화 잘됨
- depth only: 우선 순위에 따라 보여주겠다.
-
culling mask: 특정 layer만 보여주겠다. 위쪽에 layer 설정할 수 있는 칸 있음
-
projection: 원근감을 주기위해 사용(orthographic하니 원근감 소멸)
-
Field of view: 시야각
-
physical camera: 실제 카메라 모델 기반 설정
-
clipping planes: 거리가 최소보다 작으면 자르고 최대보다 크면 자름
-
viewport rect: 찍고있는 시점을 옮길 때 사용 , 미니맵 만들 때 사용 가능
-
dept: 우선순위
-
occlusion culling : 카메라에 보일 때만 그려줌
-
allow hdr: 밝으면 더 밝게 어두우면 더 어둡게 처리
-
allow msaa: anti aliasing 기법. 계단(?) 현상 제거
-
allow dynamic resolution: 동적인 해상도 허락, GPU 부담 줆
-
target display: 듀얼모니터 쓸 때 사용
using System.Collections;
using System.Collections.Generic;
using UnityEngine;

public class Test : MonoBehaviour
{
   [SerializeField]
   private GameObject go_Target;
   [SerializeField]
   private float speed;

   private Vector3 difValue;

   private MeshRenderer mesh;


    void Start(){
       difValue=transform.position-go_Target.transform.position; //카메라와 물체사이 거리 측정
       difValue=new Vector3(Mathf.Abs(difValue.x),Mathf.Abs(difValue.y),Mathf.Abs(difValue.z)) //절대값으로 변환

    }

    void Update(){
        this.transform.position=Vector3.Lerp(this.transform.position,go_Target.transform.position+difValue,speed); // Lerp는 움직임을 보관해줌 -> 중간에 계산해서 이동시킴 , 스피드가 낮아야 부드러운 느낌
    }
}

낄리의 개발 블로그╰(*°▽°*)╯