Chapter 10 이미지의 기하학적 변환
회전
image = cv2.imread('example_512.png')

# 회전 중심 설정 (이미지의 중심)
(h, w) = image.shape[:2]
center = (w // 2, h // 2)

# 회전을 위한 매트릭스 생성
M = cv2.getRotationMatrix2D(center, 90, 1.0)

# OpenCV를 사용하여 이미지 회전
rotated = cv2.warpAffine(image, M, (w, h))

cv2.imshow('Rotated Image', rotated)
cv2.waitKey(0)
cv2.destroyAllWindows()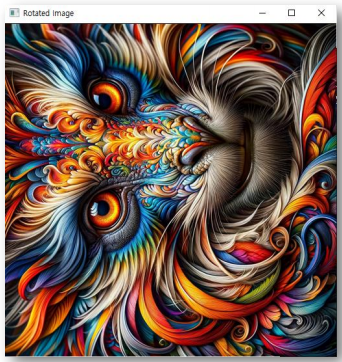
- 45도 회전
M = cv2.getRotationMatrix2D(center, 45, 1.0)
rotated = cv2.warpAffine(image, M, (w, h))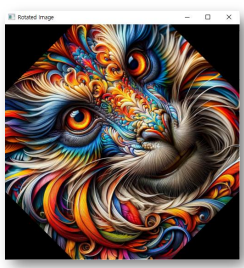
- 회전 중심을 다른 곳으로
center = (100, 100)
M = cv2.getRotationMatrix2D(center, 45, 1.0)
rotated = cv2.warpAffine(image, M, (w, h))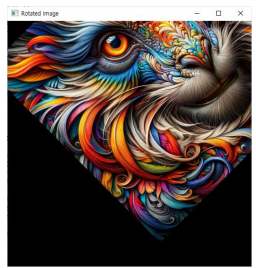
- 이미지 상하좌우 반전
src = cv2.imread('example_512.png')

# 상하 반전 (flipCode = 0)
flipVertical = cv2.flip(src, 0)

# 좌우 반전 (flipCode > 0)
flipHorizontal = cv2.flip(src, 1)

# 상하좌우 반전 (flipCode < 0)
flipBoth = cv2.flip(src, -1)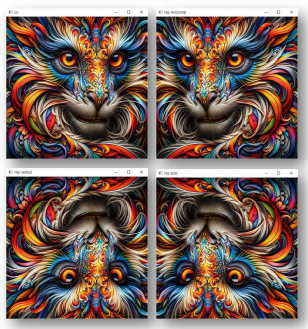
이미지 크기 변환
src = cv2.imread('example_512.png')

# 새로운 크기 설정
new_width = 300
new_height = 200
new_size = (new_width, new_height)

# 이미지 크기 변경
resized_image = cv2.resize(src, new_size)

# 변경된 이미지 저장 또는 표시
cv2.imwrite('resized_image.jpg', resized_image)
cv2.imshow('Resized Image', resized_image)
cv2.waitKey(0)
cv2.destroyAllWindows()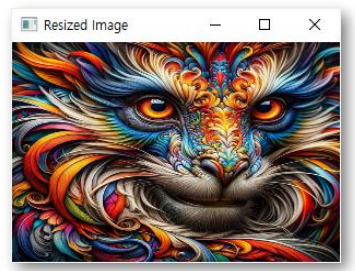
- 배율 조절
src = cv2.imread('example_512.png')

# 상대적인 크기 조정을 위한 비율 설정 (예: 너비를 0.5배, 높이를 0.5배로 조정)
fx = 0.5
fy = 0.5

resized_image = cv2.resize(src, None, fx=fx, fy=fy, interpolation=cv2.INTER_AREA)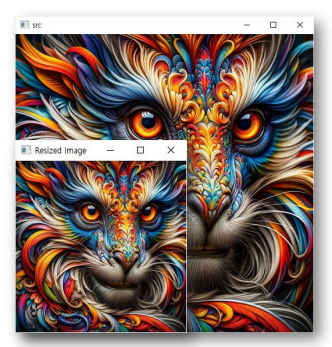
- Interpolation 타입
-> cv2.INTER_NEAREST: 최근접 이웃 보간법, 가장 빠르지만 품질 낮음
-> cv2.INTER_LINEAR: 선형 보간법, 이미지 확대 시 좋은 결과 제공
-> cv2.INTER_AREA: 영역 보간법, 이미지 축소 시 좋은 결과 제공
-> cv2.INTER_CUBIC: 3차 보간법, 이미지 확대 시 좋은 품질 제공하지만 LINEAR보다 계산이 복잡
-> cv2.INTER_LANCZOS4: 란초스 보간법, 이미지 확대, 축소 시 높은 품질의 결과를 제공하지만, 계산 복잡도가 가장 높음
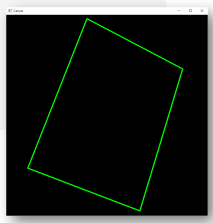
이미지 왜곡 및 투시 변환
canvas = np.zeros(shape=(800, 800, 3), dtype=np.uint8)

# 사다리꼴 생성
pts1 = np.array([[320, 15], [85, 610], [530, 780], [700, 215]])
points = pts1.reshape((-1, 1, 2))

cv2.polylines(
    img=canvas,
    pts=[points],
    isClosed=True,
    color=(0, 255, 0),
    thickness=3
)
- 투시 변환
# 이미지 불러오기
image = canvas

# 사다리꼴의 4개 꼭짓점 좌표 설정 (현재 좌표, 실 이미지에 맞게 조정해야 함)
pts1 = np.float32([[320, 15], [700, 215], [85, 610], [530, 780]])

# 변환될 사각형의 4개 꼭짓점 좌표 설정 (여기서는 직사각형으로 설정)
pts2 = np.float32([[100, 100], [600, 100], [100, 400], [600, 400]])

# 투시 변환 매트릭스 계산
M = cv2.getPerspectiveTransform(pts1, pts2)

# 투시 변환 적용
transformed = cv2.warpPerspective(image, M, (500*2, 300*2))

# 변환된 이미지 저장 또는 표시
cv2.imshow("Transformed Image", transformed)
cv2.waitKey(0)
cv2.destroyAllWindows()
- 예시
-> 마우스로 좌표 저장
# 전역 변수로 꼭짓점 리스트와 클릭 횟수를 초기화
points = []
click_count = 0

def select_points(event, x, y, flags, param):
    global points, click_count
    # 왼쪽 마우스 버튼이 클릭된 때 좌표 저장
    if event == cv2.EVENT_LBUTTONDOWN:
        points.append((x, y))
        click_count += 1
        # cv2.circle(image, (x, y), 5, (0, 0, 255), -1)
        cv2.imshow("Image", image)
# 이미지 불러오기
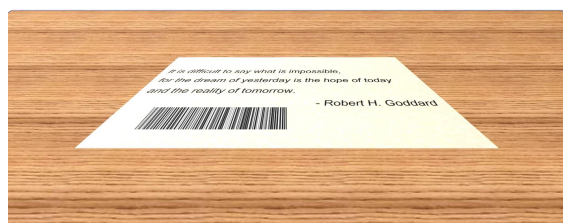
src = cv2.imread("ticket01.png")
# 'Image' 윈도우에서 마우스 클릭 추출 설정
cv2.namedWindow("Image")
cv2.setMouseCallback("Image", select_points)
# 사용자가 4개의 꼭짓점 클릭을 기다림
while click_count < 4:
cv2.imshow("Image", src)
cv2.waitKey(1)
cv2.destroyAllWindows()
# 저장된 4개의 좌표를 사다리꼴의 꼭짓점 좌표로 설정
pts1 = np.float32(points)
# 변환될 사각형의 4개 꼭짓점 좌표 설정
pts2 = np.float32([[0, 0], [500, 0], [500, 300], [0, 300]])
# 투시 변환 매트릭스 계산
M = cv2.getPerspectiveTransform(pts1, pts2)
# 투시 변환 적용
transformed = cv2.warpPerspective(src, M, (500, 300))
이 글은 제로베이스 데이터 취업 스쿨의 강의 자료 일부를 발췌하여 작성되었습니다
