Homebrew 설치하기
macOS에는 macOS 용 패키지 관리자 Homebrew가 있다. Homebrew를 이용하면 설정 과정이 단순하고, 환경변수 설정이 필요없고, 관리하기 편하다.
터미널에 아래의 명령어 입력
/usr/bin/ruby -e "$(curl -fsSL https://raw.githubusercontent.com/Homebrew/install/master/install)"
"Press RETURN to continue or any other key to abort" 라는 문장이 뜨면, 엔터키(리턴키)를 눌러준다.
password에는 mac의 비밀번호를 입력해주면 된다.
아래의 명령어로 cask 패키지(Safari, Chrome, Word 등과 같이 그래픽을 통해 작업하는 프로그램을 설치할 수 있게 해주는 패키지)를 설치해준다.
brew install cask
Homebrew를 통해 프로그램을 설치하기 전엔 항상 아래의 명령어로 업데이트가 있는지 확인 후 진행한다.
brew update
MySQL 설치
brew update를 통해 최신 버전으로 업데이트 해준다.
brew search mysql을 통해 설치할 MySQL 버전을 확인해준다.
brew install mysql을 통해 원하는 버전의 MySQL을 설치해준다.(이 경우 최신버전)
MySQL 설정
mysql.server start 명령어로 MySQL 서버를 실행시킨다.
mysql_secure_installation 명령어로 MySQL 설정으로 넘어간다.
-
Would you like to setup VALIDATE PASSWORD component?(비밀번호 가이드 설정에 대한 질문)
yes: 복잡한 비밀번호
no: 쉬운 비밀번호 -
Remove anonymous users? (Press y|Y for Yes. any other key for No)(사용자 설정에 관한 질문)
yes: 접속시 -u 옵션필요
no: 접속시 -u 옵션 불필요 -
Disallow root login remotely? (Press y|Y for Yes, any other key for No)(다른 IP에서 root 아이디로 원격접속을 설정)
yes: 원격접속 불가능
no: 원격접속 가능 -
Remove test database and access to it? (Press y|Y for Yes, any other key for No)(테스트 데이터베이스 설정)
yes: 테스트 데이터베이스 제거
no: 테스트 데이터베이스 유지 -
Reload privilege tables now? (Press y|Y for Yes, any other key for No)(변경된 권한을 테이블에 적용)
yes: 적용
no: 미적용
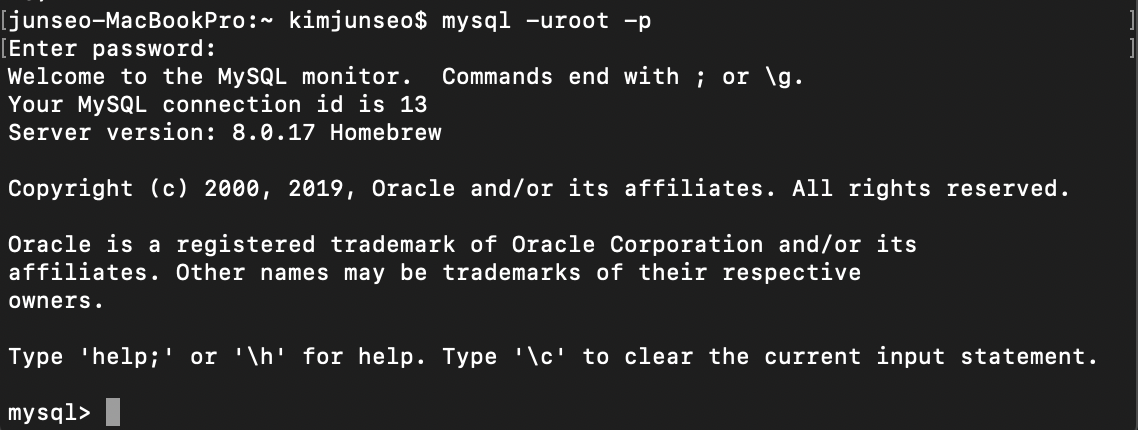
mysql -uroot -p 명령어로 비밀번호 입력 후 접속
로그아웃 시: exit 또는 quit
MySQL 서버 종료: mysql.server stop
MySQL 삭제
아래의 명령어들을 입력해준다.
sudo rm -rf /usr/local/var/mysql
sudo rm -rf /usr/local/bin/mysql*
sudo rm -rf /usr/local/Cellar/mysql
참고가 되었습니다. 감사합니다. ^^