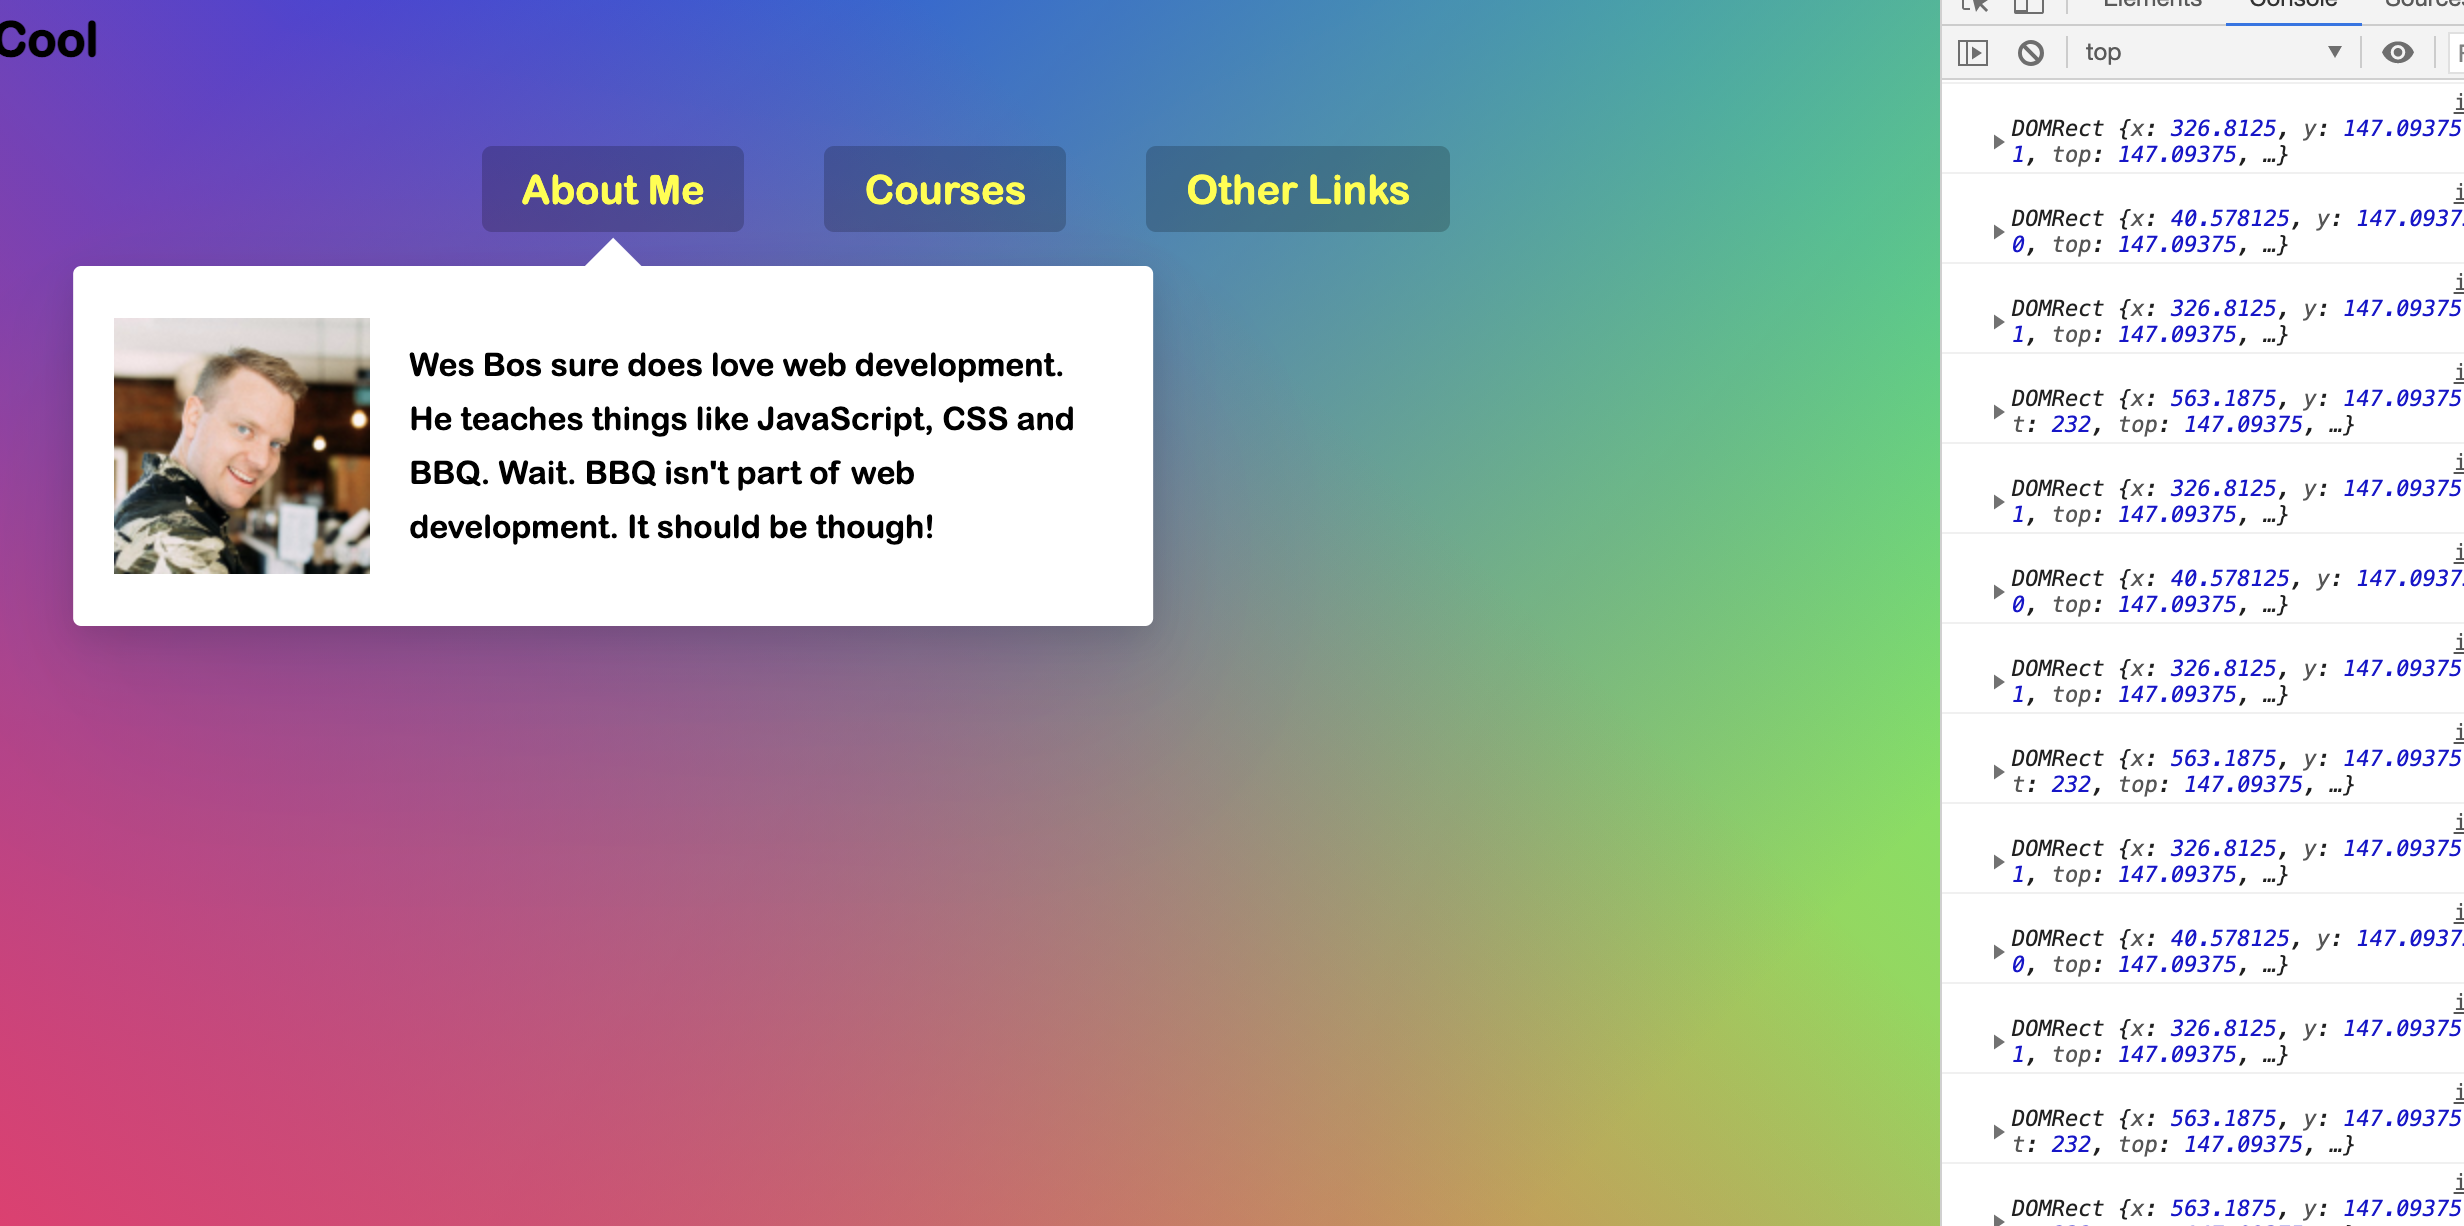
프로젝트 소개
- nav 메뉴에 mouse pointer가 hovering 되면, 하위 dropdown 메뉴가 각각의 크기, 위치에 맞게 보여지도록 구현하는 내용
- https://stripe.com/ 참고
코드 작성 순서
- event listener를 각 li element에 붙임
- mouse가 in, out 할때 마다 callback 함수 실행
- in 함수 작성
(1) Dropdown 내용에 대한 클래스명 추가 ('trigger-enter'와 'trigger-enter-active') => display를 block으로, opacity를 1로 변경됨
(2) Background에 대한 클래스명 추가 ('open') => opacity를 1로 변경
(3) Background의 크기, 위치를 설정 (nav가 밀릴경우를 대비하여, top & left 값 보정 필요
- out 함수 작성
: 위 클래스명들을 모두 제거
최종 코드
<script>
const triggers = document.querySelectorAll('.cool > li');
const background = document.querySelector('.dropdownBackground');
const nav = document.querySelector('nav');
function showDropDown() {
this.classList.add('trigger-enter');
this.classList.add('trigger-enter-active');
background.classList.add('open');
const dropdown = this.querySelector('.dropdown');
const dropDownCoords = dropdown.getBoundingClientRect();
const navCoords = nav.getBoundingClientRect();
console.log(dropDownCoords);
const coord = {
width: dropDownCoords.width,
height: dropDownCoords.height,
top: dropDownCoords.top - navCoords.top,
left: dropDownCoords.left - navCoords.left,
};
background.style.setProperty('width', `${coord.width}px`);
background.style.setProperty('height', `${coord.height}px`);
background.style.setProperty(
'transform',
`translate(${coord.left}px, ${coord.top}px`
);
}
function hideDropDown() {
this.classList.remove('trigger-enter');
this.classList.remove('trigger-enter-active');
background.classList.remove('open');
}
triggers.forEach((trigger) =>
trigger.addEventListener('mouseenter', showDropDown)
);
triggers.forEach((trigger) =>
trigger.addEventListener('mouseleave', hideDropDown)
);
</script>
느낀 점/ 기억할 점
- this를 활용할 때, 정확히 this가 어떤 element를 의미하는지 의식하면서 코드 작성할 것

