2.1 Install RPLIDAR ROS Package
We'll use the official RPLIDAR ROS package.
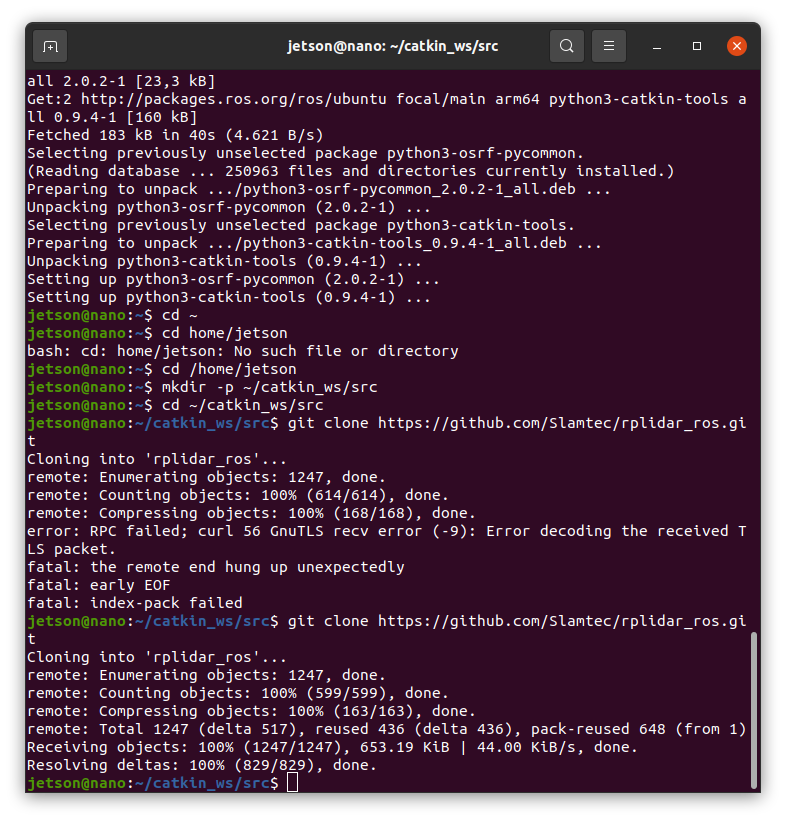
Create a workspace if not already created
mkdir -p ~/catkin_ws/src
cd ~/catkin_ws/src
Clone the RPLIDAR ROS package
git clone https://github.com/Slamtec/rplidar_ros.git*ㄴ> This command is an error from time to time, so you can try again
Install dependencies
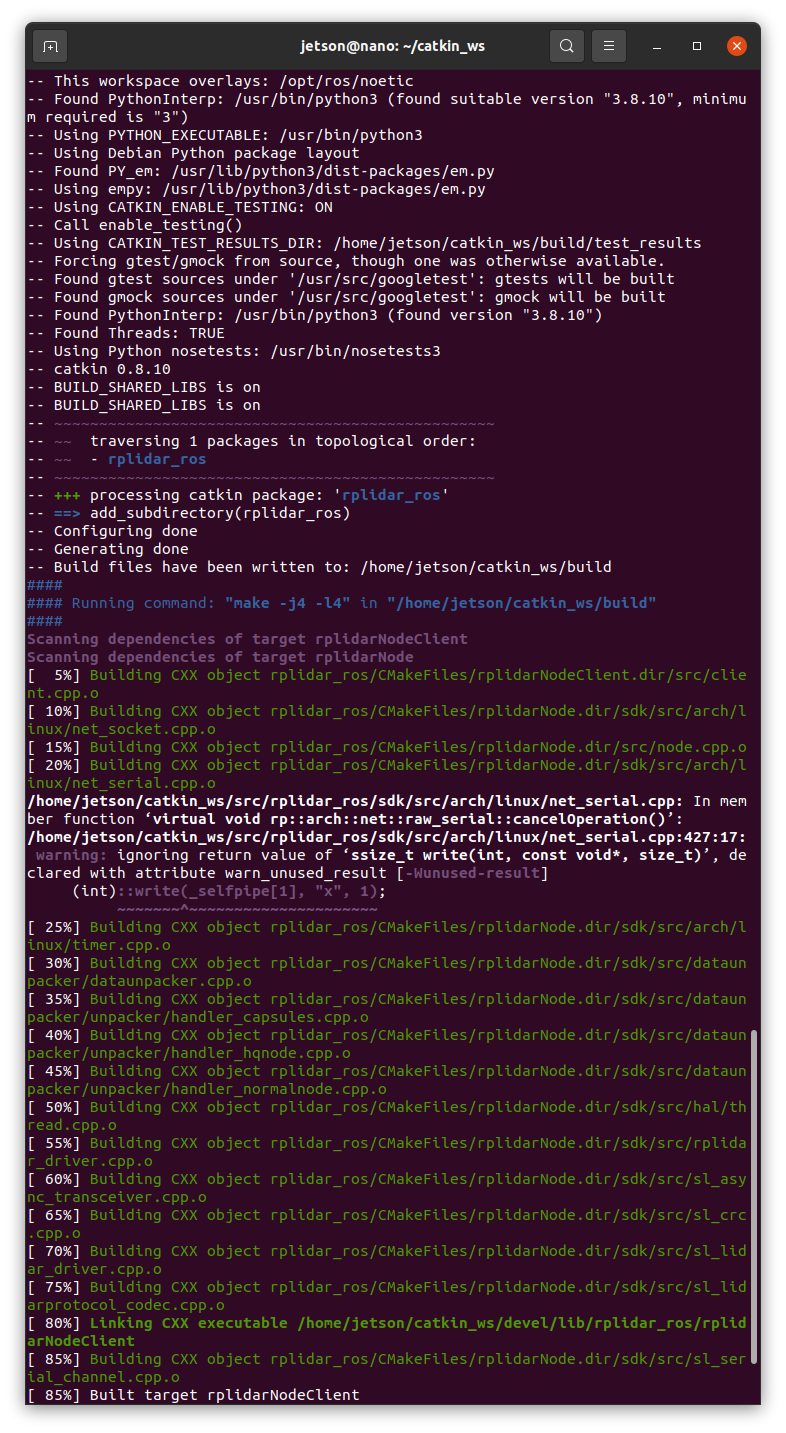
cd ~/catkin_ws
rosdep install --from-paths src --ignore-src -r -y
Build the package
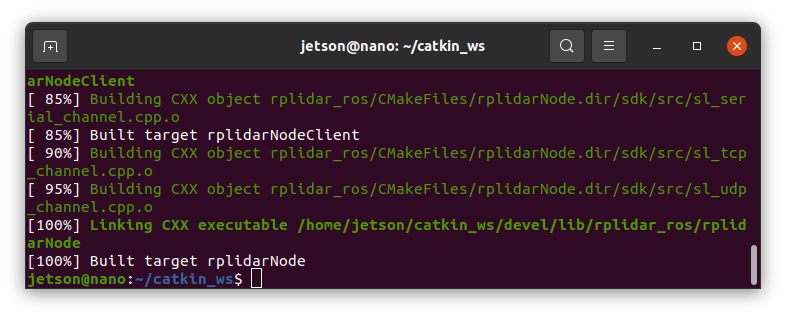
catkin_make
Source the workspace
echo "source ~/catkin_ws/devel/setup.bash" >> ~/.bashrc
source ~/.bashrc
2.2 Test RPLIDAR
Ensure that the LIDAR is connected via USB.
Run the RPLIDAR node and view in RViz
roslaunch rplidar_ros view_rplidar.launch*-> This code doesn't suppport
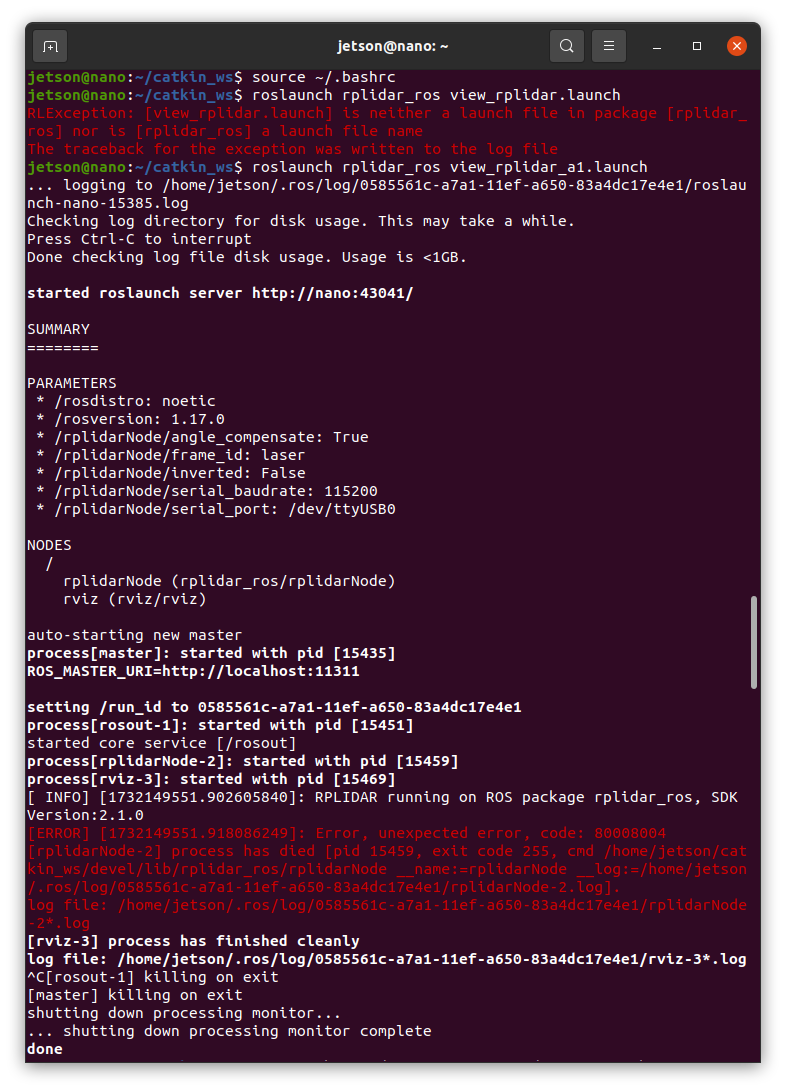
So, you can change to this
Launch the RPLIDAR Node
roslaunch rplidar_ros rplidar_a1.launch
Start RViz Separately
Open a new terminal window and run:
rviz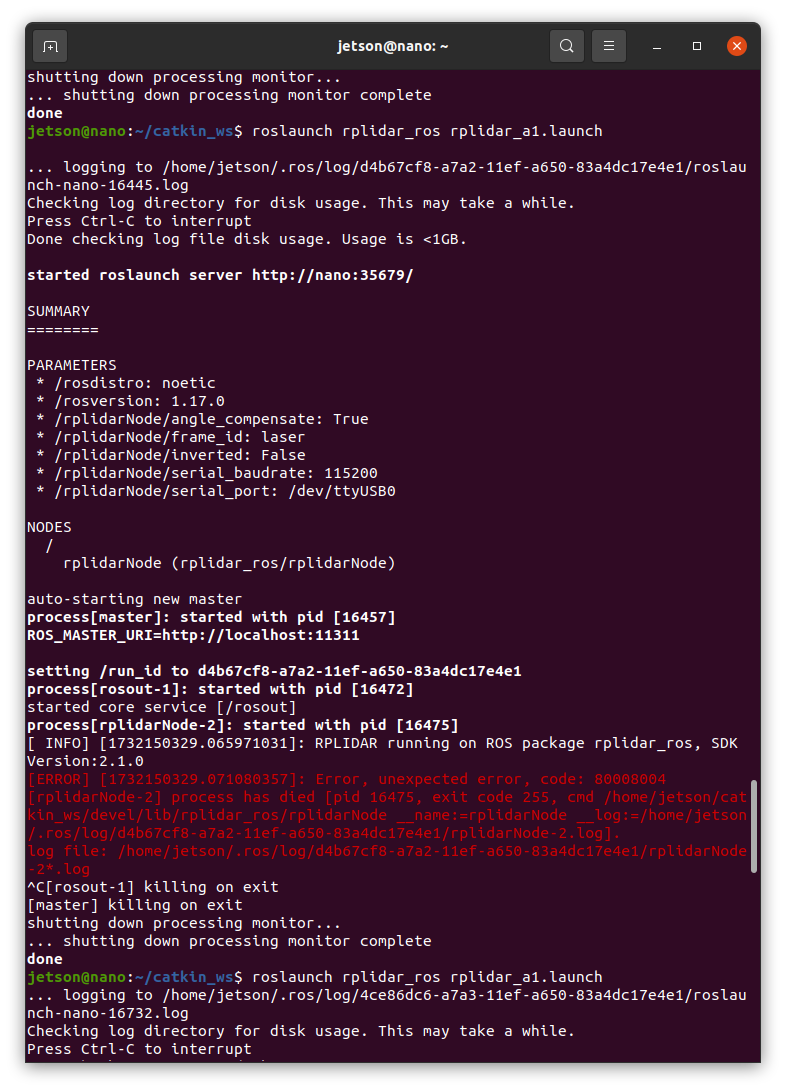
But, same error again.
--------------------------------------------------------------------------------!
Noted!
After rebooting, just work well
command code as like
roslaunch rplidar_ros rplidar_a1.launch
rviz
or,
sudo chmod 666 /dev/ttyUSB0
sudo usermod -a -G dialout $USER
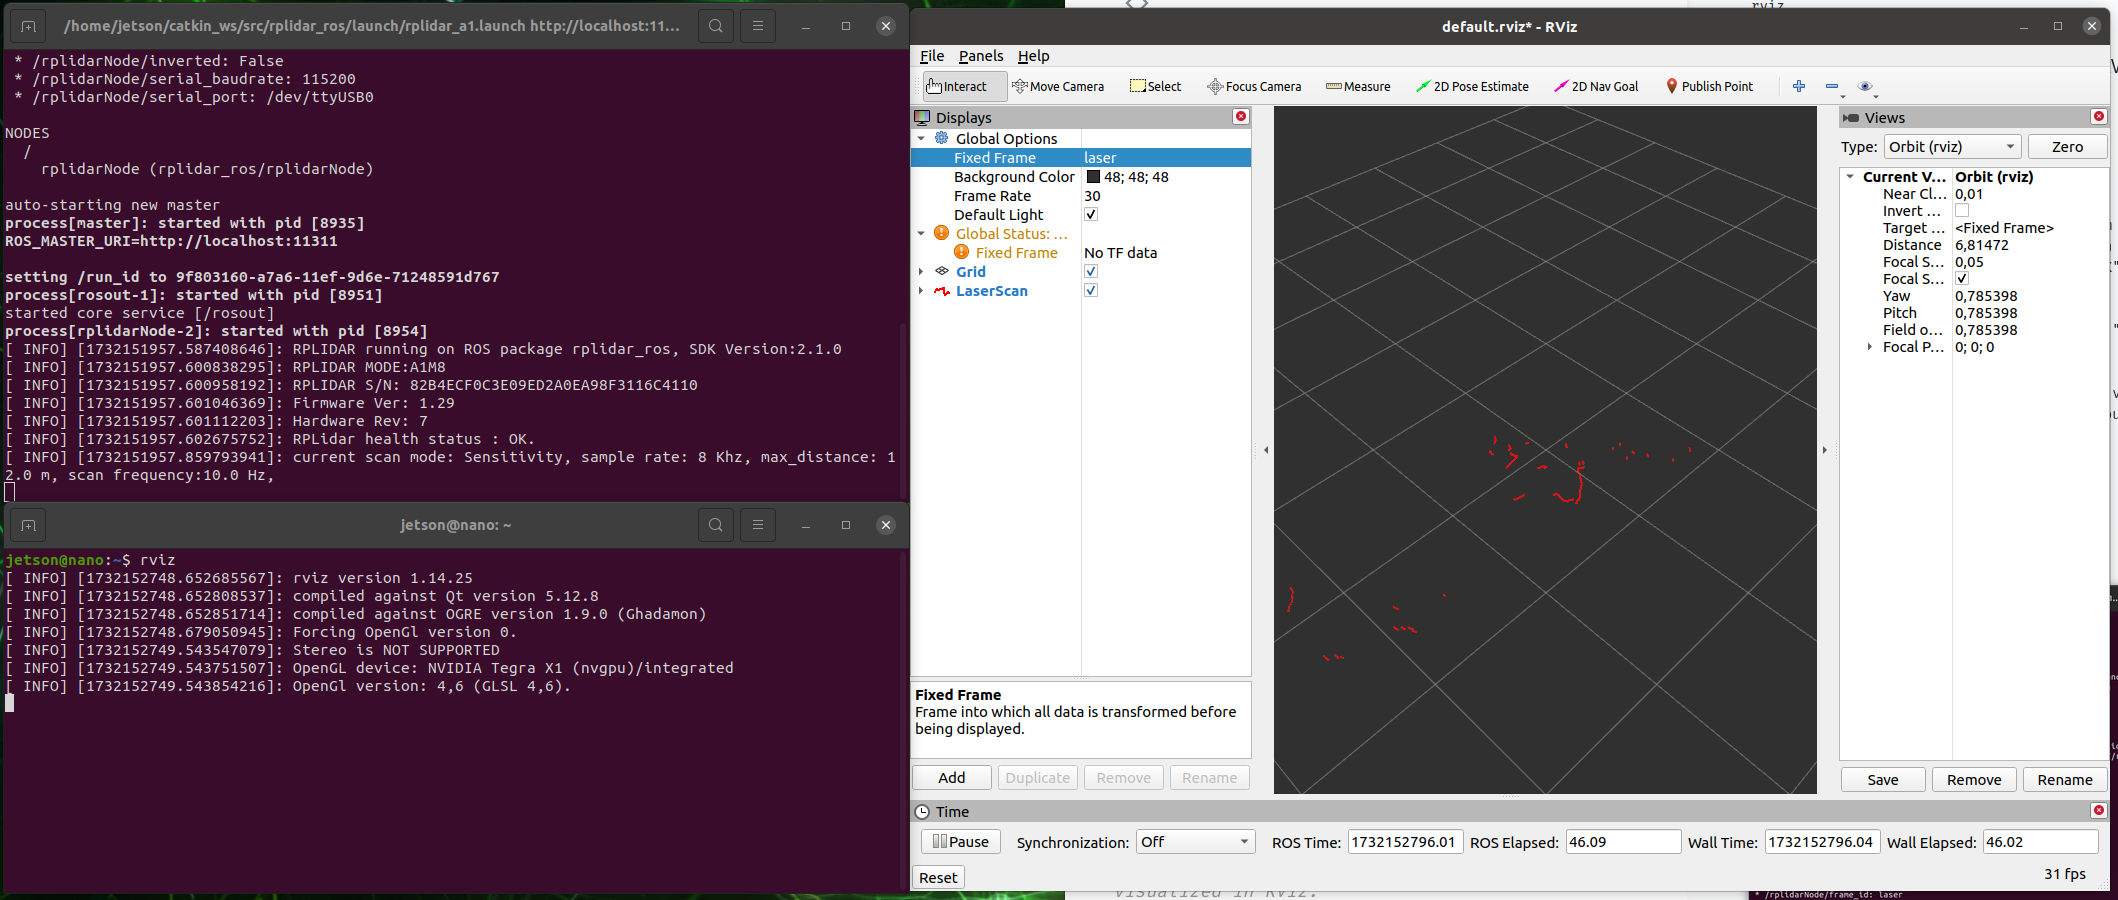
But what you have to be careful about is "in RViz"
*Configure RViz to Display LIDAR Data
In RViz:
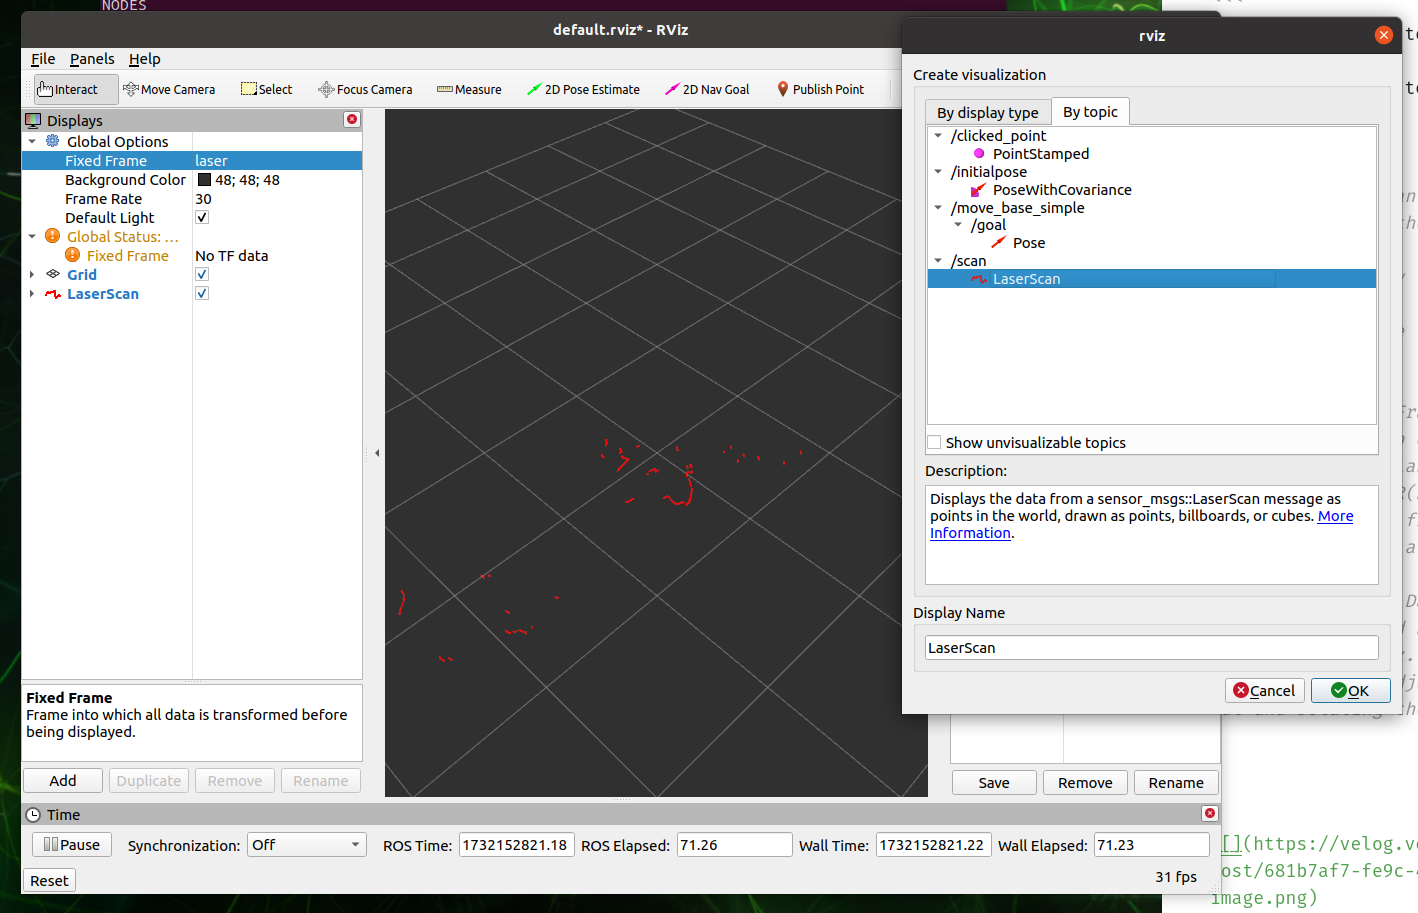
Add a LaserScan Display:
Click on the "Add" button at the bottom left.
In the "By topic" tab, expand the /scan topic.
Select the LaserScan type and click "OK".
Adjust Fixed Frame:
At the top of the RViz window, set the "Fixed Frame" to laser, depending on the frame used by your LIDAR(But we are using Rplidar A1). You can check the frame by running rostopic echo /scan and looking at the header.
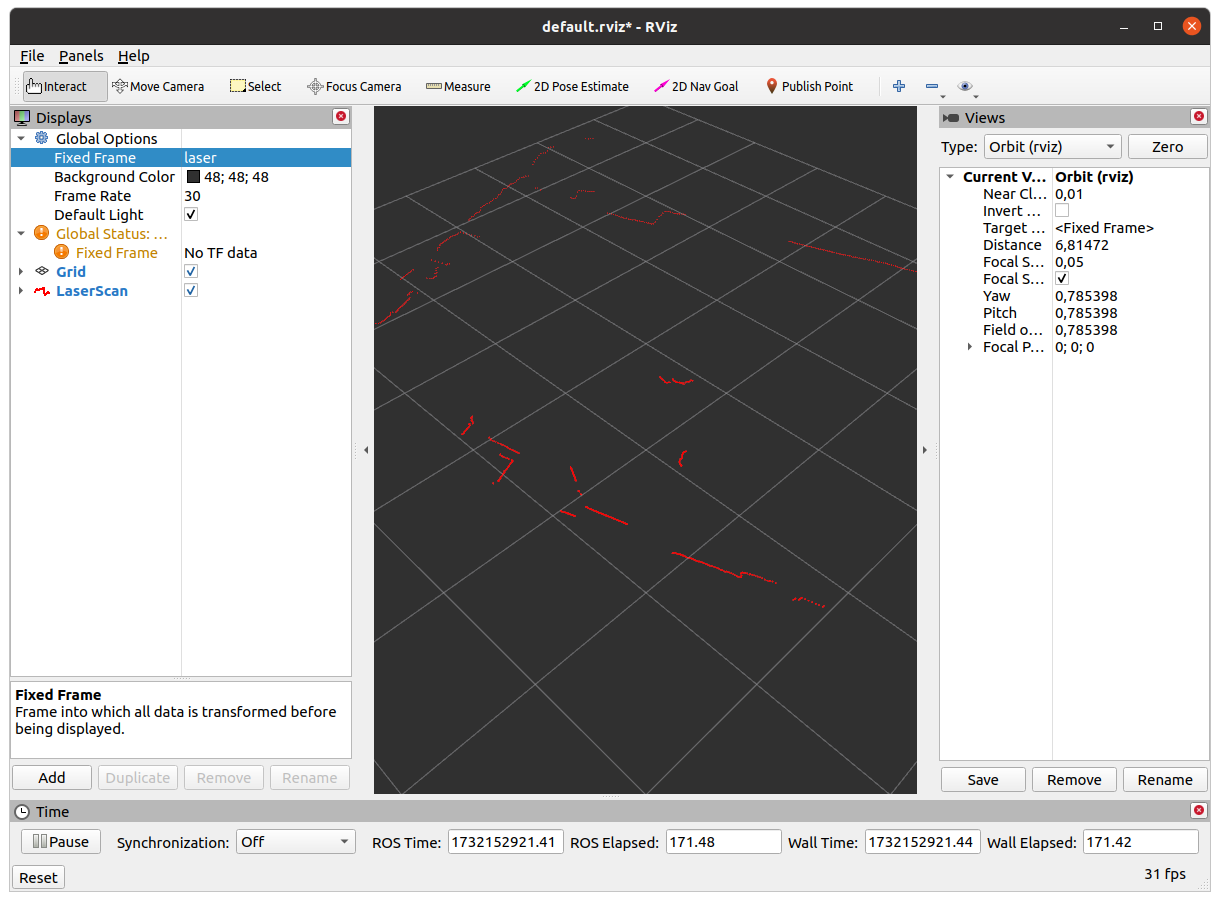
Visualize the Data:
You should now see the LIDAR scan data visualized in RViz.
You can adjust the view by zooming in/out and rotating the view.
[ INFO][1732153206.098174614]: RPLIDAR running on ROS package rplidar_ros, SDK Version:2.1.0
[ INFO][1732153206.111458475]: RPLIDAR MODE:A1M8
[ INFO][1732153206.111579621]: RPLIDAR S/N: 82B4ECF0C3E09ED2A0EA98F3116C4110
[ INFO][1732153206.111668788]: Firmware Ver: 1.29
[ INFO][1732153206.111736497]: Hardware Rev: 7
[ INFO][1732153206.113304264]: RPLidar health status : OK.
[ INFO][1732153206.365072727]: current scan mode: Sensitivity, sample rate: 8 Khz, max_distance: 12.0 m, scan frequency:10.0 Hz,
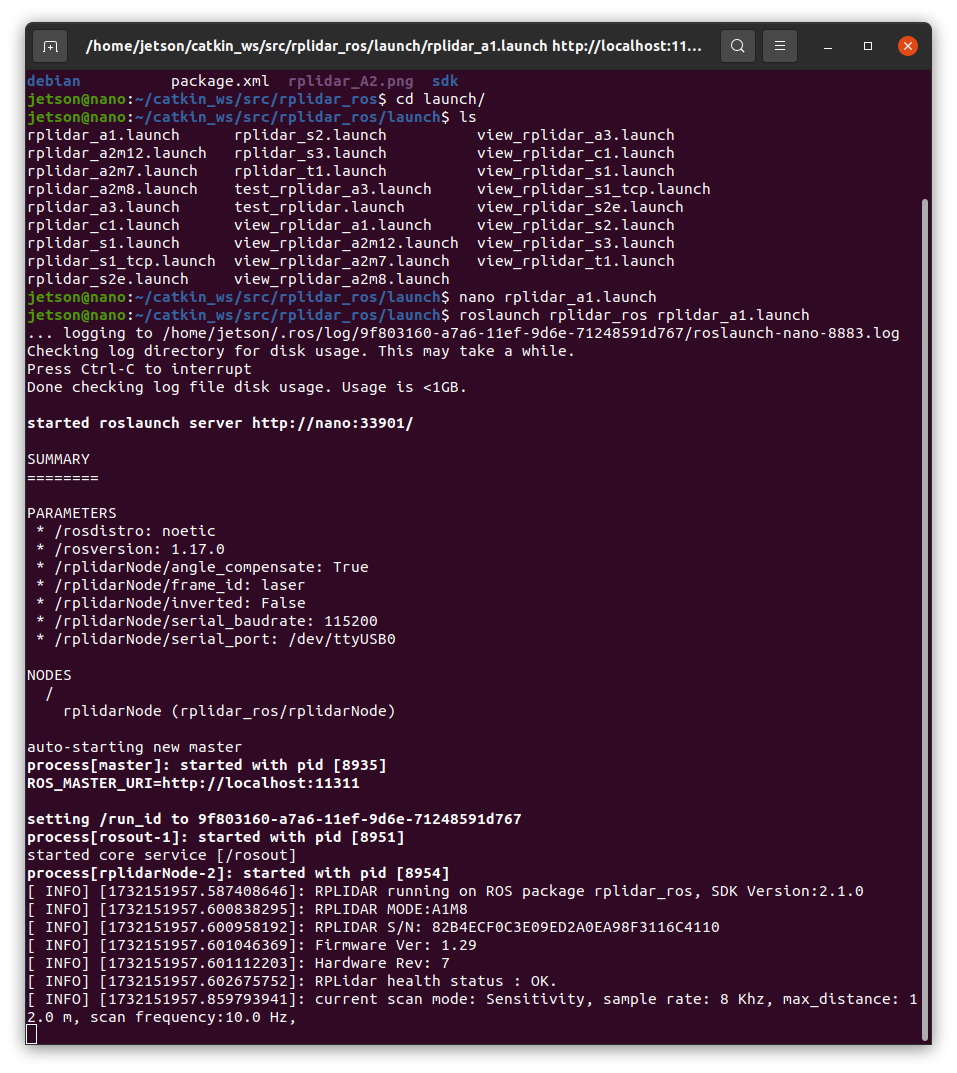
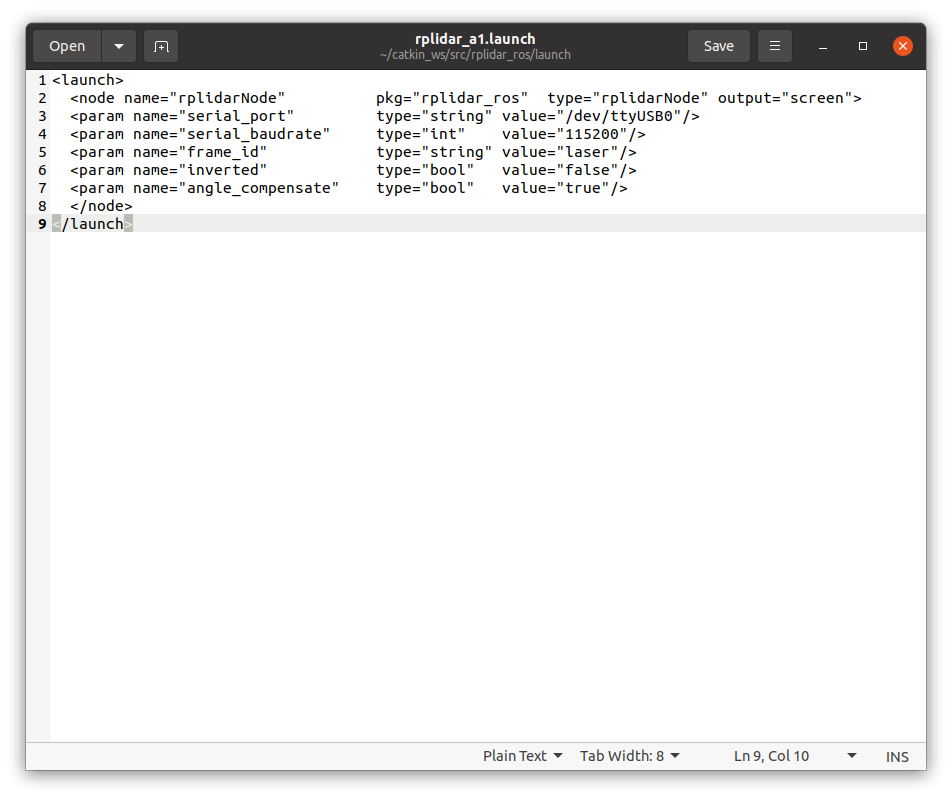
if you trouble at this process,
check "rplidar_a1.launch"in ~/catkin_ws/src/rplidar_ros/launch.
in this code, check "serial_port" & "serial_baudrate"
Next post will be "IMU sensor" setup !