Developing Self Driving with Jetson Nano
1.Ros2 foxy Setup on Ubuntu 20.04LTS
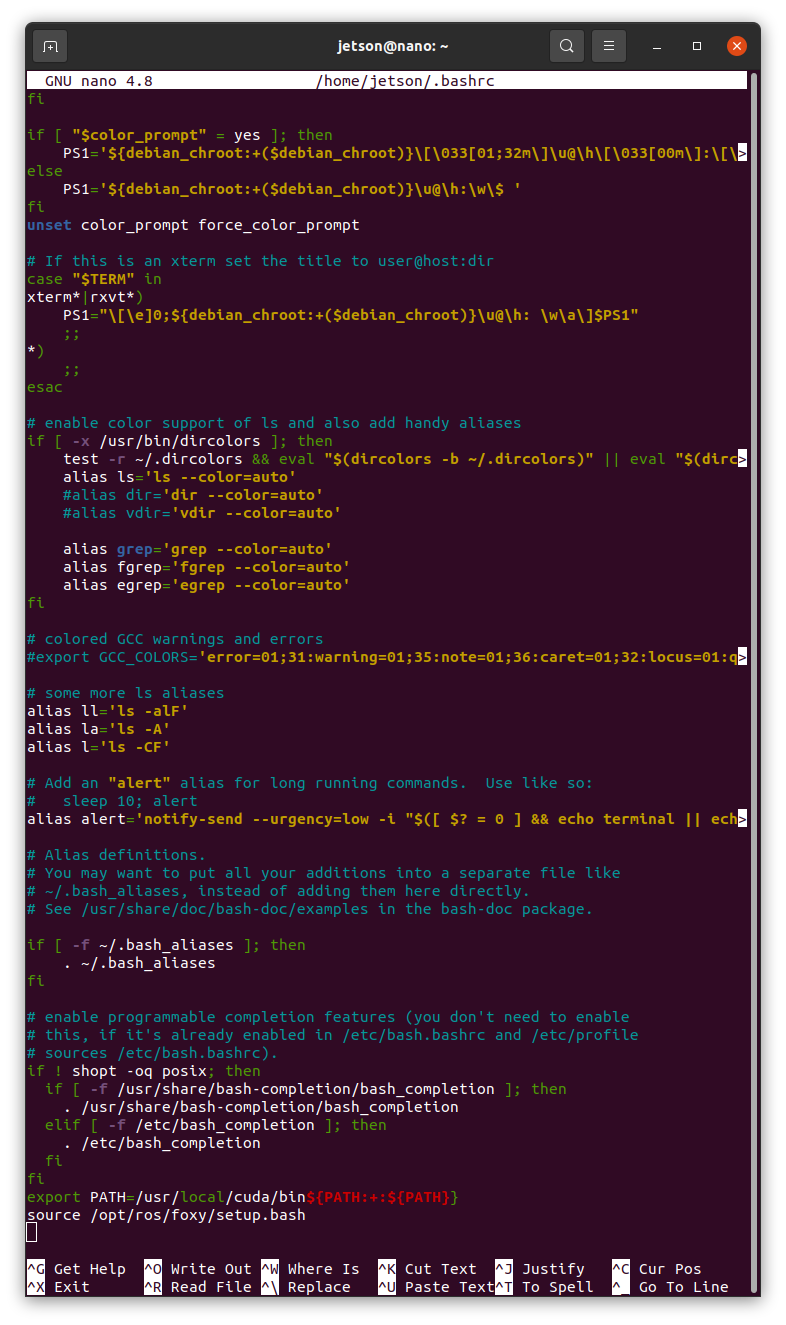
Main topic: Setting Up the EnvironmentUpdate and Upgrade the SystemSurely, Open a terminal and input command belowInstall Ros2 FoxyBelow command is th
2.Ros2 Cartographer Setup(1)_ workspace build using Rplidar A1
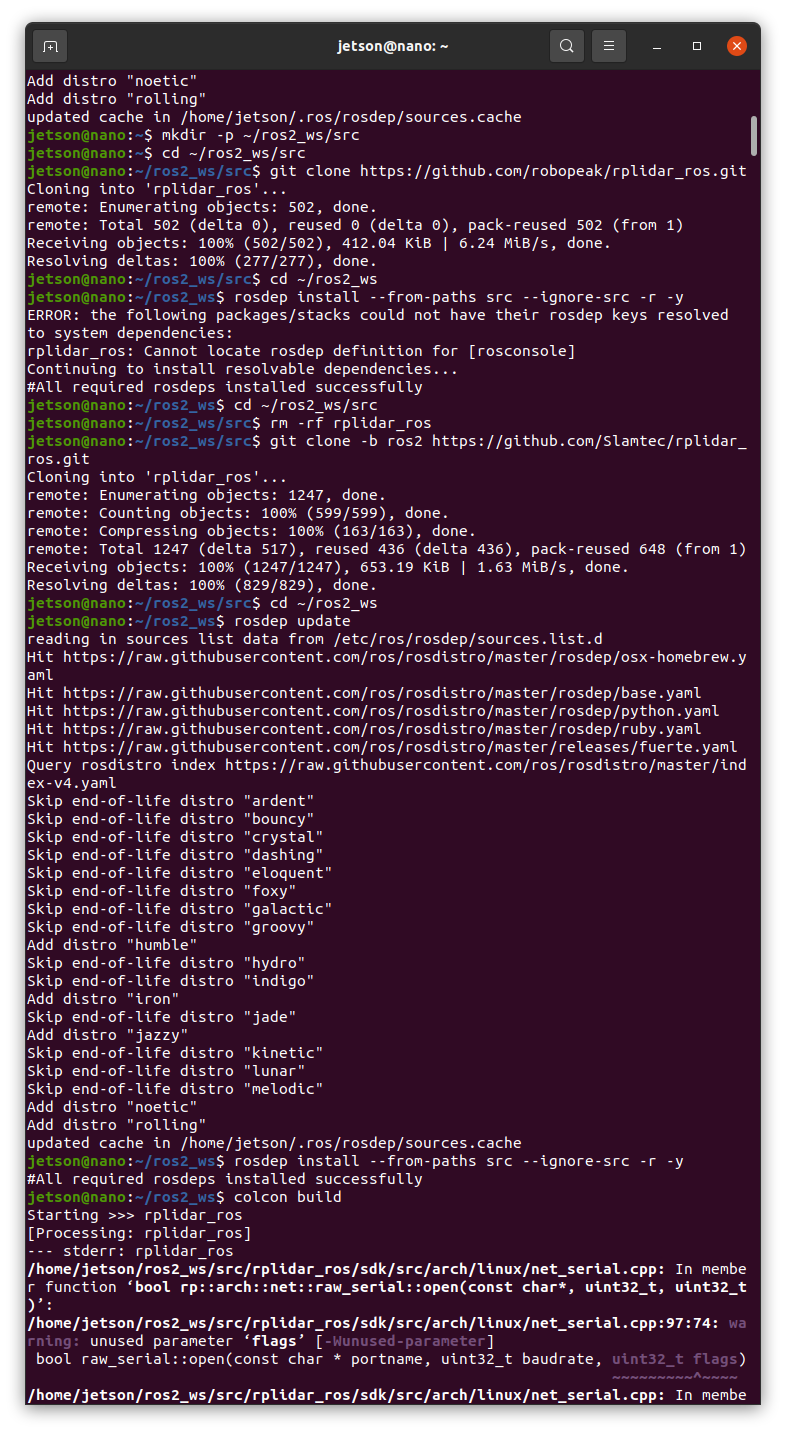
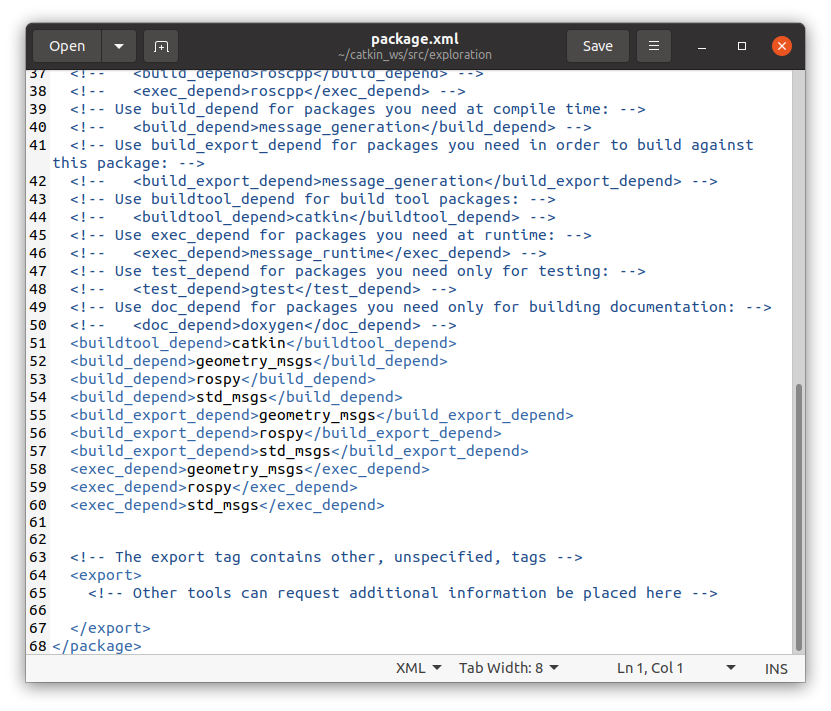
Use the rplidar_ros package to interface with the RPLIDARBut, \*This code doesn't support in ros2 (developed in ros1 is still working)So, Enter the c
3.Ros2 Cartographer Setup(2)_custom serial communication node

In order to develop the usb serial communication between ESP32 and Jetson Nano, I make custom Ros2 node. Actually, I was going to make node from " gi
4.Ros2 Cartographer Setup(2)_custom serial communication node_trouble shooting
Previous chapter, [ Could not open serial port '/dev/ttyUSB0' ] in "serial_node.py" code for custom serial communication node In case already connect
5.Ros2 Cartographer Setup(3)_esp32_connection test

Before setup, we setup just on jetson nano So, we are going to set esp32 dev module. Development env Jetson Nano B01 ESP32-WROOM_32D Arduino IDE Com
6.5.Ros2 Cartographer Setup(3)_Cartographer Configuration_failed

error. I decide to reset.
7.(Jetson Project#0)Change to ROS1 noetic cuz too much ros 1 Porting to ros2

Excessive porting during package installation made it difficult to proceed with ros2 foxy anymore So, reset and change to ROS1! noetic with new imu s
8.(Jetson Project#1)Ros1 Noetic Setup Start on Ubuntu 20.04LTS

Why I decide to use Ros1. AND reset
9.(Jetson Project#2)How to Jetson nano basic settings with Ubuntu 20.04
1. Install Ubuntu 20.04 in Jetson Nano 1. Preparations Jetson Nano B01 4GB microSD , 32GB SD card reader Ubuntu 20.04 Image download 2. Install Ubun
10.(Jetson Project#3)Setting Up ROS Noetic on Jetson Nano

1.1 Install ROS Noetic First, make sure your Jetson Nano is running Ubuntu 20.04. Then, set up the ROS Noetic repository and install it. Setup sourc
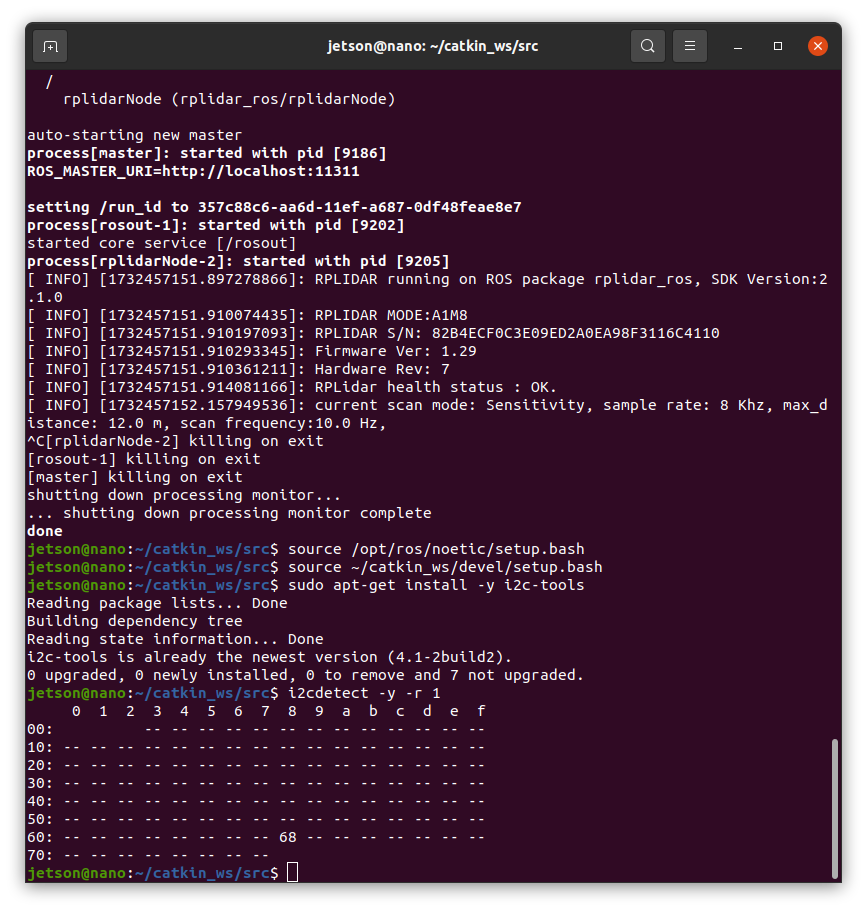
11.(Jetson Project#4)Setting Up RPLIDAR A1
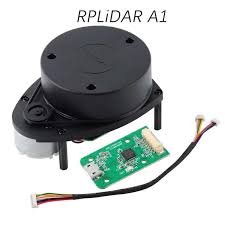
2.1 Install RPLIDAR ROS Package We'll use the official RPLIDAR ROS package. Create a workspace if not already created Clone the RPLIDAR ROS package
12.(Jetson Project#5)Integrating the MPU9250 B184 9-Axis IMU Sensor
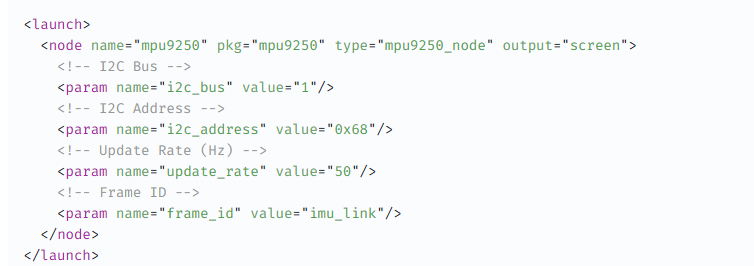
3.1. Hardware ConnectionThe MPU9250 can communicate via either I2C or SPI. For simplicity and broad compatibility, we'll use I2C.3.1.1. Wiring the MPU
13.(Jetson Project#5-1)Integrating the MPU6050 GY-521 6-Axis IMU Sensor(Change)
Change to 6-axis IMU Sensor. In Jetson Project#4, We successfully tested the Rplidar A1 with changed this code. And in Rviz, Add LaserScan, edit "
14.(Jetson Project#6)MPU6050 GY-521 6-Axis IMU Sensor_Custom Script Create
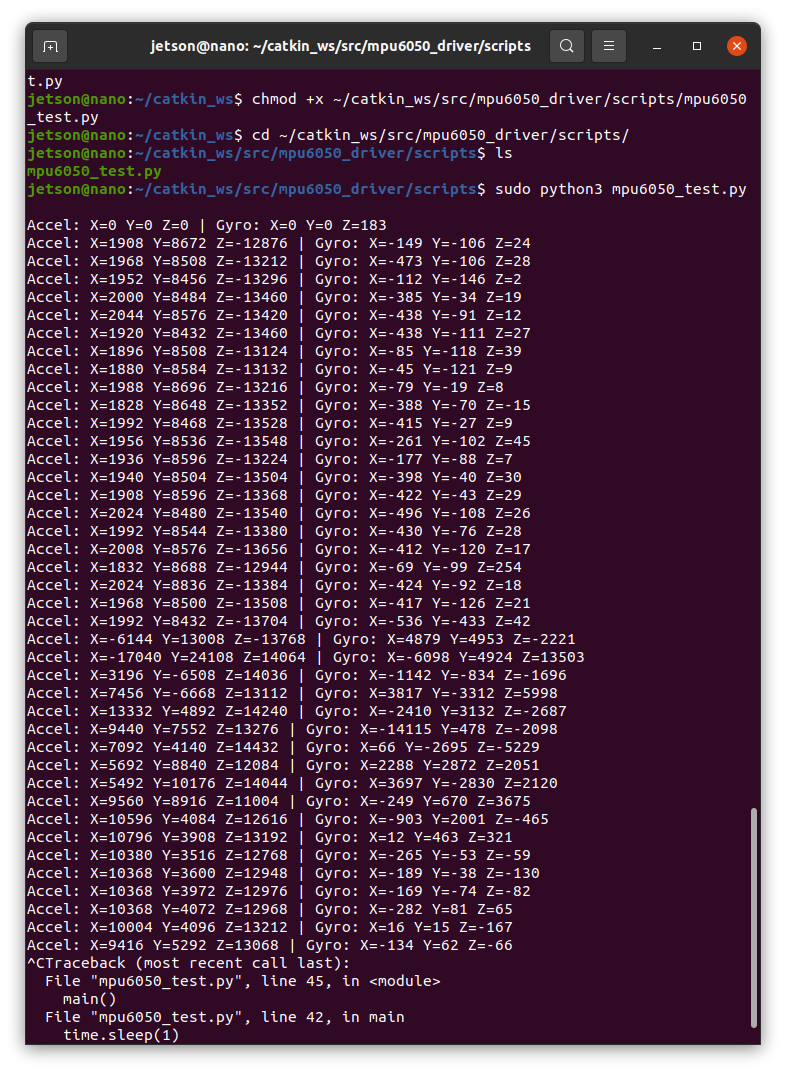
Part 3: Install Necessary Software Libraries To interact with the MPU6050 via I2C in Python, install the required libraries. 3.1. Install Python Lib
15.(Jetson Project#7)Launch the MPU6050 IMU Node and Visualize in RViz (1)
Launch the MPU6050 IMU Node and Visualize in RViz 5.1. Create a Launch File for the IMU Node Navigate to the Launch Directory: Create the mpu6050
16.(Jetson Project#7)Launch the MPU6050 IMU Node and Visualize in RViz (2)_Trouble Shooting
Following the previous post, I want to visualizing.
17.(Jetson Project#7)Launch the MPU6050 IMU Node and Visualize in RViz (2)_Trouble Shooting(2)_resolved
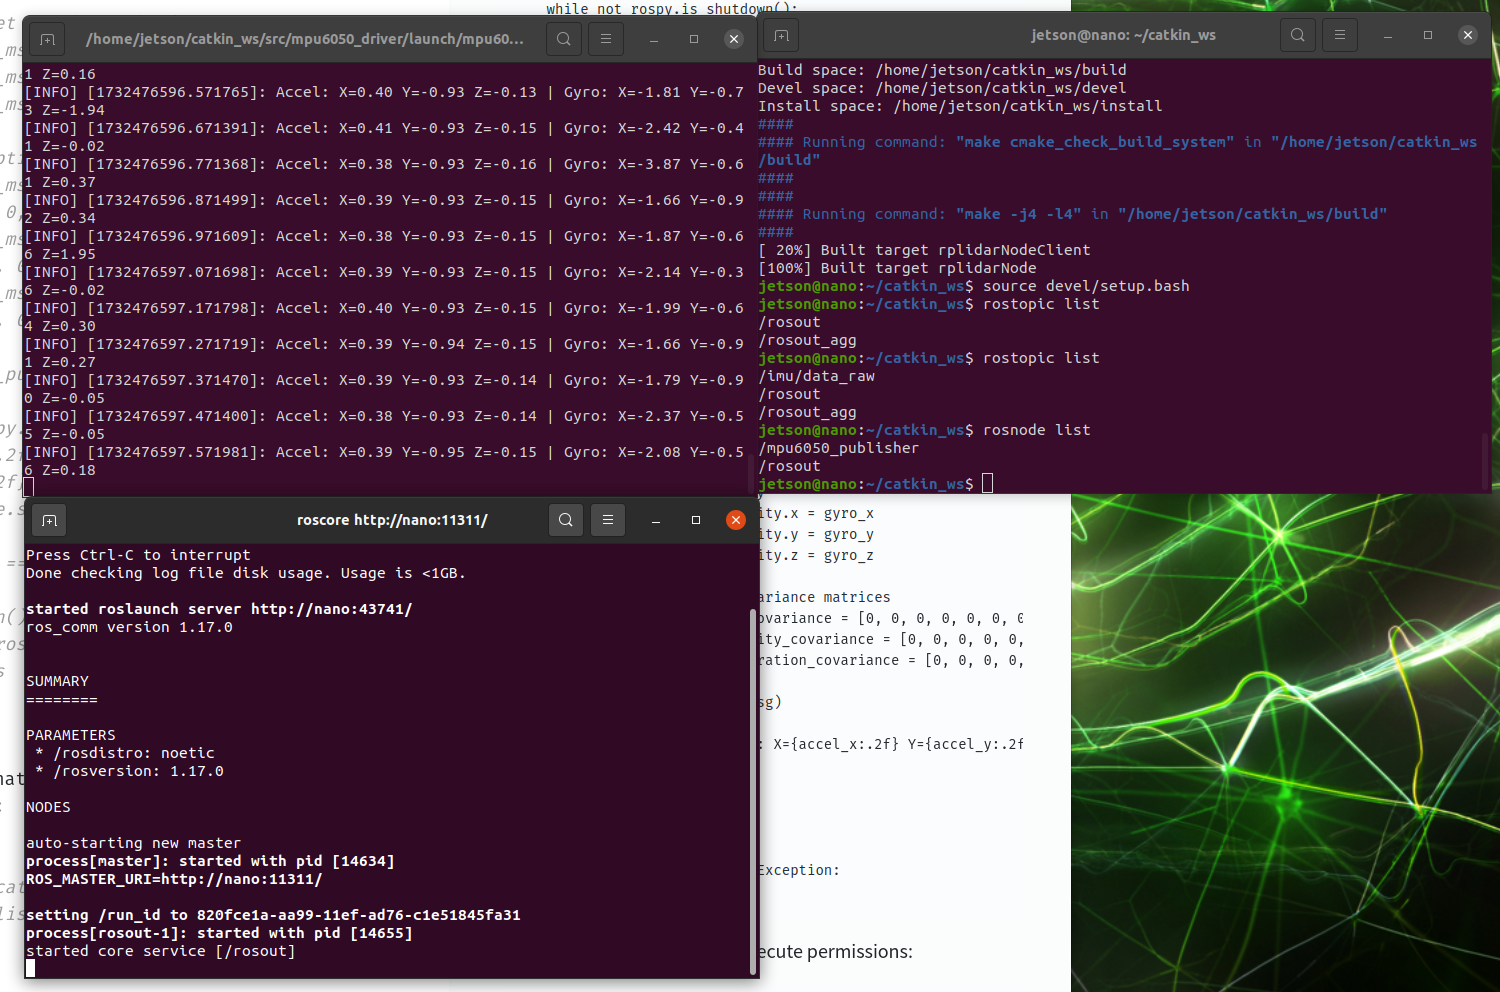
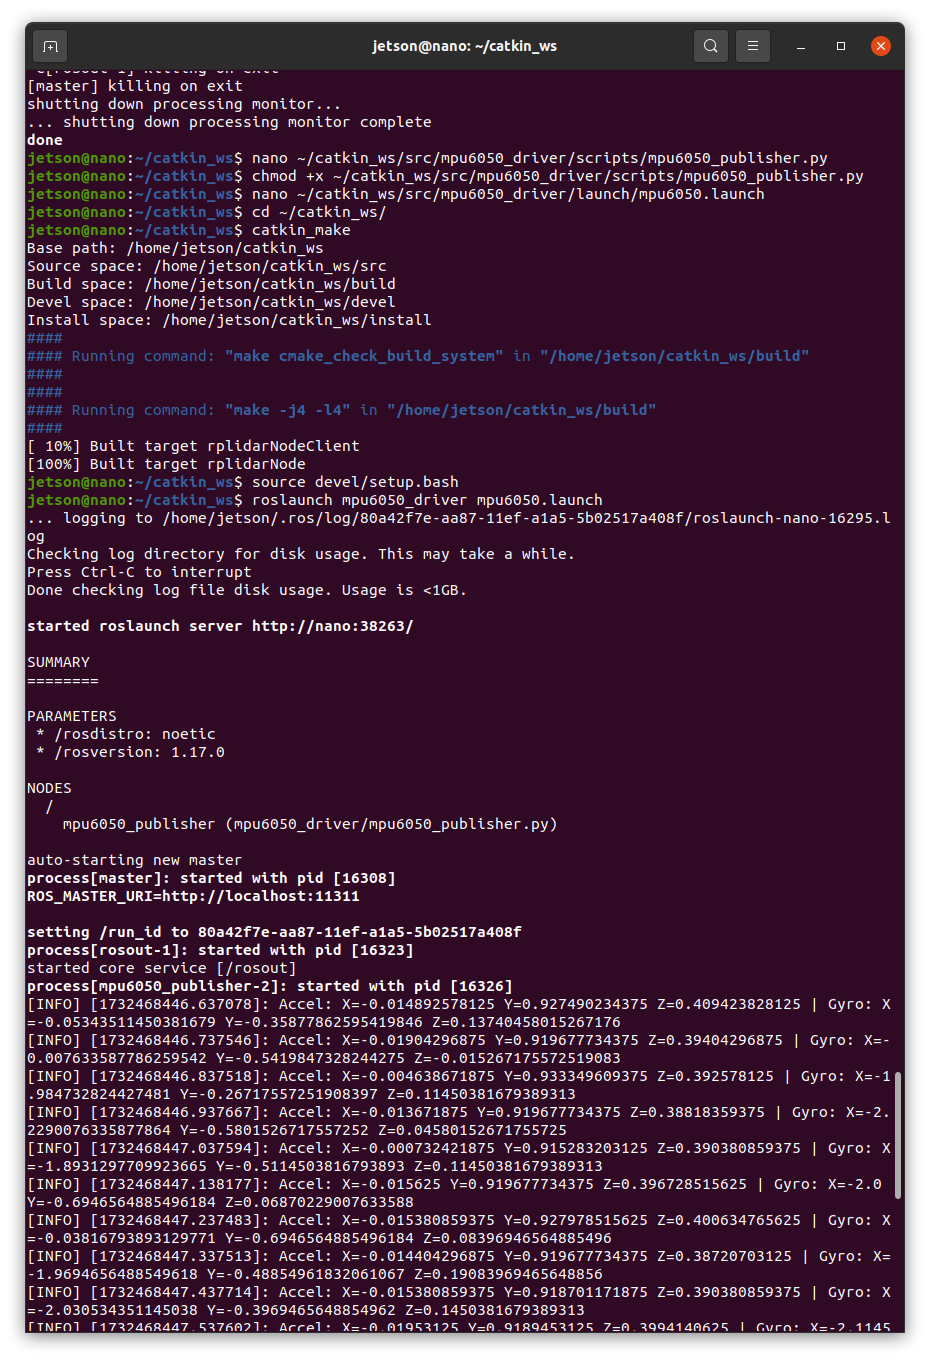
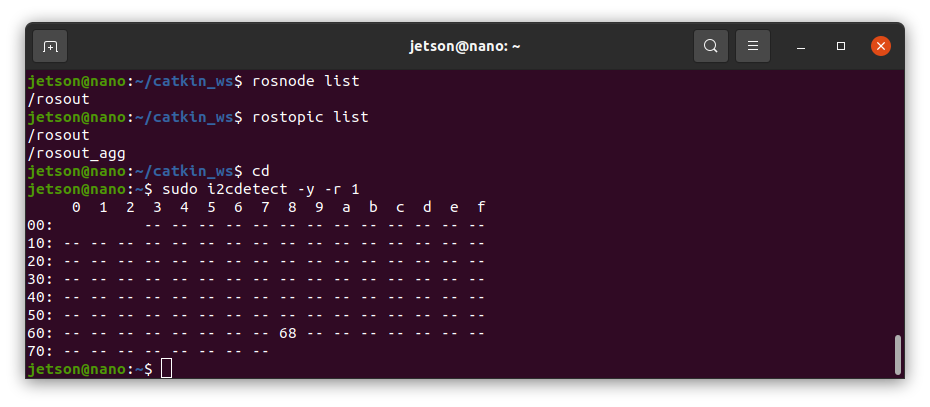
In past post, rosnode and rostopic list doesn't show the "/imu/data_raw" So, I tried again to resolve this. STEP 1. Corrected mpu6050_publisher.py S
18.(Jetson Project#7)Launch the MPU6050 IMU Node and Visualize in RViz (3)

Last post, I resolved "rostopic issue"(with an unnecessary thing). So, let's Visualizing IMU data! First terminal Second terminal Third terminal
19.(Jetson Project#8) Integrate IMU Data with Robot's TF Tree
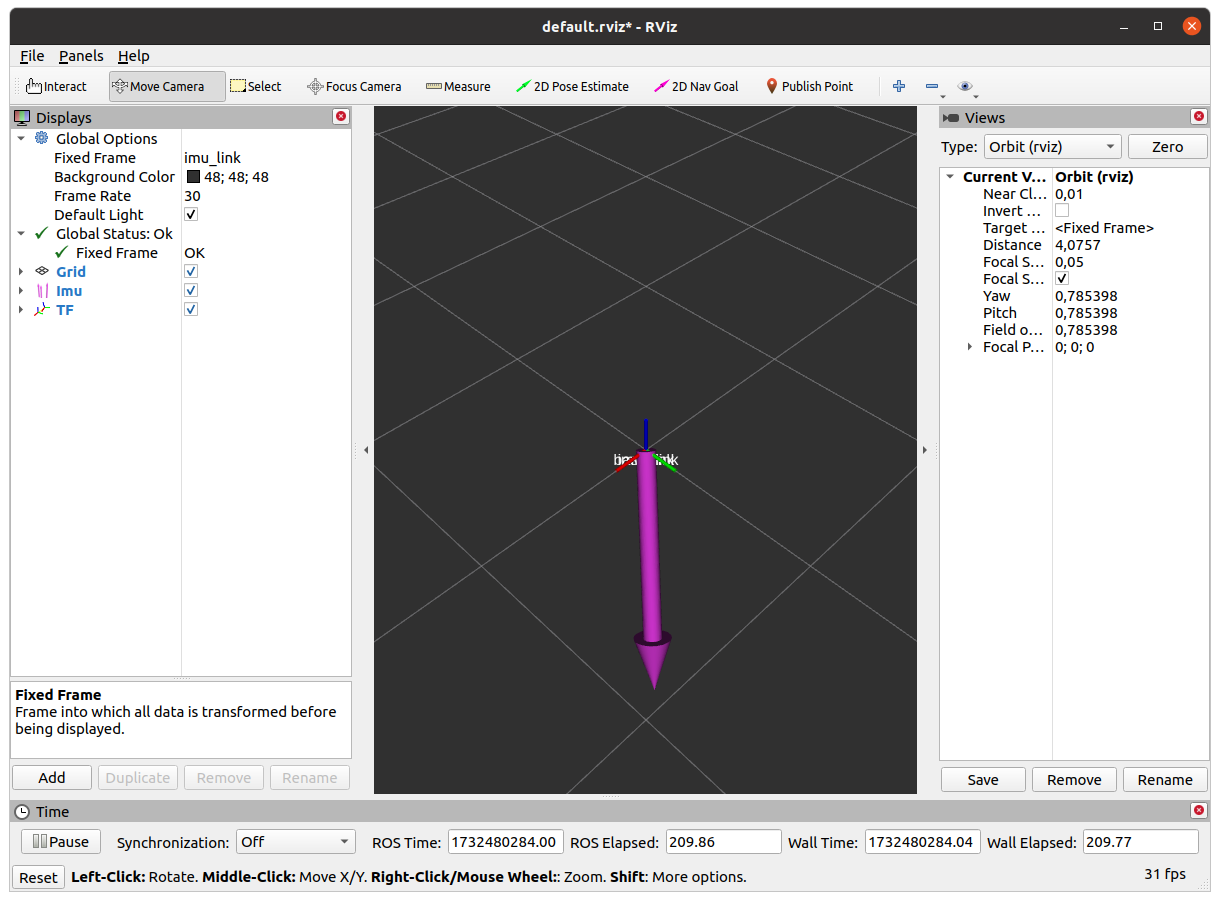
For accurate localization and navigation, it's essential to correctly configure the TF (transform) frames in ROS. 6.1. Create a TF Broadcaster Node (
20.(Jetson Project#9)Setting Up Motor Control via ESP32
This post, I configure the ESP32 microcontroller to control robot's motors based on commands received from ROS. We'll establish serial communication b
21.(Jetson Project#10)Implementing Obstacle Avoidance
With motor control established, Now implement obstacle avoidance by subscribing to the LIDAR's "/scan" topic and publishing motor commands based on de
22.(Jetson Project#11)Integrate with Existing Nodes
5.2. Integrate with Existing Nodes Ensure that all necessary nodes are running simultaneously: Terminal 1: Launch roscore (if not already running)
23.(Jetson Project#12)Integrating MPU6050 IMU with Robot's TF Tree

6.1. Creating a TF Broadcaster Node We'll create a TF broadcaster to link the IMU frame (imulink) to the robot's base frame (baselink). Navigate to
24.(Jetson Project#13)Integrating All Components and Testing

Part7: Integrating All Components(Node && Launch) and Testing With all individual components set up, it's time to integrate them and perform comprehe
25.(Jetson Project#14)Automating Launch with a Master Launch File with little trouble and concern

7.3 Automating Launch with a Master Launch File To simplify launching all nodes, create a master launch file that includes all necessary components.
26.(Jetson Project#15)Implementing Cartographer SLAM_근데 에러를 곁들인

Part 8: Implementing Cartographer SLAM 8.1. Install Cartographer ROS Install Dependencies: Create a New Workspace for Cartographer: Initialize wsto
27.(Jetson Project#16)Implementing Hector SLAM
I can't deal with cartograher anymore.. +) I only need 2D slam So, change to "Hector SLAM" Implementing Hector SLAM Hector SLAM is a popular 2D SLAM
28.(Jetson Project#17)Configuring Autonomous Mapping
8.4. Configuring Autonomous Mapping To map the entire space, we'll enable the robot to autonomously navigate while building the map. 8.4.1. Create a
29.(Jetson Project#18)Autonomous Navigation Using the Saved Map(delete)

Part 9: Autonomous Navigation Using the Saved Map Now that you have a map of the environment, we'll set up the robot to autonomously navigate within
30.(Jetson Project2#1) Hector SLAM Introduce

31.(Jetson Project2#1)_Ros noetic install & catkin_make
Part 1: Installing ROS Noetic on Ubuntu 20.04To begin developing with ROS Noetic on Ubuntu 20.04, you'll need to install it on your Jetson Nano B01. H
32.(Jetson Project2#2)_RPLidar A1_setup
Part 3: Configuring RPLidar A1 with Modified Launch File In this section, we'll set up the RPLidar A1 on your Jetson Nano B01. We'll clone the rplidar_ros package, modify the launch file as per your ...
33.(Jetson Project2#4)hector mapping complete
command *terminal 1 *terminal 2 if you want save current map, command this +) initialize server with public domain ++) and launch this script +++) ![](https://velog.velcdn.com/images/m