(Jetson Project#5-1)Integrating the MPU6050 GY-521 6-Axis IMU Sensor(Change)
Developing Self Driving with Jetson Nano

Change to 6-axis IMU Sensor.
In Jetson Project#4,
We successfully tested the Rplidar A1 with changed this code.
roslaunch rplidar_ros rplidar_a1.launch

source /opt/ros/noetic/setup.bash
source ~/catkin_ws/devel/setup.bash


rviz # in second terminal
And in Rviz, Add LaserScan, edit "map" to "laser" in "Fixed Frame"
Now, in this post,
Part 3: Integrating the MPU6050 (GY-521) IMU Sensor mainly.
Replacing the MPU9250 with the MPU6050 (GY-521) involves connecting the sensor to the Jetson Nano and setting up the appropriate ROS packages to publish IMU data.
3.1 Hardware Connections
Connecting MPU6050 (GY-521) to Jetson Nano:
The MPU6050 communicates via the I2C interface. Below How to connect it:
1. Identify the GY-521 Pins:
GY-521 Pin Function
VCC Power (3.3V/5V)
GND Ground
SCL I2C Clock
SDA I2C Data
XDA Not used
XCL Not used
2. Connect to Jetson Nano's I2C Pins:
The Jetson Nano's I2C pins are located on the GPIO header.
Jetson Nano Pin Function
Pin 3 (SDA1) SDA
Pin 5 (SCL1) SCL
Pin 1 (3.3V) 3.3V
Pin 6 GND
connection map
VCC ------ 3.3V (Pin 1)
GND ------ GND (Pin 6)
SCL ------ SCL1 (Pin 5)
SDA ------ SDA1 (Pin 3)
3.2 Enable I2C on Jetson Nano
- Check if I2C is Enabled:
The Jetson Nano typically has I2C enabled by default. Verify by listing the I2C devices.
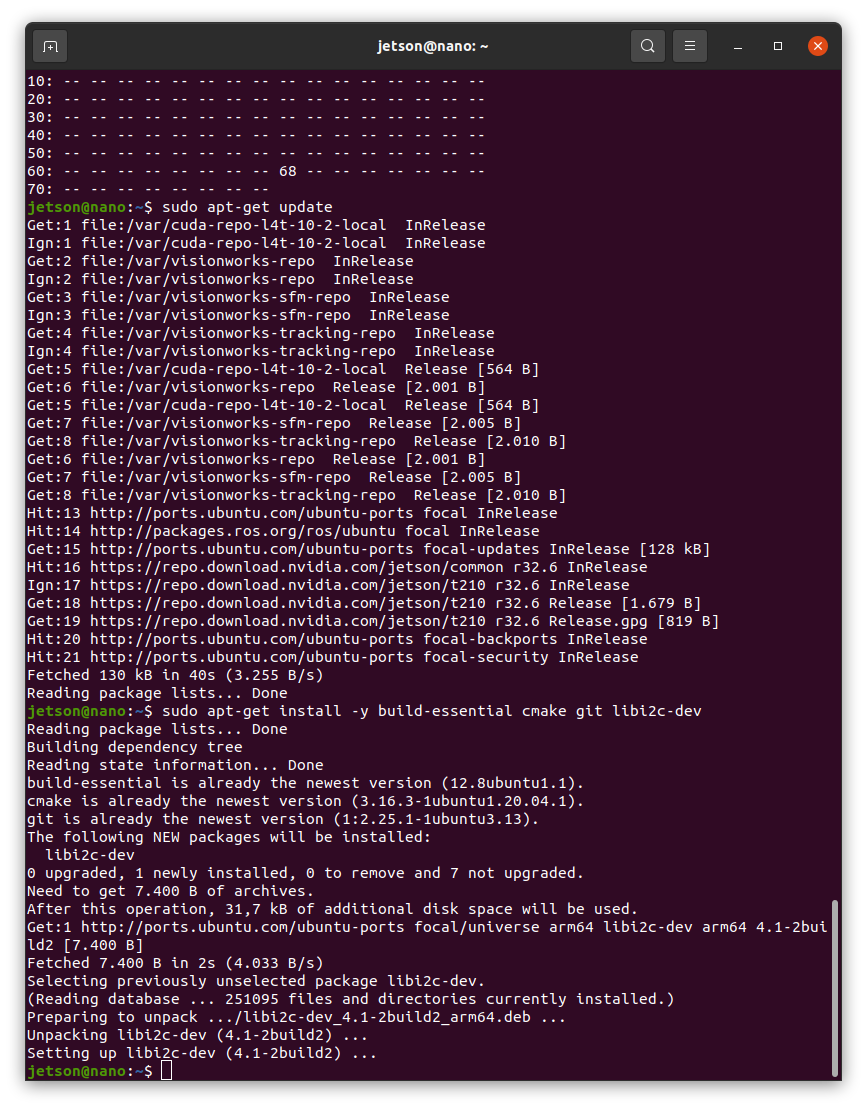
sudo apt-get update
sudo apt-get install -y i2c-tools
i2cdetect -y -r 1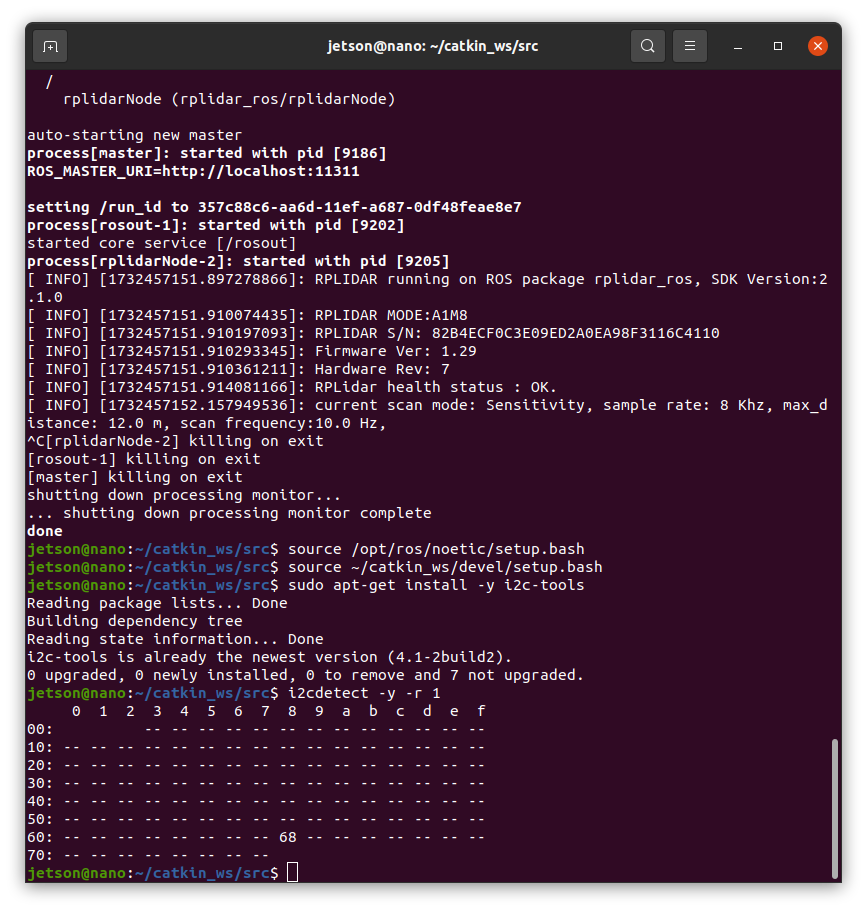
if errored in "1. process" you can check "physical connection" or below "Enable I2C Kernel" .
1-1. Enable I2C Kernel Modules (If Not Already Enabled):
Check if the I2C modules are loaded.
lsmod | grep i2c
If not, add them to /etc/modules:
echo "i2c-dev" | sudo tee -a /etc/modules
sudo modprobe i2c-dev
if success, follow the below.
- Install Necessary Libraries:
sudo apt-get update
sudo apt-get install -y build-essential cmake git libi2c-dev