1. 데이터 수집
데이터는 모두 수학시험을 대상으로 수집하기로 했습니다. 모두 객관식으로 이루어진 시험지를 수집했으며, 수집한 데이터는 다음과 같습니다.
경찰 대학 시험 (수학) 2014~
9급 공무원 시험 (수학) 2013~
수능 시험 (수학) 2014~
모의고사 시험 (수학) 2019~
검정고시 초, 중, 고 시험 (수학) 2017~
중학교 중간, 기말고사 (수학)
모두 pdf 로 저장하였으며 푼 상태의 시험지가 필요했습니다. 그러나 수집한 데이터는 모두 원본 상태이며, 임의로 체크표시와 밑줄 등을 통해 푼 시험지를 재현했습니다.
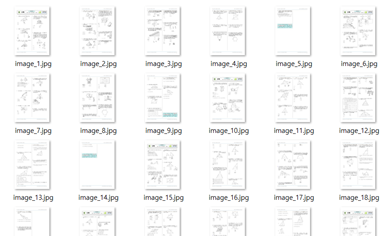
그 후 각 페이지 당 jpg 파일로 저장했으며 총 395장의 데이터가 수집되었습니다.
2. 데이터 증강
2-1. 밝기
수집된 데이터를 직접 찍은 이미지와 비슷한 조건으로 만들기 위해 다양한 방법으로의 데이터 변환이 필요 했습니다. 먼저, 다양한 환경의 조명들을 고려해 밝기를 조절하였습니다.
from matplotlib import pyplot as plt
from PIL import Image
import cv2
import numpy as np
import random
import os
import PIL.ImageOps

COUNT = 1

for i in range(len(images)):
  image = cv2.imread(images[i])
  val = random.randrange(10,100)
  array = np.full(image.shape, (val, val, val), dtype=np.uint8)

  sub_dst = cv2.subtract(image, array)

  #plt.imshow(sub_dst)
  bright_image = Image.fromarray(sub_dst, 'RGB')
  bright_image.save("/content/drive/MyDrive/test-paper detector/detectron2/data/images/image_bright_%03d.jpg" % COUNT)
  images.append("/content/drive/MyDrive/test-paper detector/detectron2/data/images/image_bright_%03d.jpg" % COUNT)
  COUNT += 1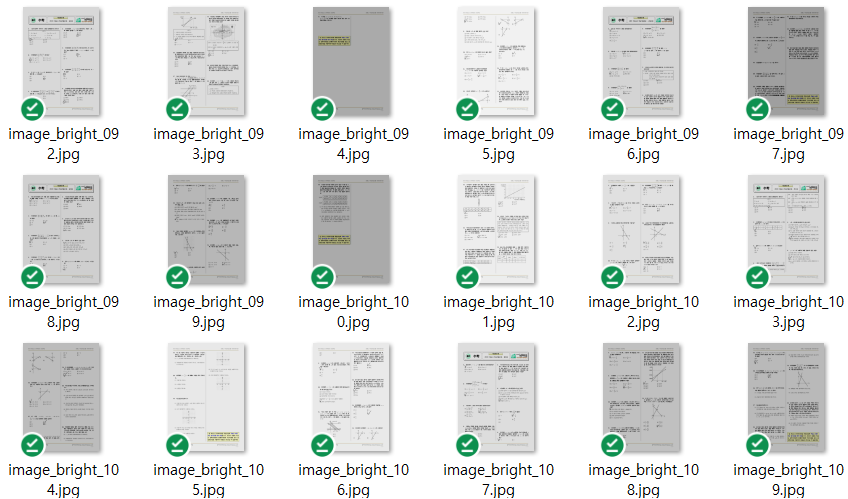
openCV의 subtract 함수를 통해 픽셀값을 빼주는 방식으로 밝기를 조절했습니다. 수집된 원본 이미지는 이미 밝기가 밝으므로 어둡게만 처리해주었습니다. 랜덤으로 10에서 100 사이 값을 불러와 그만큼 픽셀값에서 빼주었습니다.
또한 numpy array 를 이미지로 변환하여 저장하는 과정을 거쳤습니다.
2-2. 회전
rotate_count = 1

for i in range(len(images)):
  image = Image.open(images[i])
  rotated_image = image.rotate(random.randrange(-15, 15)) ## 랜덤하게 -15도 ~ +15도
  #plt.imshow(rotated_image)
  rotated_image.save('/content/drive/MyDrive/test-paper detector/detectron2/data/images/image_rotate_%03d.jpg' % rotate_count)
  images.append('/content/drive/MyDrive/test-paper detector/detectron2/data/images/image_rotate_%03d.jpg' % rotate_count)
  rotate_count += 1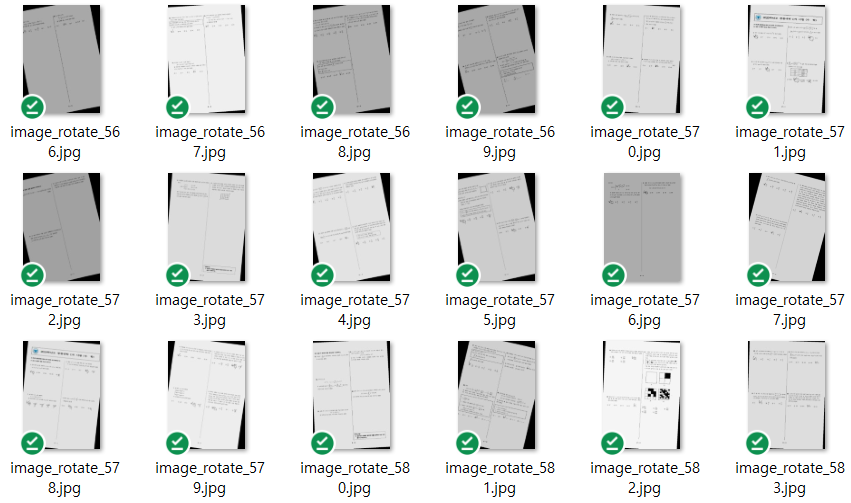
이때는 rotate 함수를 사용하였습니다. 회전 정도를 나타내는 각도를 지정할때는 랜덤으로 -15도 에서 +15도를 불러와 회전시켜주었습니다.
2-3. y축 비틀기
warp_count = 1

for i in range(len(images)):
  img = cv2.imread(images[i])
  h,w = img.shape[:2]

  pts1 = np.float32([[0, 0], [595, 0], [0, 842], [595, 842]])
  rn = random.randrange(20, 50)

  pts2 = np.float32([[rn, 0], [595-rn, 0], [0, 842], [595, 842]]) ## random 각도

  M = cv2.getPerspectiveTransform(pts1, pts2)
  img2 = cv2.warpPerspective(img, M, (w, h))

  #plt.imshow(img)
  #plt.imshow(img2)
  img2 = Image.fromarray(img2, 'RGB')
  img2.save('/content/drive/MyDrive/test-paper detector/detectron2/data/images/image_warp_%03d.jpg' % warp_count)
  images.append('/content/drive/MyDrive/test-paper detector/detectron2/data/images/image_warp_%03d.jpg' % warp_count)
  warp_count += 1

이 과정은 이번 데이터 증강에서 꽤 중요하다고 생각합니다. 사용자가 시험지를 촬영할 때 완전히 위에서 아래를 찍는 것이 아닌 살짝 카메라 화면이 사용자를 향하는 방향으로 촬영하기 때문에 y축 비틀기 과정은 반드시 필요했습니다.
이때는 getPerspectiveTransform 함수와 warpPerspective 함수를 사용했습니다. 원본 이미지의 가장자리 꼭지점 좌표와 변환하고자 하는 모양의 꼭지점 좌표를 통해 변환 행렬을 구하게 됩니다. 그러면 그 행렬에 대한 기하학적 변화를 수행할 수 있게 됩니다.
여기서 또한 기울어진 정도를 랜덤으로 불러와 시행했으며 20에서 50사이의 값을 불러와 가장 위 쪽 두개의 좌표를 생성했습니다.
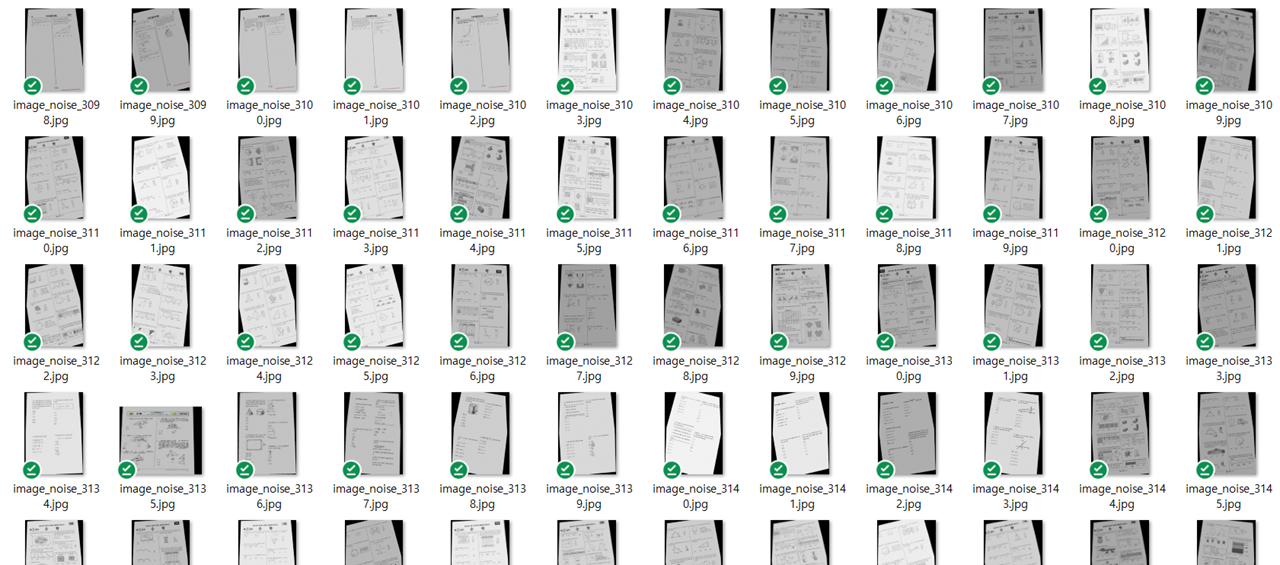
2-4. 노이즈 추가
noisy_count = 1
 in range(len(images)):

for i
  img = cv2.imread(images[i])
  row,col,ch= img.shape

  mean = 0
  var = 0.1
  sigma = var**0.5
  gauss = np.random.normal(mean,sigma,(row,col,ch))
  gauss = gauss.reshape(row,col,ch)

  noisy_array = img + gauss
  #plt.imshow(noisy_array)
  noisy_image = Image.fromarray(np.uint8(noisy_array)).convert('RGB')
  noisy_image.save('/content/drive/MyDrive/test-paper detector/detectron2/data/images/image_noise_%04d.jpg' % noisy_count)
  images.append('/content/drive/MyDrive/test-paper detector/detectron2/data/images/image_noise_%04d.jpg' % noisy_count)
  noisy_count += 1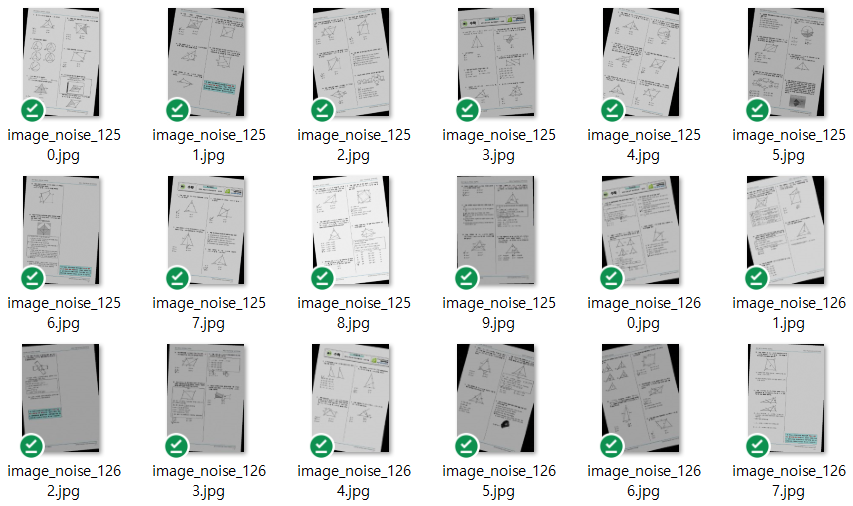
마지막 단계인 노이즈 추가입니다. 지금까지 변환한 모든 사진들에 노이즈를 추가하여 저장하게 됩니다. 이때는 가우시안 필터를 사용했고, 원본 이미지에 가우시안 필터를 더하는 방식으로 진행하였습니다.
약 6300장의 이미지가 저장되었으며 직접 찍은 데이터를 대신해 다양한 환경이 적용된 사진이 마련되었습니다.
사용한 모든 코드는 깃허브에 ipynb 파일로 정리되어있습니다.