💡 mockup 데이터 사용하기
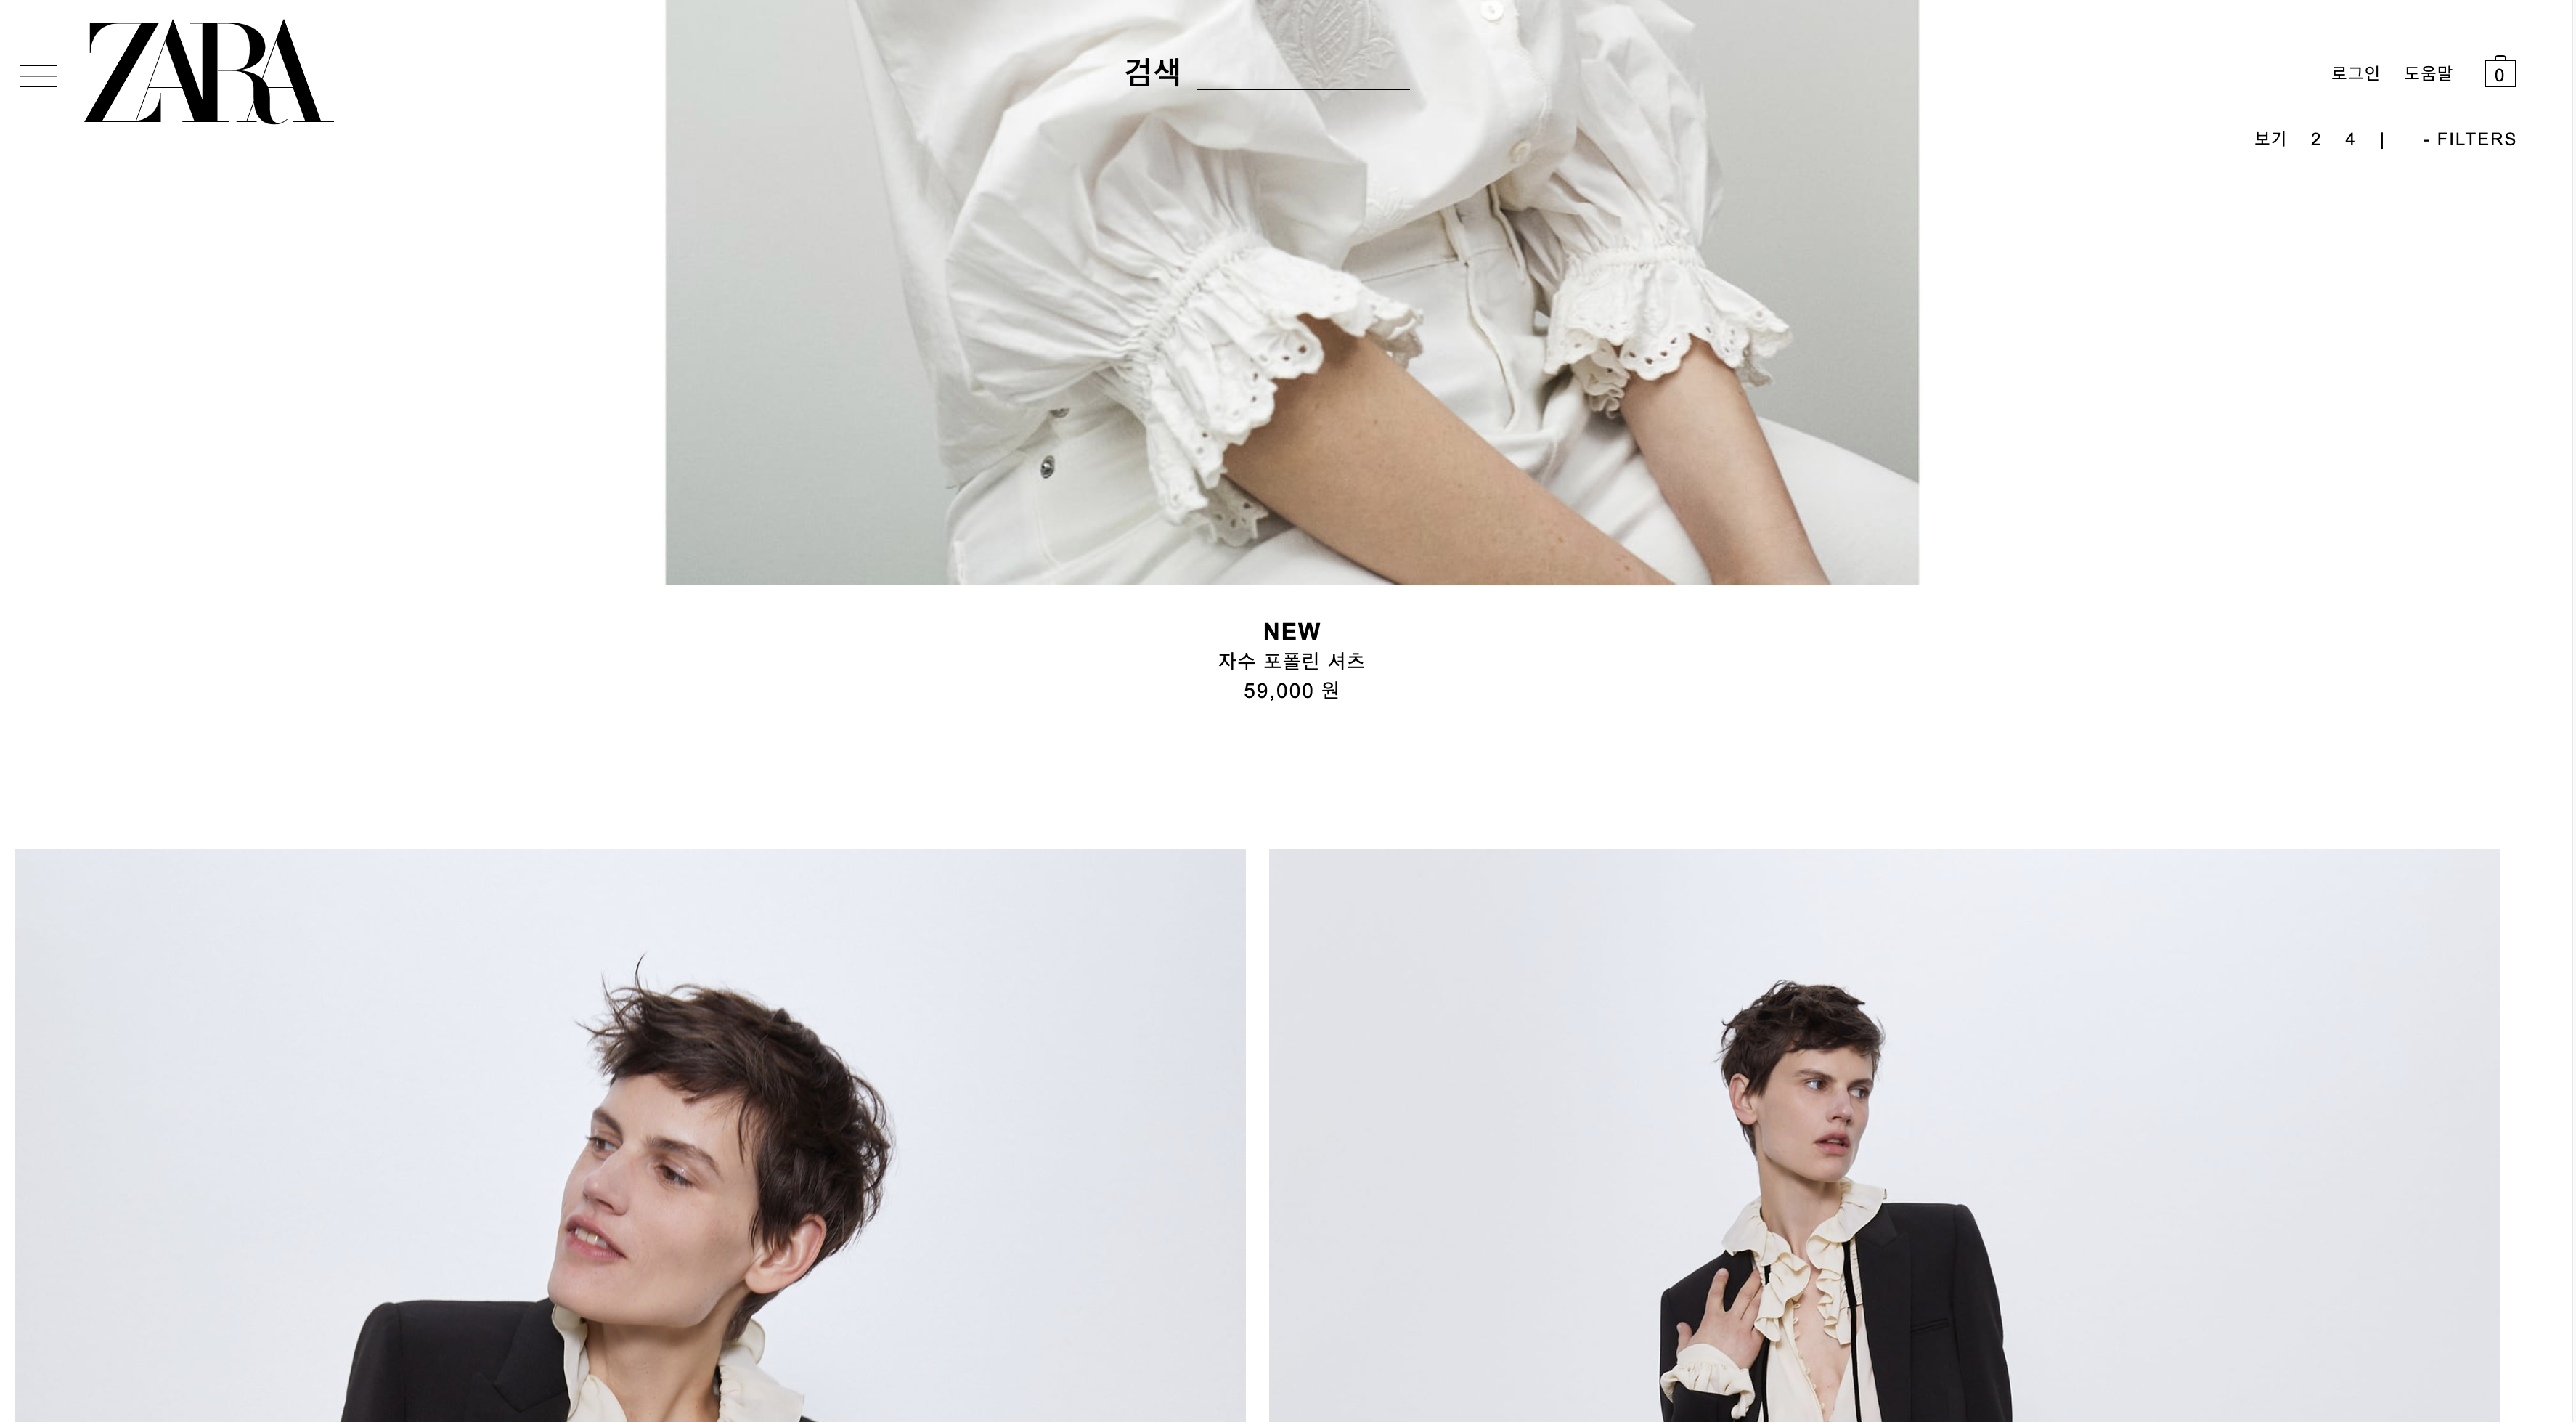
내가 맡은 부분 중 제품리스트가 보이는 목록리스트의 레이아웃 작업을 다 끝내고 가짜데이터를 만들어서 데이터가 들어와도 내가 계획한대로 결과가 잘 나오는지 확인하는 작업을 했다.
mock data는 가짜데이터, 샘플데이터로 백엔드로부터 받아온 API가 아니라 프론트개발자가 임의로 만드는 데이터이다. mock data를 사용하는 이유는 미리 API가 들어왔을 때의 상황을 예측하고 내가 계획한대로 UI가 잘 나오는지 확인하기 위해서이다.
mock데이터를 사용하는 방법으로는 js 파일에 담아 import하는 것과 data.json 형태로 fetch함수를 사용하는 두 가지 방법이 있다.
- data.js로 관리
해당 컴포넌트 바로 옆에 만든다. ex) fruit 폴더 안에 fruit.js / fruit.css / fruit_data.js
const fruit = [
   {
     id: 1,
     name: "apple"
   },
   {
     id: 2,
     name: "banana"
   },
   {
     id: 3,
     name: "orange"
   },
   {
     id: 4,
     name: "kiwi"
   },
   {
     id: 5,
     name: "lemon"
   }
 ];
이런 식으로 작성 후 사용하고자 하는 컴포넌트에서 import해주면 된다. 데이터는 { data name } 중괄호 안에 데이터 명을 입력하여 사용할 수 있다.
import React from 'react';
import List from 'list_data.js';-
data.json으로 관리
실제 백엔드로부터 전달받는 API는 json형태로 오기 때문에 이 형식에 맞게 데이터를 만들어서 사용한다.
우선 data.json의 위치는pubilc 폴더 -> data 폴더안에 위치한다.
{
  "fruit": [
    {
      "id": 1,
      "name": "apple",
      "color": "red"
    },
    {
      "id": 2,
      "name": "banana",
      "color": "yellow"
    }
  ]
}
해당 파일을 사용하는 방법은 https://velog.io/@ppl8709/TIL-3-fetch-%ED%95%A8%EC%88%98 포스팅 fetch 부분에 자세히 나와있다.
나의 경우에는 백엔드로부터 API를 받았을 때 주소만 변경해주면 되는 json 파일 방식을 사용했다.
componentDidMount = () => {
    fetch("http://localhost:3000/data/data.json")
      .then(res => res.json())
      .then(res => {
        console.log(res.product_list);
        this.setState({ marketing: res.marketing, product: res.product_list });
      });
  };

  render() {
    const marketingList = this.state.marketing.map(card => {
      return <LDPMarketing id={card.id} img={card.img} />;
    });

    const productList = this.state.product.map(list => {
      if (list.id % 3 === 1) {
        return (
          <LDPList
            id={list.id}
            img={list.img}
            new={list.new}
            name={list.name}
            price={list.price}
          />
        );
      } else {
        return (
          <LDPList2
            id={list.id}
            img={list.img}
            new={list.new}
            name={list.name}
            price={list.price}
          />
        );
      }
    });


  return (
     {marketingList}
     {productList}
 )
