Azure DevOps
소프트웨어 개발 프로젝트의 계획, 개발, 테스트 및 배포 전 과정을 지원하는 통합 플랫폼
| 주요서비스명 | 역할 및 기능 | 개발 단계 |
|---|---|---|
| Azure Boards | 애자일 계획, 작업 추적, 백로그 관리, 칸반 보드 및 스크럼 지원 | 계획 & 추적 |
| Azure Repos | Git 기반의 무제한 프라이빗 저장소 제공, 코드 버전 관리 및 협업 | 코드 관리 |
| Azure Pipelines | CI/CD 파이프라인 자동화, 코드 커밋 시 자동 빌드, 테스트, 배포 실행 | 빌드 & 배포 |
| Azure Test Plans | 수동 및 탐색적 테스트 도구, 테스트 케이스 관리 및 실행 결과 추적 | 테스트 관리 |
| Azure Artifacts | Maven, npm, NuGet 등 패키지 종속성 저장 및 공유 피드 관리 | 패키지 관리 |
GraphQL 기반 API 배포
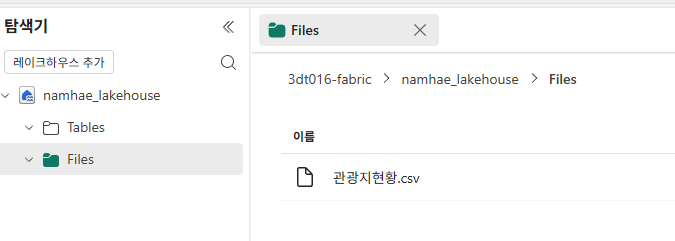
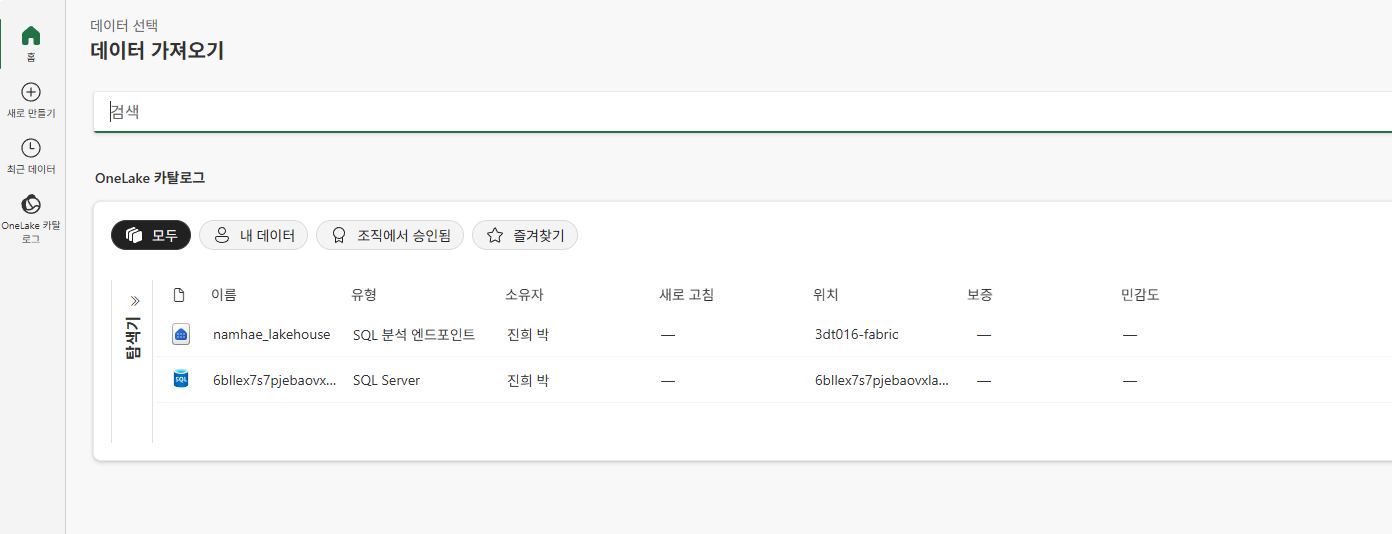
Fabric에서 레이크하우스 생성

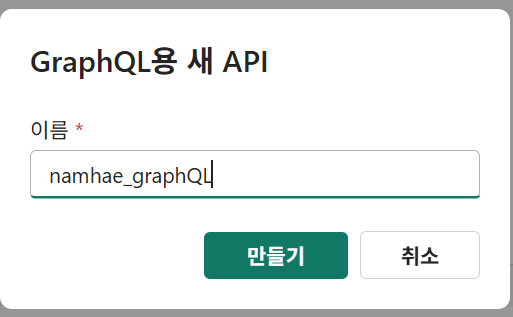
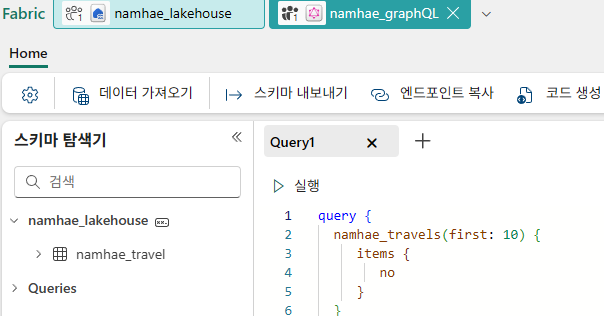
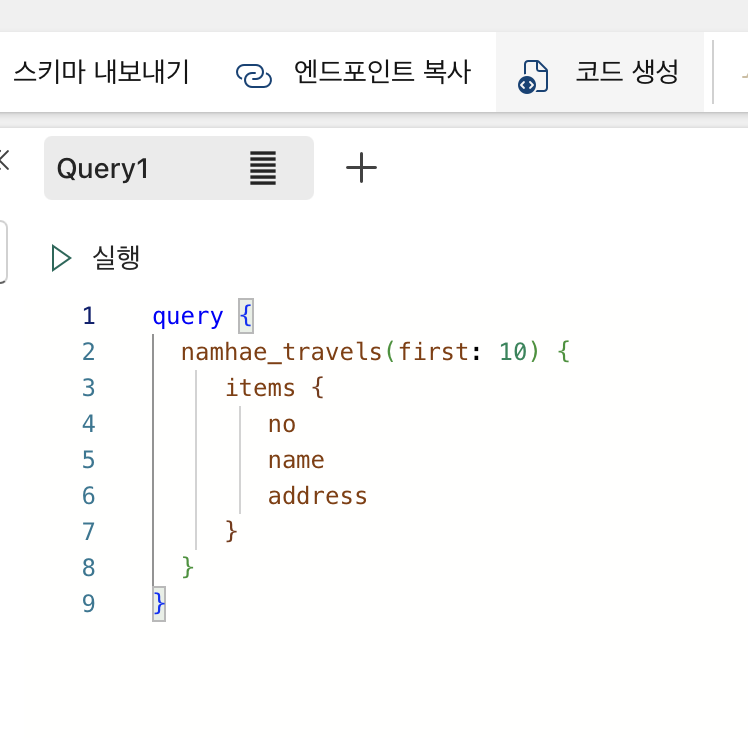
graphQL 생성
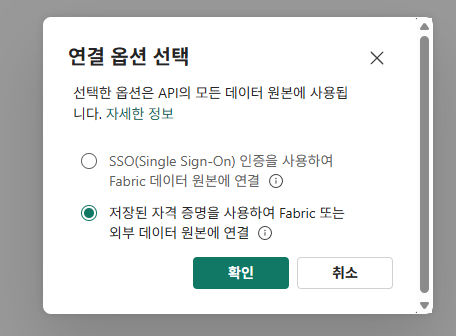
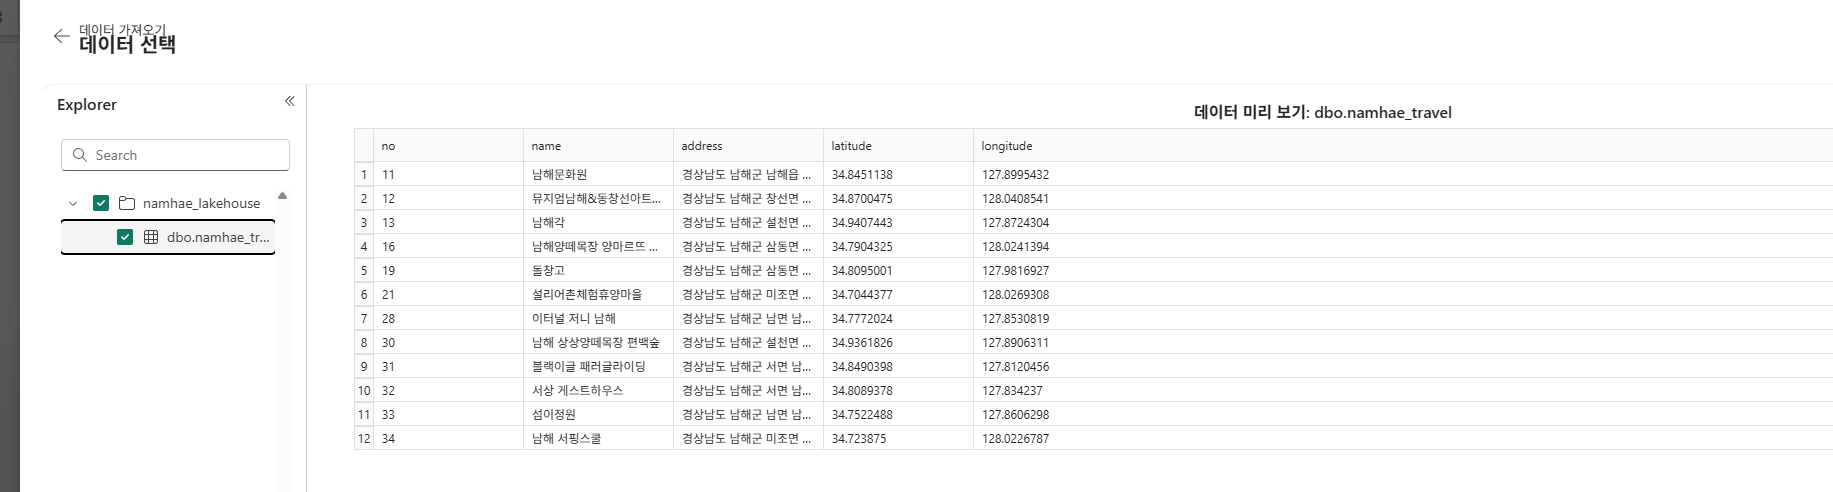
데이터 업로드 후 graphQL 연결


엔드포인트 복사로 확인
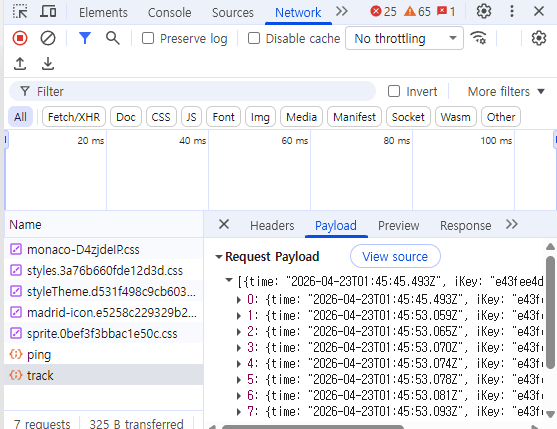
network를 확인해서 http request 내역 확인 가능
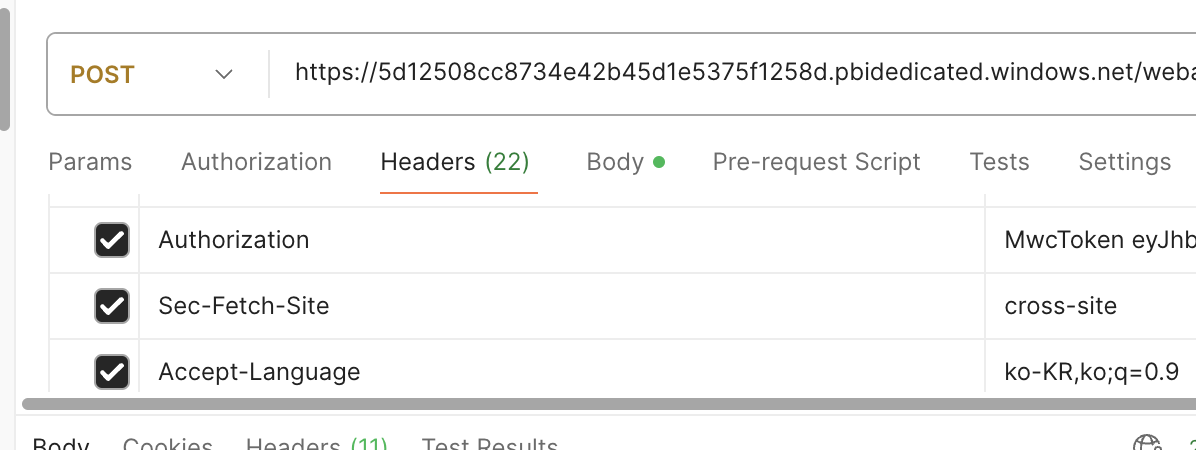
엔드포인트, 메소드, 헤더, 바디
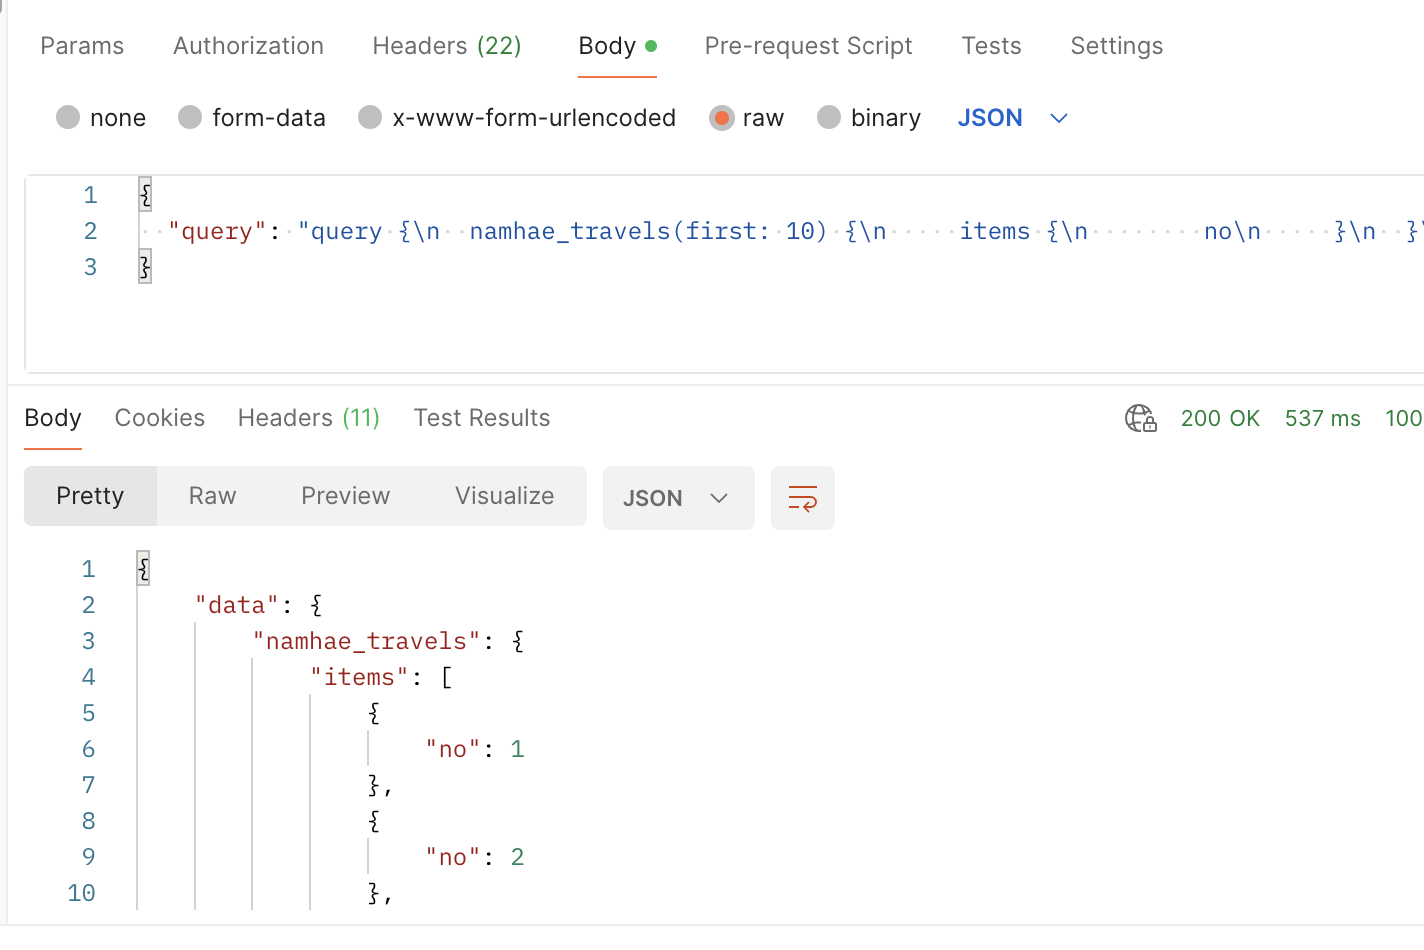
Postman으로 확인
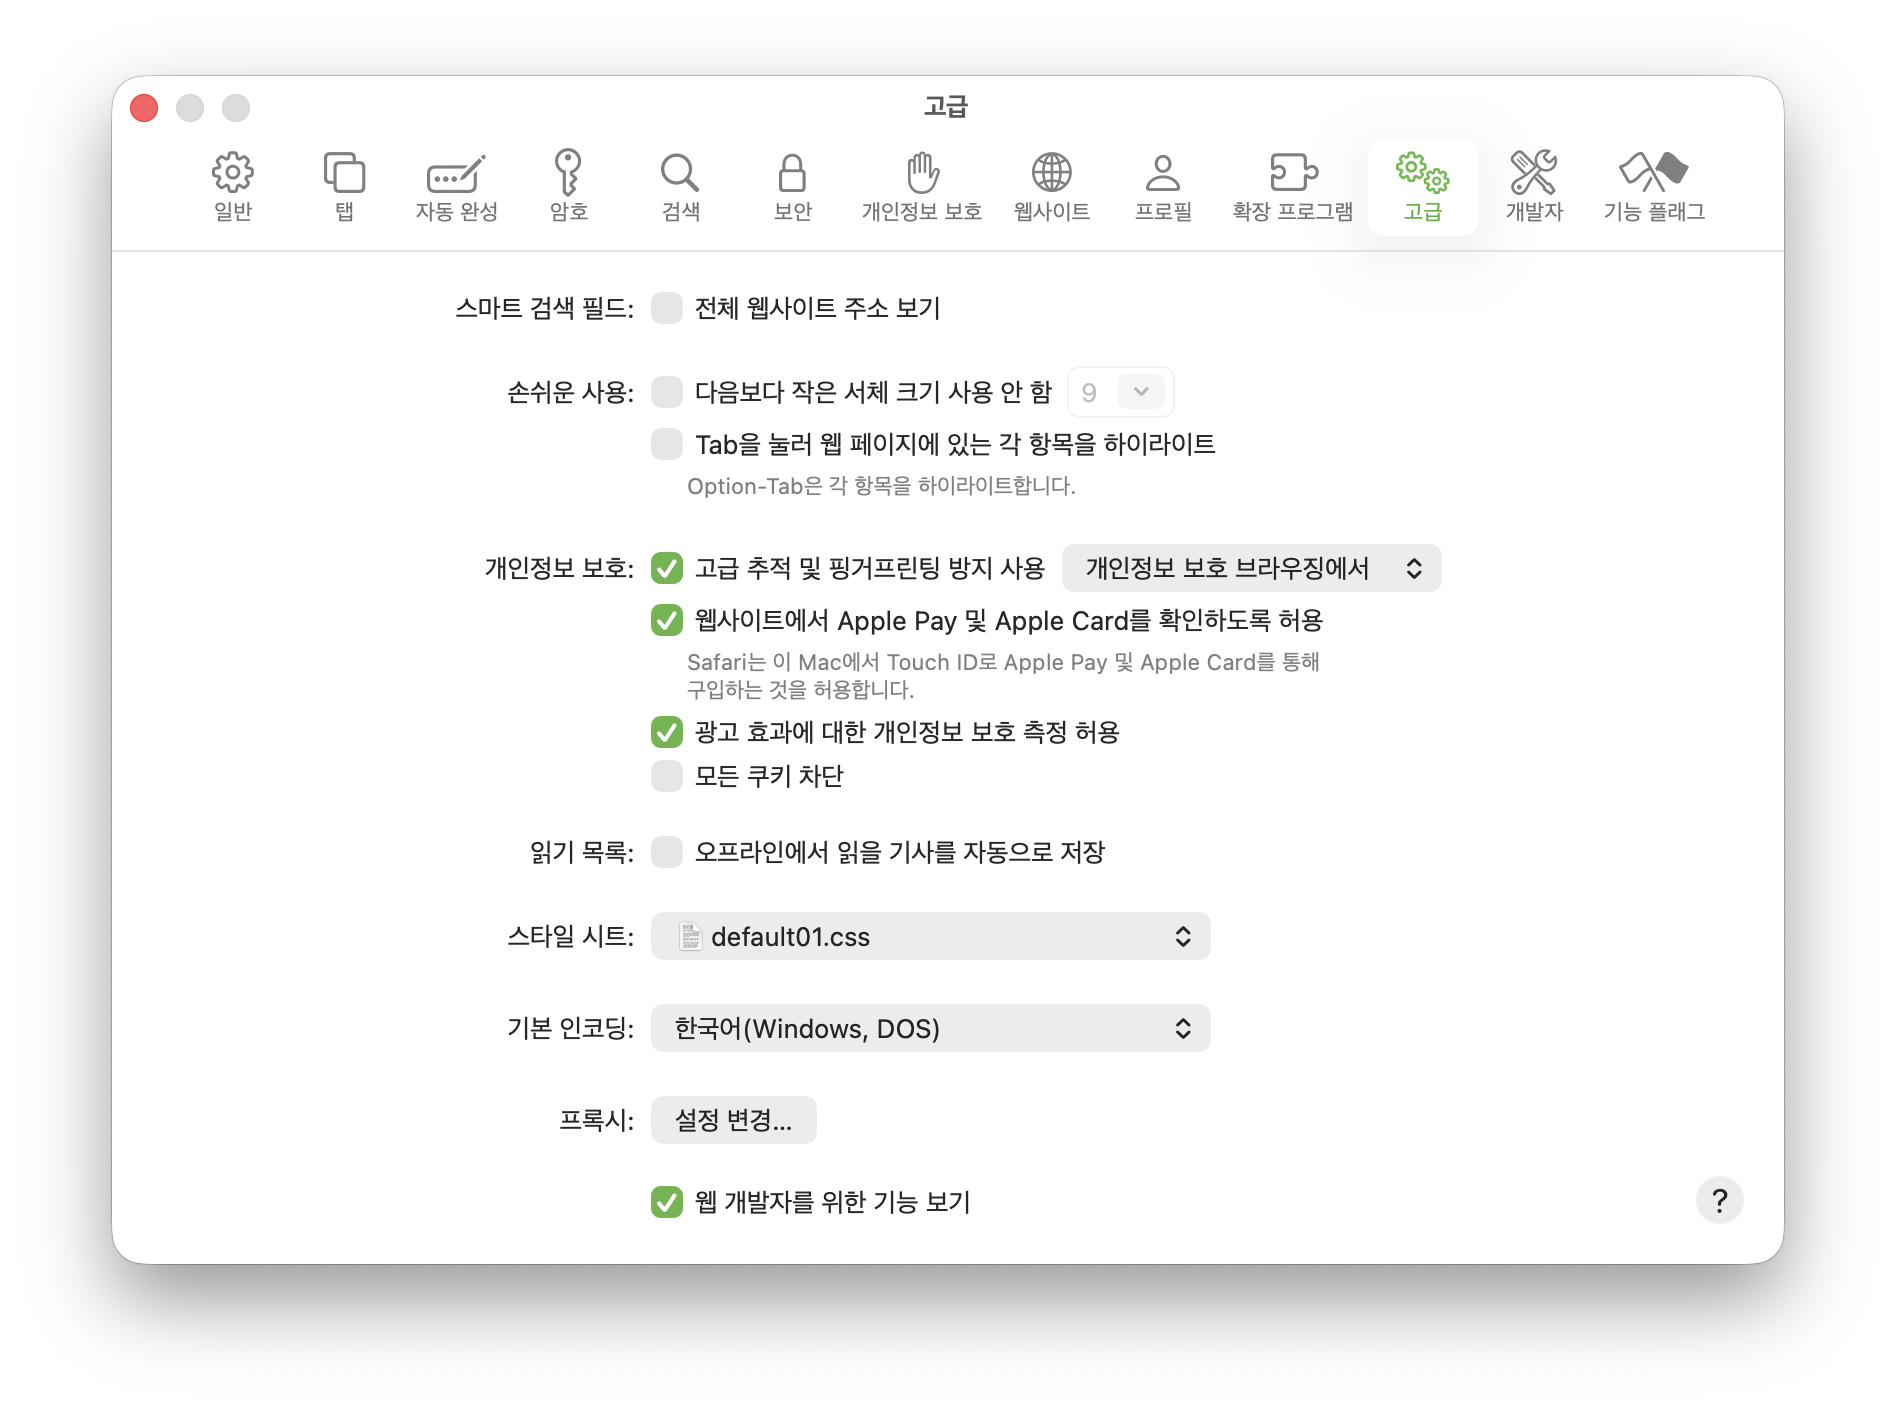
Authorization Token은 개발자도구로 확인해야하는데, safari를 사용한다면 환경설정에서 웹 개발자 도구 보기를 선택해야한다.
opt+cmd+i를 누르고, 개발자도구탭에서 네트워크를 선택한다
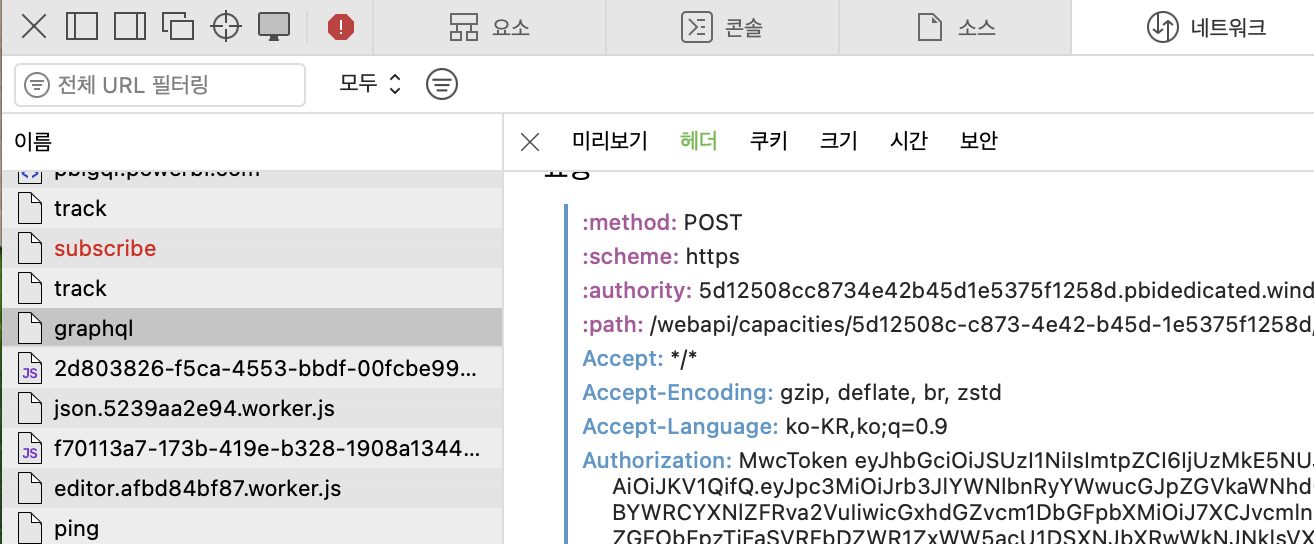
graphql을 찾고, 우클릭해서 curl로 복사 선택
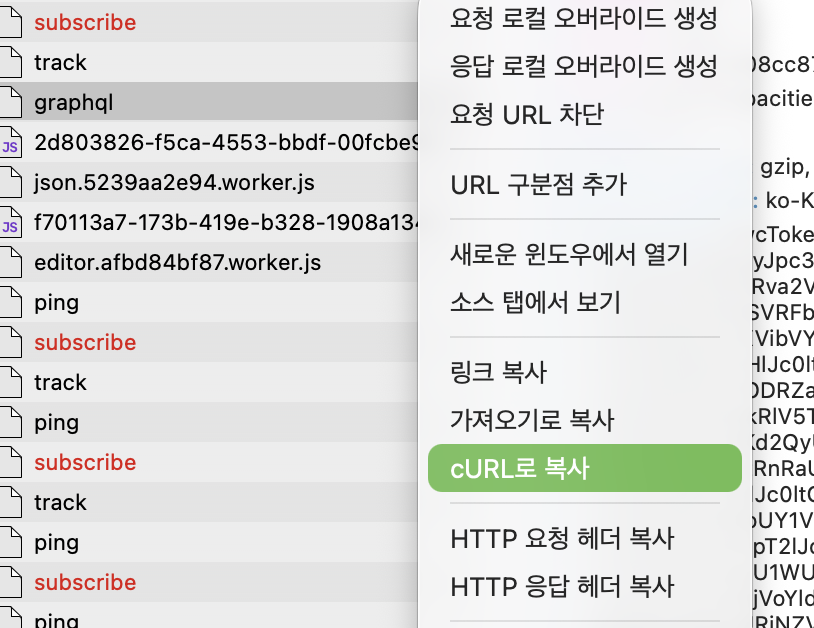
이후 postman에서 import로 추가해준다.
자동으로 authorization token이 들어가고
정상적으로 200 OK 가 떨어진다.
참고로 체크는 GraphQL로 해야하는데, 로그인 안하면 지원 안하는듯. 로그인하니 뜬다.

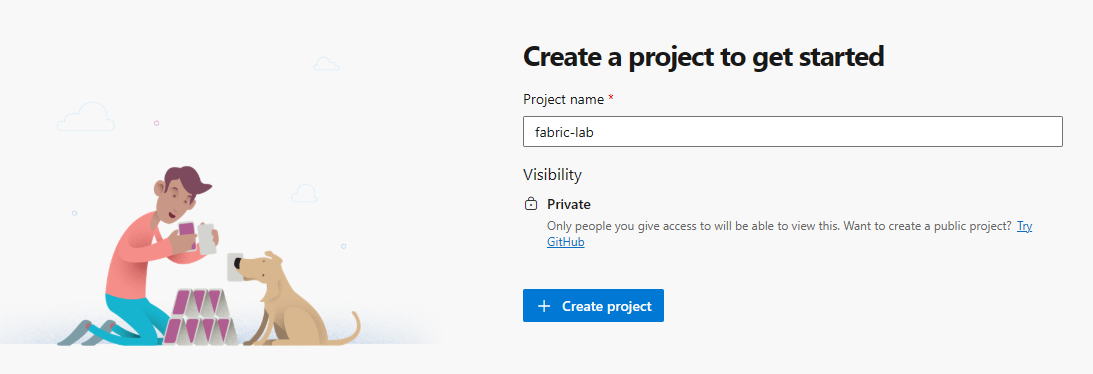
가상환경 생성
# 1. 'fabric-lab'이라는 이름의 새로운 폴더(디렉토리)를 생성합니다.
mkdir fabric-lab

# 2. 생성한 'fabric-lab' 폴더 안으로 이동합니다.
cd fabric-lab

# 3. 'fabric'이라는 이름의 콘다 가상 환경을 생성합니다.
#    -c conda-forge: 패키지를 가져올 채널(저장소) 지정
#    nodejs=24: 최신 버전인 Node.js 24 버전을 함께 설치합니다.
conda create -n fabric -c conda-forge nodejs=24

# 4. 방금 만든 'fabric3' 가상 환경을 활성화합니다.
# (주의: 위에서 'fabric'으로 만드셨다면 'conda activate fabric'이 맞습니다.)
conda activate fabric3

# 5. 서버 코드를 담을 'server' 폴더를 생성합니다.
mkdir server

# 6. 'server' 폴더 안으로 이동합니다.
cd server

# 7. Node.js 프로젝트를 초기화합니다. (-y는 모든 설정을 기본값으로 자동 승인함)
# 이 명령어를 치면 package.json 파일이 생성됩니다.
npm init -y

# 8. 서버 운영에 필요한 핵심 라이브러리들을 설치합니다.
# express: 웹 서버 프레임워크
# cors: 교차 출처 리소스 공유(보안 정책) 해결용
# @azure/identity: Azure 서비스 인증용 (패브릭 연결 시 필요)
# node-fetch@2: API 요청을 보내기 위한 라이브러리 (버전 2)
npm install express cors @azure/identity node-fetch@2

샘플 코드 실행
fabric-lab/server 에서 실행
npm init -y
npm install express cors @azure/identity node-fetch@2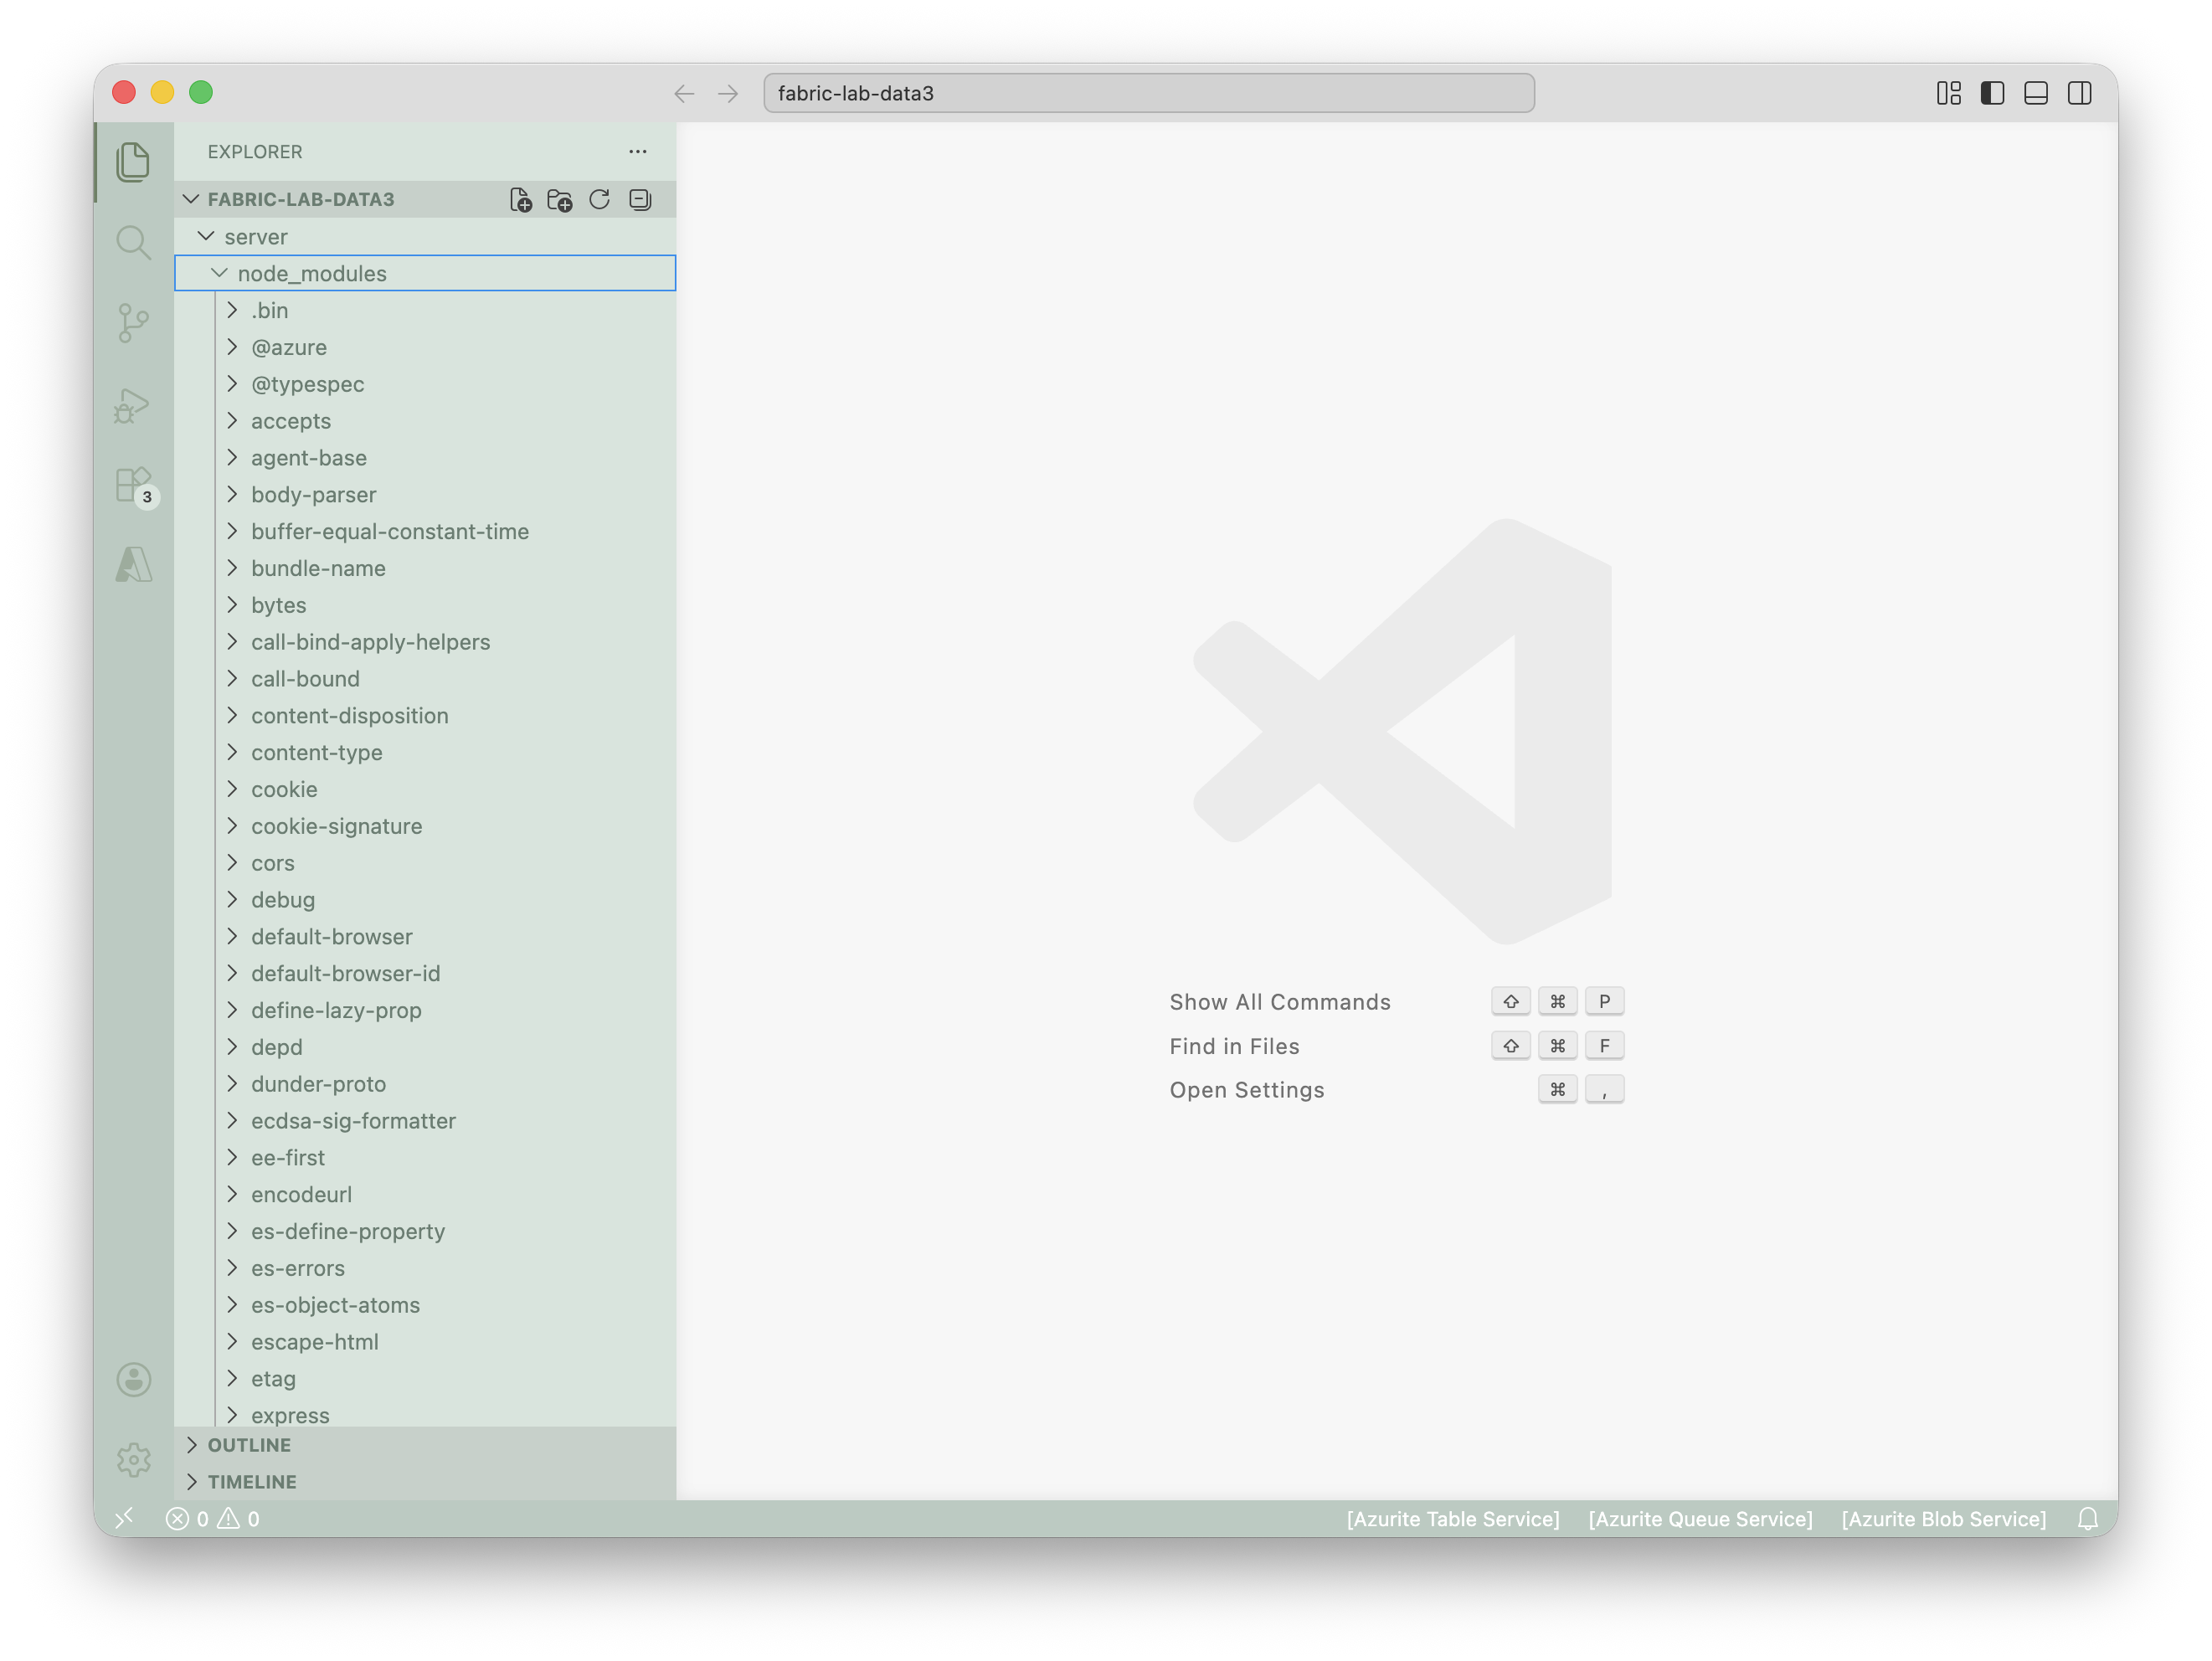
fabric의 graphQL에서 코드 생성(js)
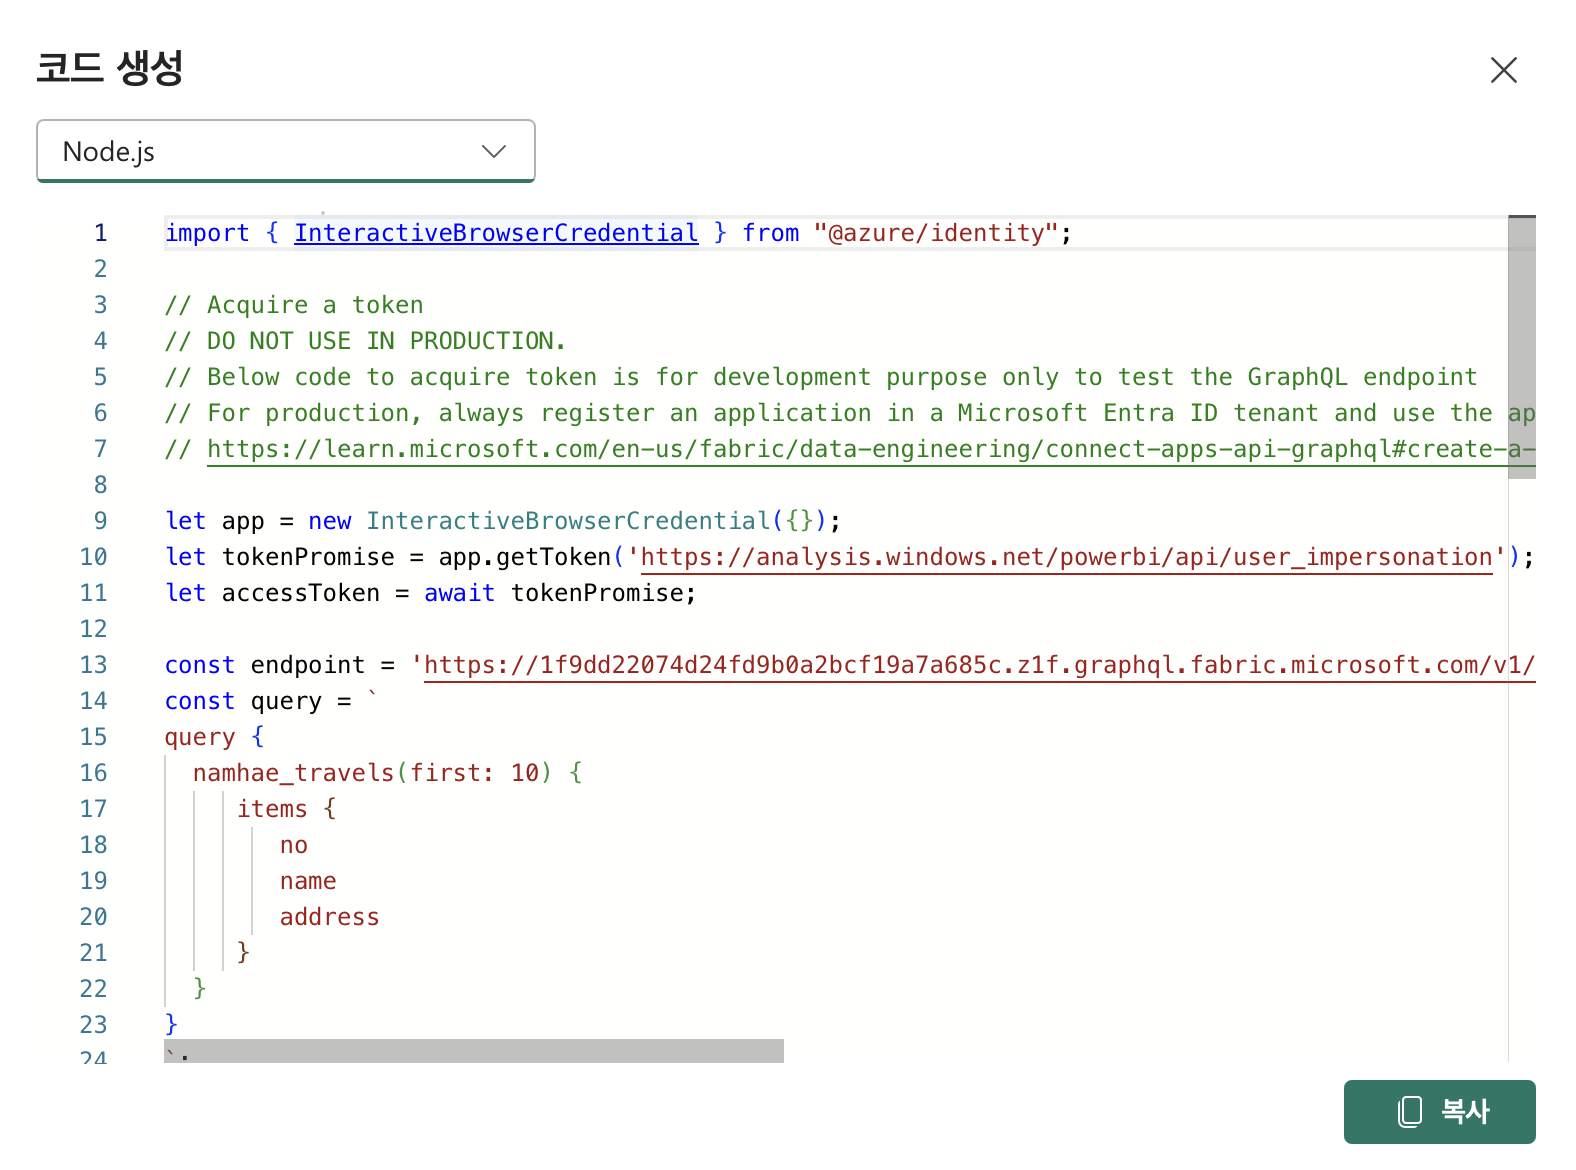
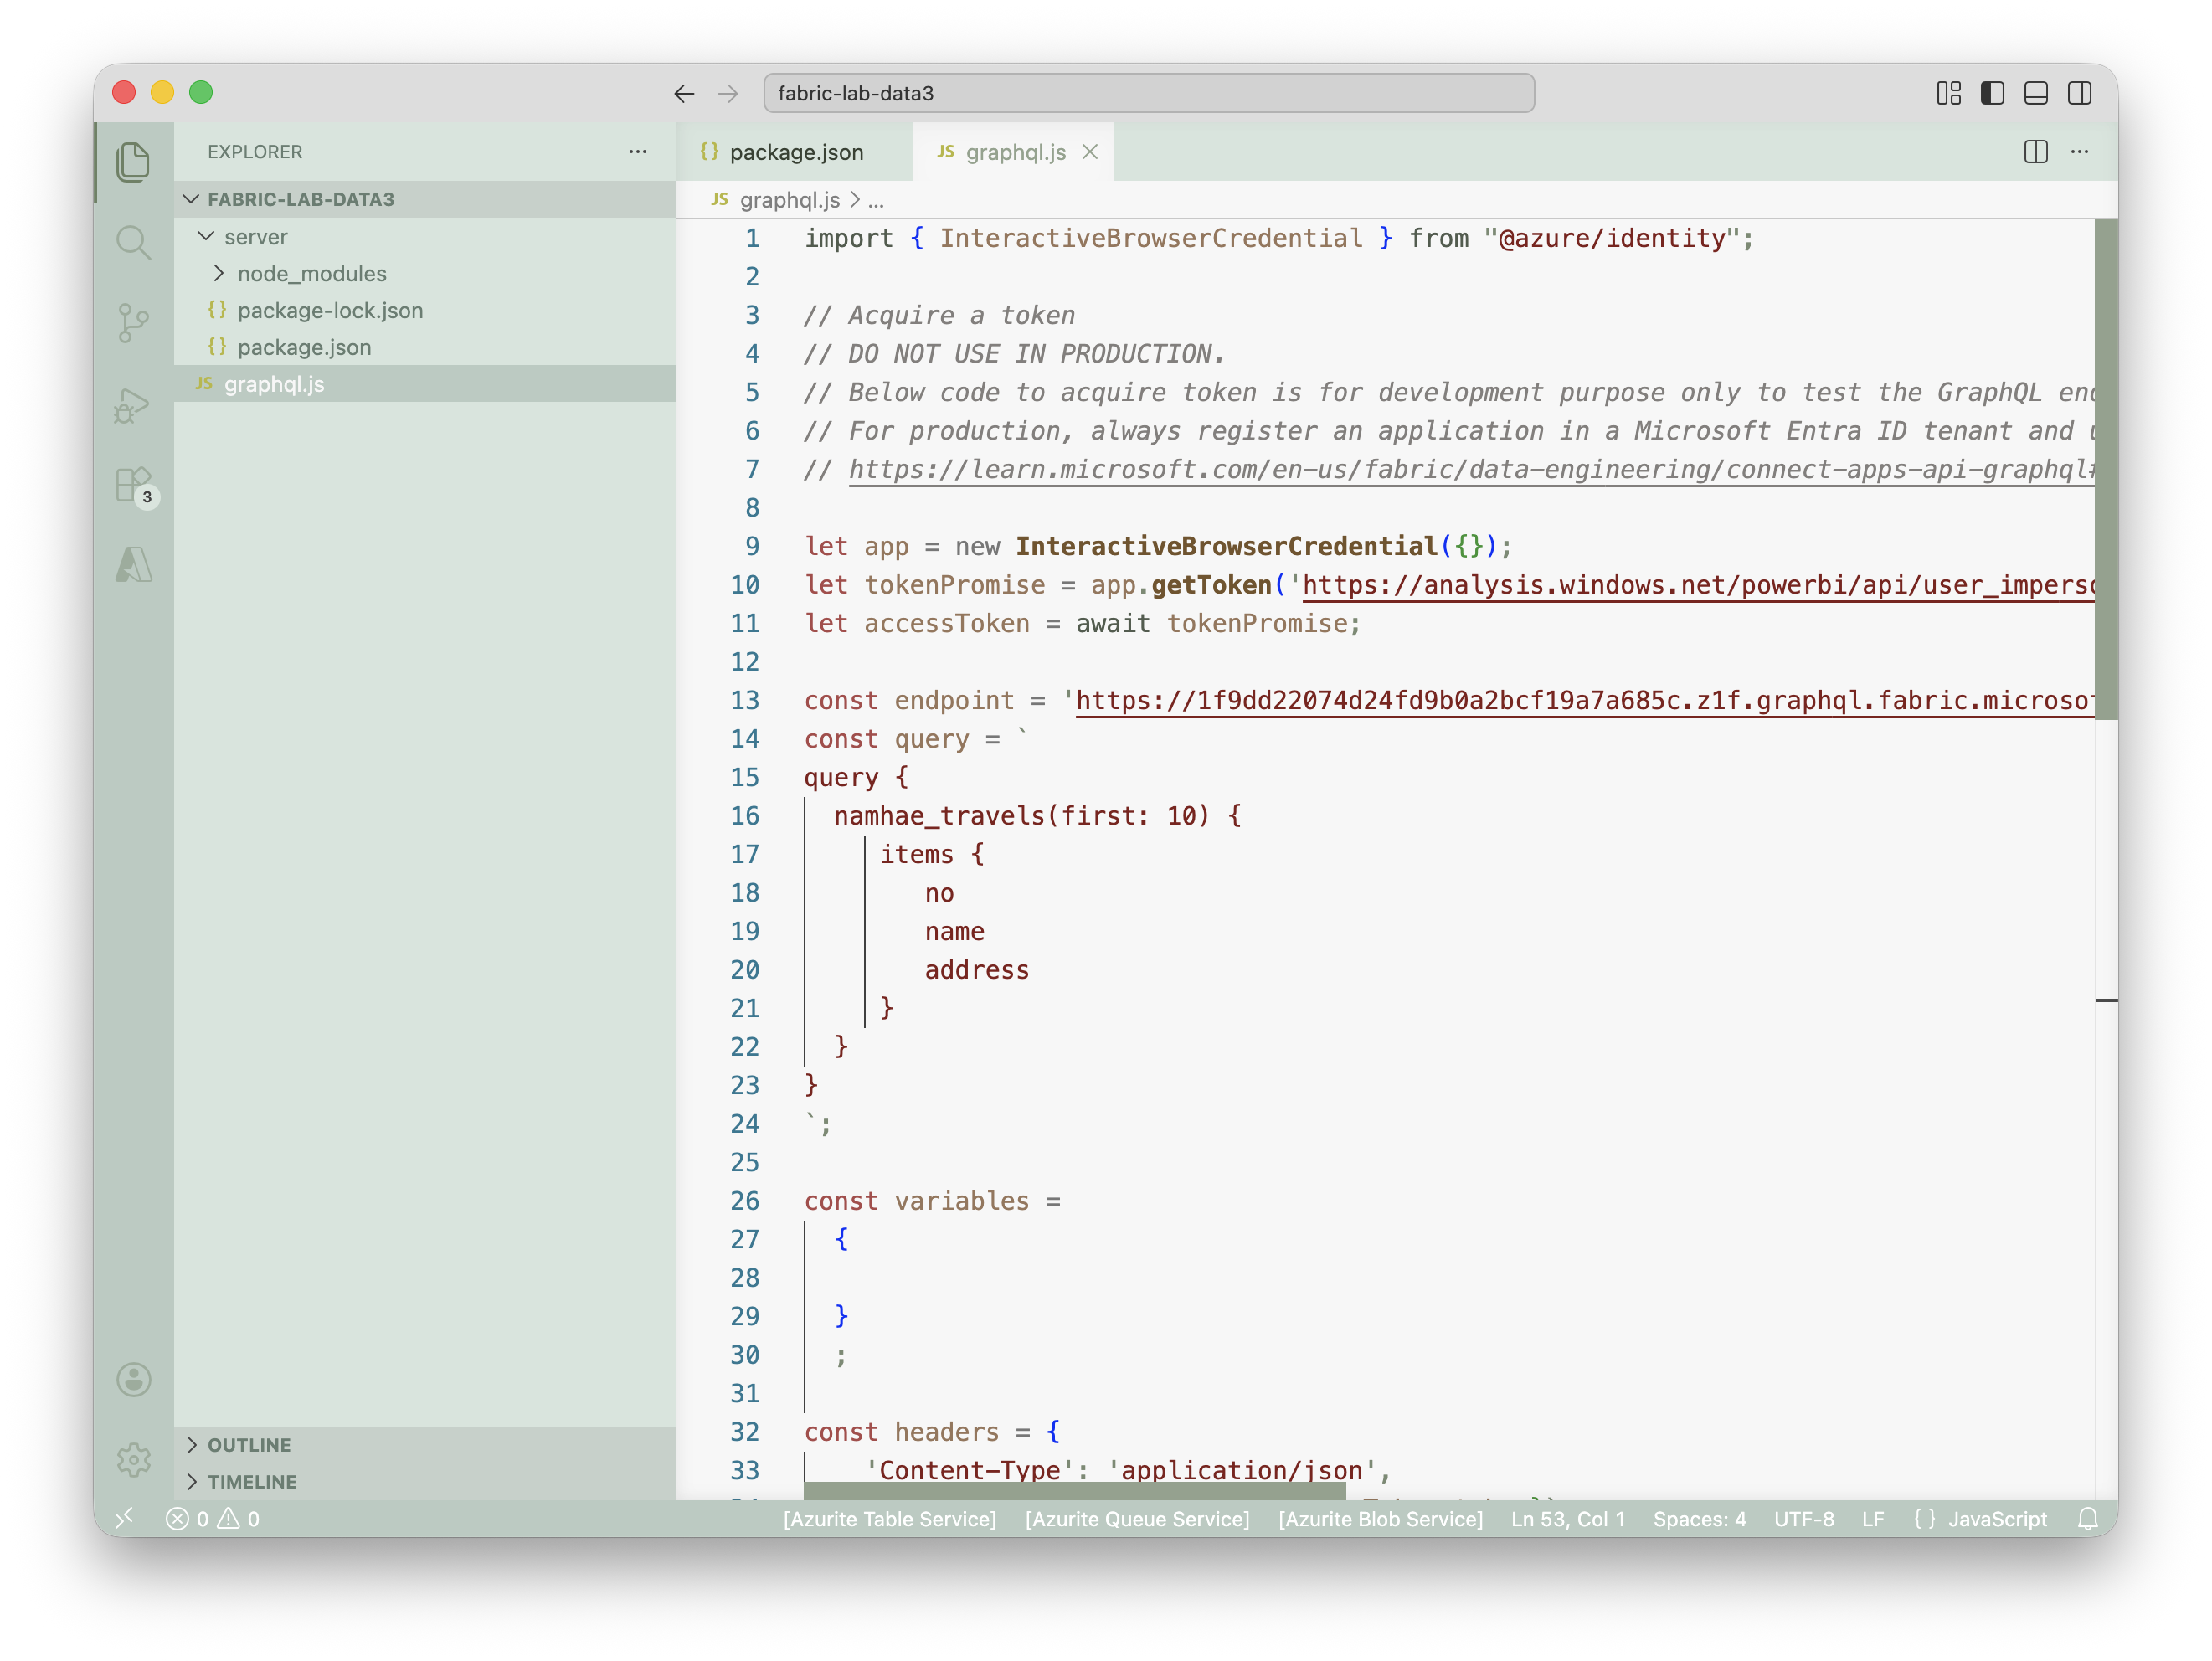
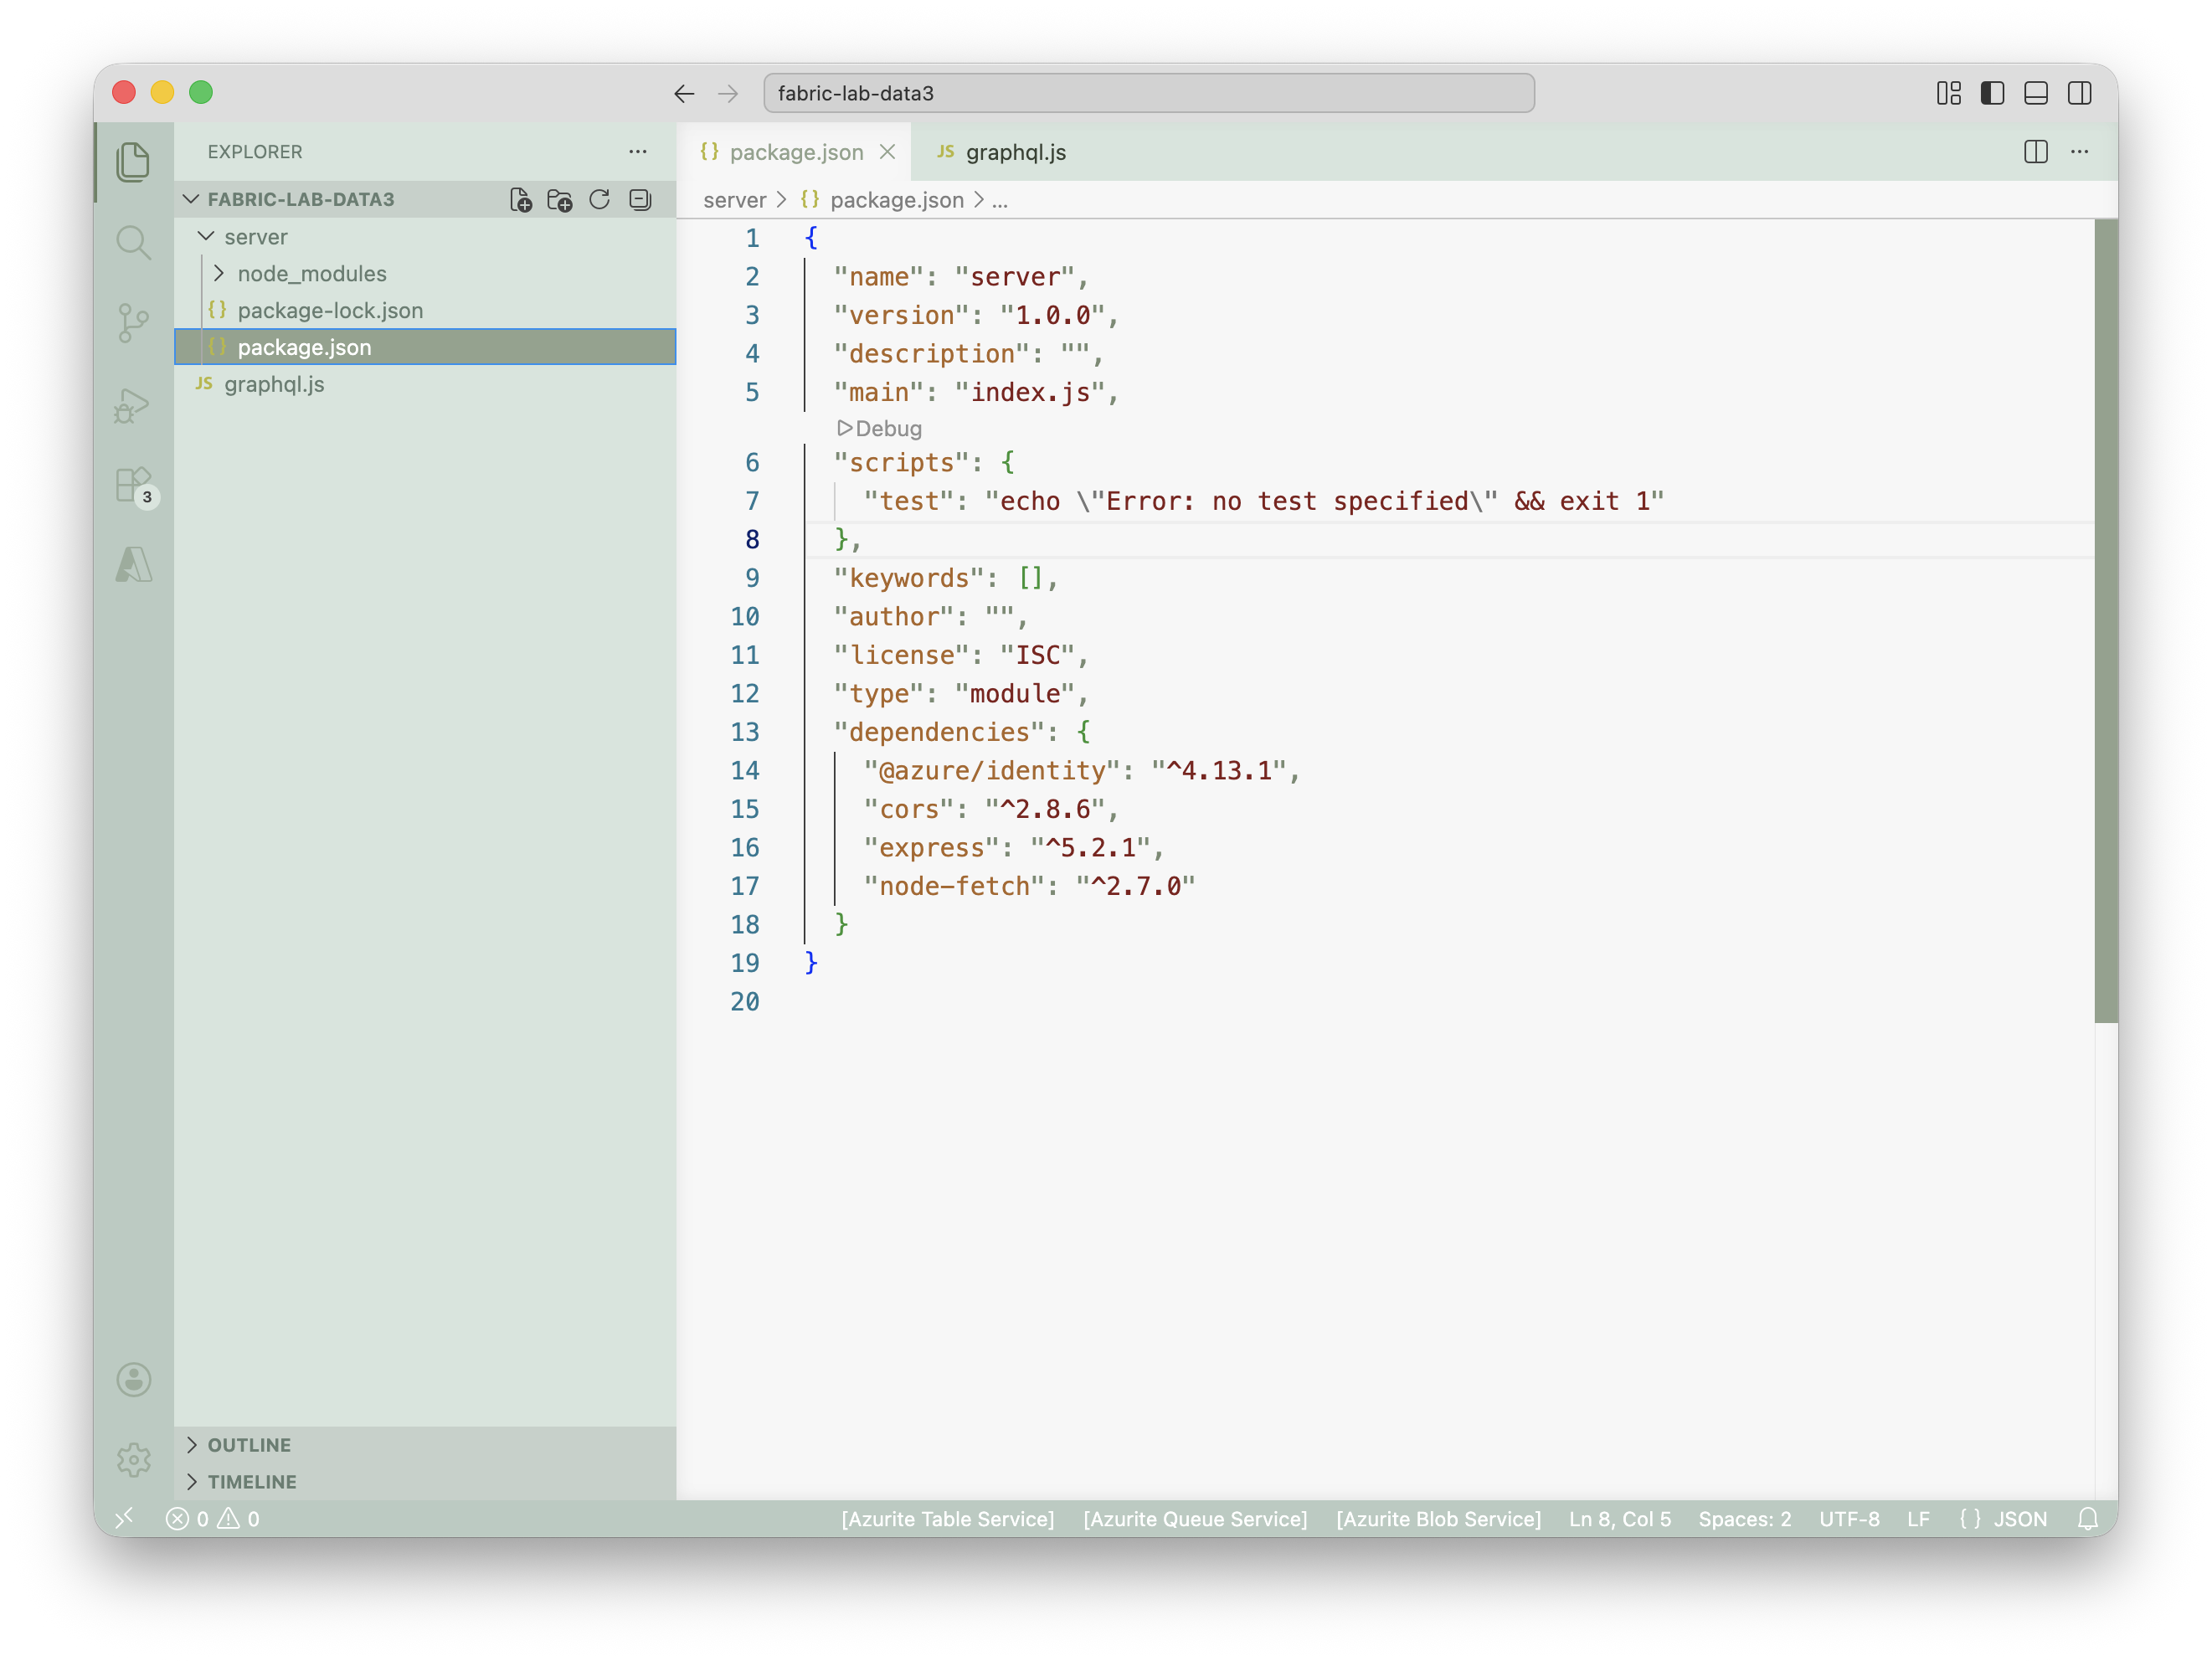
commonjs 를 module로 바꿔줘야한다
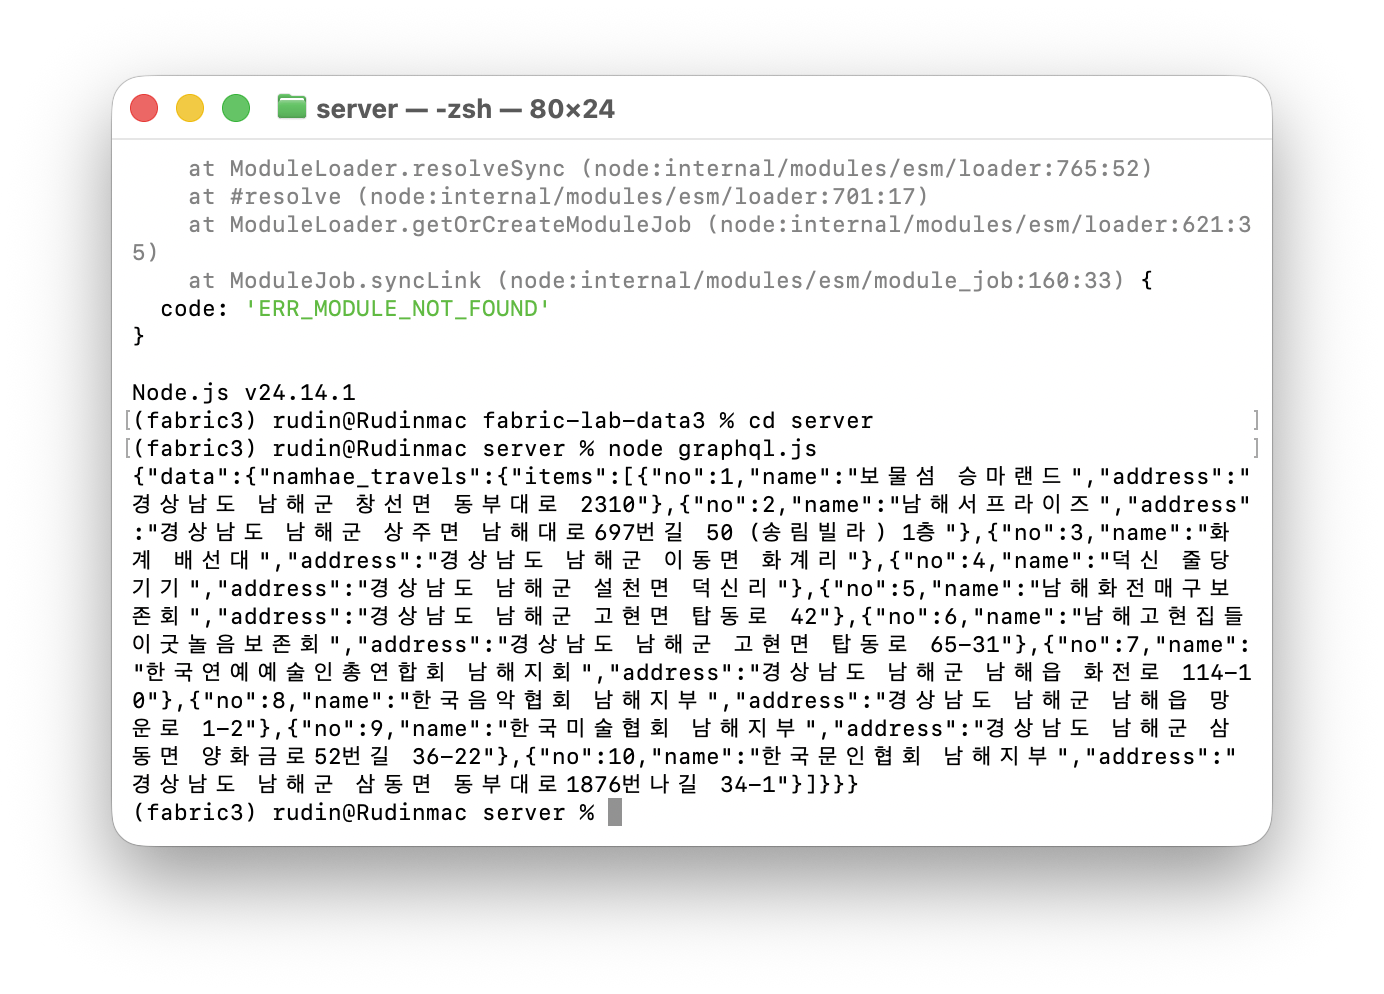
샘플 코드 저장 후 node {파일명}.js로 실행하면 브라우저 인증 후 데이터 조회 가능 (graphql.js 의 경로가 package.json과 동일한 경로여야 함)
이 경우 authentication을 브라우저에서 열리면서 해야한다.
클라이언트 secret을 통해서 인증하는방식으로 해야 앱 개발 가능(매번 브라우저 인증은 불가능)
앱등록 후 액세스 관리
Entra Id 화면- 관리- 앱등록에서 Fabric 전체를 관리할 어플리케이션 등록 가능
등록 후 ClientId와 Secretkey 발급 가능
이후 fabric에서 액세스관리에서 기여자로 추가
tenant ID client ID client Secret 필요
클라이언트로 인증 처리
import { ClientSecretCredential, InteractiveBrowserCredential } from "@azure/identity";

// Acquire a token
// DO NOT USE IN PRODUCTION.
// Below code to acquire token is for development purpose only to test the GraphQL endpoint
// For production, always register an application in a Microsoft Entra ID tenant and use the appropriate client_id and scopes
// https://learn.microsoft.com/en-us/fabric/data-engineering/connect-apps-api-graphql#create-a-microsoft-entra-app

const TENANT_ID = "";
const CLIENT_ID = "";
const CLIENT_SECRET = "";

let app = new ClientSecretCredential(TENANT_ID, CLIENT_ID, CLIENT_SECRET);
let tokenPromise = app.getToken('https://analysis.windows.net/powerbi/api/.default');
let accessToken = await tokenPromise;

const endpoint = '';
const query = `
query {
  namhae_travels(first: 10) {
     items {
        no
        name
        address
     }
  }
}
`;

const variables =
  {

  }
  ;

const headers = {
	'Content-Type': 'application/json',
	'Authorization': `Bearer ${accessToken.token}`
};

async function fetchData() 	{
	try {
		const response = await fetch(endpoint, {
			method: 'POST',
			headers: headers,
			body: JSON.stringify({ query, variables }),
		});

		const result = await response.json();
		console.log(JSON.stringify(result));
	} catch (error) {
		console.log('Error fetching data:', error);
	}
}

fetchData();
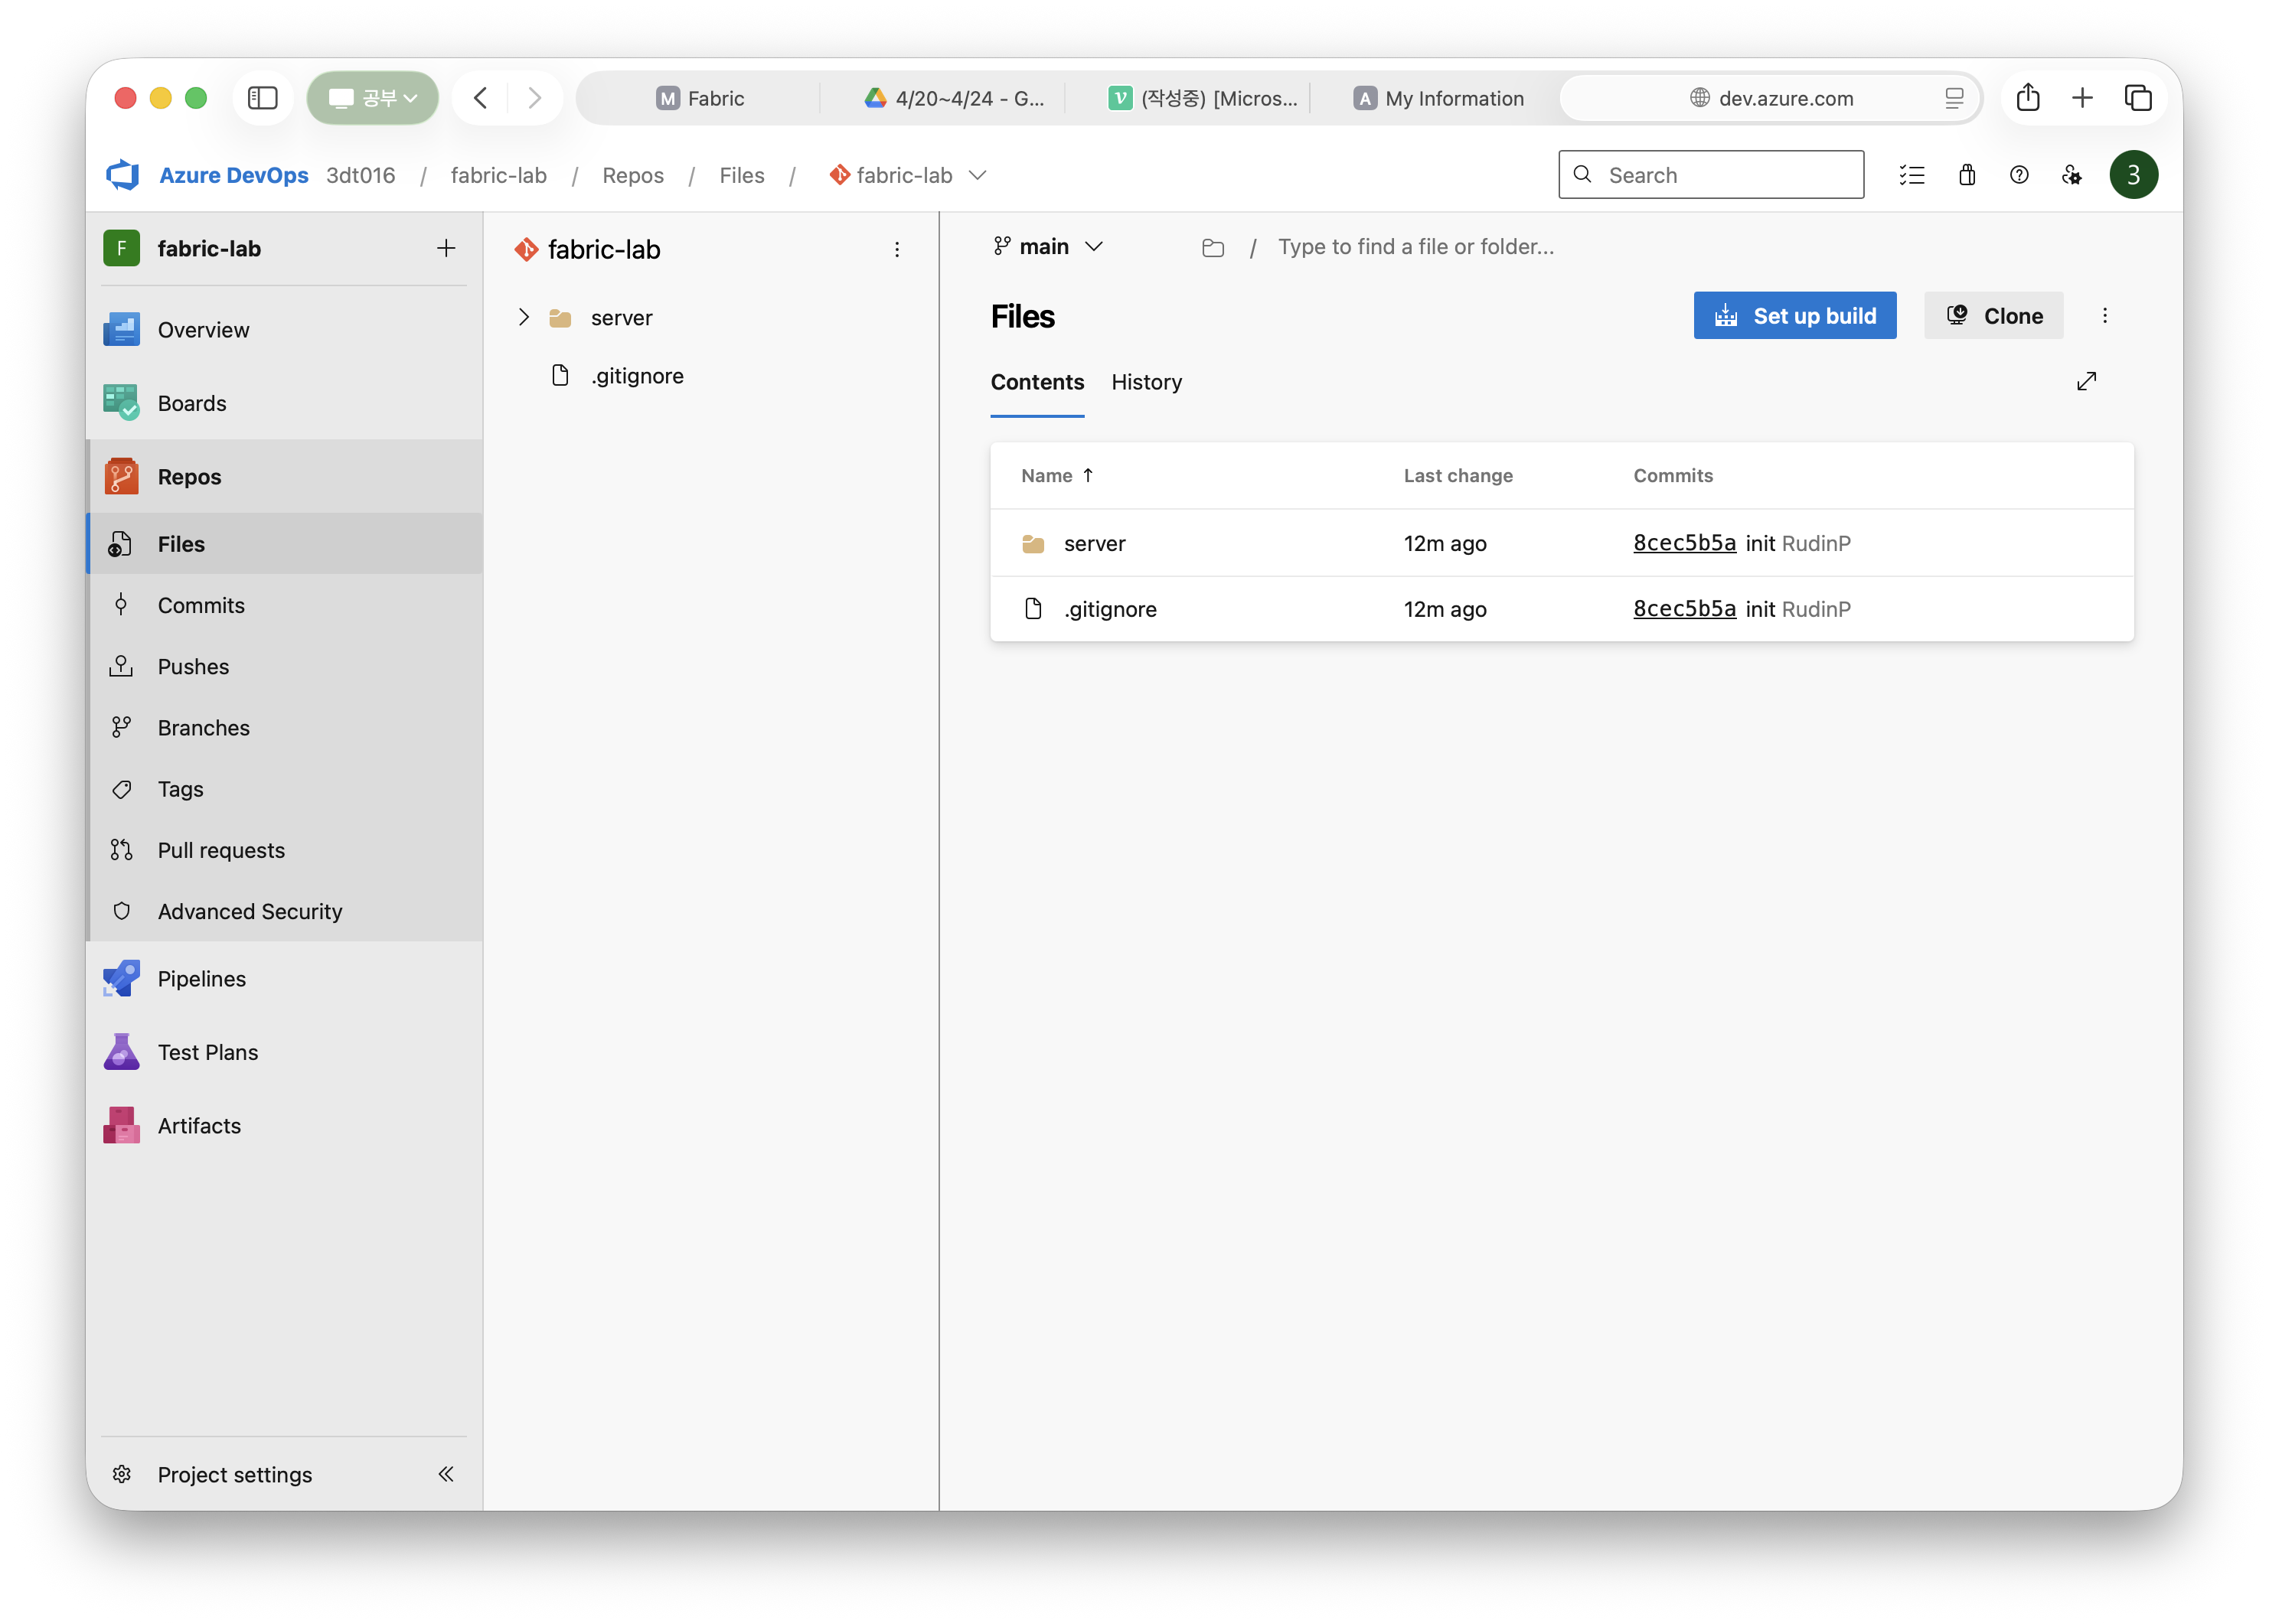
DevOps에 레포지토리 업로드
devops의 repos-files의 링크를 local에서 add remote에 사용
vscode상에서는 차례대로 링크복붙-origin입력-git credentials 복붙(password)
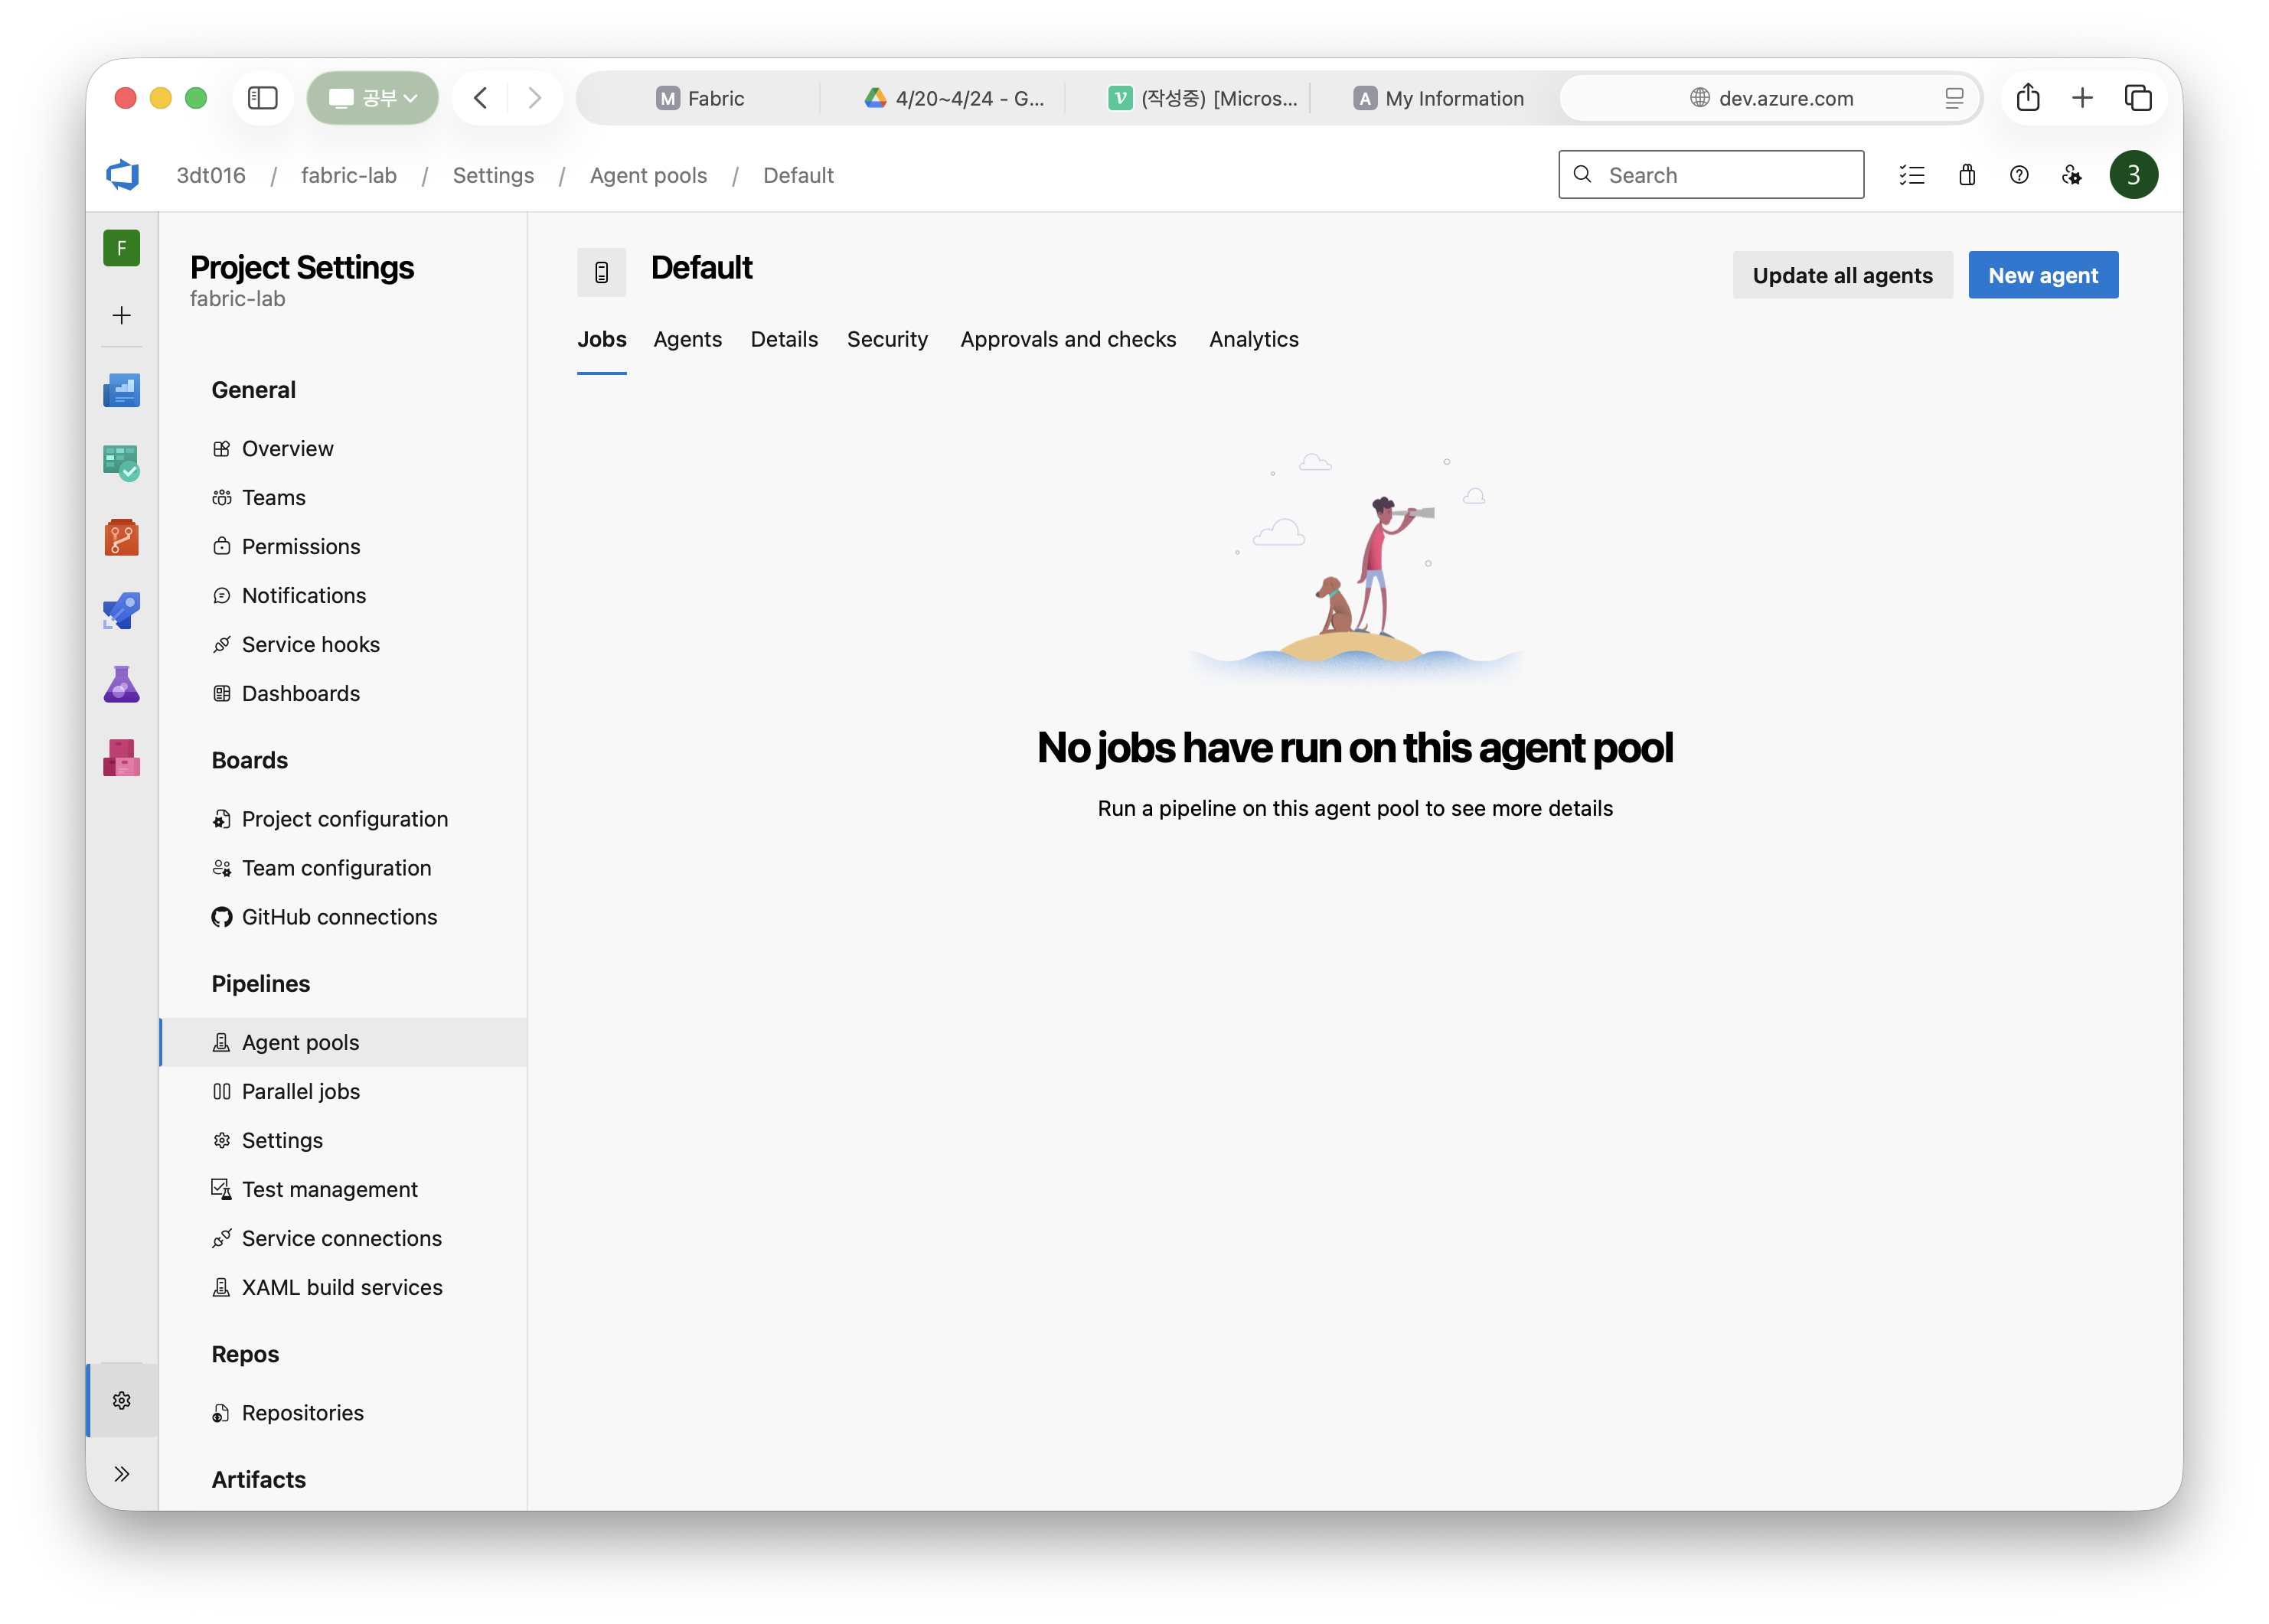
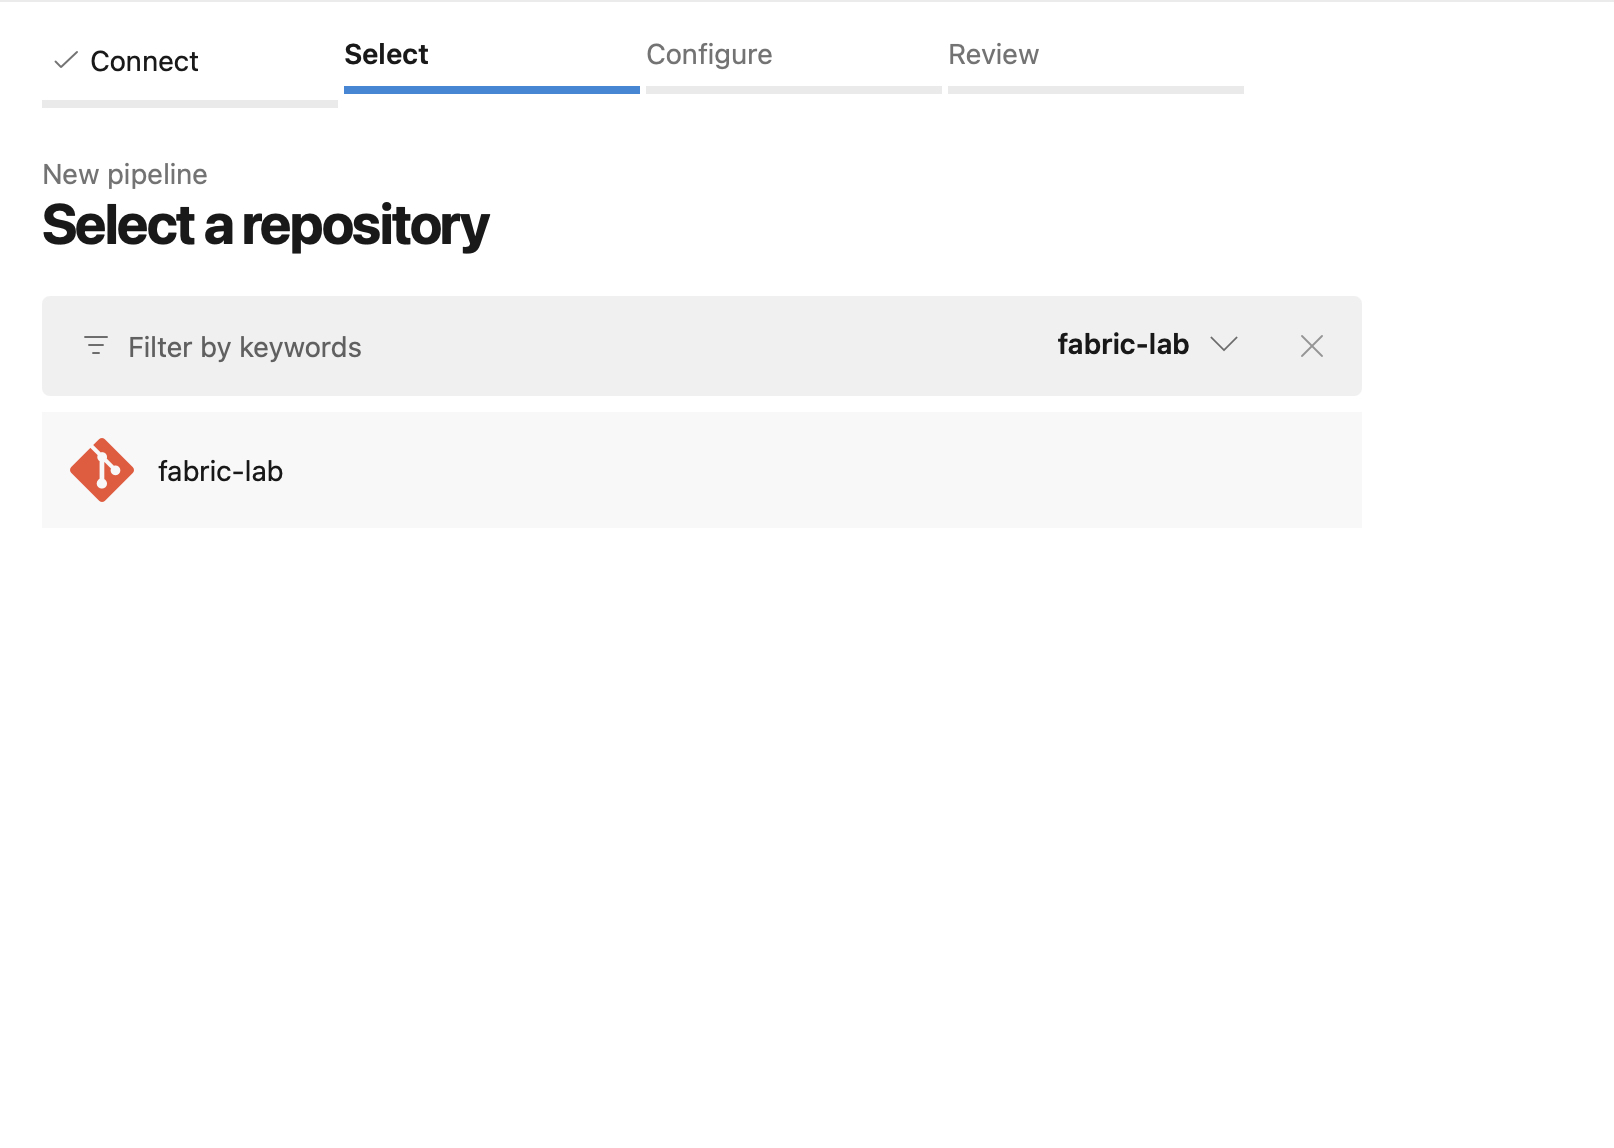
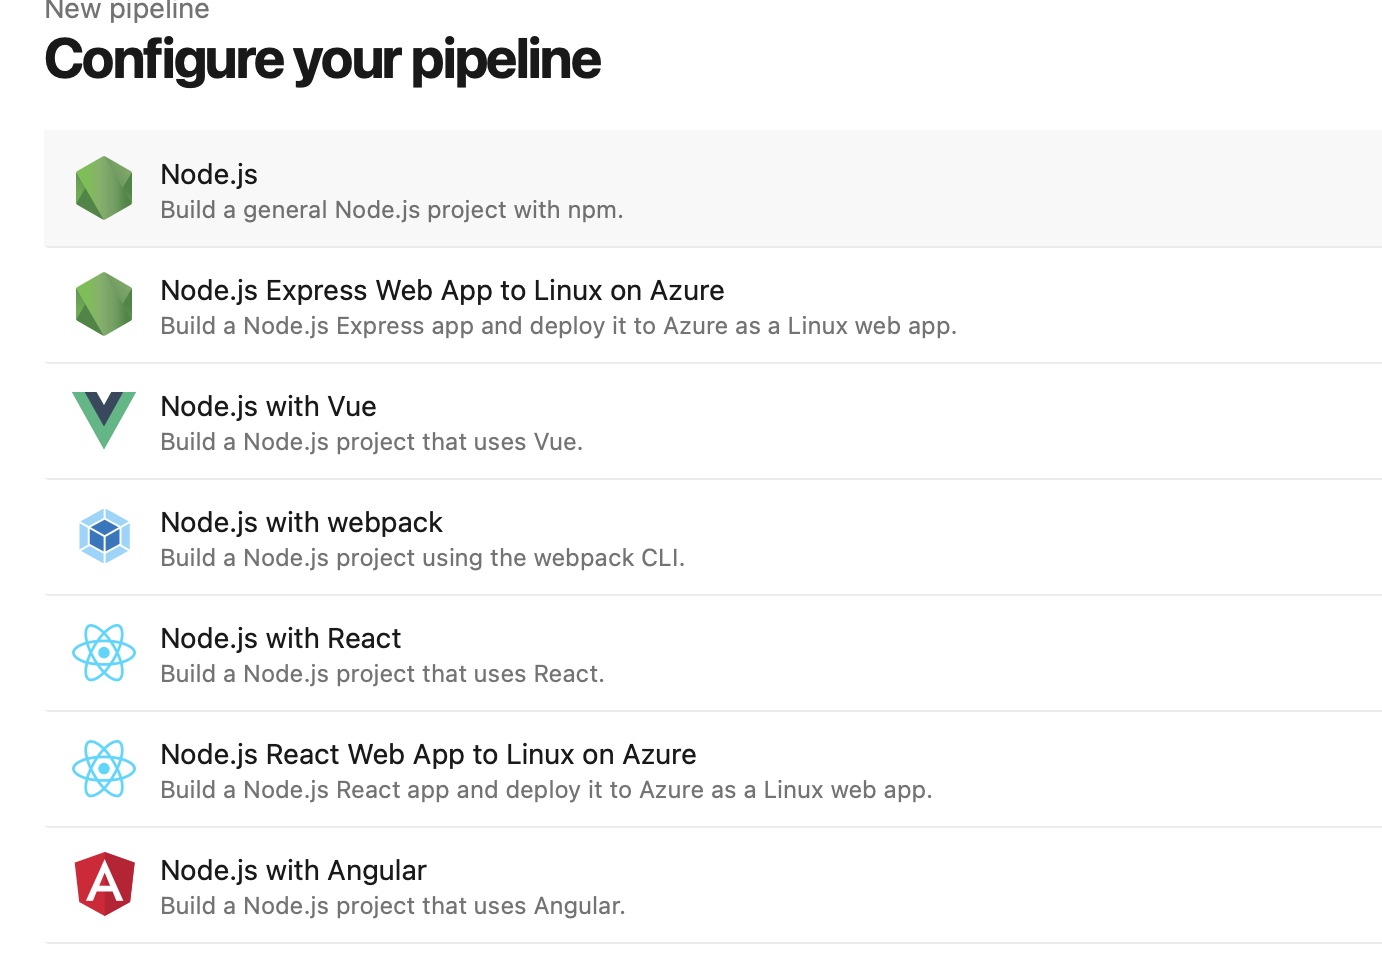
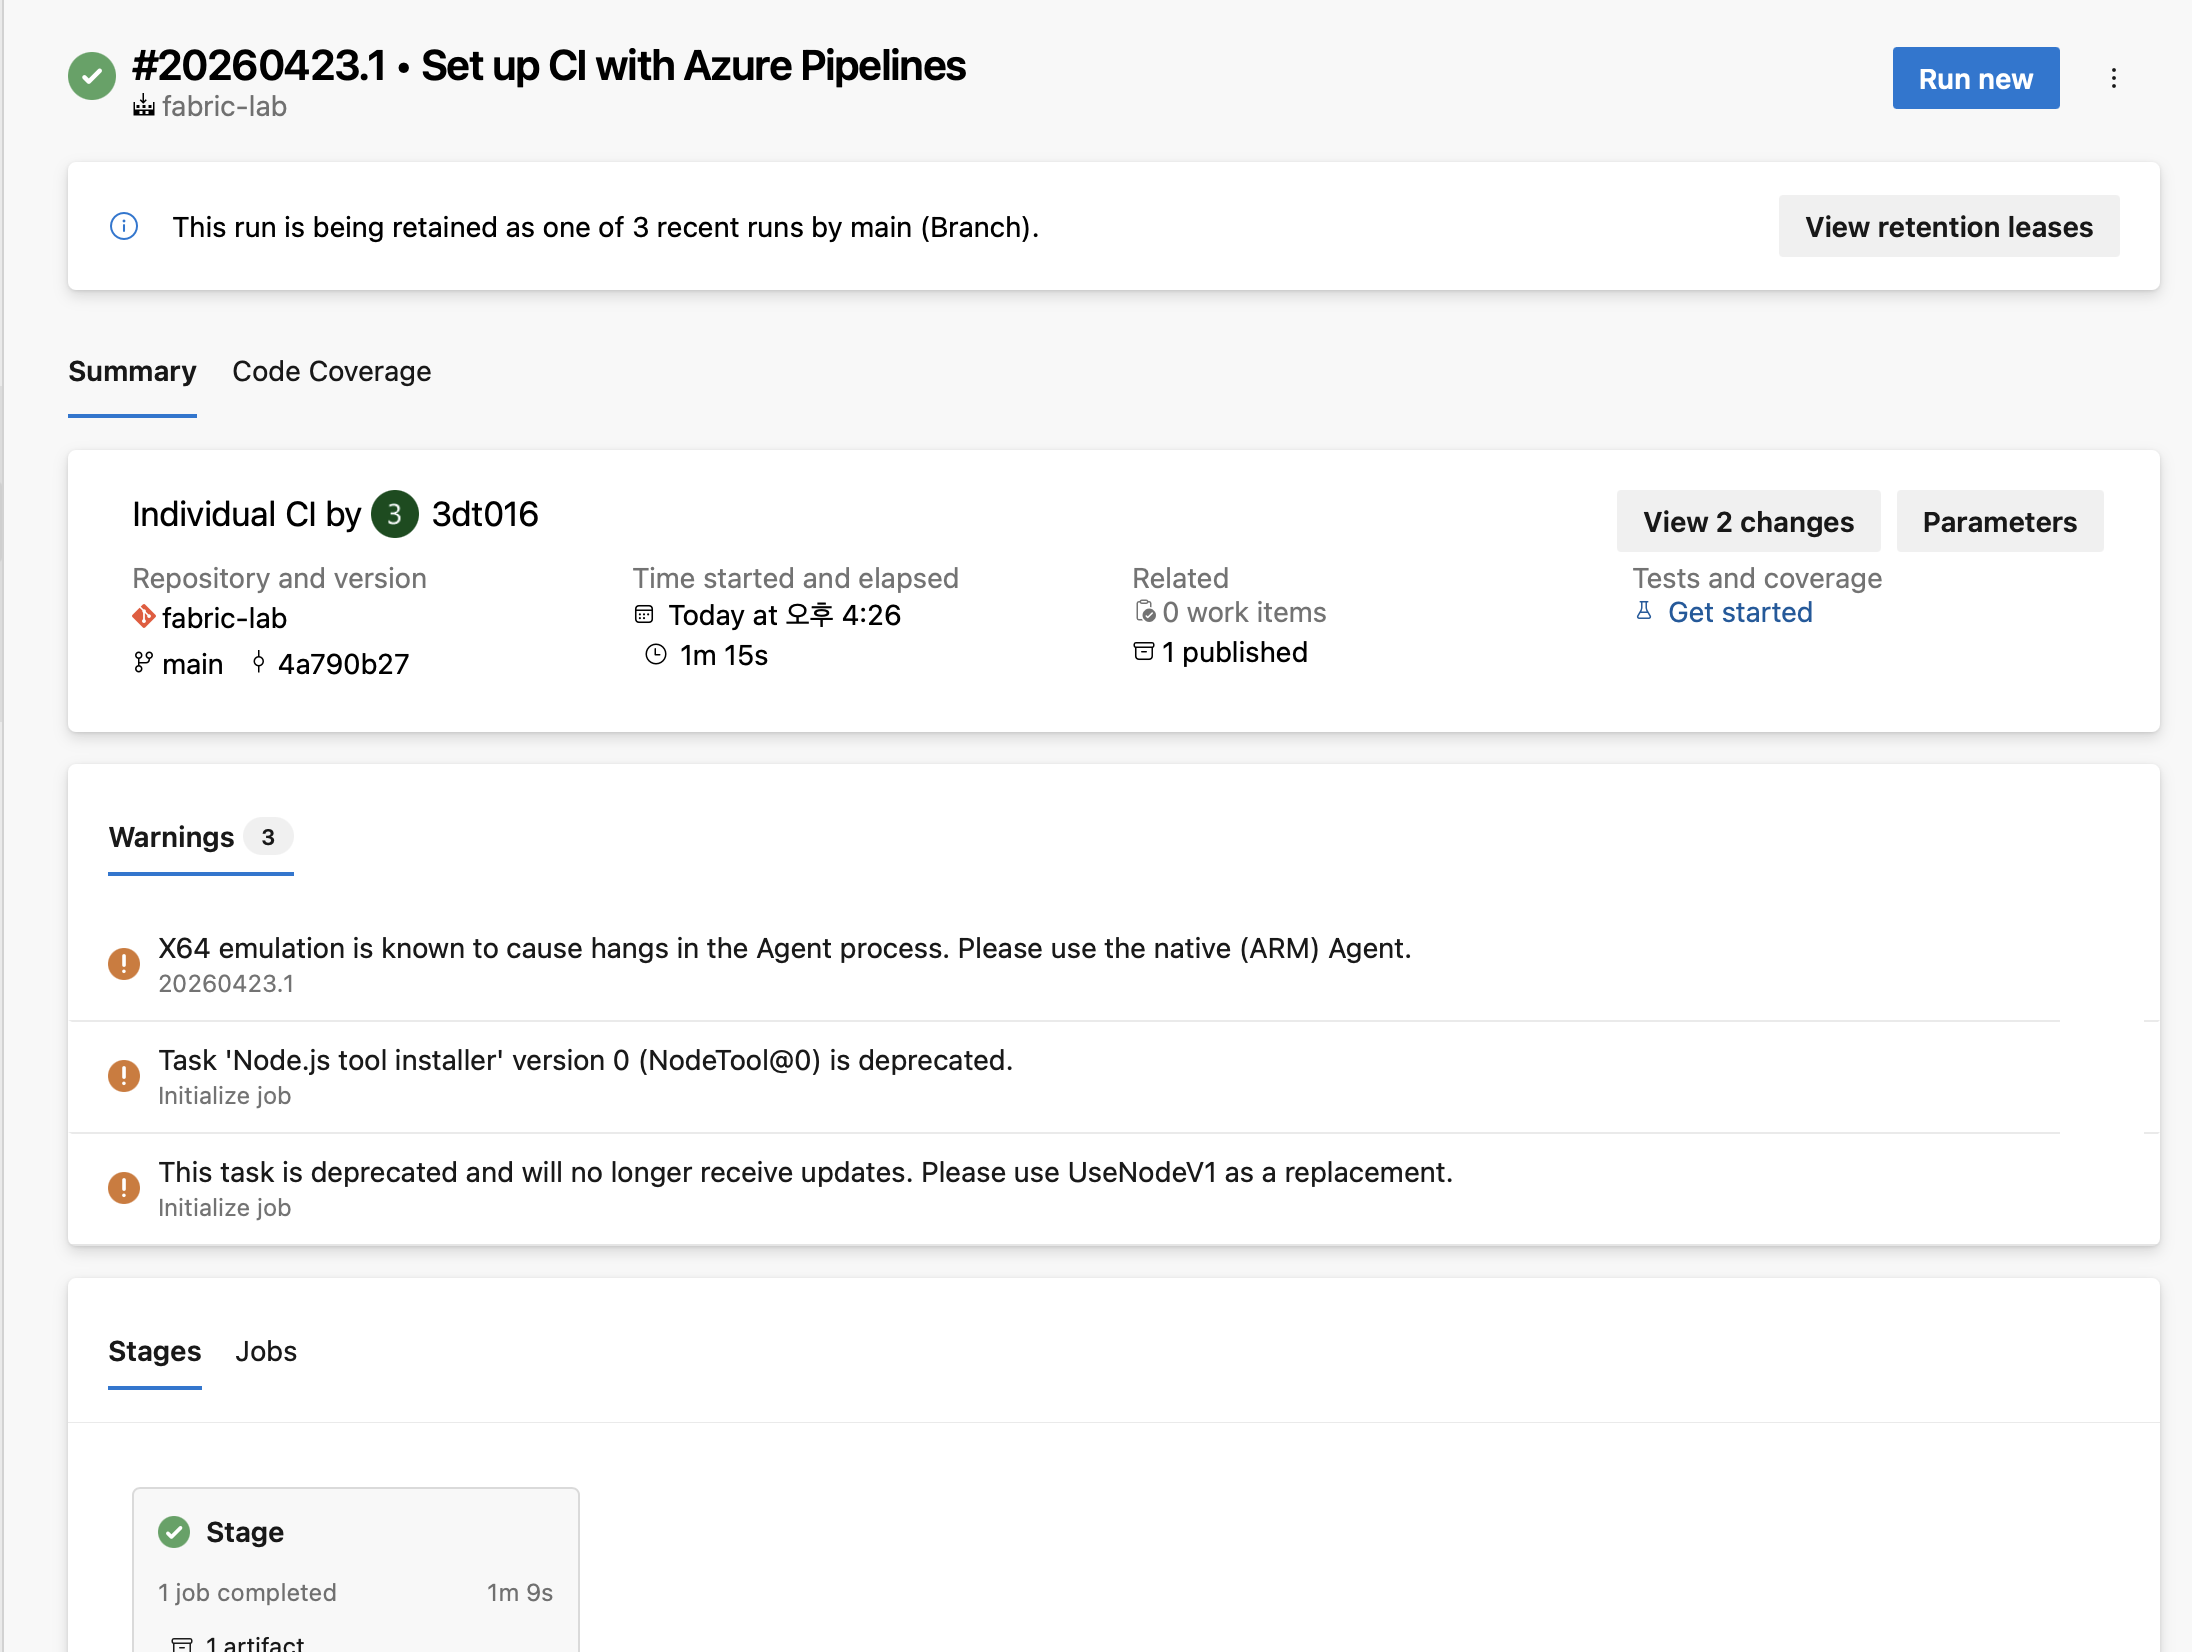
CI 파이프라인
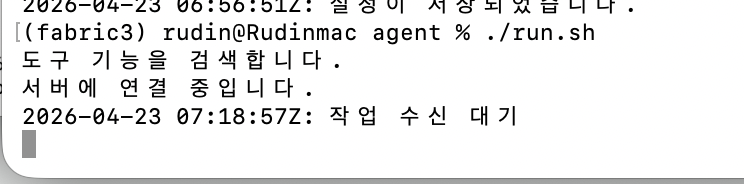
Settings-Agent Pool-Default

이후 mac에서는 엄청나게 비밀번호 입력을 많이 해야한다고 하셔서 안내해주신대로 비밀번호 입력을 한 번만 하도록 설정했다.(권한변경)
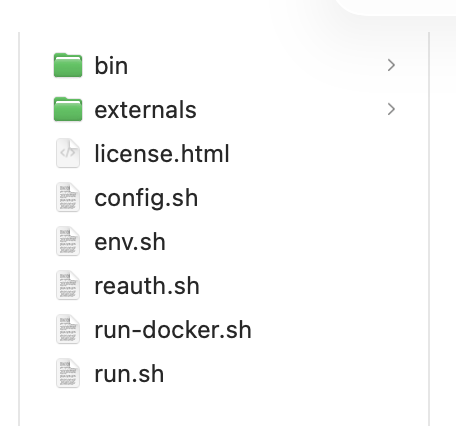
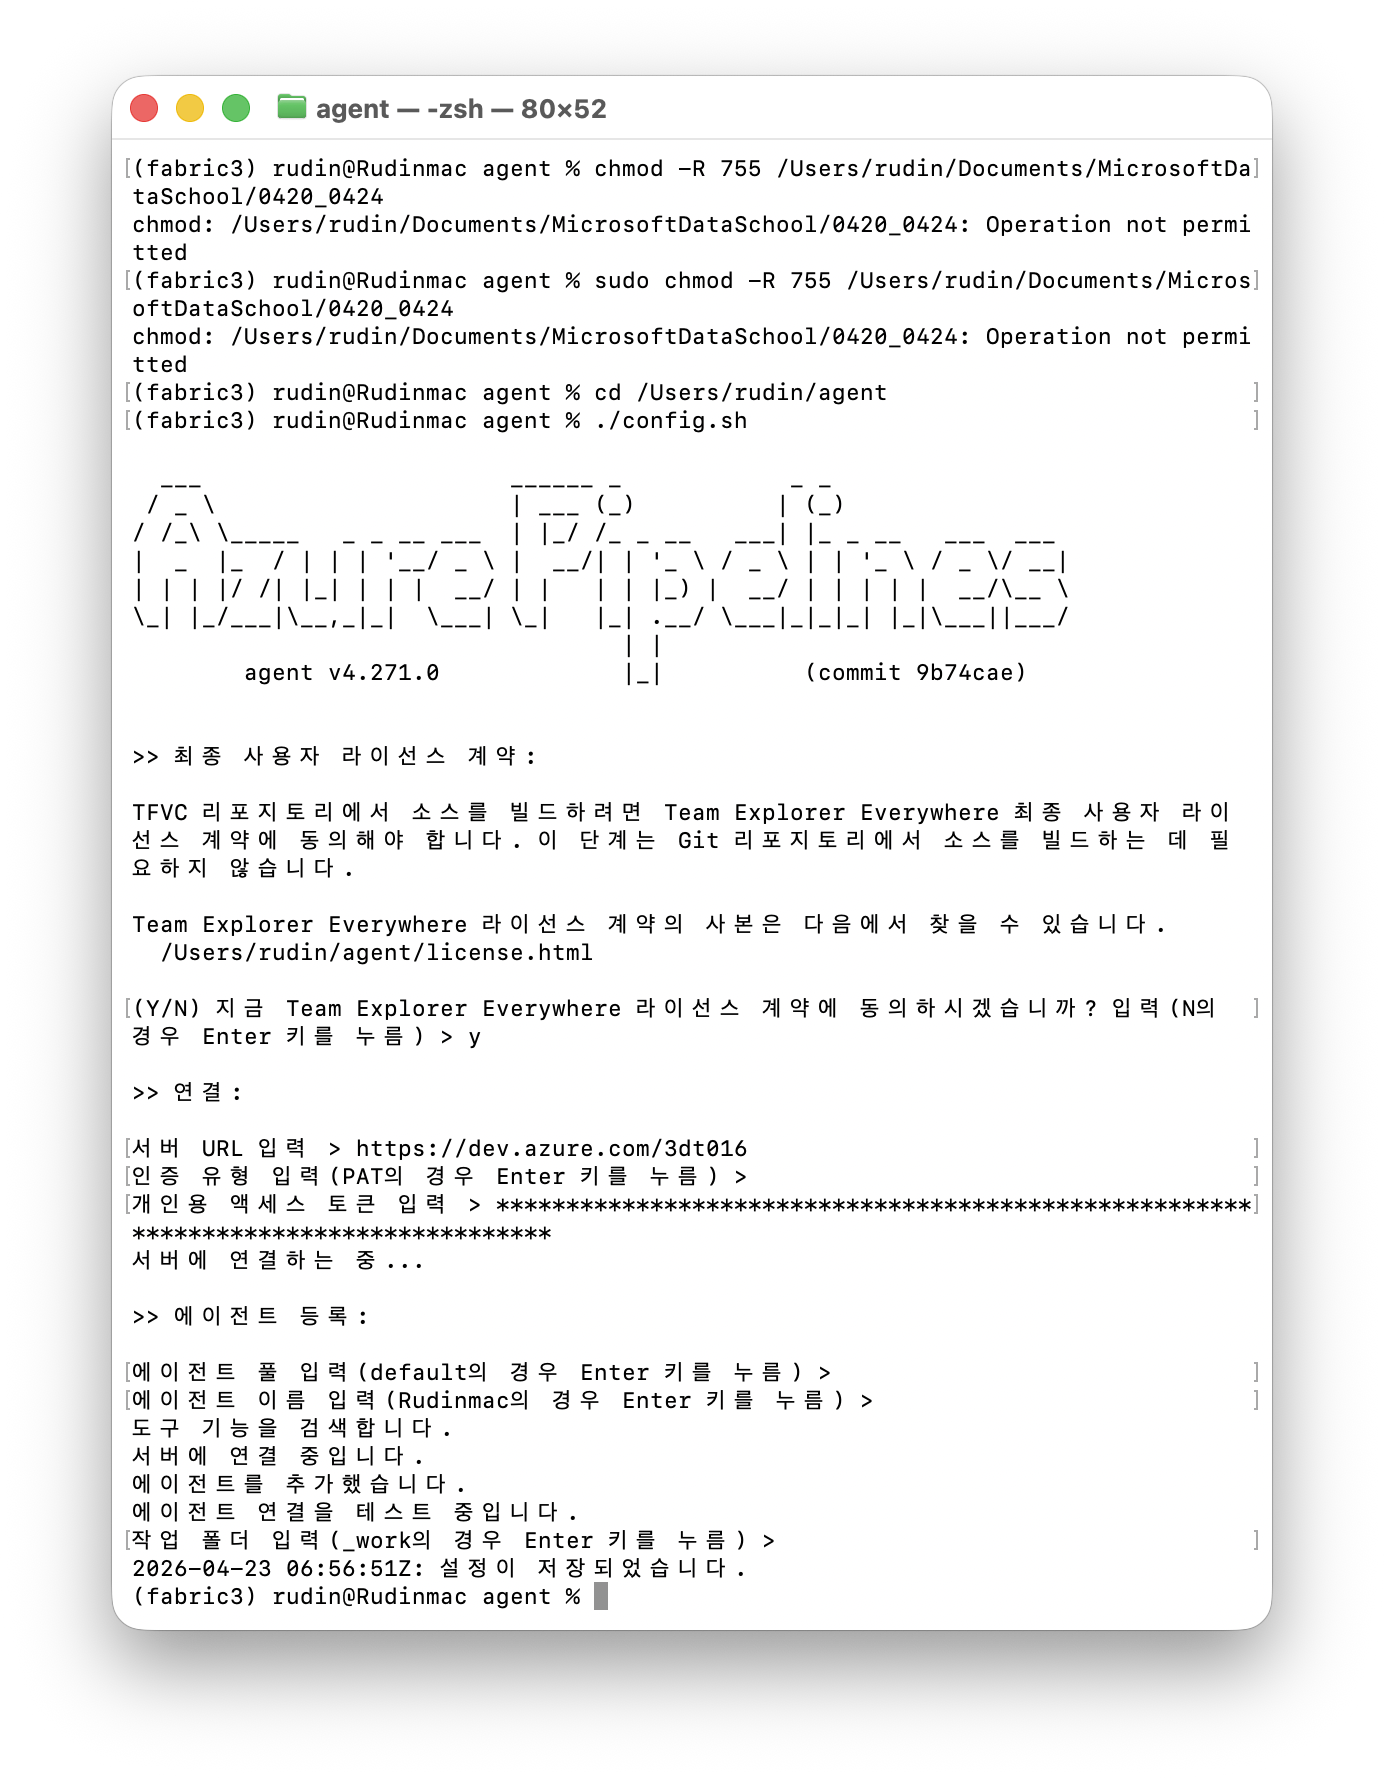
sudo xattr -rd com.apple.quarantine <agent파일 위치>이후
./config.sh하는 도중에 해당 폴더가 documents 하위에 있어 루트권한으로도 접근이 막히는 문제가 발생했다.
따라서 agent폴더 자체를 루트디렉토리로 옮겨서 해결했다.
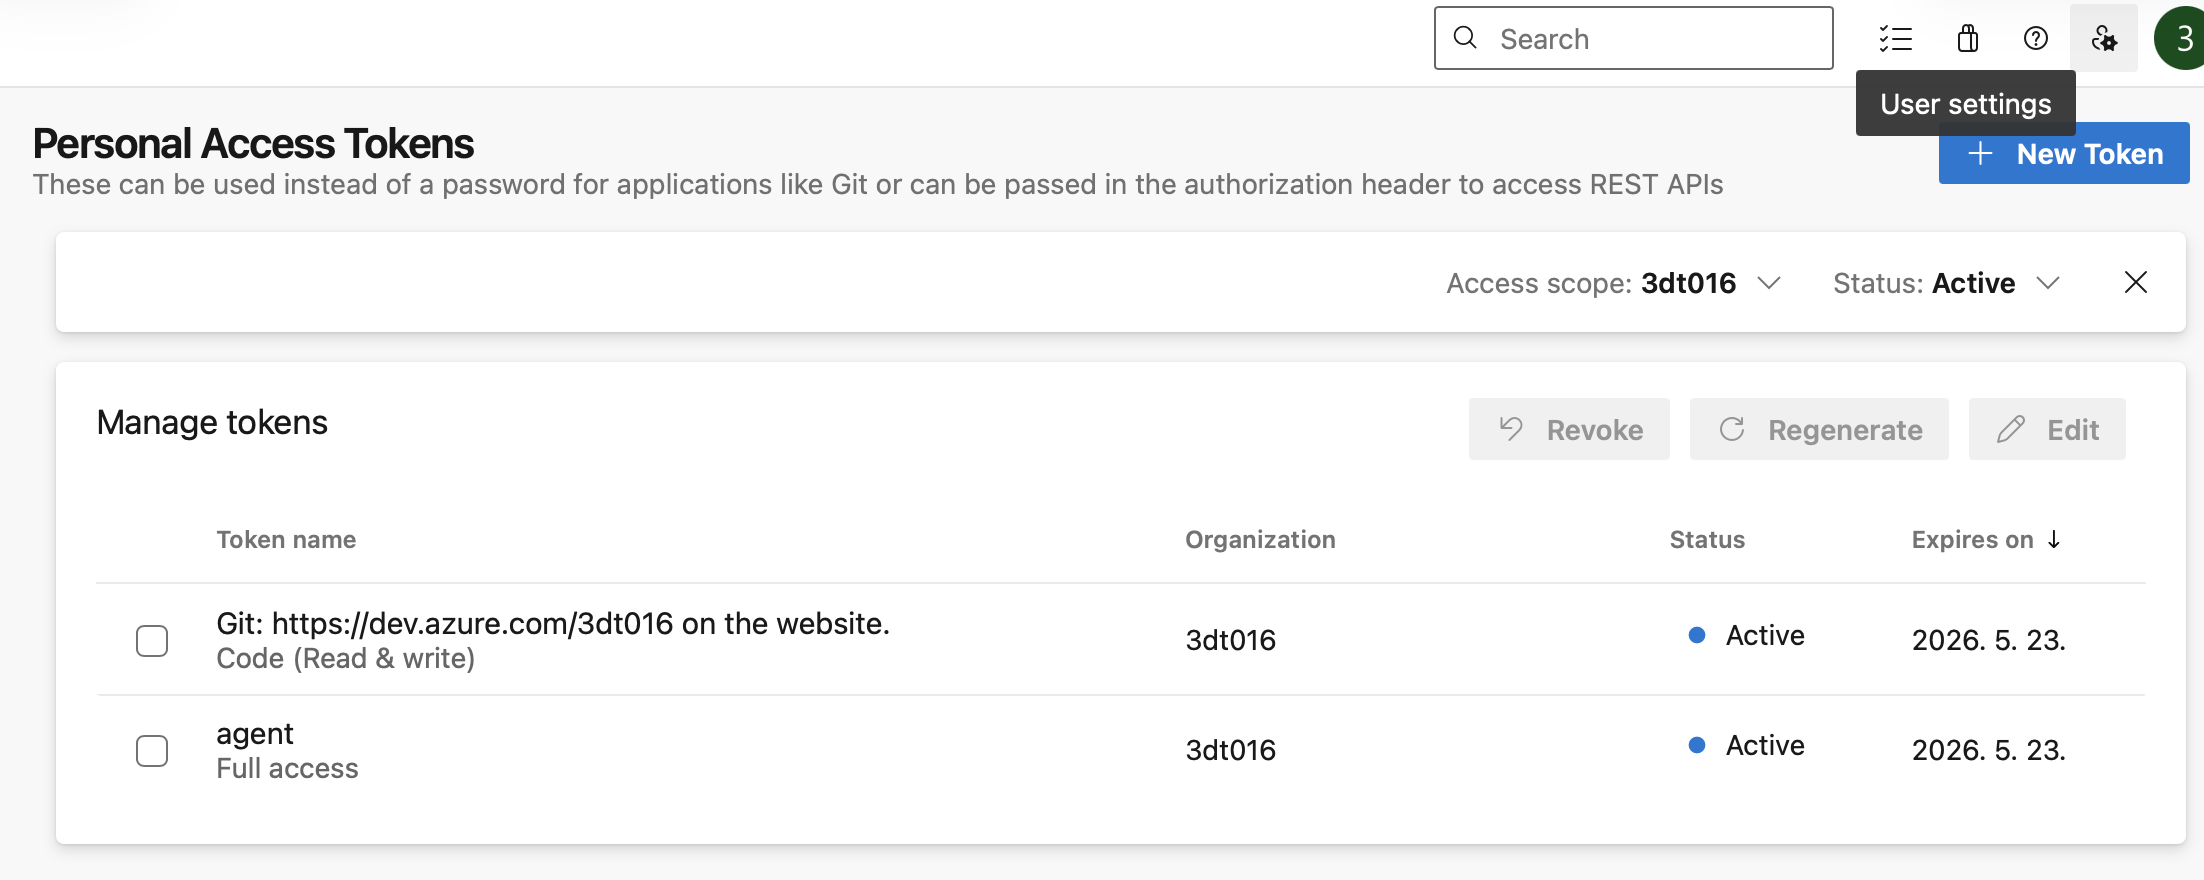
PAT 토큰 발급은 우상단 user settings로 하면 된다.

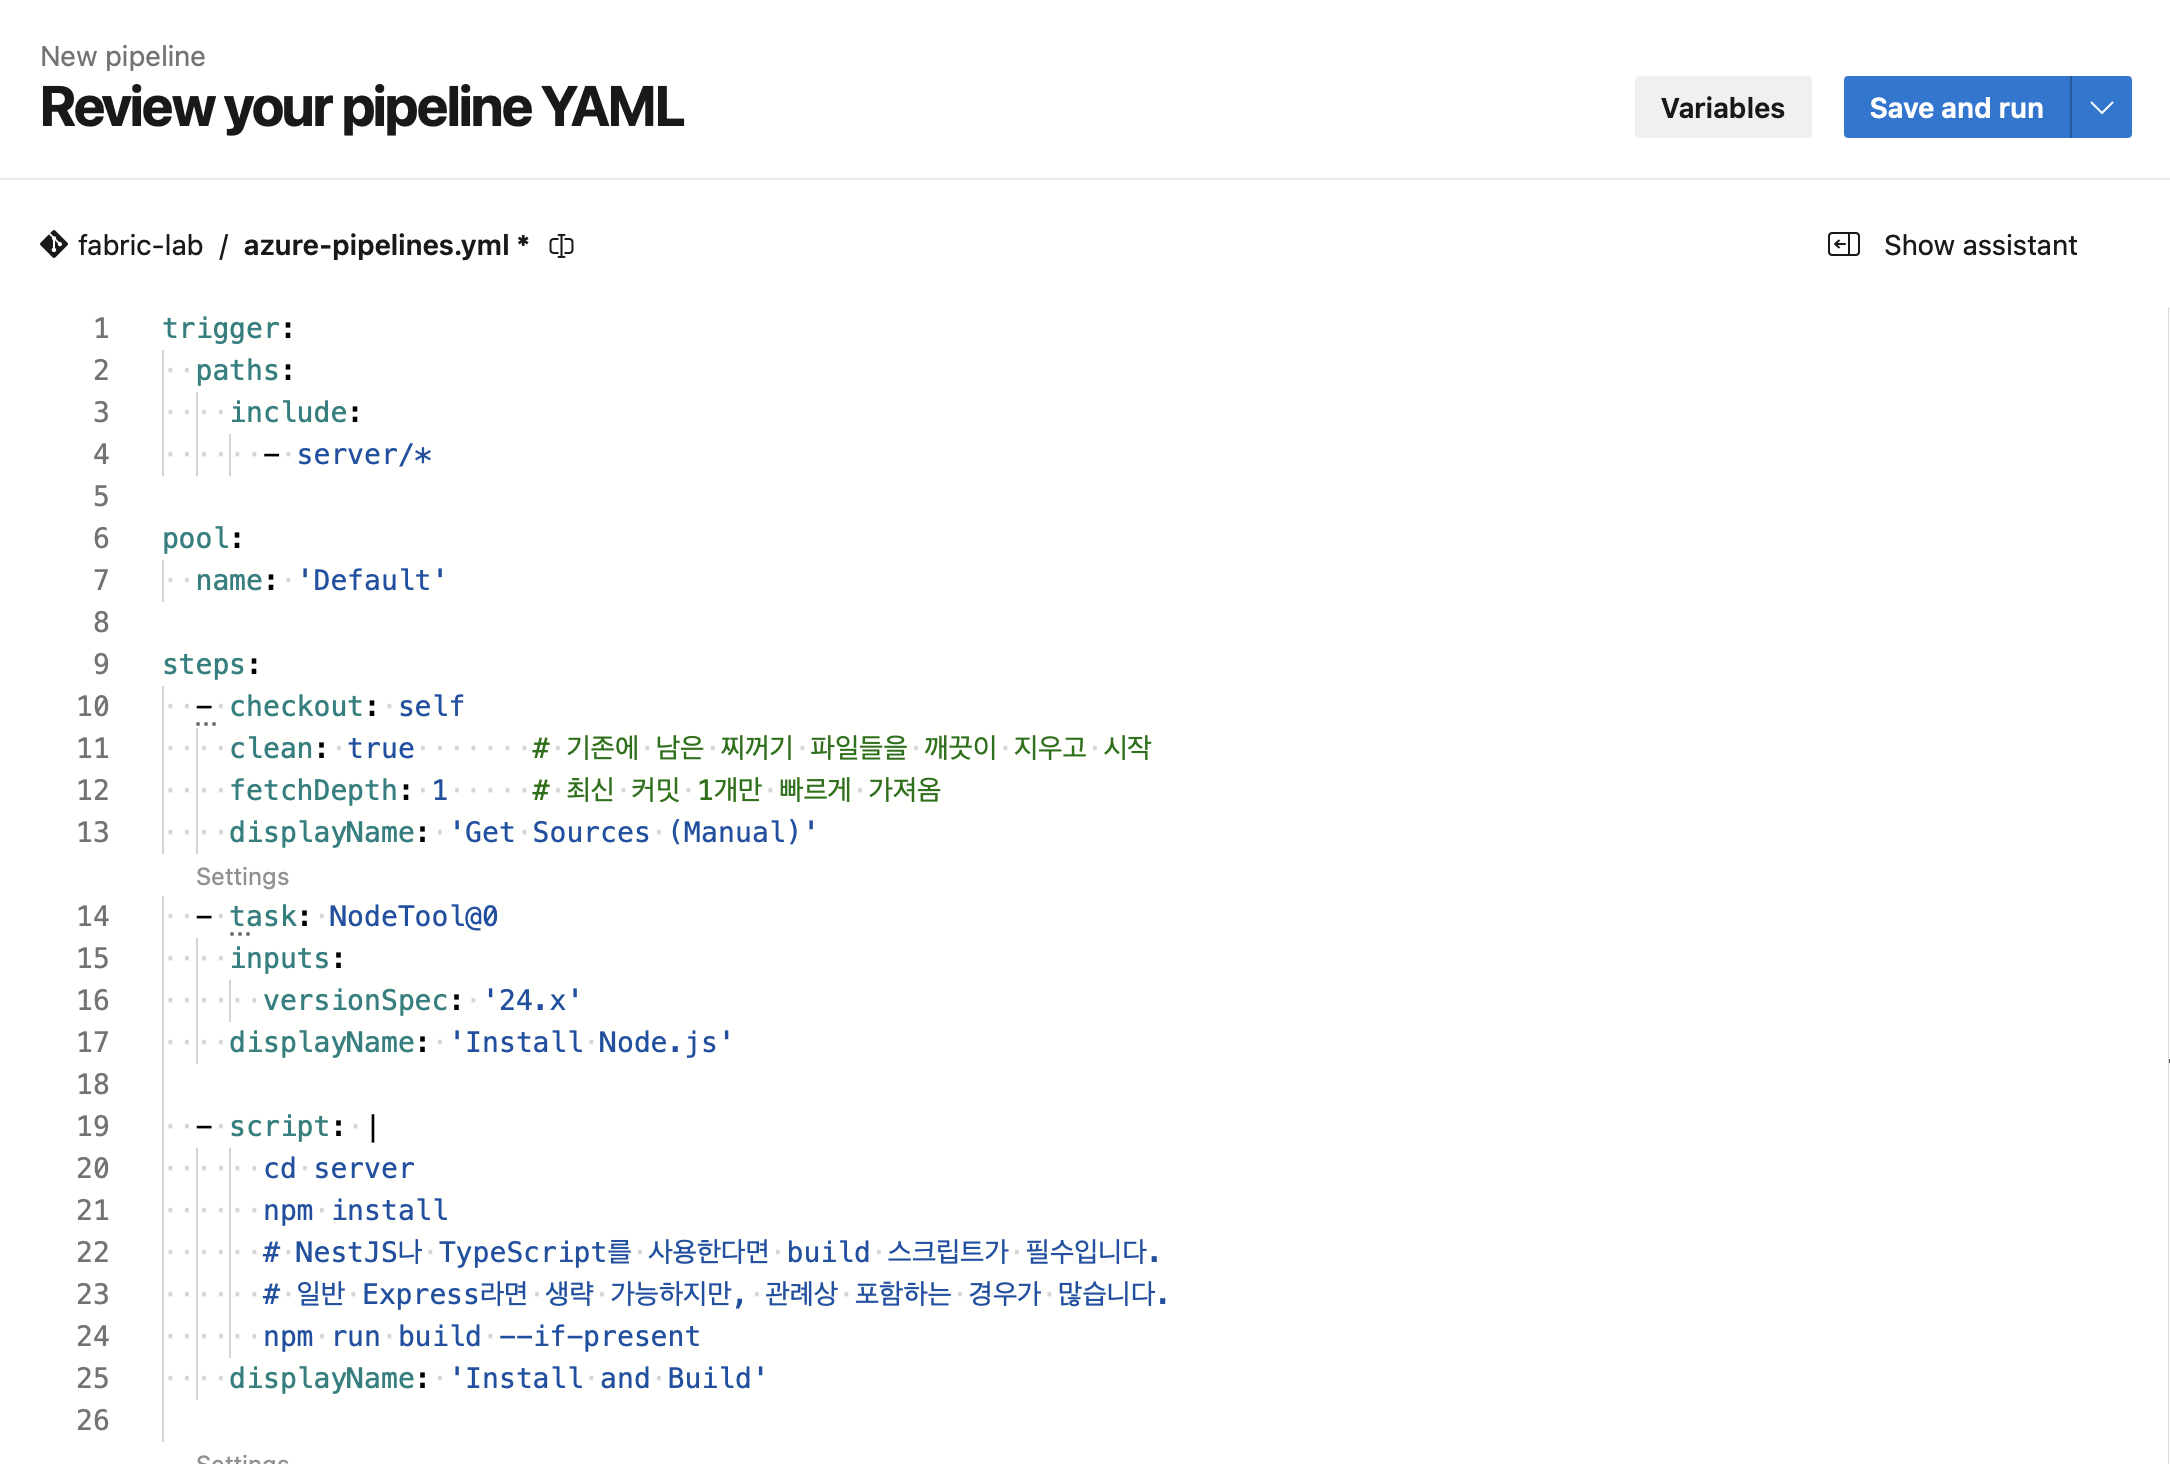
trigger:
  paths:
    include:
      - server/*

pool:
  name: 'Default'

steps:
  - checkout: self
    clean: true       # 기존에 남은 찌꺼기 파일들을 깨끗이 지우고 시작
    fetchDepth: 1     # 최신 커밋 1개만 빠르게 가져옴
    displayName: 'Get Sources (Manual)'
  - task: NodeTool@0
    inputs:
      versionSpec: '24.x'
    displayName: 'Install Node.js'

  - script: |
      cd server
      npm install
      # NestJS나 TypeScript를 사용한다면 build 스크립트가 필수입니다.
      # 일반 Express라면 생략 가능하지만, 관례상 포함하는 경우가 많습니다.
      npm run build --if-present
    displayName: 'Install and Build'

  - task: ArchiveFiles@2
    inputs:
      # 중요: 'server' 폴더 전체를 압축하되,
      # 보통 node_modules를 포함해야 App Service에서 바로 실행됩니다.
      rootFolderOrFile: 'server'
      includeRootFolder: false
      archiveType: 'zip'
      archiveFile: '$(Build.ArtifactStagingDirectory)/$(Build.BuildId).zip'
    displayName: 'Archive files'

  - task: PublishBuildArtifacts@1
    inputs:
      PathtoPublish: '$(Build.ArtifactStagingDirectory)'
      ArtifactName: 'drop'
    displayName: 'Publish Artifact'

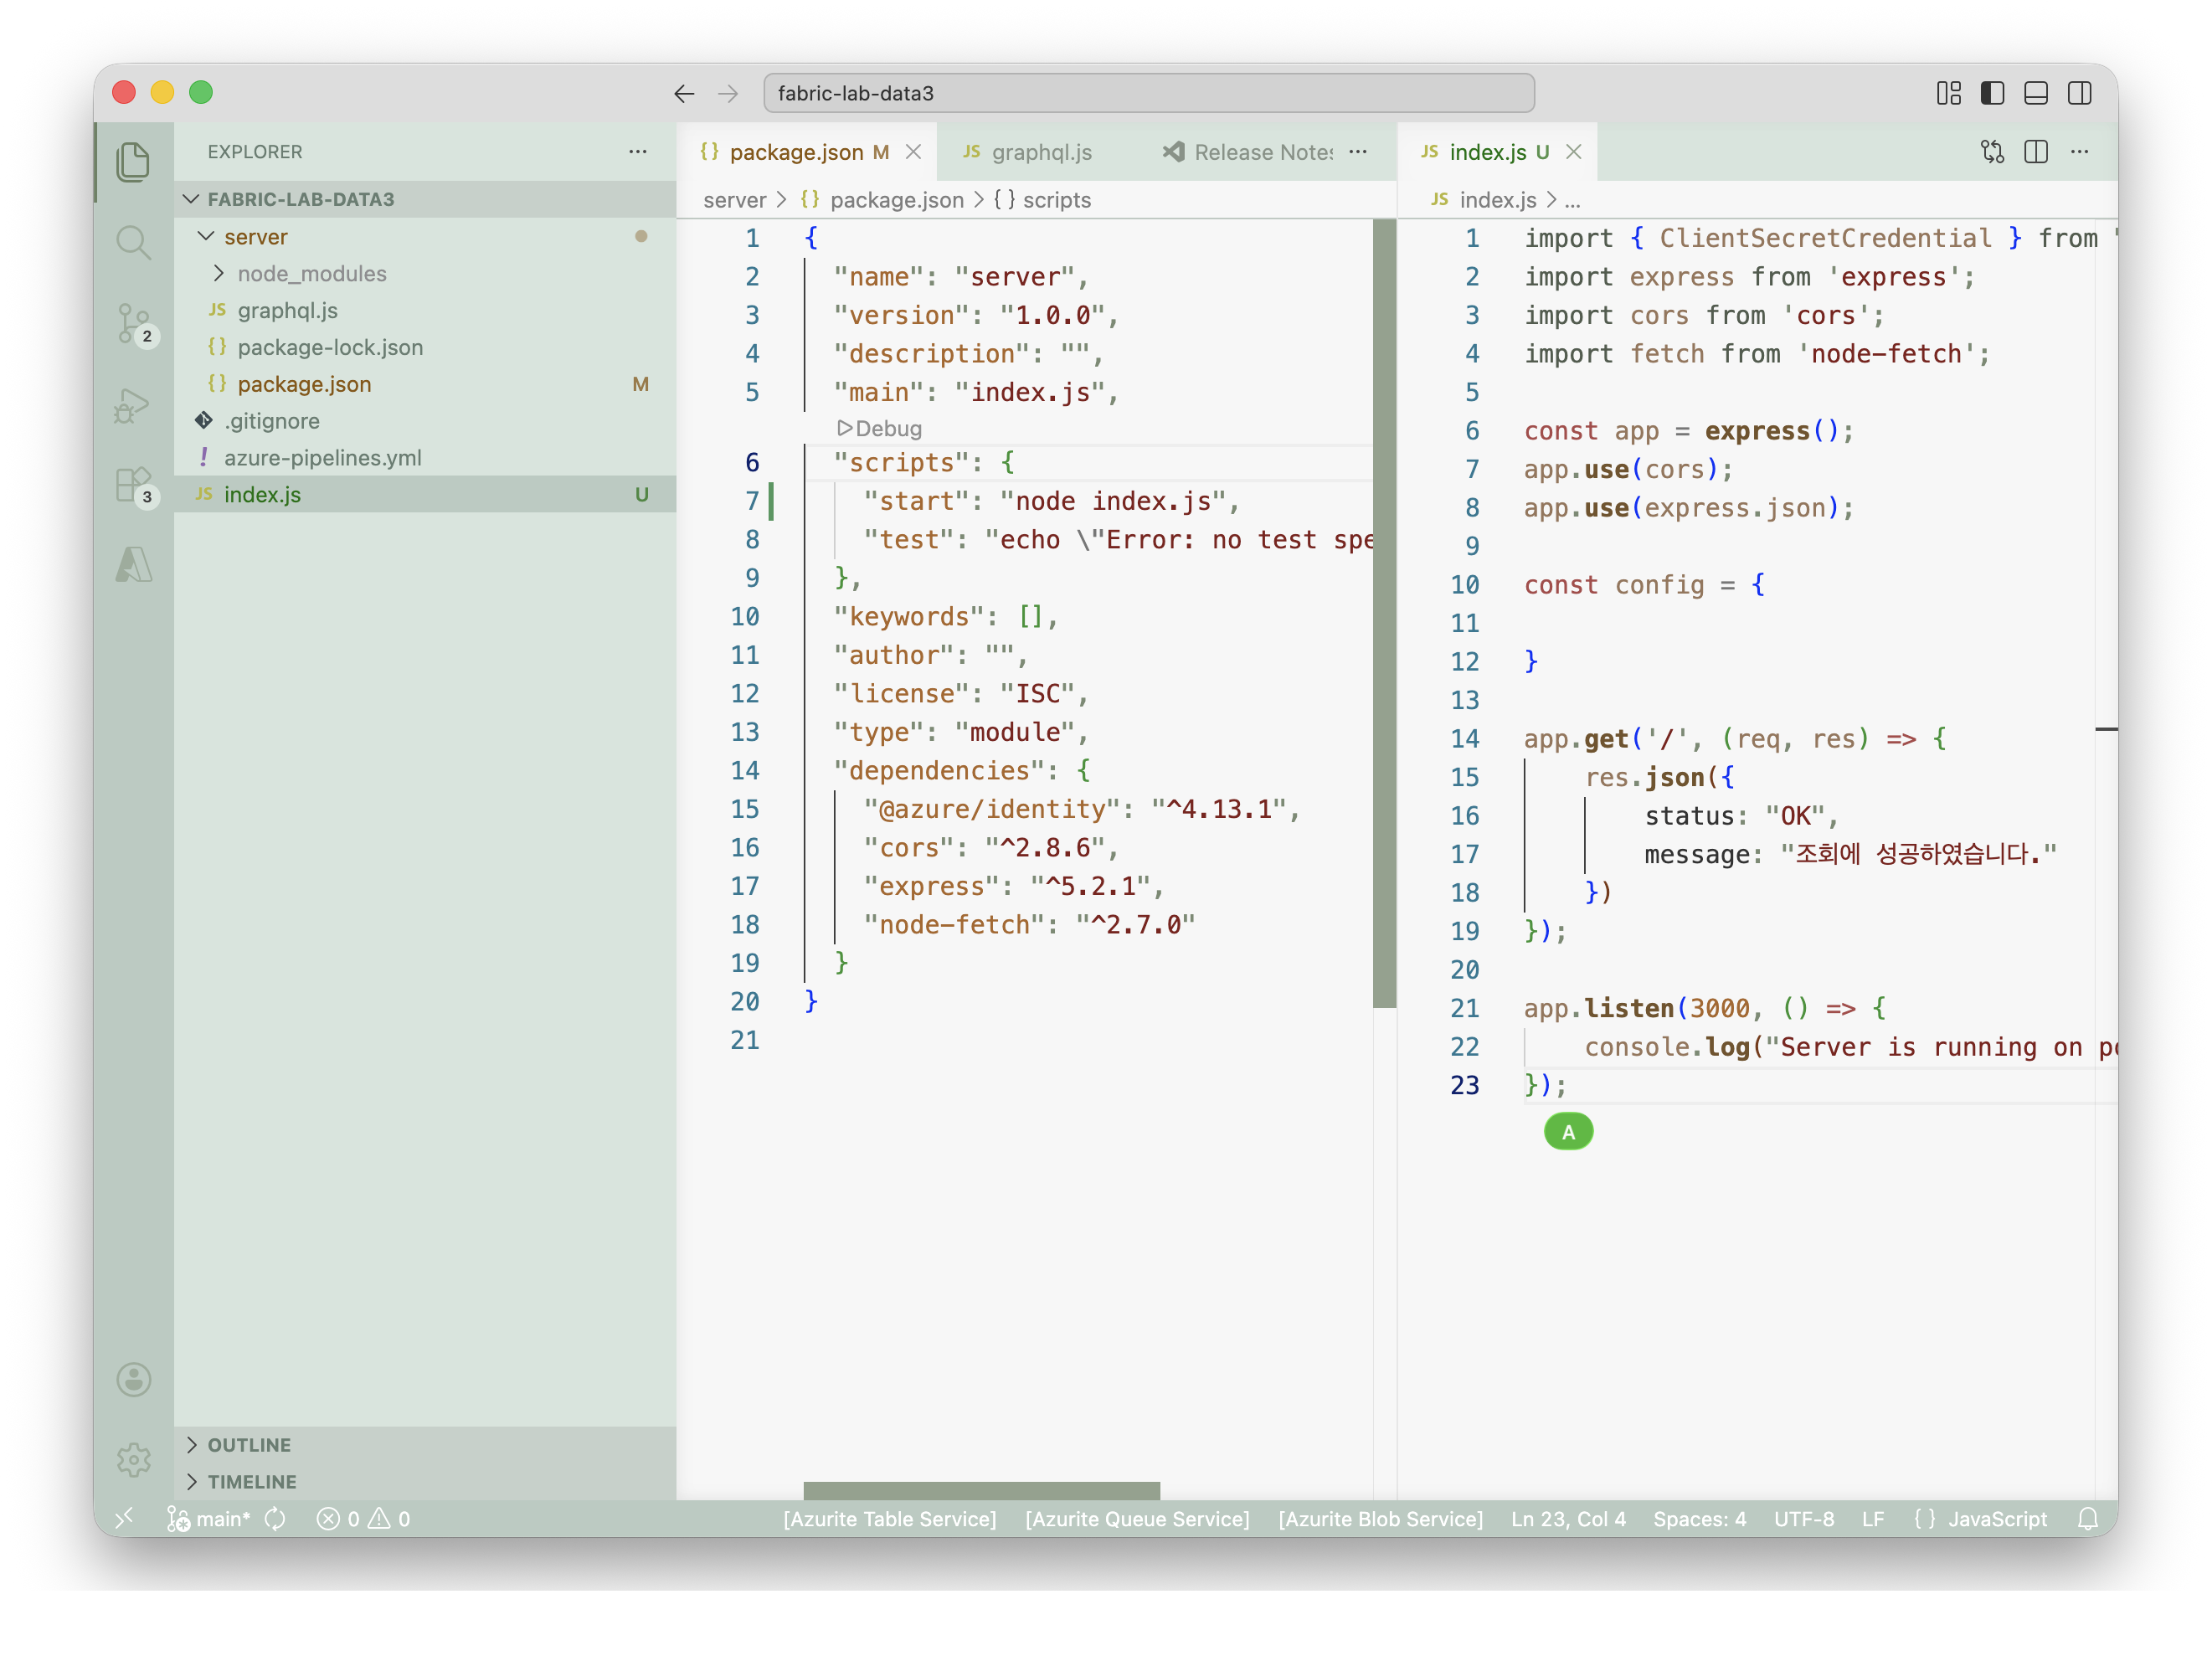
import { ClientSecretCredential } from "@azure/identity";
import express from 'express';
import cors from 'cors';
import fetch from 'node-fetch';

const TENANT_ID = "";
const CLIENT_ID = "";
const CLIENT_SECRET = "";

let credential = new ClientSecretCredential(TENANT_ID, CLIENT_ID, CLIENT_SECRET);
let tokenPromise = credential.getToken('https://analysis.windows.net/powerbi/api/.default');
let accessToken = await tokenPromise;

const app = express();
app.use(cors()); //이부분 괄호 안쳤다가 접속 안됨
app.use(express.json());

const config = {

}

app.get('/', (req, res) => {
    res.json({
        status: "OK",
        message: "조회에 성공하였습니다.",
        token: accessToken
    })
});

app.listen(3000, () => {
    console.log("Server is running on port 3000");
});