메인 화면에서 게시글 목록이 나오고 작성하기 버튼을 누르면 작성하는 화면으로 넘어가도록 만들어볼 것이다.
Express 파트
route/index.js 일부
router.get('/list', (req, res) => {
  const sql = "SELECT * from notice_db.notice"
  maria.query(sql,
      (err, result) => {
          if (err)
              console.log(err);
          else{
            console.log(result);
              res.send(result);

          }
      });
})
/list get요청처리부분을 추가한다.
React 파트
우선 react-route-dom을 사용해 창 전환을 구현할 것이다. 설치한다.
npm install react-router-domUseNavigate를 사용해 창 전환을 할 수 있다.
import { useNavigate } from "react-router-dom"; const navigate = useNavigate(); navigate('경로');<Routes> <Route path="경로" element={컴포넌드}></Route> <Route path="경로" element={컴포넌드}></Route> </Routes>
아래처럼 index.js에 import하고 App을 Router로 감싸준다.
index.js
import React from 'react';
import ReactDOM from 'react-dom/client';
import './index.css';
import App from './App';
import reportWebVitals from './reportWebVitals';
import { BrowserRouter as Router } from "react-router-dom";
const root = ReactDOM.createRoot(document.getElementById('root'));
root.render(
  <Router>
  <React.StrictMode>
    <App />
  </React.StrictMode>
  </Router>
);

// If you want to start measuring performance in your app, pass a function
// to log results (for example: reportWebVitals(console.log))
// or send to an analytics endpoint. Learn more: https://bit.ly/CRA-vitals
reportWebVitals();
Notice_list.js
import { useState, useEffect } from "react";
import axios from "axios";
import { useNavigate } from "react-router-dom";

const Notice_list = () => {
  const [inputData, SetInput] = useState([]);
  const navigate = useNavigate();

  useEffect(() => {
      const fetchData = async () => {
          try {
              const res = await axios.get('http://localhost:3001/list');
              const _inputData = res.data.map((rowData) => ({
                  ID: rowData.ID,
                  title: rowData.title,
                  content: rowData.content,
              }));
              SetInput(_inputData);
          } catch (e) {
              console.error(e.message);
          }
      };
      fetchData();
  }, []);

  return (
      <div style={{ textAlign: 'center', margin: '0 auto'}}>
          <h2>공지 사항</h2>

          <div style={{ display: 'flex', flexDirection: 'column', alignItems: 'center' }}>
              {inputData.map((notice, index) => (
                  <div key={index} style={div_style}>
                      <div style={{ width: '10%' }}>{index}</div>
                      <div style={{ width: '30%' }}>{notice.title}</div>
                      <div style={{ width: '60%' }}>{notice.content}</div>
                  </div>
              ))}
          </div>

          <button type="button" onClick={() => navigate('/Notice_main')}>게시글 작성</button>
      </div>
  );

};

const div_style = {
  width: '50%',
  height: '50px',
  border : '1px solid',
  marginBottom : '5px',
  display: 'flex',
  justifyContent: 'space-between',
  alignItems: 'center'
}

export default Notice_list;
localhost:3001/list로 get 요청을 보낸다. express는 notice_db의 notice 테이블을 전송한다.
버튼 클릭 시 /Notice_main으로 창전환한다.
App.js
import Notice_main from "./notice_main";
import Header from "./header";
import Notice_list from "./notice_list";
import { Routes, Route} from "react-router-dom";

function App() {

return (
  <>
  <Header/>
  <Routes>
  <Route path="/" element={<Notice_list/>}></Route>
  <Route path="/Notice_main" element={<Notice_main/>}></Route>
  </Routes>

  </>
);
}

export default App;

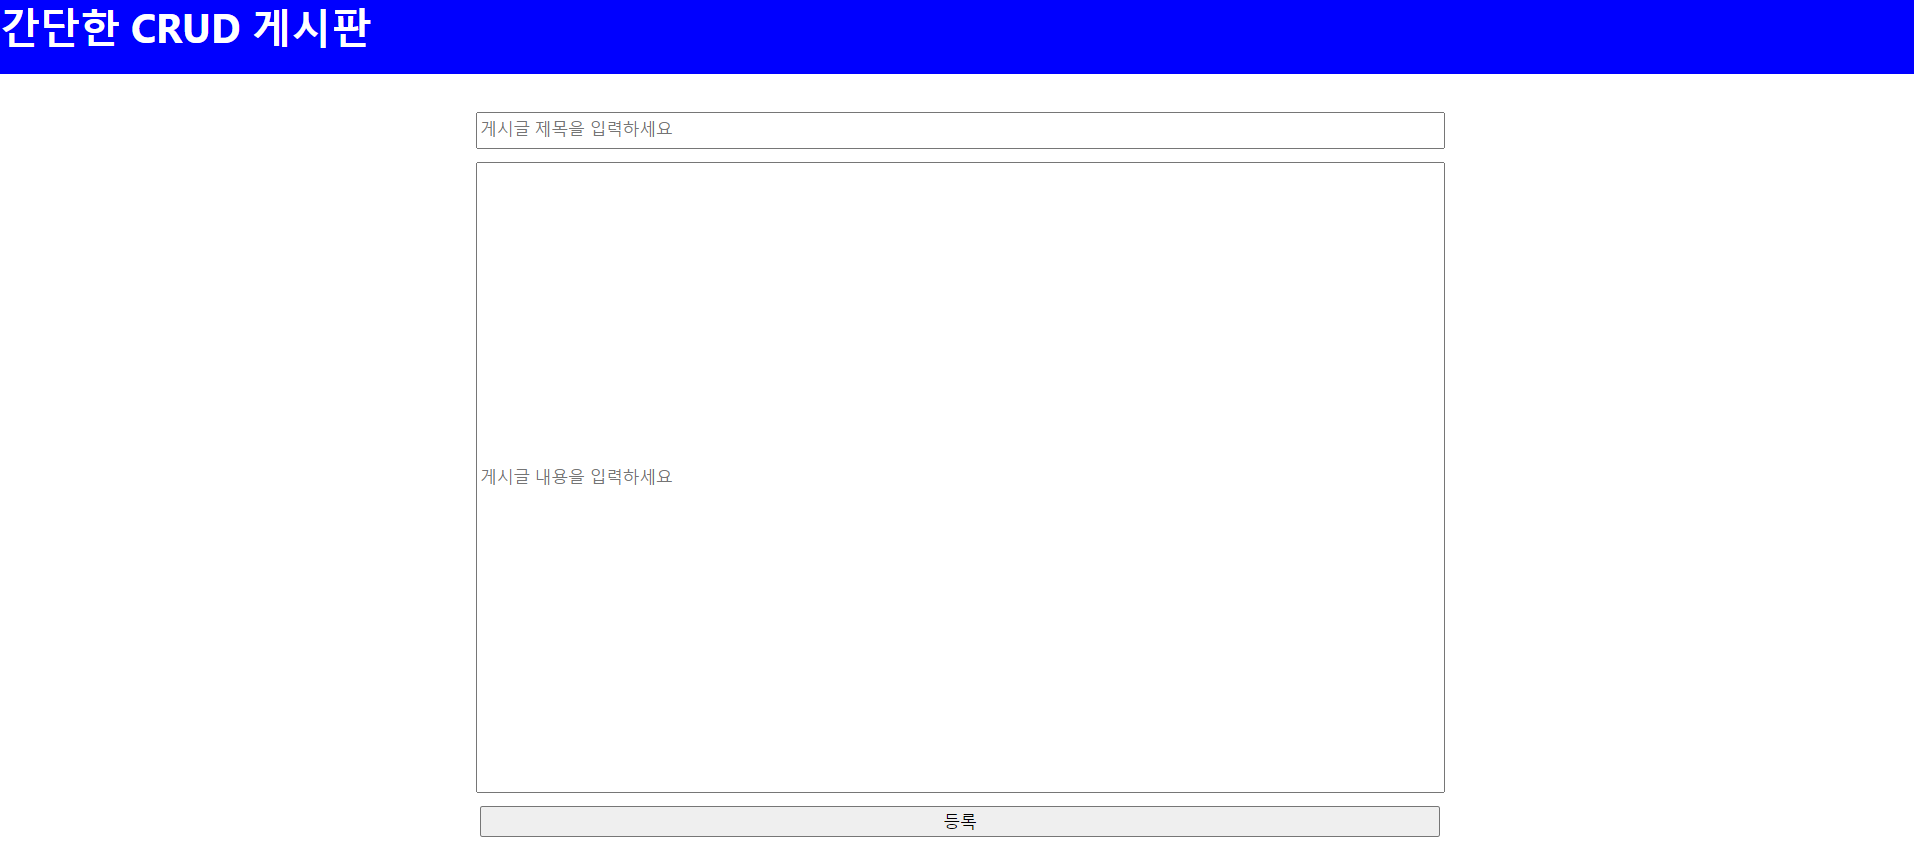
게시물 작성을 눌러 게시글을 등록하면 다시 리스트 화면으로 돌아옴을 알 수 있다.
중간에 Header 색깔 바꿨다.
