마우스 드래그를 통한 영역 선택
드래그를 통해 영역을 선택하고 2개 이상의 오브젝트들을 선택하자
구글링해보니 GUI 같은 것 밖에 안나오길래 직접 구현했다.
주로 스타크래프트 같은 RTS 게임이나 퍼즐 게임에서 사용할 수 있다.
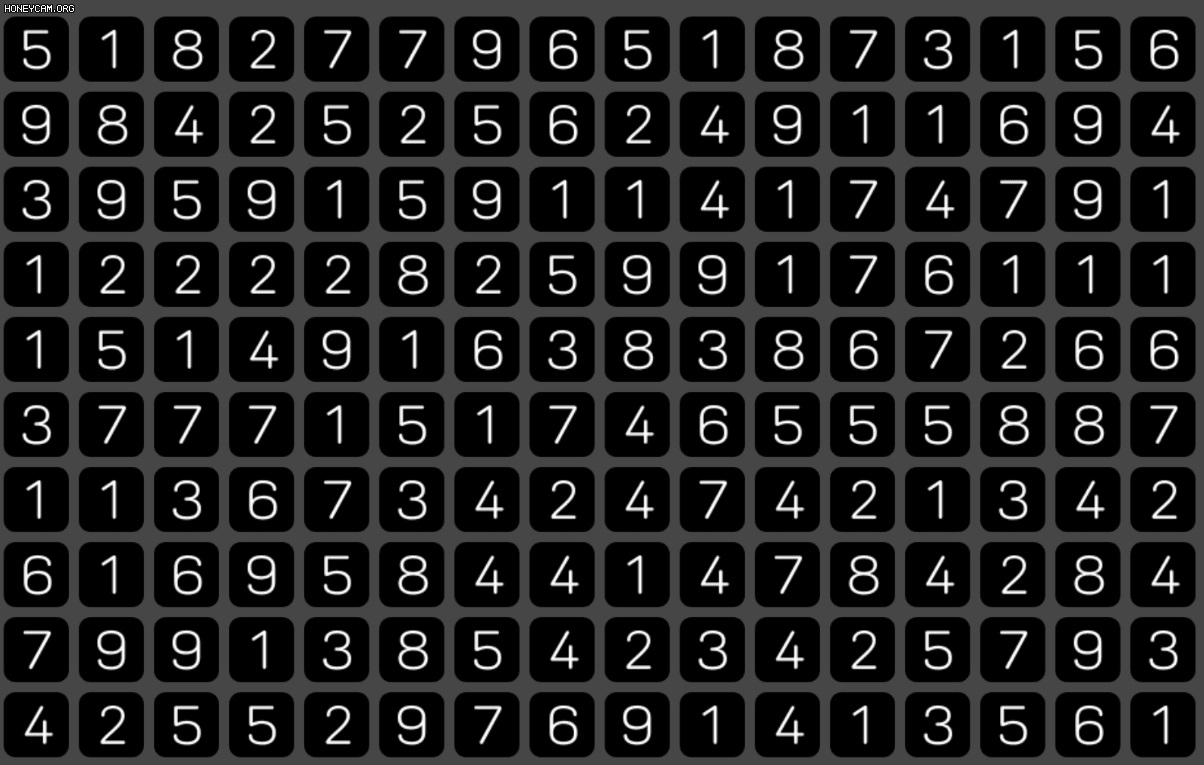
난 사과게임 만들었음
1. 드래그 영역 그리기
MouseHandler.cs
using System.Collections;
using System.Collections.Generic;
using UnityEngine;
using UnityEngine.UI;

public class MouseHandler : MonoBehaviour
{
    [SerializeField]
    GameObject dragSquare; // 프리팹

    GameObject square;

    Vector3 startPos, nowPos, deltaPos;
    float deltaX, deltaY;

    public static bool mouseActive; // true 일 때만 영역 그리게 하기

    void Start()
    {
        mouseActive = true;
    }

    void Update()
    {
        if(mouseActive == true)
        {
            if (Input.GetMouseButtonDown(0)) // 눌렀을 때 영역 그리기 시작
            {
                startPos = Camera.main.ScreenToWorldPoint(new Vector3(Input.mousePosition.x, Input.mousePosition.y, Camera.main.transform.position.z * -1));
                square = Instantiate(dragSquare, new Vector3(0, 0, 0), Quaternion.identity);
            }

            if (Input.GetMouseButton(0)) // 드래그 중
            {
                nowPos = Camera.main.ScreenToWorldPoint(new Vector3(Input.mousePosition.x, Input.mousePosition.y, Camera.main.transform.position.z * -1));
                deltaX = Mathf.Abs(nowPos.x - startPos.x);
                deltaY = Mathf.Abs(nowPos.y - startPos.y);
                deltaPos = startPos + (nowPos - startPos) / 2;
                square.transform.position = deltaPos;
                square.transform.localScale = new Vector3(deltaX, deltaY, 0);
            }

            if (Input.GetMouseButtonUp(0)) // 드래그가 끝나면 영역 사각형 삭제
            {
                Destroy(square);
            }
        }
        else
        {
            Destroy(square);
        }
    }
}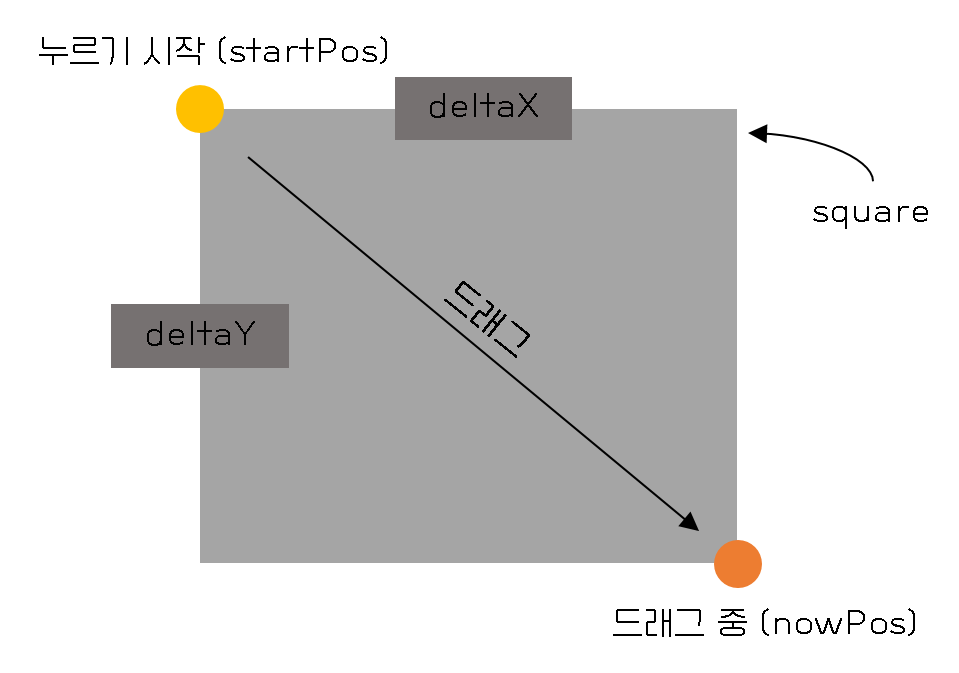
원리는 대충 그림과 같음
Instantiate한 square의 transform.position(위치)은 startPos와 nowPos의 중간 좌표,
transform.localscale(크기)은 deltaX와 deltaY값
2. 오브젝트 선택하기
BlockTriggerHandler.cs
using System.Collections;
using System.Collections.Generic;
using UnityEngine;
using UnityEngine.UI;

public class BlockTriggerHandler : MonoBehaviour
{
    void OnTriggerEnter(Collider col)
    {
        BlockHandler.Instance.blockList.Add(col.gameObject);
        col.gameObject.GetComponent<SpriteRenderer>().color = new Color(0.15f, 0.15f, 0.15f);
    }

    void OnTriggerExit(Collider col)
    {
        BlockHandler.Instance.blockList.Remove(col.gameObject);
        col.gameObject.GetComponent<SpriteRenderer>().color = new Color(0,0,0,1);
    }
}
선택되어야 하는 오브젝트들의 Collider에 isTrigger 체크 해주고,
잊지 않고 Rigidbody도 달아준다.
위의 코드는 드래그할 때 생성되는 square 프리팹에 달아준다.
Trigger 처리 된(영역 선택 된) 오브젝트들은 다른 코드의 List에 넣어준다.
디테일을 위해 선택된 블럭의 색도 바꿔 주었다.
마치며
이걸로 드래그를 통한 오브젝트 선택은 끝~
나중에 또 써먹을 것 같아서 간단하게 정리함

Juhee Kim | Game Client Developer