Result
swift에는 성공한 것은 string으로, 실패하면 error로 캡슐화해서 전달되는 타입인 Result가 있다.
먼저 url로부터 정보를 불러오는 함수 fetchReadings()가 있다.
    func fetchReadings() async {
        do {
            let url = URL(string: "https://hws.dev/readings.json")!
            let (data, _) = try await URLSession.shared.data(from: url)
            let readings = try JSONDecoder().decode([Double].self, from: data)
            output = "Found \(readings.count) readings"
        } catch {
            print("Download error")
        }
    }
이를 Task 안으로 수정하여 Result로 반환할 수 있다.
    let fetchTask = Task {
        let url = URL(string: "https://hws.dev/readings.json")!
        let (data, _) = try await URLSession.shared.data(from: url)
        let readings = try JSONDecoder().decode([Double].self, from: data)
        return "Found \(readings.count) readings"
    }
그 후에 전달받은 Result를 try-catch 혹은 switch문을 통해서 성공한 경우 실패한 경우의 값을 확인할 수 있다.
do {
    output = try result.get()
} catch {
    output = "Error: \(error.localizedDescription)"
}
switch result {
case .success(let str):
output = str
case .failure(let error):
output = "Error: \(error.localizedDescription)"
}image interpolation(보간법) 방지하기
swiftui에서 image를 원래 사이즈보다 크게 만들면 자동으로 보간법에 의해 사이즈를 키운다. 이를 방지하기 위해선 .interpolation을 설정하면 된다.
        Image(.monkey)
            .interpolation(.none)
            .resizable()
.scaledToFit()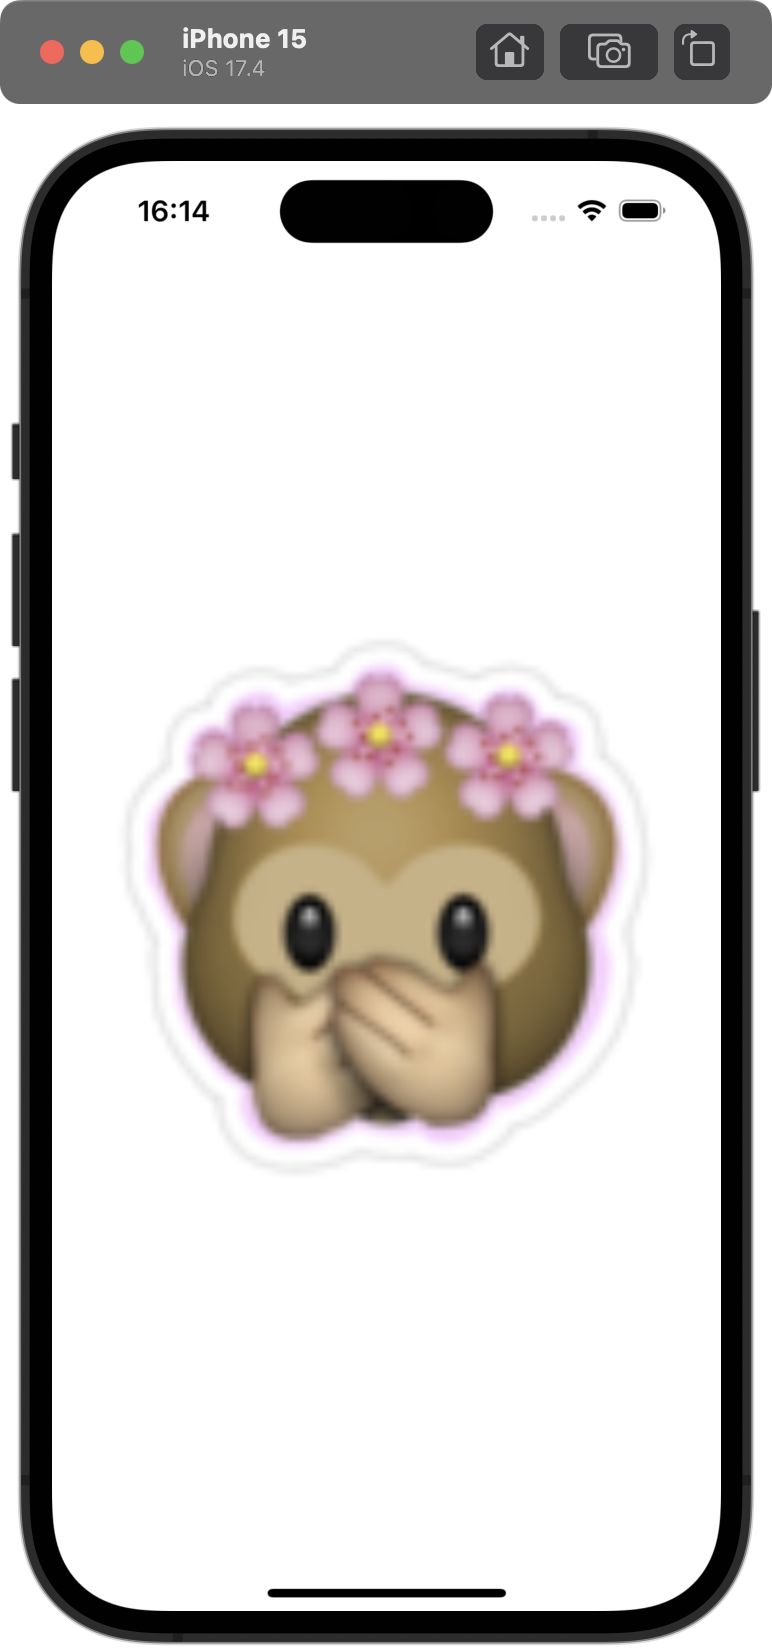 | 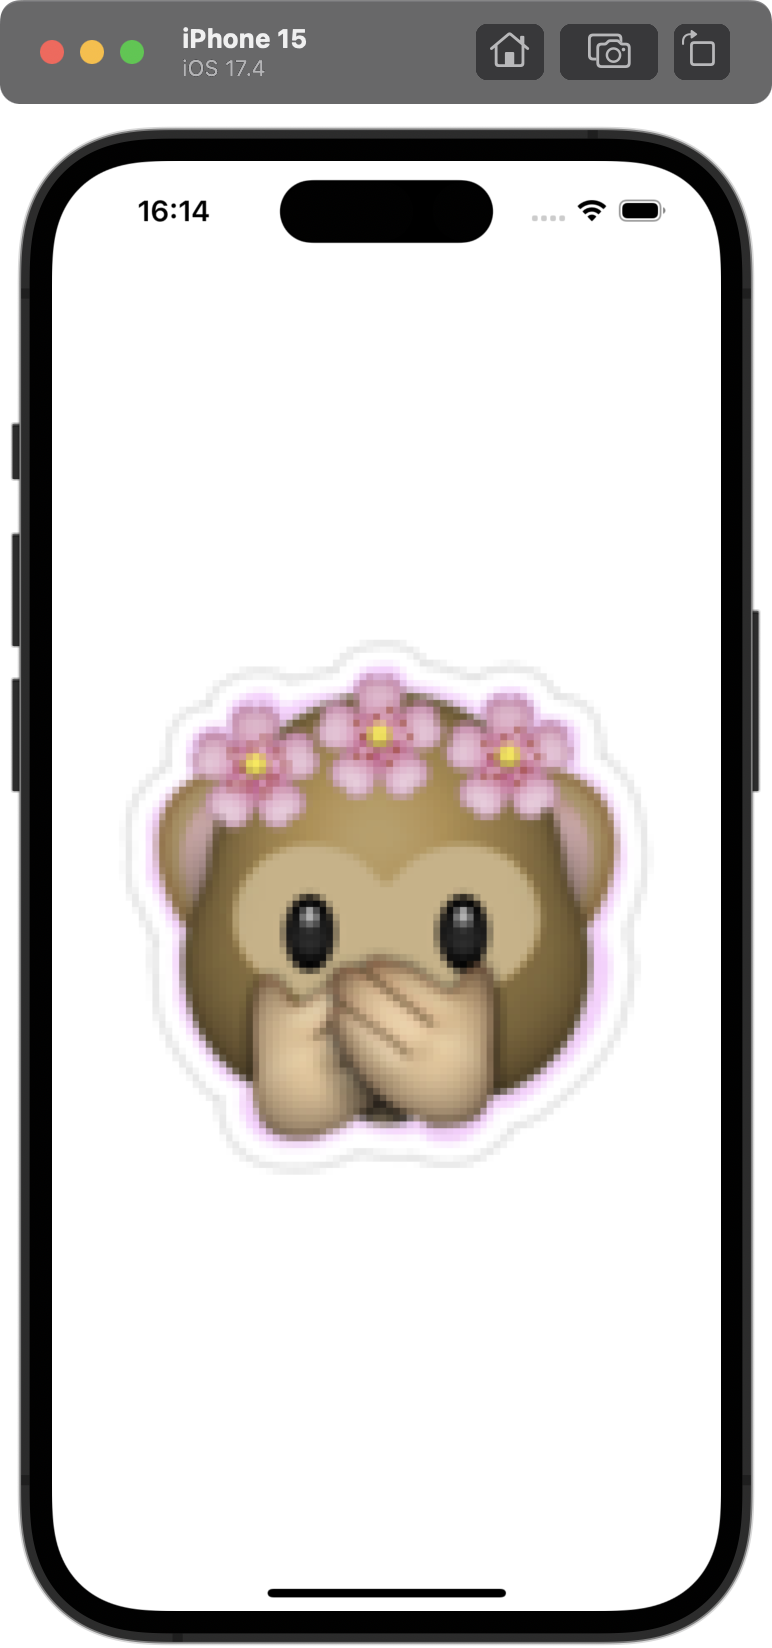 |
|---|
좌: .interpolation(.high) 기본값, 우: .interpolation(.none)
오른쪽 사진을 보면 보간법이 적용되지 않아 원본 이미지대로 픽셀이 두드러져 보인다.
contextMenu 설정하기
contextMenu를 설정하여 picker처럼 옵션을 보여주고 그에 따른 변화를 줄 수 있다.
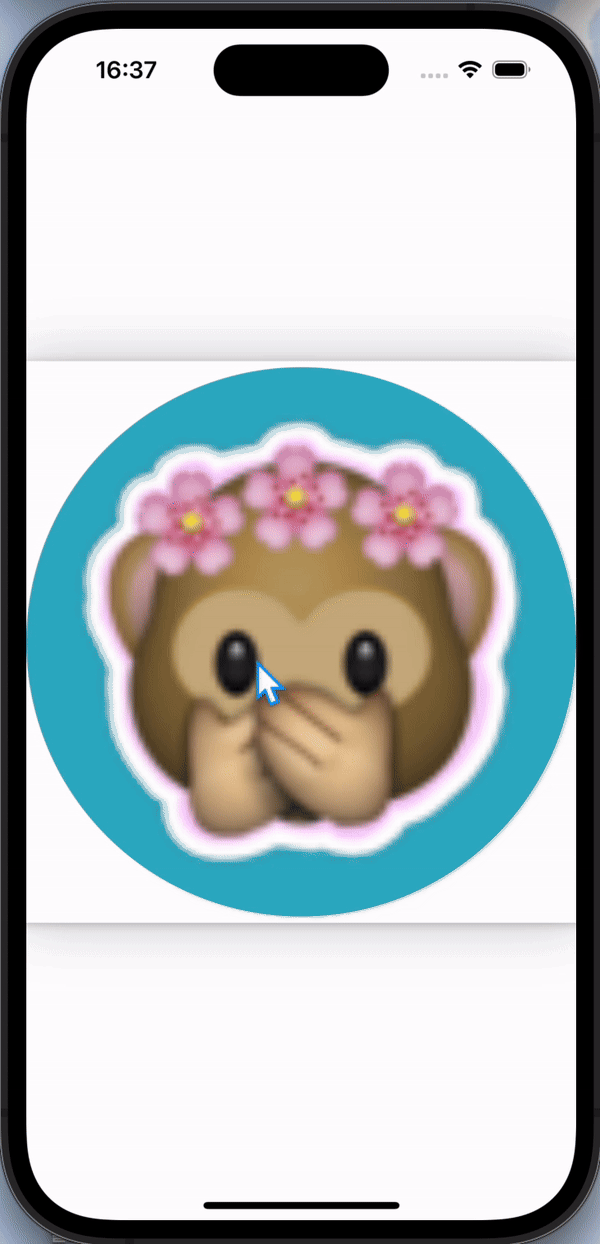
            Image(.monkey)
                .resizable()
                .scaledToFit()
                .contextMenu {
                    Button("Pink", role: .destructive) {
                        backgroundColor = Color.pink
                    }
                    Button("Brown", role: .cancel) {
                        backgroundColor = Color.brown
                    }
                    Button("Teal", systemImage: "suit.heart") {
                        backgroundColor = Color.teal
                    }
                }
다만, 사용자가 길게 클릭하지 않으면 모르는 것이기 때문에
- 사용자에게 사용할 수 있음을 암시하기 위해 필요한 많은 곳에 사용하면 좋다.
- 최대 3개의 옵션을 주는 것이 좋다.
- 이미 다른 곳에서 수행할 수 있는 것을 중복하지 않는 것이 좋다.
그리고 형태가 제한되어 꾸며도 systemImage, role 정도를 설정할 수 있다.
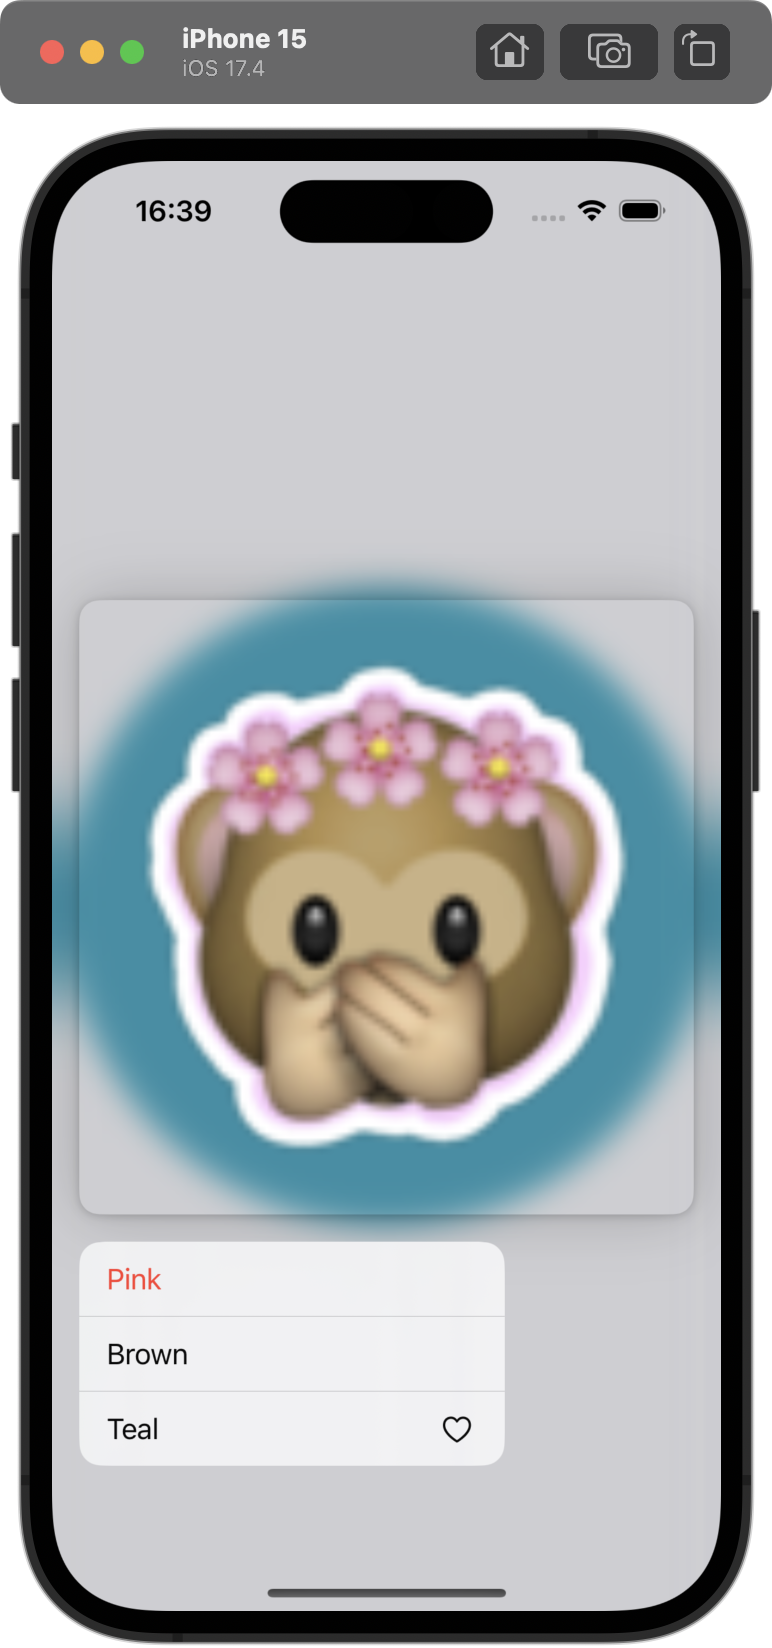
                    Button("Pink", role: .destructive) {
                        backgroundColor = Color.pink
                    }
                    Button("Brown", role: .cancel) {
                        backgroundColor = Color.brown
                    }
                    Button("Teal", systemImage: "suit.heart") {
                    // ...
계속 해보자