Timer
swift core system 중 하나인 timer를 이용해서 일정 시간마다 동작할 수 있도록 할 수 있다.
let timer = Timer.publish(every: 1, tolerance: 0.5, on: .main, in: .common).autoconnect()every: 몇 초마다, tolerance: 시간의 오차 허용 범위, on: main 흐름에서, in: common run loop에서 동작한다는 의미이다. 그리고 autoconnect()를 부여하는 순간 즉시 초를 센다. 마지막으로 이를 timer라는 상수에 정의함으로써 계속 살아있다(동작한다).
예시로 5초 동안 시간을 print하는 코드는 다음과 같다.
struct ContentView: View {
    let timer = Timer.publish(every: 1, tolerance: 0.5, on: .main, in: .common).autoconnect()
    @State private var counter = 0
    var body: some View {
        VStack {
            Text("Hello, World!")
                .onReceive(timer) { time in
                    if counter == 5 {
                        timer.upstream.connect().cancel()
                    } else {
                        print("The time is now \(time)")
                        counter += 1
                    }
                }
        }
    }
}scenePhase
휴대폰에서 앱의 상태에 따라 이를 인지하고 특정 동작을 지정할 수 있다.
상태는 총 세 가지다. 아래는 ios 기준이며, os마다 특성 때문에 다른 부분도 있다.
- active: 앱에 접근했고, 앱을 사용할 수 있는 때
- inactive: 사용자에게 앱이 보이나, 사용할 수 없는 때(앱에 접근했으나 제어센터를 보는 상황, 현재 사용하는 앱 리스트를 보는 상황)
- background: 앱이 닫긴 상황(앱에 접근하고 이를 홈버튼으로 나와서 꺼지진 않은 상태)
struct ContentView: View {
    @Environment(\.scenePhase) var scenePhase
    var body: some View {
        Text("Hello, world!")
            .onChange(of: scenePhase) { oldPhase, newPhase in
                if newPhase == .active {
                    print("Active")
                } else if newPhase == .inactive {
                    print("Inactive")
                } else if newPhase == .background {
                    print("Background")
                }
            }
    }
}특정 accessibility를 위한 설정
아이폰 기능 중에 여러 accessibility가 있다. 예시로
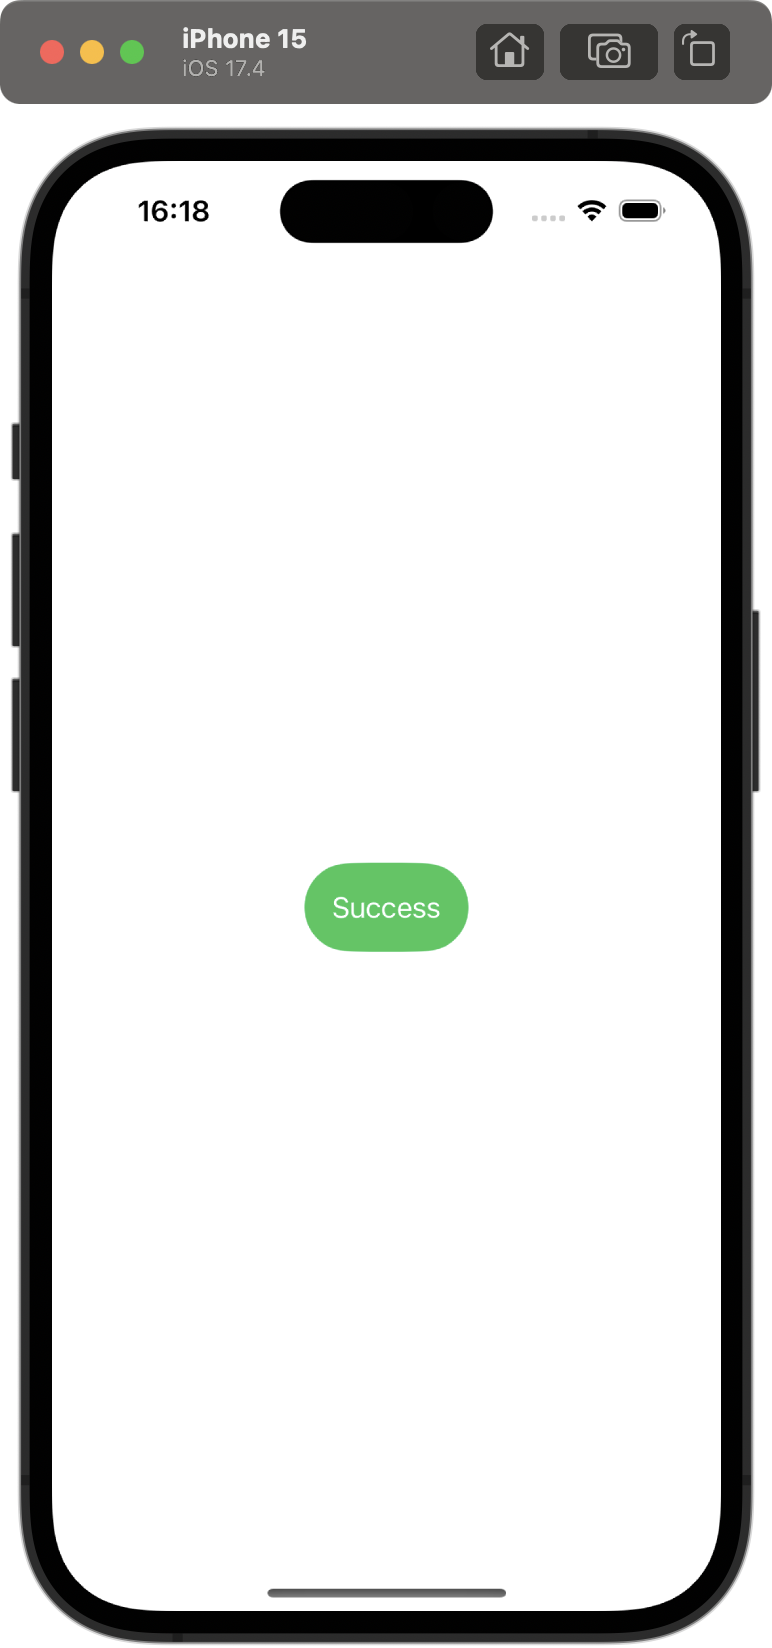
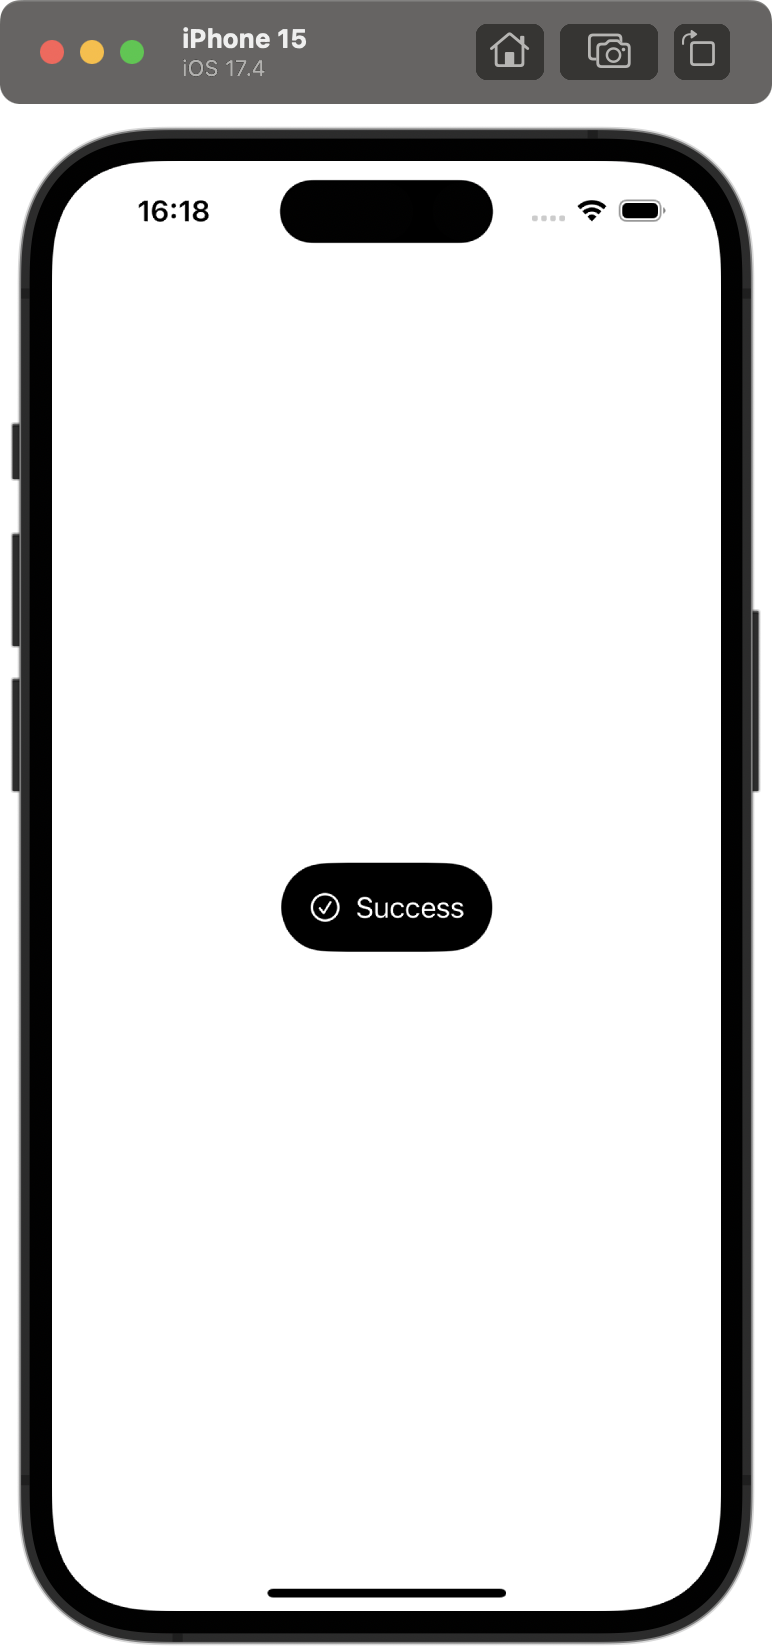
- Differentiate without color(색상 사용 없이 구별)의 경우 색상 대신 이미지를 사용하고 흰백 색상 두가지만을 이용하여 나타낼 수 있다.
 |  |
|---|
struct ContentView: View {
    @Environment(\.accessibilityDifferentiateWithoutColor) var differentiateWithoutColor

    var body: some View {
        HStack {
            if differentiateWithoutColor {
                Image(systemName: "checkmark.circle")
            }

            Text("Success")
        }
        .padding()
        .background(differentiateWithoutColor ? .black : .green)
        .foregroundStyle(.white)
        .clipShape(.capsule)
    }
}- Reduce Motion(동작 줄이기)의 경우 withAnimation을 적용하지 않는 방법이 있다.
 |  |
|---|
struct ContentView: View {
    @Environment(\.accessibilityReduceMotion) var reduceMotion
    @State private var scale = 1.0
    var body: some View {
        Button("Hello, World!") {
            if reduceMotion {
                scale *= 1.5
            } else {
                withAnimation {
                    scale *= 1.5
                }
            }

        }
        .scaleEffect(scale)
    }
}
withAnimation에 wrapper function을 설정해서 이를 더 간단하게 만들 수도 있다.
func withOptionalAnimation<Result>(_ animation: Animation? = .default, _ body: () throws -> Result) rethrows -> Result {
    if UIAccessibility.isReduceMotionEnabled {
        return try body()
    } else {
        return try withAnimation(animation, body)
    }
}

struct ContentView: View {
    @Environment(\.accessibilityReduceMotion) var reduceMotion
    @State private var scale = 1.0
    var body: some View {
        Button("Hello, World!") {
            withOptionalAnimation {
                scale *= 1.5
            }
        }
        .scaleEffect(scale)
    }
}withOptionalAnimation만으로 조건을 확인하고 animation을 적용한다.
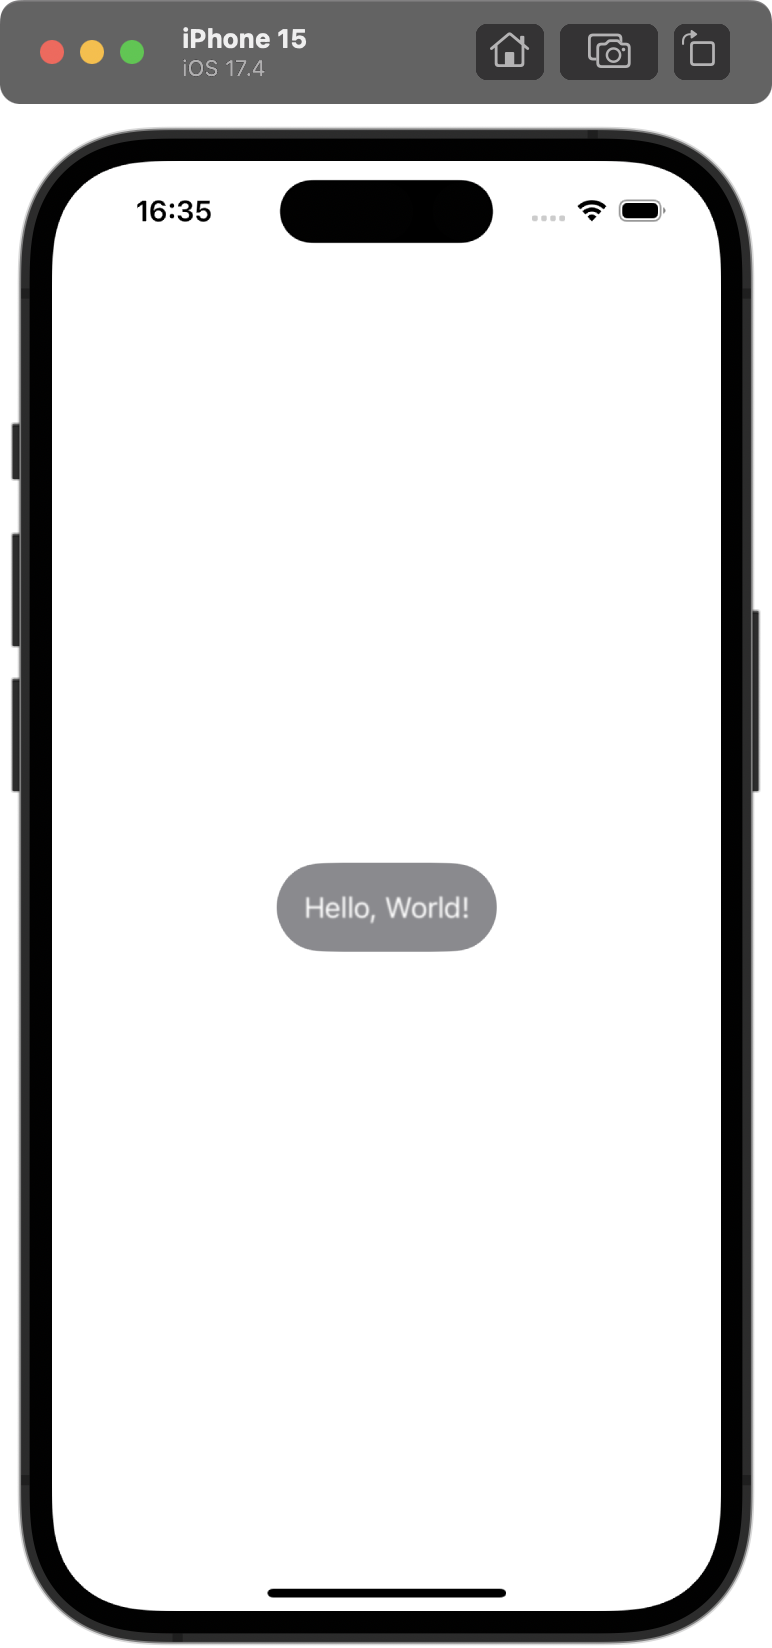
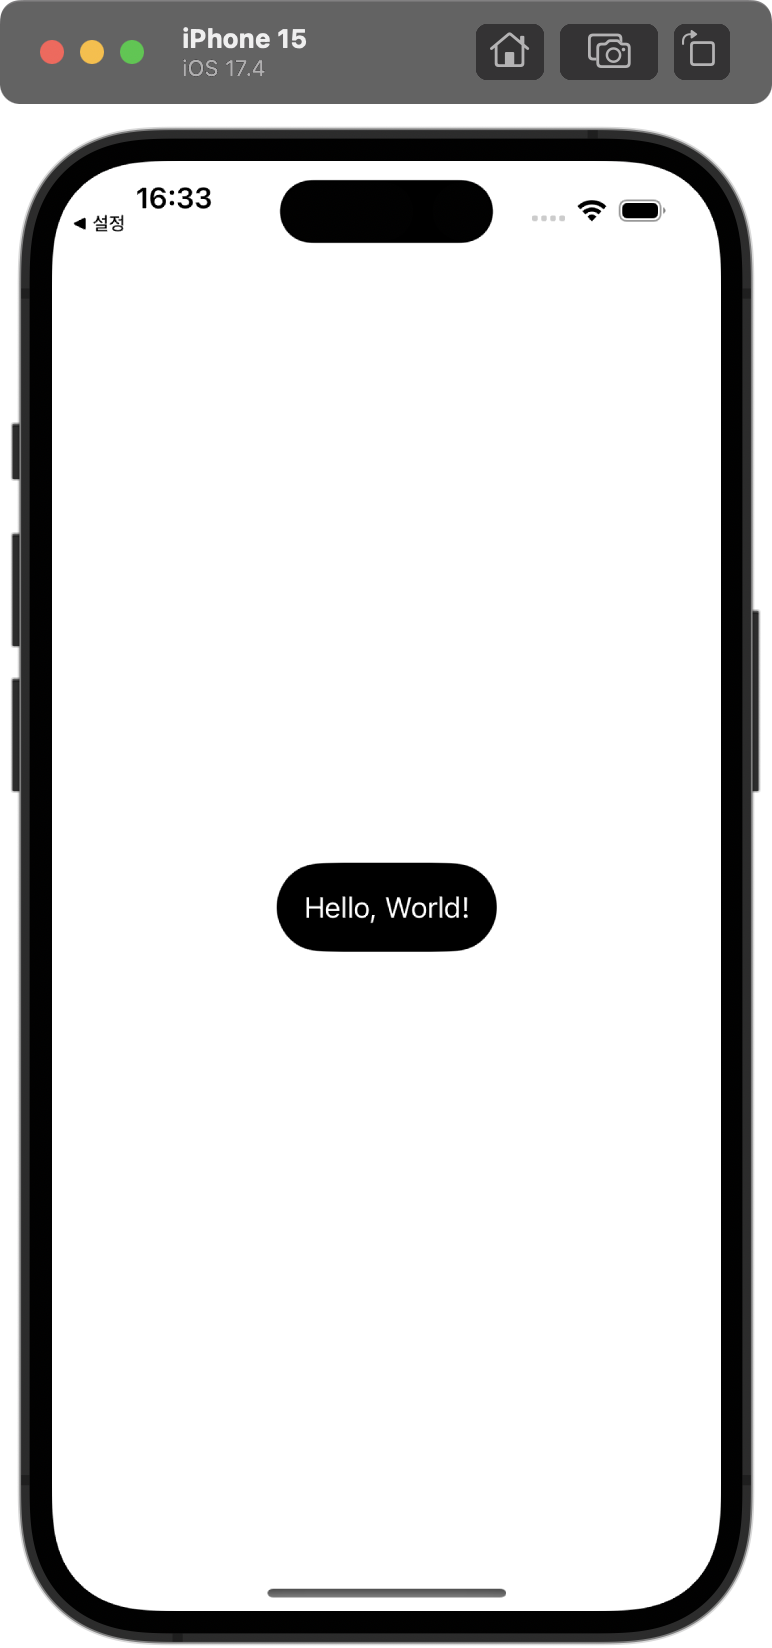
- Reduce Transparency(투명도 줄이기)의 경우 blur나 반투명성을 줄여 선명하게 나타내는 방법이 있다.
 |  |
|---|
struct ContentView: View {
    @Environment(\.accessibilityReduceTransparency) var reduceTransparency

    var body: some View {
        Text("Hello, World!")
            .blur(radius: reduceTransparency ? 0 : 0.5)
            .padding()
            .background(reduceTransparency ? .black : .secondary)
            .foregroundStyle(.white)
            .clipShape(.capsule)
    }
}
계속 해보자