
- preview Link : https://velog.io/@suhan0304/Unity-Electricity-14
- gitHub Link : https://github.com/suhan0304/Electricity
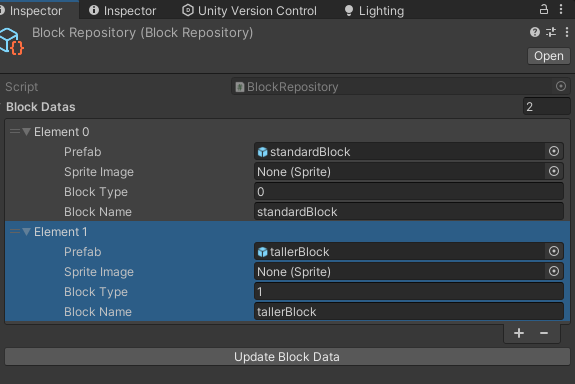
Block Repository
블럭들에 대한 정보와 프리팹을 가지고 있는 block repository를 만들어보자.
BlockRepository.cs
using System;
using System.Collections;
using System.Collections.Generic;
using UnityEngine;

[CreateAssetMenu(fileName = "BlockRepository", menuName = "ScriptableObjects/BlockRepository", order = 0)]
public class BlockRepository : ScriptableObject
{
    [Serializable]
    public class BlockData {
        public GameObject prefab;
        public Sprite spriteImage;
        public int blockType;
        public string blockName;
    }

    public List<BlockData> blockDatas;
    public Dictionary<int, GameObject> blockDictionary;

    private void OnValidate() {
        UpdateBlockData();
        UpdateDictionary();
    }

    public void UpdateBlockData() {
        for (int i = 0 ; i < blockDatas.Count; i++) {
            var data = blockDatas[i];
            if (data.prefab != null) {
                data.blockName = data.prefab.name;
                data.blockType = i;
            }
        }
    }

    public void UpdateDictionary()
    {
        if (blockDictionary == null)
            blockDictionary = new Dictionary<int, GameObject>();

        Dictionary<int, GameObject> newDictionary = new Dictionary<int, GameObject>();
        foreach (var data in blockDatas)
        {
            if (data.prefab != null && !newDictionary.ContainsKey(data.blockType))
            {
                newDictionary[data.blockType] = data.prefab;
            }
        }

        blockDictionary = newDictionary;
    }
}
혹시 몰라서 블럭 데이터를 자동으로 업데이트 하는 버튼을 만들어줬다. 프리팹을 넣으면 자동으로 이름이랑 타입이 업데이트 된다. 이미지는 나중에 Resources에 블럭과 동일한 이름의 Sprite로 넣어서 Load 하도록 업데이트 할 예정이다.
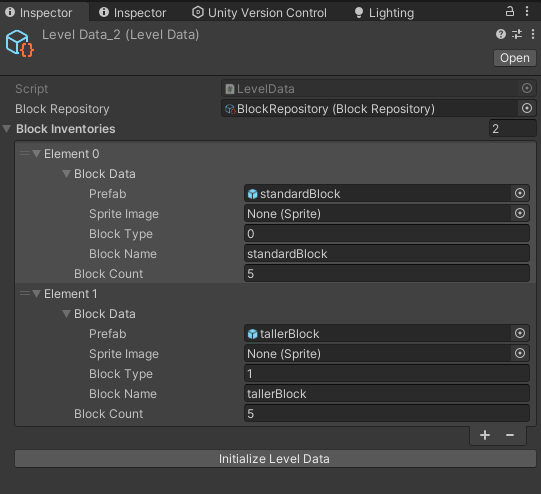
LevelData(Block Inventory)
Block Inventory를 구현해보자. Block Inventory는 일단 먼저 Block Repository의 모든 block들을 가져온 다음 수량을 지정해주도록 할 예정이다. 이게 block Inventory보다는 LevelData로 이름을 짓는게 자연스러울 거 같아서 levelData로 작성했다.
LevelData.cs
using System;
using System.Collections.Generic;
using UnityEngine;

[CreateAssetMenu(fileName = "LevelData", menuName = "ScriptableObjects/LevelData", order = 0)]
public class LevelData : ScriptableObject
{
    public BlockRepository blockRepository;

    [Serializable]
    public class BlockInventory {
        public BlockRepository.BlockData blockData;
        public int blockCount;

        public BlockInventory(BlockRepository.BlockData data) {
            blockData = data;
            blockCount = 0;
        }
    }

    public List<BlockInventory> blockInventories = new List<BlockInventory>();

    private void OnValidate() {
        if (blockRepository == null) {
            Debug.LogWarning($"{this.name}'s BlockRepsoitory is null, Can't make block Inventory");
        }
    }
    public void Initialize() {
        blockInventories.Clear();

        if(blockRepository != null) {
            foreach (var blockData in blockRepository.blockDatas) {
                BlockInventory inventory = new BlockInventory(blockData);
                blockInventories.Add(inventory);
            }
        }
    }
}
이제 levelData를 만들고 레벨 2까지만 만들어보자.

초기화용 버튼 코드
LevelDataEditor.cs
using UnityEditor;
using UnityEngine;

[CustomEditor(typeof(LevelData)), CanEditMultipleObjects]
public class LevelDataEditor : Editor
{
    public override void OnInspectorGUI() {
        DrawDefaultInspector();

        LevelData levelData = (LevelData)target;
        if (GUILayout.Button("Initialize Level Data")) {
            levelData.Initialize();
        }
    }
}
UI
UI를 조절해보자. Grid Layout Group을 쓰면 버튼을 생성할 때 알아서 정렬된다.
버튼 내부는 다음과 같이 작성하기 전에 레벨 데이터를 불러올 스크립트를 하나 작성해준다.
LevelDataManager.cs
using System.Collections;
using System.Collections.Generic;
using UnityEngine;

public class LevelDataManager : MonoBehaviour
{
    public static LevelDataManager Instance;

    [SerializeField]
    public LevelData[] levelDatas;

    private void Awake() {
        if (Instance == null) {
            Instance = this;
        }
        else {
            Destroy(gameObject);
        }

        levelDatas = Resources.LoadAll<LevelData>("LevelData");
    }

    public LevelData GetLevelData(int level) {
        foreach(var levelData in levelDatas) {
            if (levelData.level == level) {
                return levelData;
            }
        }
        Debug.LogWarning("$Level {level} can't find");
        return null;
    }
}
BuildButton.cs
using UnityEngine;
using UnityEngine.UI;
using System;
using System.Collections;
using TMPro;

public class BuildButton : MonoBehaviour
{
    public TMP_Text blockNameText;
    public TMP_Text blockCountText;

    private LevelData.BlockInventory _blockInventory;

    public LevelData.BlockInventory BlockInventory {
        get {
            return _blockInventory;
        }
        set {
            _blockInventory = value;
            blockNameText.text = _blockInventory.blockData.blockName;
            blockCountText.text = _blockInventory.blockCount.ToString();
            GetComponent<UnityEngine.UI.Button>().onClick.AddListener(() => OnClickBlockButton());
        }
    }

    public void OnClickBlockButton() {
        //buildMenu.SelectBlock(blockData.blockType);
        Debug.Log("Button!");
    }
}
BuildMenu.cs
using JetBrains.Annotations;
using UnityEngine;

public class BuildMenu : MonoBehaviour
{
    BuildManager buildManager;
    public GameObject buttonPrefab;
    public LevelData levelData;

    void Start() {
        Debug.Log($"Level is {GameManager.Instance.mapLevel}");
        AddBtnsBuildMenu();
    }

    public void AddBtnsBuildMenu()
    {
        buildManager = BuildManager.Instance;
        buttonPrefab = Resources.Load<GameObject>("BuildButton");
        levelData = LevelDataManager.Instance.GetLevelData(GameManager.Instance.mapLevel);

        Debug.Log("Start Build Button UI");

        foreach(var blockInventory in levelData.blockInventories) {
            if (blockInventory.blockCount != 0) {
                GameObject BuildItem = Instantiate(buttonPrefab, transform);
                BuildItem.GetComponent<BuildButton>().BlockInventory = blockInventory;
            }
        }
    }

}
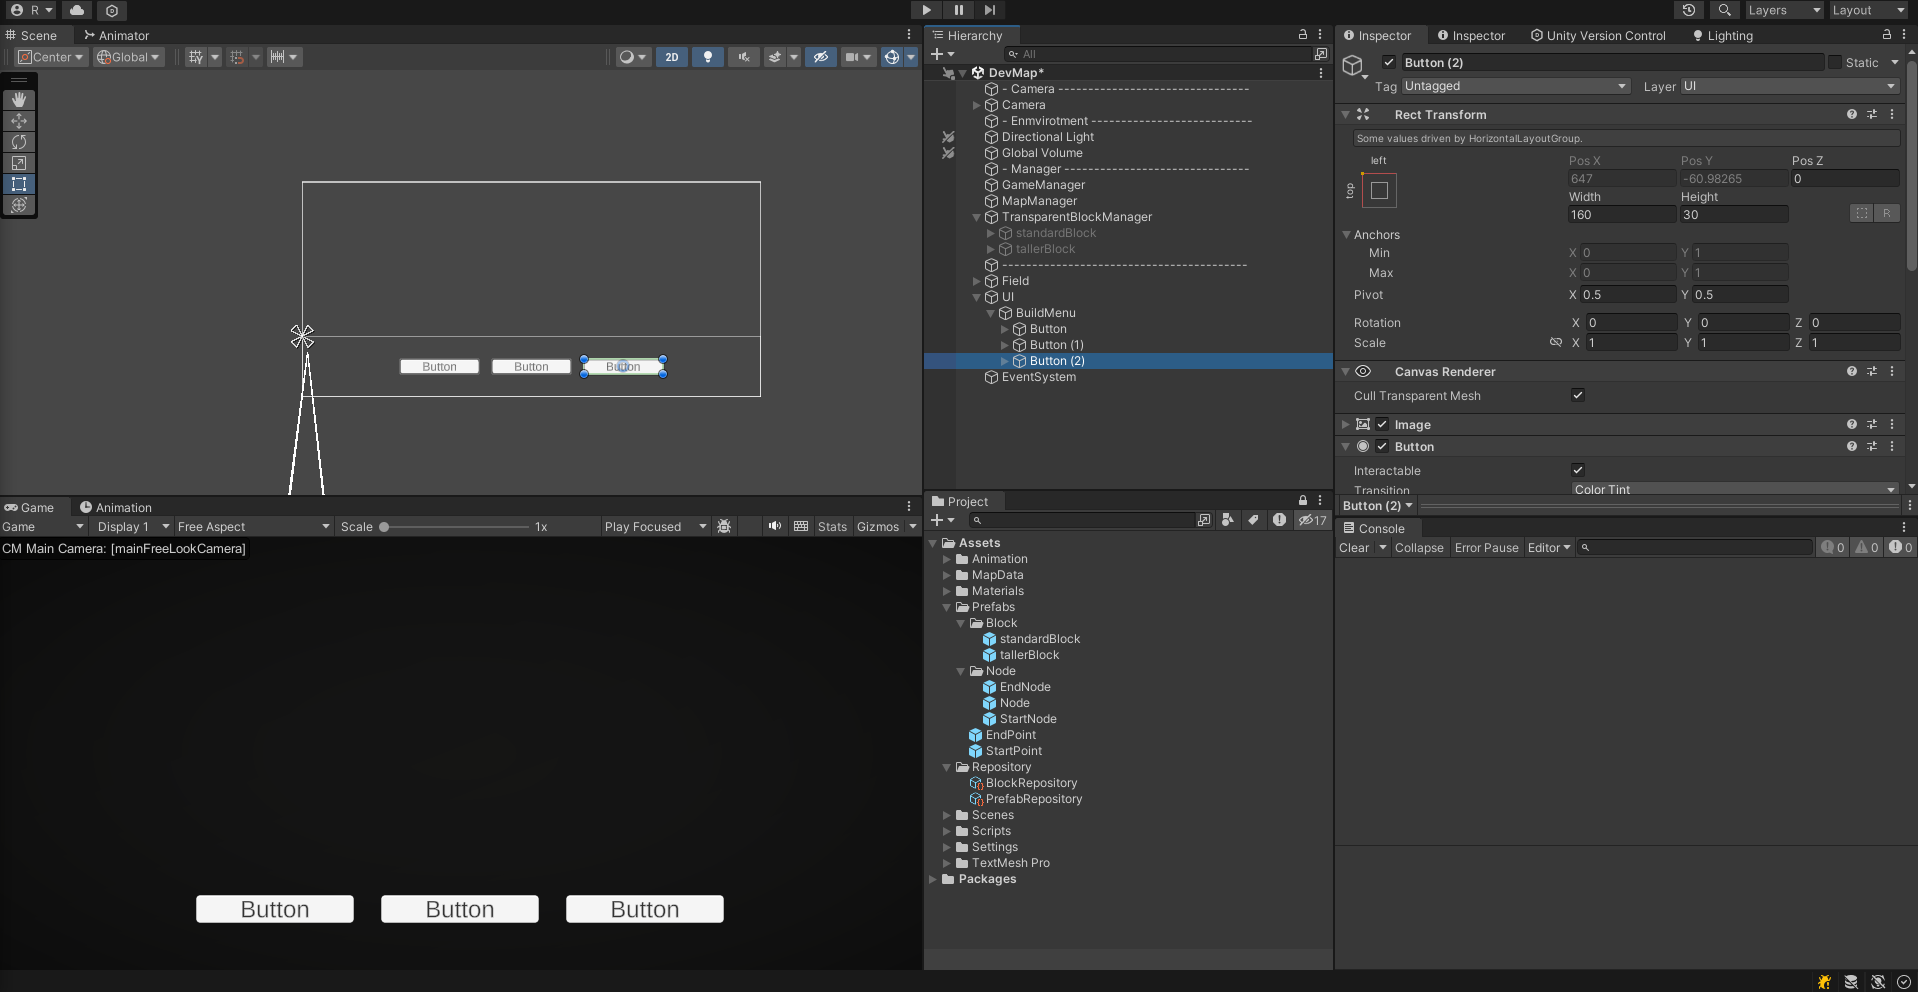
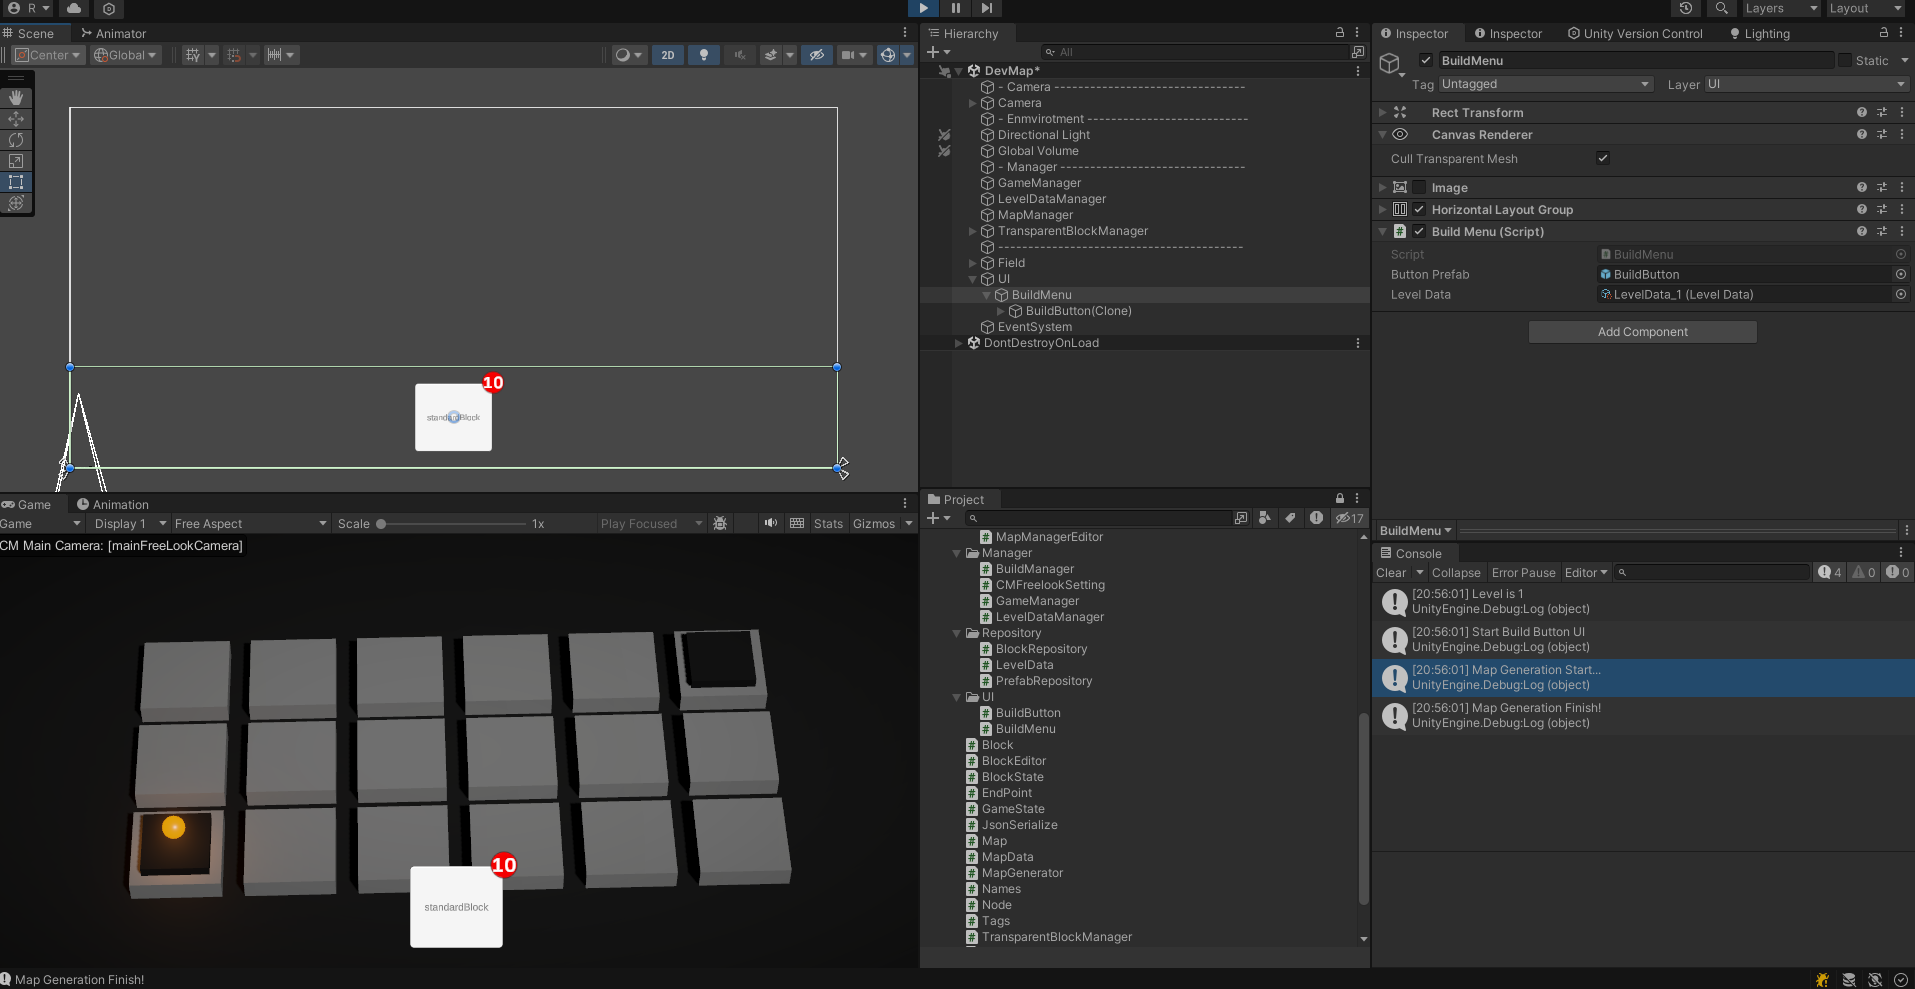
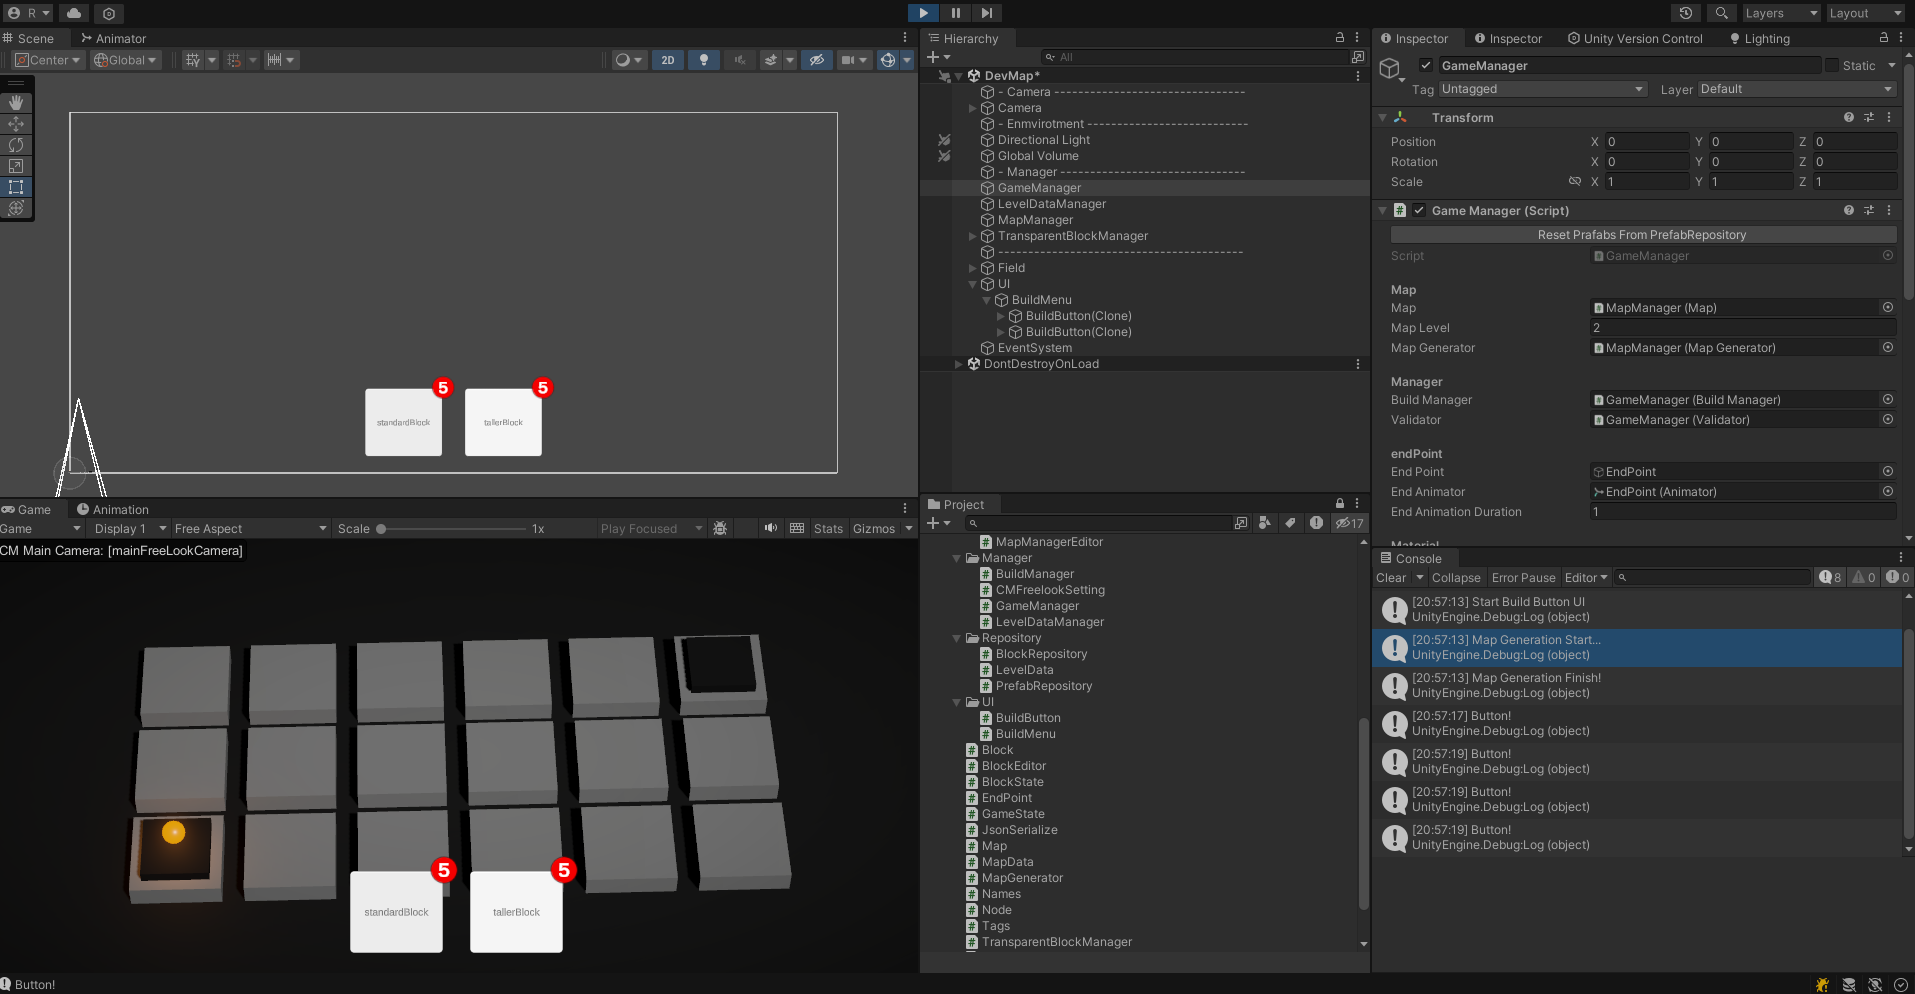
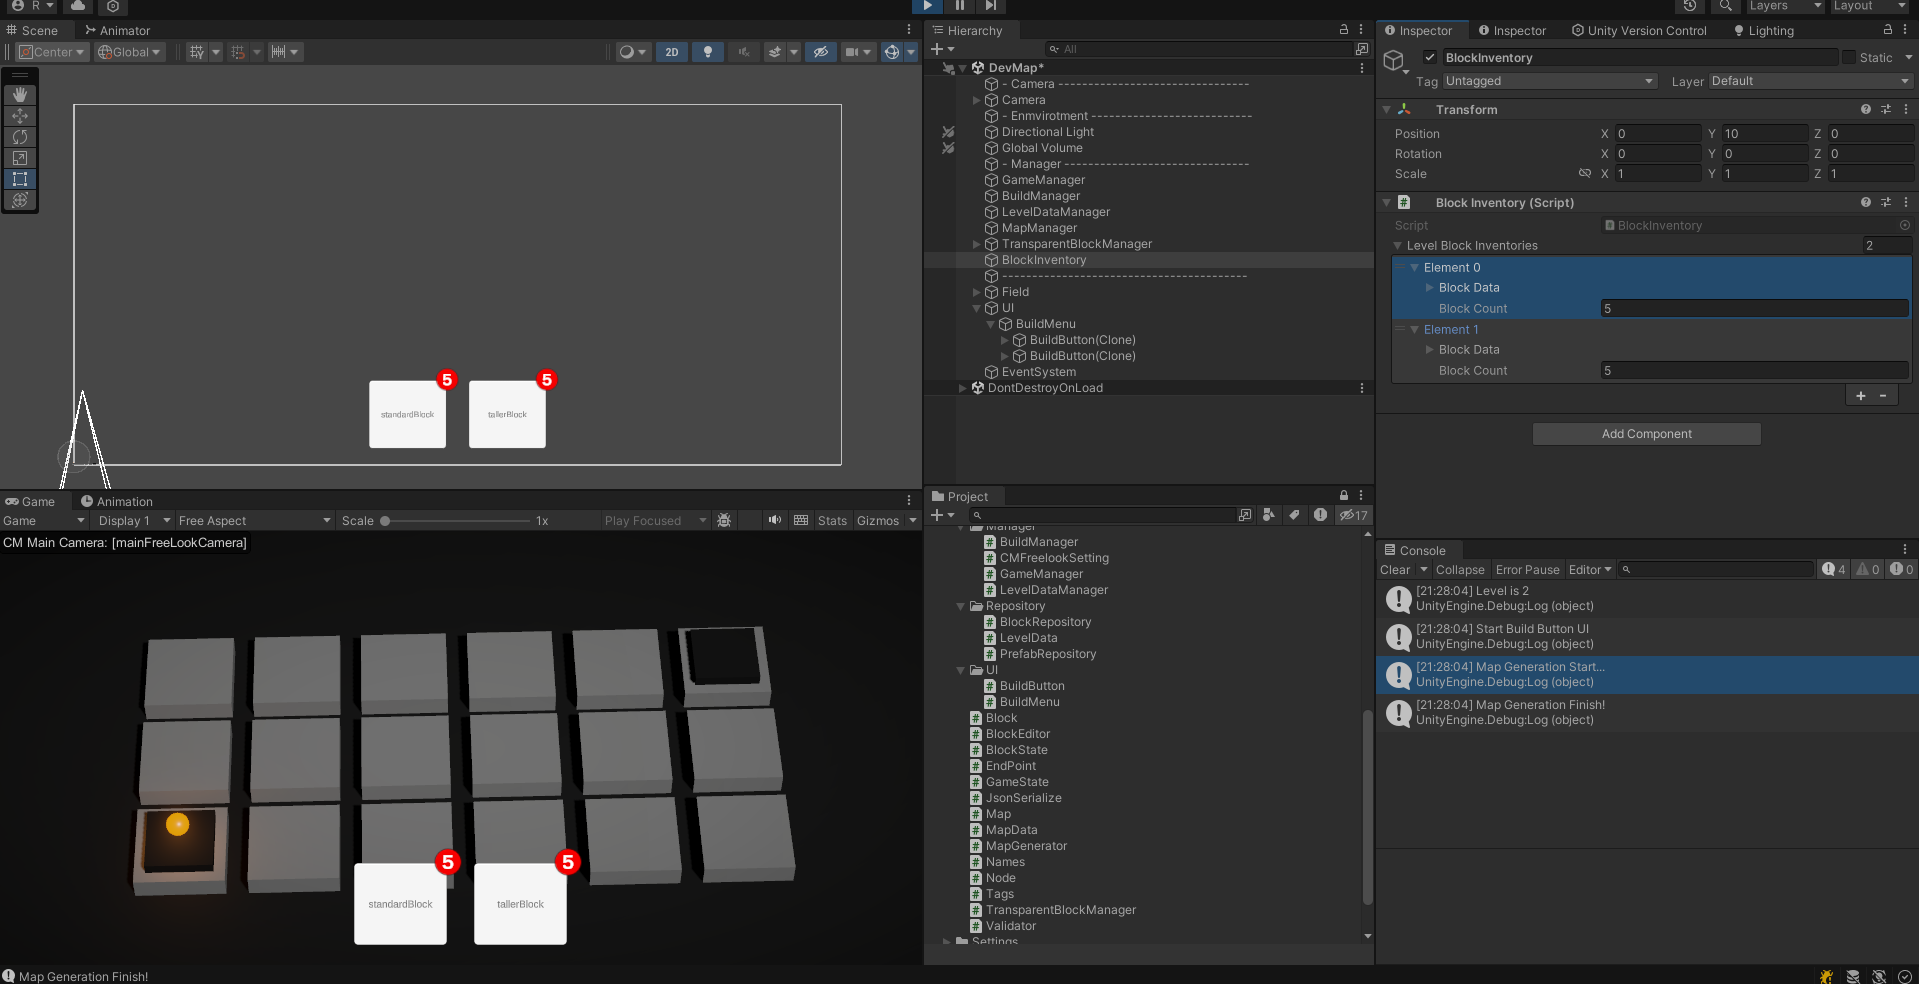
이제 레벨에 따라 LevelData를 불러오고 LevelData에 있는 block Inventory를 기반으로 하단 UI 버튼이 생성된다.
-
Level 1
-
Level 2
이제 버튼 이벤트를 연결해보자. 아래 스크립트 순서대로 블럭 버튼 이벤트가 연결되고 실행된다.
BuildButton.cs
public LevelData.BlockInventory BlockInventory {
    get {
        return _blockInventory;
    }
    set {
        _blockInventory = value;
        blockNameText.text = _blockInventory.blockData.blockName;
        blockCountText.text = _blockInventory.blockCount.ToString();
        GetComponent<UnityEngine.UI.Button>().onClick.AddListener(() => OnClickBlockButton());
    }
}

void Start() {
    buildMenu = GetComponentInParent<BuildMenu>();
}

public void OnClickBlockButton() {
    buildMenu.SelectBlock(BlockInventory.blockData.blockType);
}
BuildMenu.cs
public void SelectBlock(int blockType) {
    Debug.Log($"{blockType} Type Block Selected");
    TransparentBlockManager.Instance.SetSelectedBlockType(blockType);
    BuildManager.Instance.SetBlockToBuild(blockType);
}
여기서 blockType으로 block Prefab을 선택하도록 바꿔주었다.
BlockRepository.cs
public GameObject GetPrefabToType(int type) {
    return blockDictionary[type];
}
BuildManager.cs
public void SetBlockToBuild(int blockType)
{
    blockToBuild = blockRepository.GetPrefabToType(blockType);
}
잘 선택되고 건설도 잘 된다. Block Inventory를 가져와서 해당 Inventory를 기반으로 buildButton이 생성되도록 수정했다.
BlockInventory.cs
using System.Collections;
using System.Collections.Generic;
using UnityEngine;

public class BlockInventory : MonoBehaviour
{
    public static BlockInventory Instance;
    private void Awake() {
        if (Instance == null) {
            Instance = this;
        }
        else {
            Debug.LogWarning("Error - Only 1 instance - BlockInventory.");
            Destroy(gameObject);
        }
    }

    public List<LevelData.BlockInventory> LevelBlockInventories = new List<LevelData.BlockInventory>();

    public void Initialize() {
        LevelData levelData = LevelDataManager.Instance.GetLevelData(GameManager.Instance.mapLevel);
        if (levelData != null) {
            foreach (var blockInventory in levelData.blockInventories) {
                LevelData.BlockInventory newInventory = new LevelData.BlockInventory(blockInventory.blockData) {
                    blockCount = blockInventory.blockCount
                };
                LevelBlockInventories.Add(newInventory);
            }
        }
    }
}
AddBtnsBuildMenu
public void AddBtnsBuildMenu()
{
    buttonPrefab = Resources.Load<GameObject>("BuildButton");
    levelData = LevelDataManager.Instance.GetLevelData(GameManager.Instance.mapLevel);

    Debug.Log("Start Build Button UI");

    foreach(var blockInventory in BlockInventory.Instance.LevelBlockInventories) {
        if (blockInventory.blockCount != 0) {
            GameObject BuildItem = Instantiate(buttonPrefab, transform);
            BuildItem.GetComponent<BuildButton>().BlockInventory = blockInventory;
        }
    }
}
추후 계획
이제 build하면 해당 type의 count가 줄도록 해보자. 그런 다음 count가 0이되면 버튼을 비활성화해서 더이상 건설을 못하도록 하는 기능도 추가한다. 이러면 이제 map Data와 LevelData, Repository만 잘 만들어주면 간단하게 여러 레벨을 구현할 수 있다.