- preview Link : https://velog.io/@suhan0304/Unity-Electricity-16
- gitHub Link : https://github.com/suhan0304/Electricity
Clear 로직
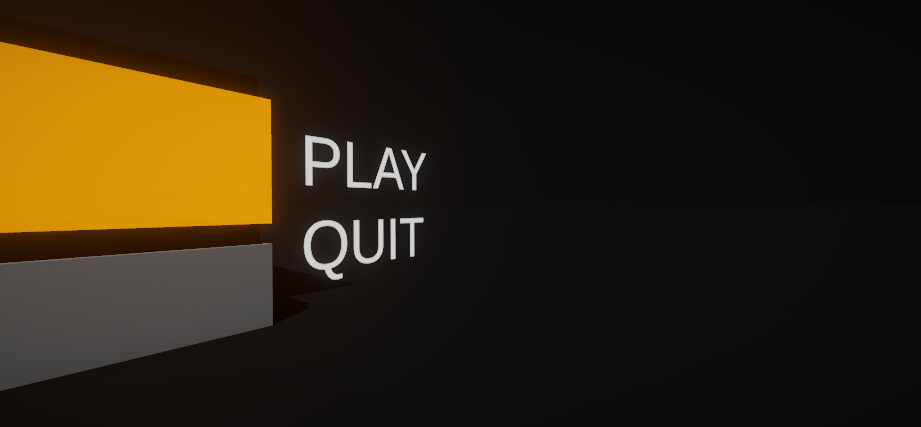
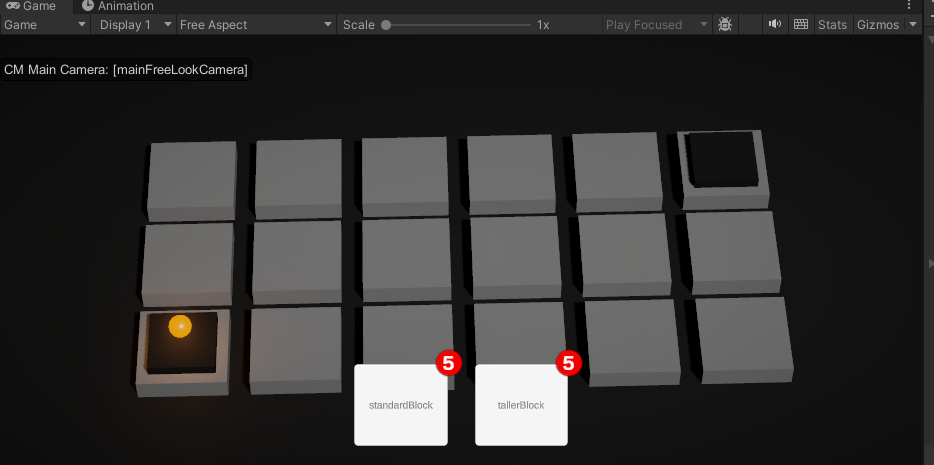
일단 클리어 시에 넥스트 레벨과 메인메뉴에 돌아갈 UI를 한번 만들어보자.
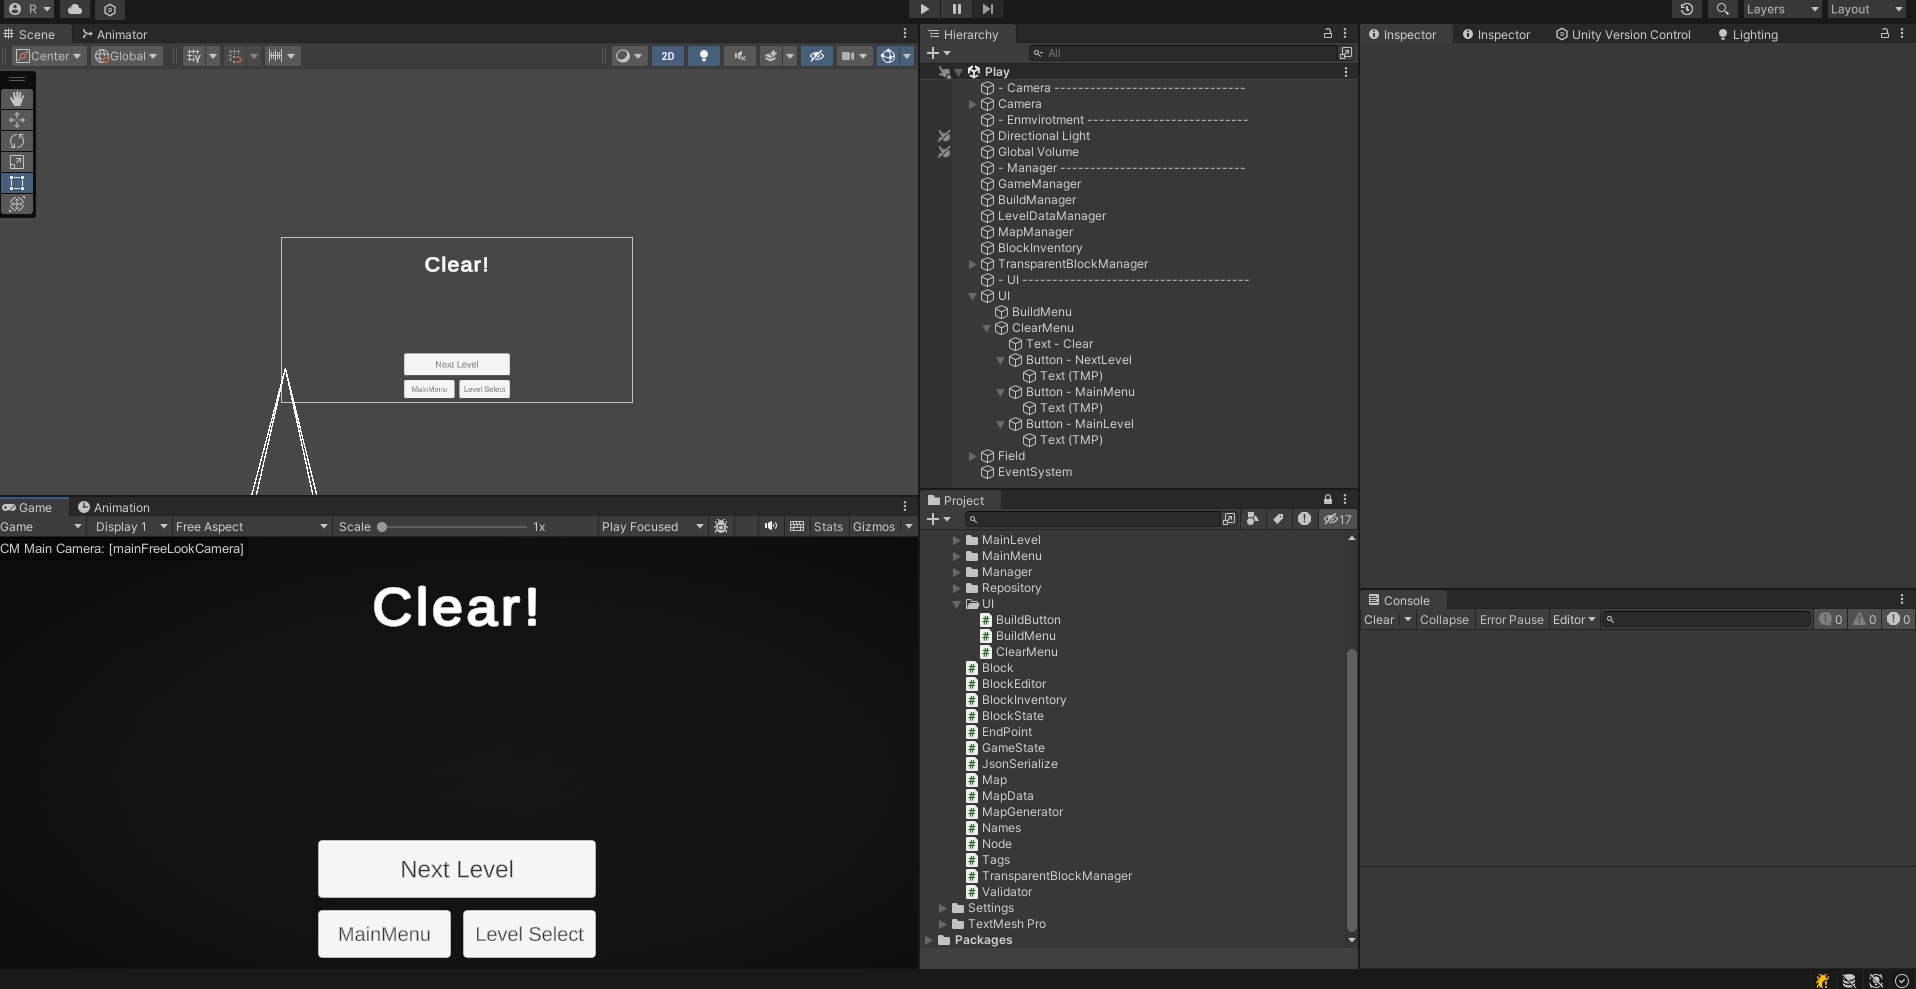
클리어 화면 만들어주고 스크립트를 작성해서 아래와 같이 연결해준다.
ClearMenu.cs
using System.Collections;
using System.Collections.Generic;
using UnityEngine;
using UnityEngine.SceneManagement;
using UnityEngine.UI;

public class ClearMenu : MonoBehaviour
{
    private Animator anim;
    private readonly int hashClear = Animator.StringToHash("CLEAR");
    public Button NextLevelButton;

    public static string MenuToLoad = "MainMenu";
    public static string levelToLoad = "MainLevel";

    public void Start() {
        anim = GetComponent<Animator>();
    }
    public void OnClickMainMenuButton() {
        SceneManager.LoadScene(MenuToLoad);
    }
    public void OnClickMainLevelButton() {
        SceneManager.LoadScene(levelToLoad);
    }

    public void OnClickNextLevelButton() {
        CurrentLevel.curLevel = CurrentLevel.curLevel + 1;
        Debug.Log("Load Next Level Scene");
        SceneManager.LoadScene(SceneManager.GetActiveScene().buildIndex);
    }

    public void Clear()
    {
        gameObject.SetActive(true);
        if(CurrentLevel.maxLevel < CurrentLevel.curLevel + 1){
            NextLevelButton.interactable = false;
        }
        StartCoroutine(ActivateClearMenu());
    }

    IEnumerator ActivateClearMenu()
    {
        yield return new WaitForSeconds(3.0f);
        anim.SetTrigger(hashClear);
    }
}
BuildMenu.cs
public void Clear()
{
    StartCoroutine(DeactivateBuildMenu());
}

IEnumerator DeactivateBuildMenu()
{
    yield return new WaitForSeconds(1.0f);
    gameObject.SetActive(false);
}
이제 게임 매니저의 클리어 로직을 업데이트해보자.
GameManager.cs
/// <summary>
/// endPoint's state is now ON. Ending the stage.
/// </summary>
public void Clear()
{
    Debug.Log("Clear");
    gameState = GameState.CLEAR; // game Clear

    float delayTime = 1.0f;
    float finishDuration = 2.0f;

    StartCoroutine(FinishCameraSetting(delayTime, finishDuration));
    StartCoroutine(FinishStage(delayTime, finishDuration));

    ClearMenu.SetActive(true);
    // TODO - Level Unrock
}
이때 너무 갑자기 나타나지 않도록 애니메이션을 넣어주자. 각 오브젝트에 Canvas Group 컴포넌트를 넣어준다.
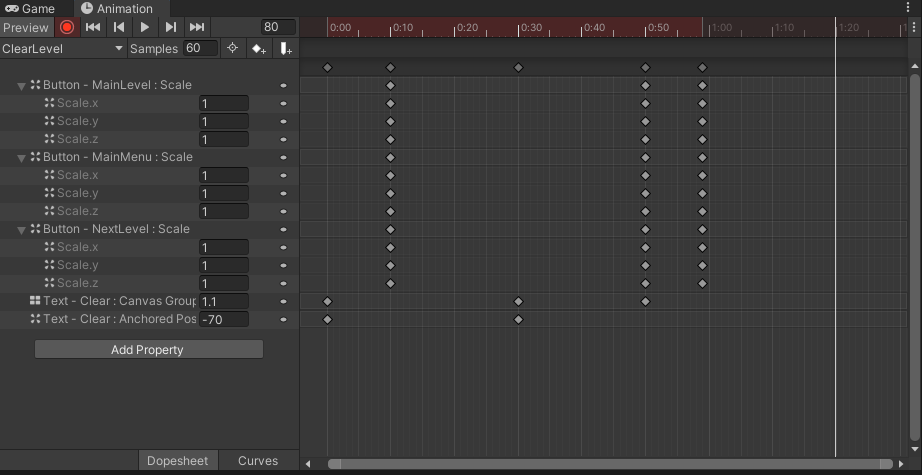
너무 Clear UI가 빨리 나오는거 같아서 시간차를 두기 위해 아래처럼 설정했다.
public void Clear()
{
StartCoroutine(ActivateClearMenu());
}
IEnumerator ActivateClearMenu()
{
yield return new WaitForSeconds(3.0f);
gameObject.SetActive(true);
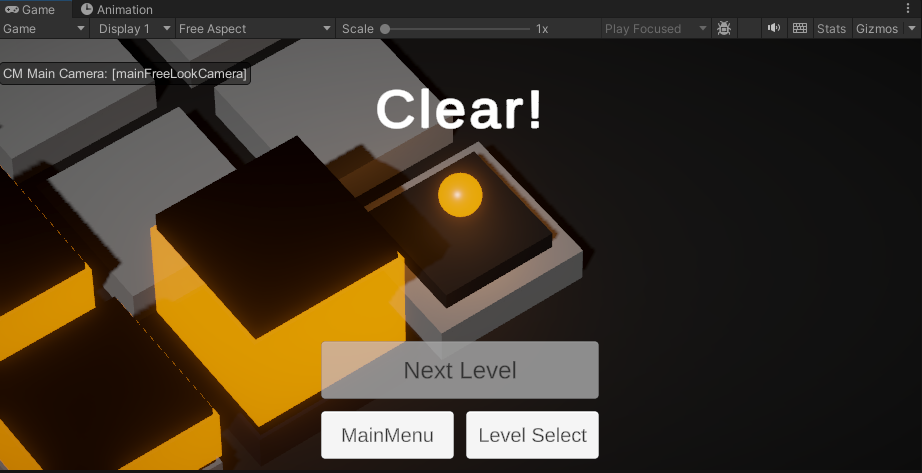
}애니메이션이 잘 작동한다. 굿
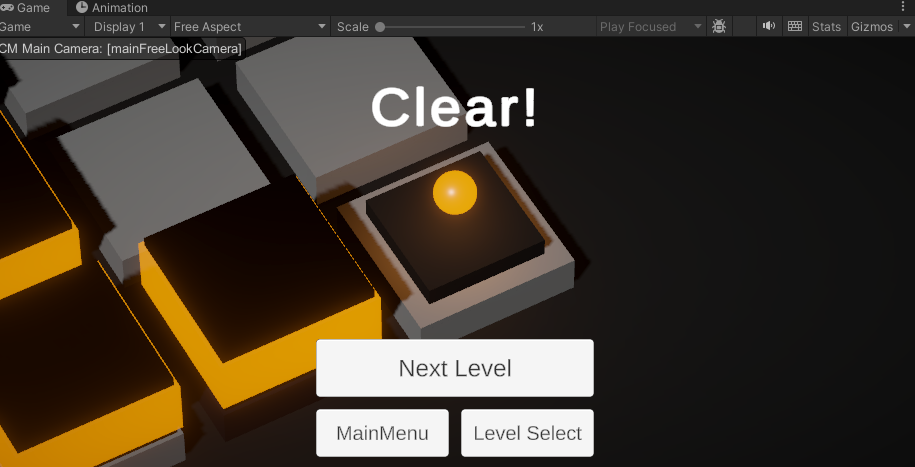
각 버튼도 잘 동작한다. 넥스트 레벨을 누르니 레벨 2가 불러와진 모습니다.
레벨 2 클리어하면 Next Level 버튼이 비활성화 상태이다. ( Level3이 없기 때문이다. )
Fade 효과
현재 SceneManagement 에서 그냥 LoadScene을 하는데 Fade 효과를 주면서 씬을 바꾸도록 해보자.
SceneFader.cs
using System.Collections;
using UnityEngine;
using UnityEngine.SceneManagement;
using UnityEngine.UI;

public class SceneFader : MonoBehaviour
{
    public Image img;
    public AnimationCurve curve;
    private void Start() {
        StartCoroutine(FadeIn());
    }

    public void FadeTo(string scene) {
        StartCoroutine(FadeOut(scene));
    }

    IEnumerator FadeIn() {
        float t = 1f;

        while (t > 0f) {
            t -= Time.deltaTime;
            float a = curve.Evaluate(t);
            img.color = new Color(0f, 0f, 0f, a);
            yield return 0;
        }
    }
    IEnumerator FadeOut(string scene) //FadeIn 반대로 설정
    {
        float t = 0f;

        while (t < 1f)
        {
            t += Time.deltaTime;
            float a = curve.Evaluate(t);
            img.color = new Color(0f, 0f, 0f, a);
            yield return 0;
        }

        SceneManager.LoadScene(scene);
    }
}
AnimationCurve : 입력 값에 따른 변수의 변화를 그래프로 나타내고 설정할 수 있다. 아래 사진과 같이 그래프를 설정한 다음에 curve.Evaluate(입력)을 호출하면 해당 입력에 따른 출력 값이 나오는 것을 확인할 수 있다.

이제 LoadScene을 하는 다른 스크립트에서 SceneFader를 선언해주고 FadeTo로 바꿔주자.
ClearMenu.cs
public void OnClickMainMenuButton() {
    sceneFader.FadeTo(MenuToLoad);
}
public void OnClickMainLevelButton() {
    sceneFader.FadeTo(levelToLoad);
}

public void OnClickNextLevelButton() {
    CurrentLevel.curLevel = CurrentLevel.curLevel + 1;
    Debug.Log("Load Next Level Scene");
    SceneManager.LoadScene(PlayToLoad);
}
다른 스크립트의 LoadScene도 모두 바꿔준다.Fade 효과가 잘 들어간다. 씬 전환 간에 자연스럽게 전환이 가능해졌다.

추후 계획
반투명 블럭이나 노드 hover color같은 로직을 중지시키는거만 업데이트 해주고, 중간에 ESC 키를 눌러서 PAUSE 메뉴를 눌렀을때 RETRY, 메인메뉴로 돌아갈 수 있도록 하고, R을 눌렀을때는 바로 RETRY가 가능하도록 하자.
마지막에 카메라가 End Point로 향하는 움직임도 좀 자연스럽게 바꾸면 좋을 것 같다.