UI: User Interface
메뉴얼 : 링크
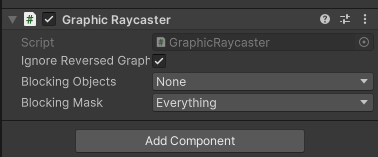
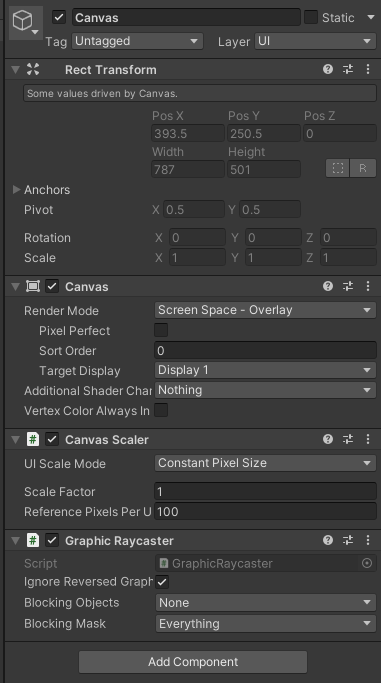
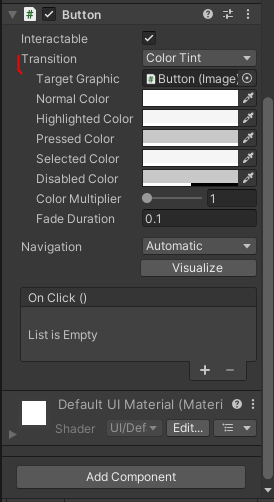
정적 UI일땐 그래픽 레이케스터를 빼는것이 퍼포먼스면에선 좋다.
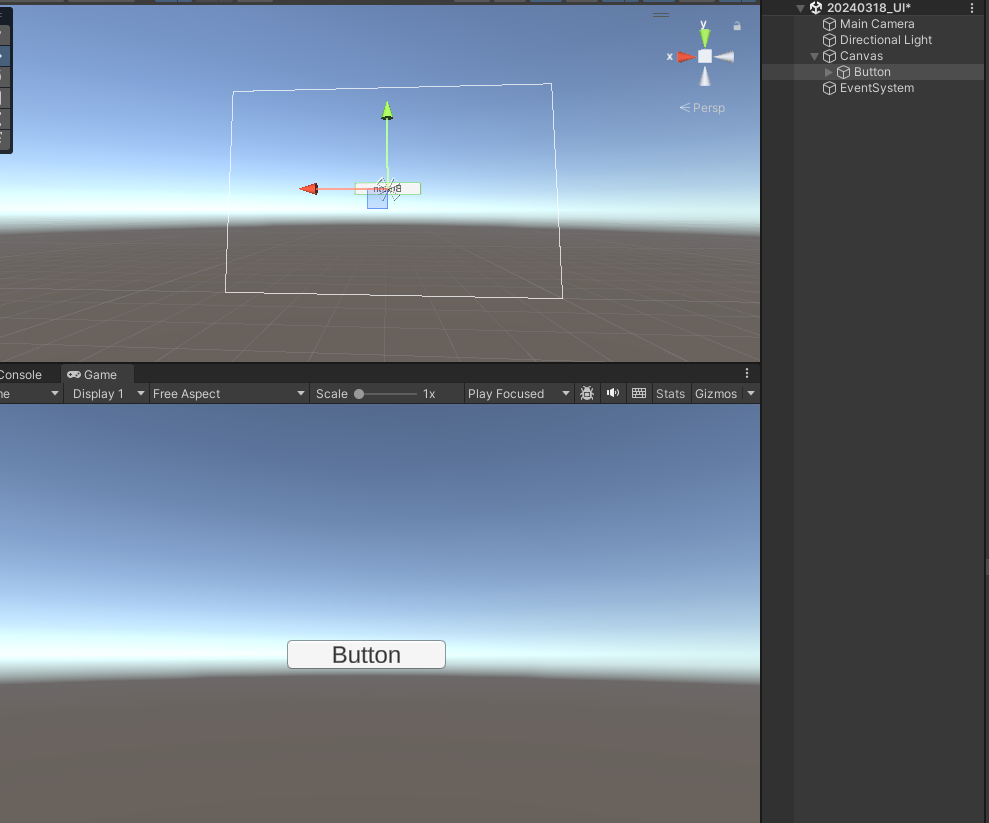
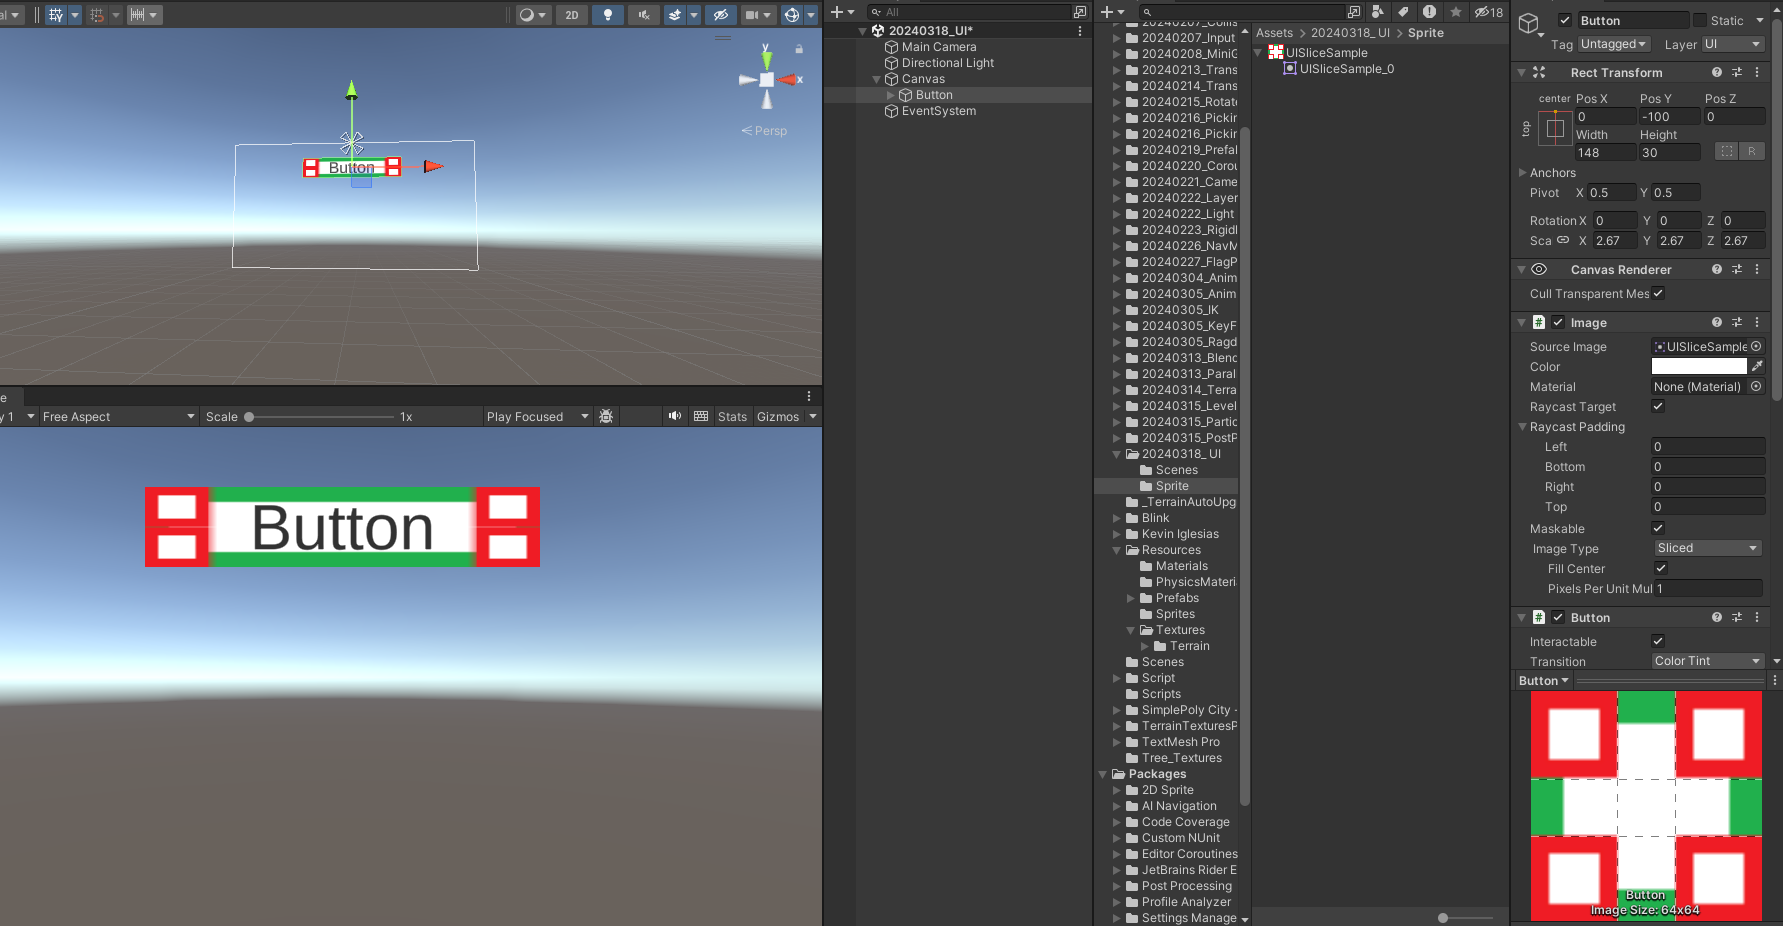
버튼이나 UI는 반드시 Canvas의 하위로 넣어야만 된다.

Pivot : 회전 및 스케일의 기준점
버튼 클릭시 반응
ButtonExample.cs
using System.Collections;
using System.Collections.Generic;
using UnityEngine;

public class ButtonExample : MonoBehaviour
{
    public void AnotherButtonPressed()
    {
        Debug.Log("Another Button Pressed");
    }
}
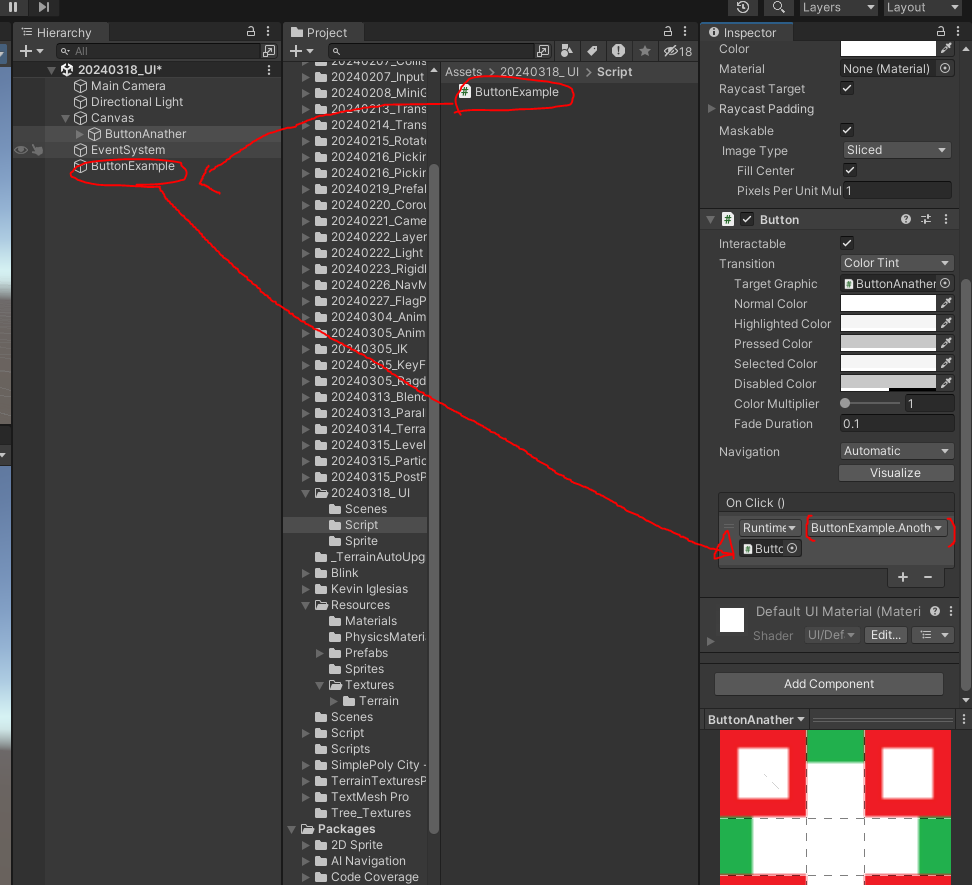
이렇게 넣어준다. 그러면
이렇게 된다. 이것은 인스펙터에서 직접 넣어주는 방식이다.
코드를 추가하고
using System.Collections;
using System.Collections.Generic;
using UnityEngine;
using UnityEngine.UI;

public class ButtonExample : MonoBehaviour
{
    [SerializeField] private Button btnAnother = null;

    private void Awake()
    {
        btnAnother.onClick.AddListener(AnotherButtonListnener);
    }
    public void AnotherButtonPressed()
    {
        Debug.Log("Another Button Pressed");
    }

    private void AnotherButtonListnener()
    {
        Debug.Log("Another Button Listener");
    }
}
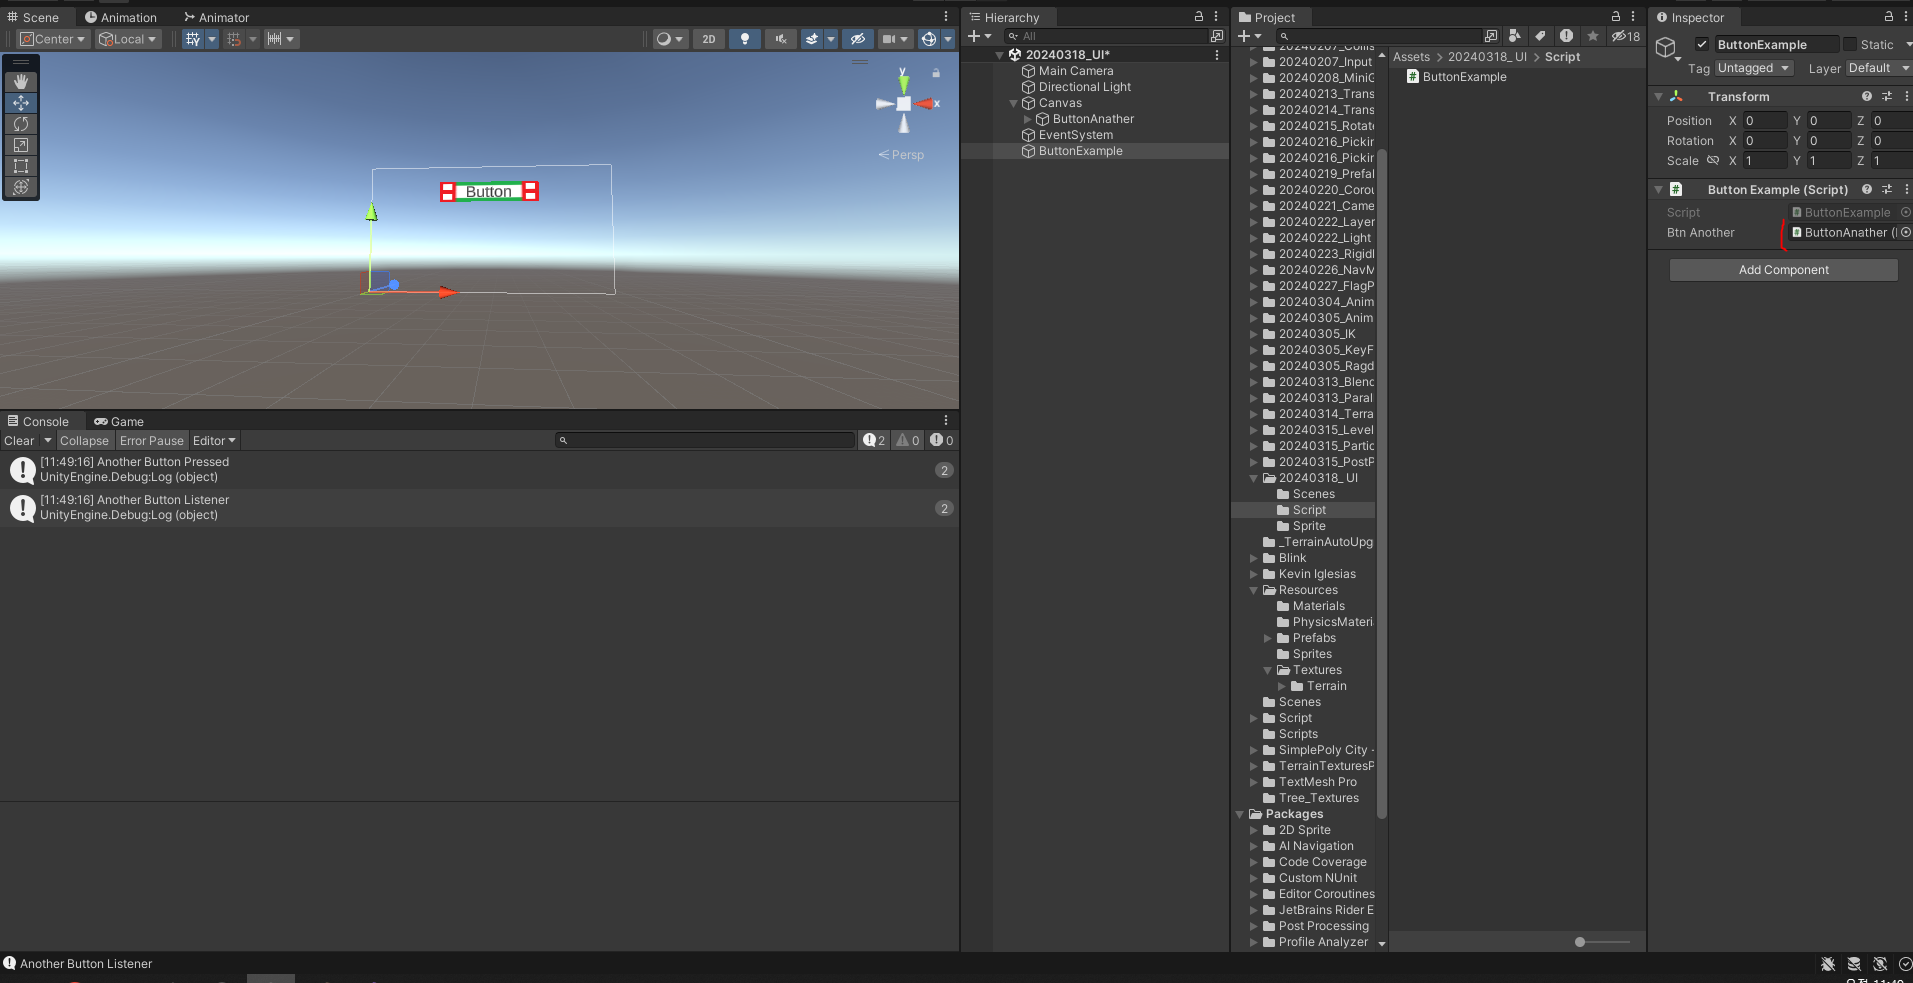
인스펙터에서 버튼을 넣어주면 두개가 출력이 된다. 이게 두번째 방법이다.
그리고 코드를 한번 더 변경해서
using System.Collections;
using System.Collections.Generic;
using UnityEngine;
using UnityEngine.UI;

public class ButtonExample : MonoBehaviour
{
    [SerializeField] private Button btnAnother = null;

    private void Awake()
    {
        btnAnother.onClick.AddListener(AnotherButtonListnener);
        btnAnother.onClick.AddListener(
            () =>
            {
                PrintDebugLog("This is lambda");
            });
    }
    public void AnotherButtonPressed()
    {
        PrintDebugLog("Another Button Pressed");
    }

    private void AnotherButtonListnener()
    {
        PrintDebugLog("Another Button Listener");
    }

    private void PrintDebugLog(string _msg)
    {
        Debug.Log(_msg);
    }
}
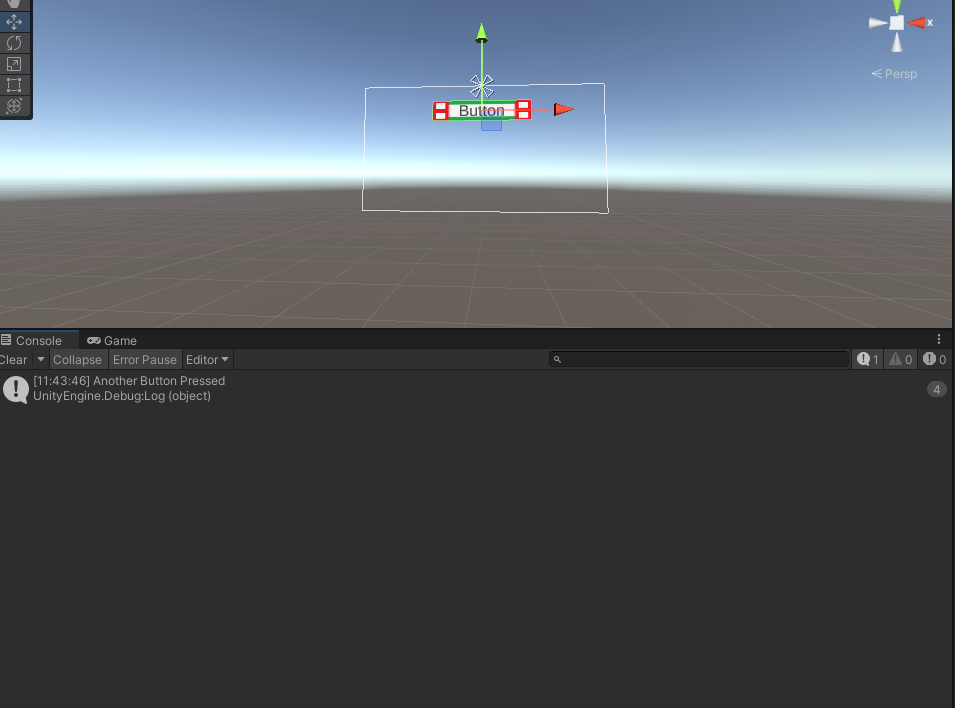
에로우 펑션을 이용하여 코드를 변경하면
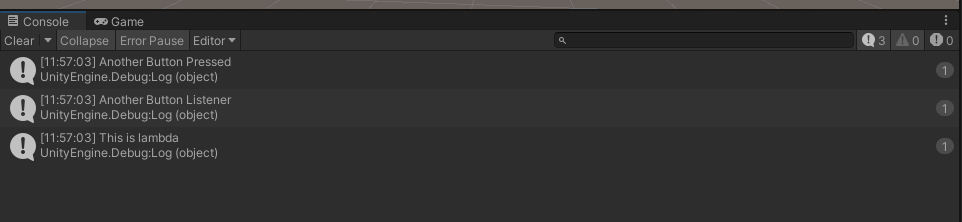
짜잔.

게임 개발자가 된사람