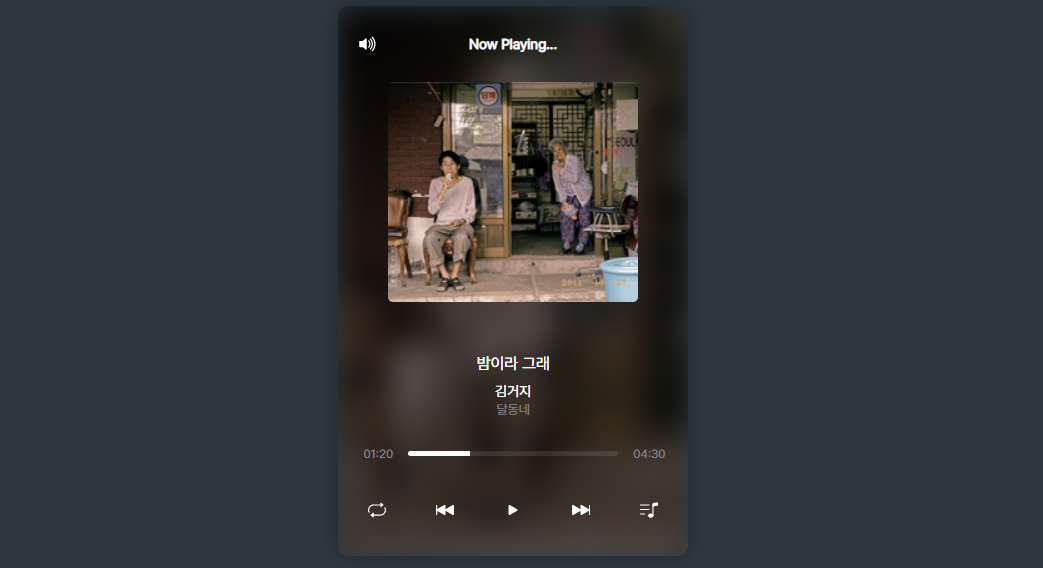
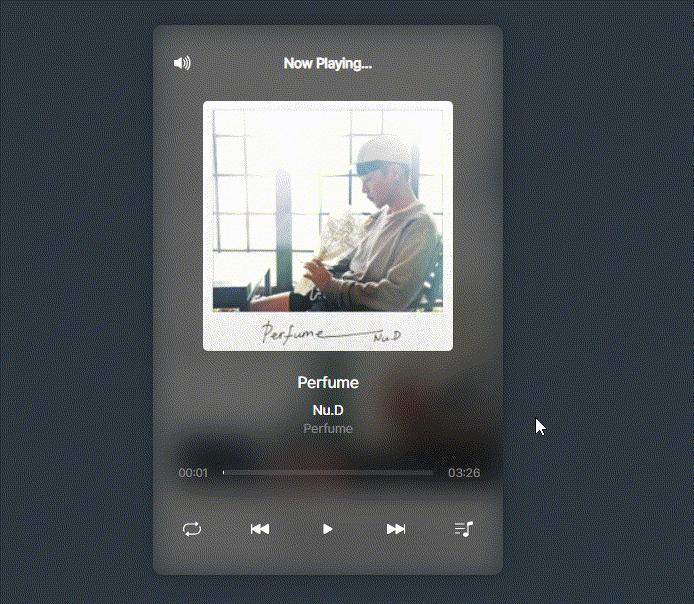
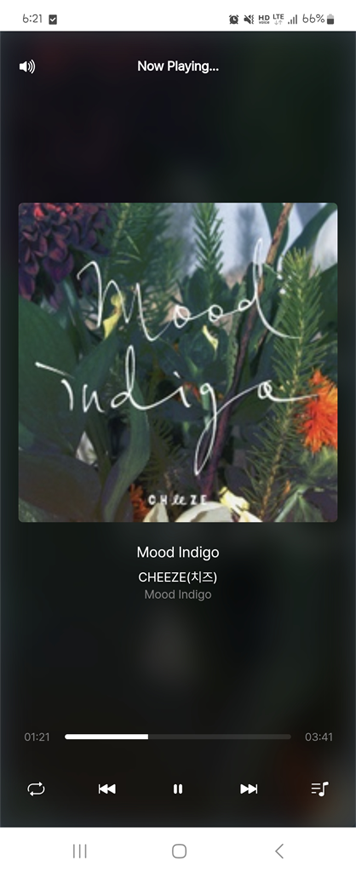
MusicPlayer🎵
사용언어 : React
데모사이트 : DEMO
🧡사용된 기술
✨reducer
재생중인 플레이어의 상태를 저장하는 객체 생성
const initialState = {
  playlist,
  currentMusicId: playlist[randomIdx].id,
  currentIdx: randomIdx,
  playing: false,
  repeat: 'ALL', // ONE SHUFFLE
}reducer로 관련 기능을 관리하고, 파일을 따로 분리하여 관리
function musicPlayerReducer(state = initialState, action){
  switch(action.type) {
    case 'PLAY':
      return {
        ...state,
        playing: true
      }
    case 'PAUSE':
      return {
        ...state,
        playing: false
      }
    case 'NEXT':
      const nextIdx = state.repeat === 'SHUFFLE' ?
      getRandomNum(state.currentIdx)
      : (state.currentIdx + 1) % state.playlist.length
      return {
        ...state,
        currentIdx: nextIdx,
        currentMusicId: playlist[nextIdx].id
      }

      .
      .
      .
✨context
전역에서 사용되는 데이터를 context로 관리
export const RefContext = createContext(null);

function App() {
  const [showPlayList, setShowPlayList] = useState(false)
  const audioRef = useRef();

  return (
    <RefContext.Provider value={{audioRef, showPlayList, setShowPlayList}}>
      <Player />
      <PlayList />
    </RefContext.Provider>
  )
}
✨styled components
import styled, { css } from 'styled-components'

export const Header = styled.div `
  display: flex;
  justify-content: space-between;
  align-items: center;
  padding: 10px;

  ${({type}) => type === 'playlist' && css`
    position: sticky;
    top: 0;
    background-color: #191825;
  `}

	.
    .
    .
✨framer-motion
framer-motion를 활용하여 playlist의 모션제어
  function PlayList() {

    const showVariants = {
      hidden: {y: innerHeight, opacity: 0},
      visible: {y: 0, opacity: 0.95},
    }
    const hiddenVariants = {
      hidden: {y: 0, opacity: 0.95},
      visible: {y: innerHeight, opacity: 0},
    }

   return (
    <S.PlayList
      initial="hidden"
      animate="visible"
      variants={showPlayList ? showVariants : hiddenVariants}
      transition={{ type: "tween", duration: 0.3 }}
    >
		.
      	.
        .
    </S.PlayList>
    )
  }
🧡반응형 레이아웃
- 반응형 레이아웃을 적용하여 모바일 환경에도 최적화
마치며🙌
audio객체를 본격적으로 다뤄본적도 처음이였고.. reducer사용도, react도 많이 익숙치 않은 상황에서 만들다보니 생각보다 복잡하고 어려웠다 @.@... 그래도 덕분에 reducer랑 드디어 제법 친해진 느낌이 든다!!

프론트엔드 개발자 성장일기 💭