이동을 배웠고, 회전을 배웠으니 응용해서 위치이동을 구현해본다
FPS (Frame Per Second)
- 초당 프레임이 몇 장 렌더링 되는지를 나타내는 단위다. 사람의 눈은 24프레임이 기본 성능이다. 밝은것을 볼 수록 더 높은
FPS를 인식할 수 있다. - 만약, 게임에서 이동을 프레임마다 같은 거리를 이동한다면 빠른 컴퓨터는 더 많이 가고, 느린 컴퓨터는 더 적게 갈 것이다. 이러한 문제를 해결하기 위해 deltaTime을 사용한다
deltaTime
- 앞에서 다룬 내용이기에 생략한다
- 간단하게,
deltaTime을 쓰면 프레임 차이로 인한 연산결과 차이를 없앨 수 있다
Input Class
- 유니티에서 사용하는
C#의Console.Read - 키보드 및 마우스, 조이스틱 등으로 입력 가능하다
Device
-
특정 장치(키보드, 마우스, 게임패드)의 입력을 감지
-
여러 플랫폼에 대응이 어려움. (모바일, VR 등)
-
GetKey
GetKey: 누르는 동안trueGetKeyDown: 누를 때 한 번만trueGetKeyUp: 누르고 있다가 떼었을때 한 번true
bool isInput = Input.GetKey(KeyCode.Space);KeyCode는ConsoleKey와 같은열거형이다
-
GetMouseButton
GetMouseButton(0~2)- 누르는 동안
true - 0 = 왼 클릭,1 = 우 클릭, 2 = 휠 클릭
- 누르는 동안
GetMouseButtonUp(숫자): 누를 때 한 번만trueGetMouseButtonDown(숫자): 누르고 있다가 떼었을 때 한 번만true
private void InputByDevice()
{
    // 키보드 입력감지
    if (Input.GetKey(KeyCode.Space))
    {
        Debug.Log("Space key is perssing");
    }
    if (Input.GetKeyDown(KeyCode.Space))
    {
        Debug.Log("Space key is down");
    }
    if (Input.GetKeyUp(KeyCode.Space))
    {
        Debug.Log("Space key is up");
    }

    // 마우스 입력감지
    if (Input.GetMouseButton(0))
    {
        Debug.Log("Mouse left button is pressing");
    }
    if (Input.GetMouseButtonDown(0))
    {
        Debug.Log("Mouse left button is down");
    }
    if (Input.GetMouseButtonUp(0))
    {
        Debug.Log("Mouse left button is up");
    }
}
Input Manager
- 포괄적인 입력 처리 방식이다. 조이스틱, 키보드, 마우스 입력을 한 번에 처리한다
- 여러 장치의 입력을 입력매니저에 이름과 입력을 정의
- 입력매니저의 이름으로 정의한 입력의 변경사항을 확인
- 유니티 에디터의 Edit -> Project Settings -> Input Manager 에서 관리
- 단, 유니티 초창기의 방식이기 때문에 키보드, 마우스, 조이스틱에 대한 장치만을 고려함
- 인풋 매니저 접근방법

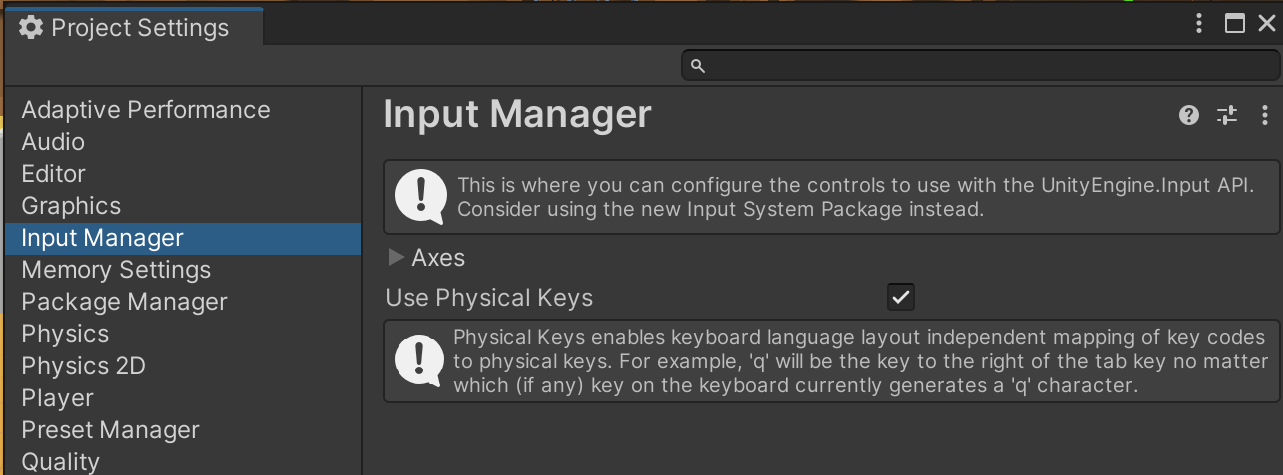
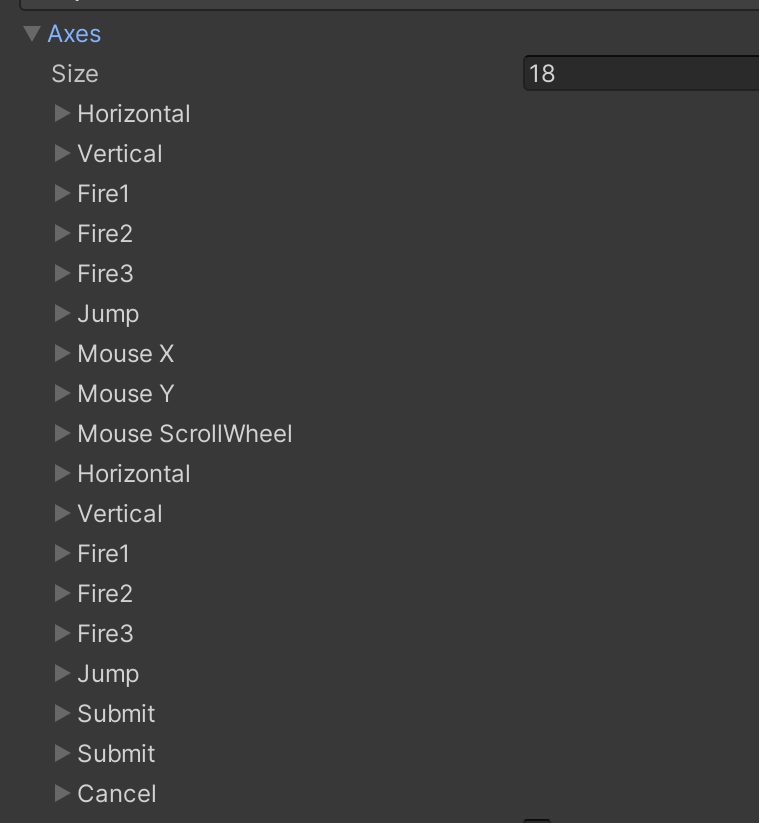
-
이와같이 미리 할당되어잇는것을 확인할 수 있다
-
버튼 입력
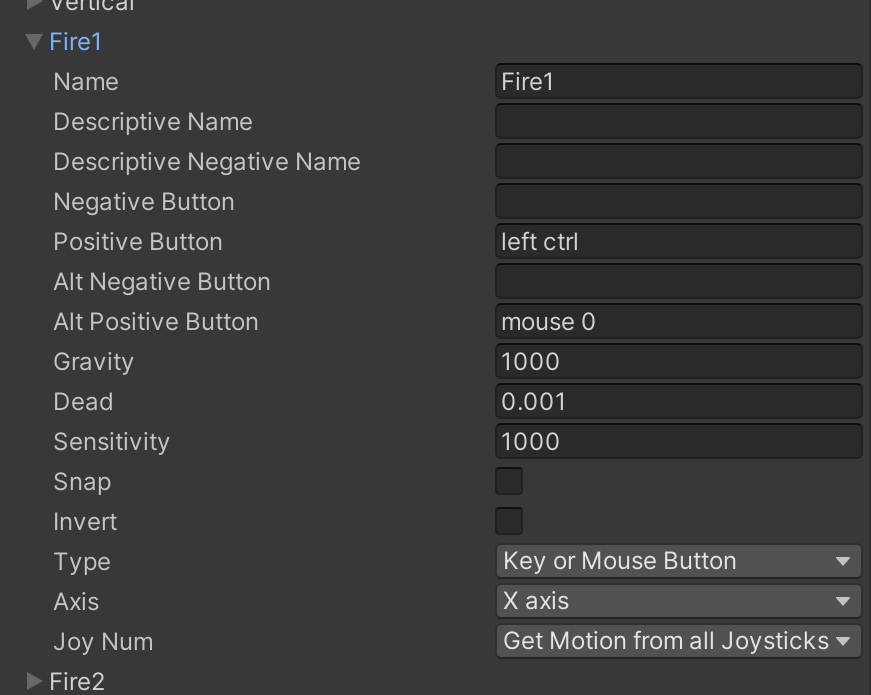
Fire1: 키보드(Left ctrl), 마우스(Left button), 조이스틱(Button0)으로 정의함
-
GetButtonif (Input.GetButton("Fire1")) { Debug.Log("Fire1 is pressing"); } if (Input.GetButtonDown("Fire1")) { Debug.Log("Fire1 is down"); } if (Input.GetButtonUp("Fire1")) { Debug.Log("Fire1 is up"); } -
축 입력
-
GetAxis- X축 (
Horizontal), Z축 (Vertical) 값을 받는다 - 입력이 없을경우 0
- 방향과 입력에 따라
-1.0 ~ 1.0사이의float타입을 반환 - 게임패드(조이스틱)와도 연동되는 코드
- X축 (
-
GetAxisRaw- 좌표상의 X, Z축에 해당하는 입력 데이터를
-1,0,1로 반환 - 키보드 입력에 적합함
Horizontal(수평)- 키보드(a,d / ←,→), 조이스틱(왼쪽 아날로그스틱 좌우)
float x = Input.GetAxis("Horizontal"); if (x != 0) { Debug.Log($"Horizontal Axis {x}"); }Vertical(수직)- 키보드(w,s / ↑,↓), 조이스틱(왼쪽 아날로그스틱 상하)
float y = Input.GetAxis("Vertical"); if (y != 0) { Debug.Log($"Vertical Axis {y}"); } - 좌표상의 X, Z축에 해당하는 입력 데이터를
InputSystem
- 추후에 VR 과정 들어갈 때 배울예정
InputSystem패키지를 이용한 입력방식- 컴포넌트를 통해 입력의 변경사항을 확인
- 최신에 지원한 방식으로 다양한 기기를 지원
private void OnFire(InputValue value)
{
    // Fire 버튼 입력에 반응하는 OnFire 메시지 함수
    bool input = value.isPressed;
    Debug.Log($"OnFire input {input}");
}

private void OnMove(InputValue value)
{
    // Move 축 입력에 반응하는 OnMove 메시지 함수
    Vector2 input = value.Get<Vector2>();
    Debug.Log($"OnMove input {input}");
}
실습
-
기본 실습
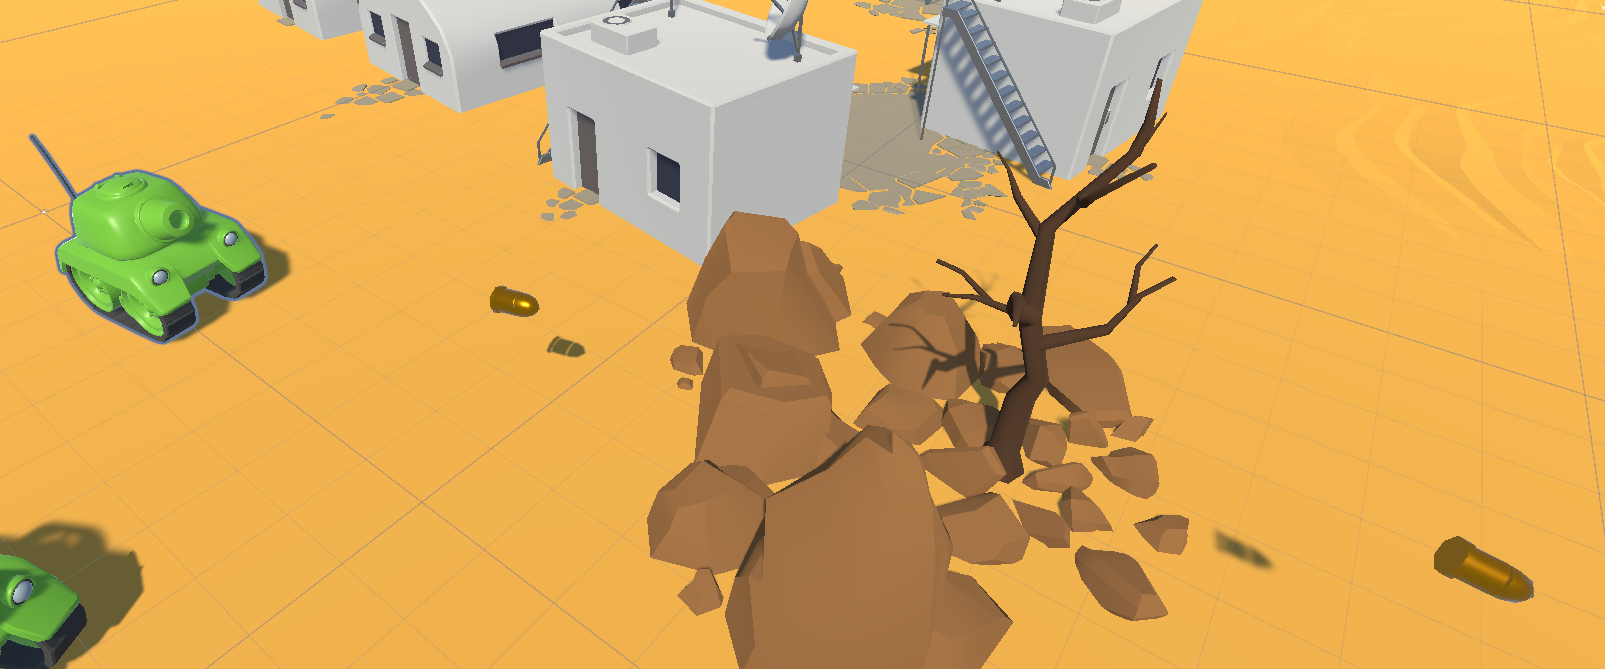
- 탱크를 움직이는데, 위아래 키는 전진, 후진. 좌우 키는 각각 좌,우로 회전하는 기능을 구현한다. 이는
Input Manager를 사용했다. 상하 키에 함수 하나, 좌우 키에 함수 하나를 구현해서, 업데이트마다 두 함수를 수행한다. - 이동 속도와 회전 속도를 조절할 수 있다. 프레임에 따라 결과값이 달라지지 않게 처리한다. 결과값이 달라지지 않는것은
deltaTime으로 구현했다
public class TankMover : MonoBehaviour { [SerializeField] float moveSpeed; [SerializeField] float rotateSpeed; // Update is called once per frame void Update() { Move(); Rotate(); } private void Move() { float input = Input.GetAxis("Vertical"); transform.Translate(Vector3.forward * moveSpeed * input * Time.deltaTime); } void Rotate() { float input = Input.GetAxis("Horizontal"); // 자동차 처럼 회전하기 //if (Input.GetKey(KeyCode.DownArrow) || Input.GetKey(KeyCode.S)) //{ // input = -input; //} transform.Rotate(Vector3.up * rotateSpeed * input * Time.deltaTime); } } - 탱크를 움직이는데, 위아래 키는 전진, 후진. 좌우 키는 각각 좌,우로 회전하는 기능을 구현한다. 이는
-
심화 실습
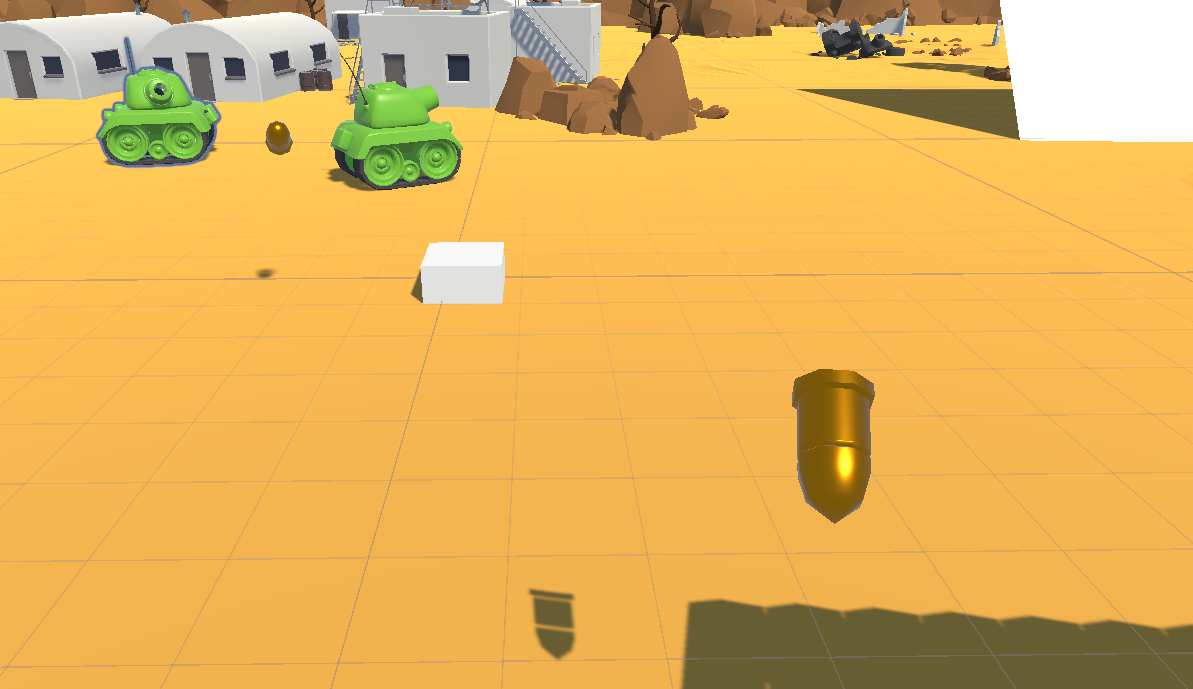
상하좌우키를 누를 때, 해당 방향으로 진행을 할 수 있도록 한다. 차체 또한 진행방향으로 회전시킨다. 동일하게 이동 속도, 회전 속도를 조절할 수 있게 한다A,D키를 누르면 포탑이 각각 좌, 우로 회전한다. 회전 속도를 조절가능할 수있게 한다- 프레임에 따라 값이 달라지지 않게 한다. 이는 동일하게
deltaTime으로 구현했다
public class AdvancedTankMover : MonoBehaviour { [SerializeField] float tankMoveSpeed; [Range((float)0.01, (float)1)] [SerializeField] float tankRotInterpolation; private Vector3 tankInput; private float magnitude; [SerializeField] Transform turret; [SerializeField] float turretRotSpeed; void Update() { TankMove1(); TurretRotation(); } // GetKey로 탱크 움직임 구현 void TankMove1() { tankInput = Vector3.zero; if(Input.GetKey(KeyCode.UpArrow)) { tankInput += Vector3.forward; } if (Input.GetKey(KeyCode.DownArrow)) { tankInput += Vector3.back; } if (Input.GetKey(KeyCode.LeftArrow)) { tankInput += Vector3.left; } if (Input.GetKey(KeyCode.RightArrow)) { tankInput += Vector3.right; } if(tankInput == Vector3.zero) { return; } if(tankInput.magnitude > 1f) { magnitude = 1f; } else { magnitude = tankInput.magnitude; } tankInput = tankInput.normalized; transform.Translate(tankInput * magnitude * tankMoveSpeed * Time.deltaTime, Space.World); transform.rotation = Quaternion.Lerp(transform.rotation, Quaternion.LookRotation(tankInput), tankRotInterpolation); } void TurretRotation() { if (Input.GetKey(KeyCode.A)) { turret.Rotate(Vector3.down * turretRotSpeed * Time.deltaTime); } if (Input.GetKey(KeyCode.D)) { turret.Rotate(Vector3.up * turretRotSpeed * Time.deltaTime); } } }- 차량의 이동과 회전을 함수 하나로 구현, 포탑의 회전을 함수 하나로 구현했다. 업데이트 에서는 이 두 함수를 수행한다
- 차체의 이동과 회전을
Input Manager를 사용하면 포탑 회전 키와 겹치기 때문에 분리를 위해Input class를 사용했다.

개발 박살내자