폰트설정
1. res폴더에서 font폴더를 생성한다.

2. 폰트를 다운받는다(ttf파일)
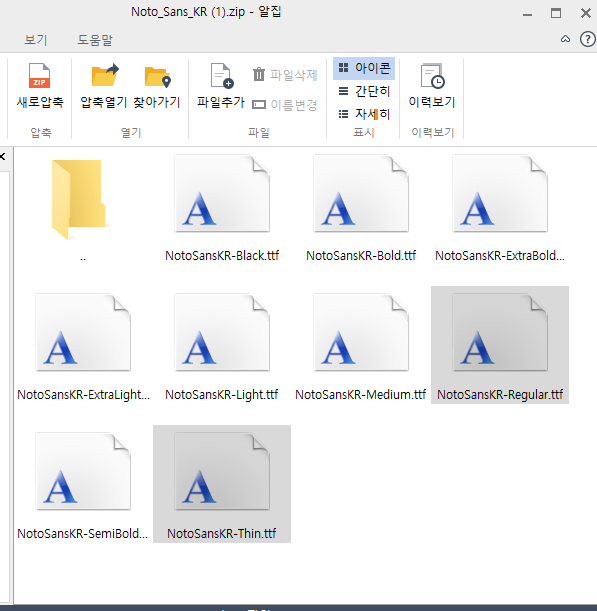
3. 사용할 폰트를 전부 소문자로 바꿔준다.

4. 드래그앤드랍으로 넣거나 복사붙여넣기로 폰트 폴더에 넣는다.

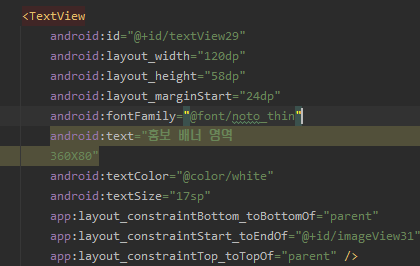
5. fontFamily로 적용시킬 수 있다.
글꼴 일괄 적용하기
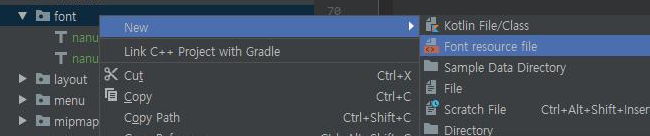
6. font폴더에 Font resource file을 생성한다.
7. Font resource 코드적용
<?xml version="1.0" encoding="utf-8"?>
<font-family
    xmlns:android="http://schemas.android.com/apk/res/android"
    xmlns:app="http://schemas.android.com/apk/res-auto">

    <!--regular-->
    <font
        android:font="@font/noto_regul"
        android:fontStyle="normal"
        android:fontWeight="400"
        app:font="@font/noto_regul"
        app:fontStyle="normal"
        app:fontWeight="500" />

    <!--bold-->
<!--    <font-->
<!--        android:font="@font/noto_bold"-->
<!--        android:fontStyle="normal"-->
<!--        android:fontWeight="700"-->
<!--        app:font="@font/noto_bold"-->
<!--        app:fontStyle="normal"-->
<!--        app:fontWeight="1000" />-->


</font-family>
font : 사용할 글꼴의 리소스 위치
fontStyle : 해당 글꼴의 스타일
fontWeight : 글꼴의 굵기
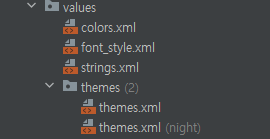
8. style.xml에 custom font-family 적용
- res-values 디렉토리에 font_style.xml 파일을 생성 후 작성
<?xml version="1.0" encoding="utf-8"?>
<resources>

    <!-- Custom font 적용 -->
    <style name="customTextViewFontStyle" parent="@android:style/Widget.DeviceDefault.TextView">
        <item name="android:fontFamily">@font/noto_regul</item>
    </style>

    <style name="customButtonFontStyle" parent="@android:style/Widget.DeviceDefault.Button.Borderless">
        <item name="android:fontFamily">@font/noto_regul</item>
    </style>

    <style name="customEditTextFontStyle" parent="@android:style/Widget.DeviceDefault.EditText">
        <item name="android:fontFamily">@font/noto_regul</item>
    </style>

    <style name="customRadioButtonFontStyle" parent="@android:style/Widget.DeviceDefault.CompoundButton.RadioButton">
        <item name="android:fontFamily">@font/noto_regul</item>
    </style>

    <style name="customCheckboxFontStyle" parent="@android:style/Widget.DeviceDefault.CompoundButton.CheckBox">
        <item name="android:fontFamily">@font/noto_regul</item>
    </style>

</resources>
9. 테마에 적용
<resources xmlns:tools="http://schemas.android.com/tools">
    <!-- Base application theme. -->
    <style name="Base.Theme.BannerPrac" parent="Theme.Material3.DayNight.NoActionBar">
                <!--custom font-family 적용-->
        <item name="android:textViewStyle">@style/customTextViewFontStyle</item>
        <item name="android:buttonStyle">@style/customButtonFontStyle</item>
        <item name="android:editTextStyle">@style/customEditTextFontStyle</item>
        <item name="android:radioButtonStyle">@style/customRadioButtonFontStyle</item>
        <item name="android:checkboxStyle">@style/customCheckboxFontStyle</item>
        <!-- Customize your light theme here. -->
        <!-- <item name="colorPrimary">@color/my_light_primary</item> -->
    </style>

    <style name="Theme.BannerPrac" parent="Base.Theme.BannerPrac" />
</resources>
폰트 적용을 먼저 해야했나보다
전부 뒤틀리고 말았따..
이미지에 radius주기
1.res-drawable 폴더에 xml 생성
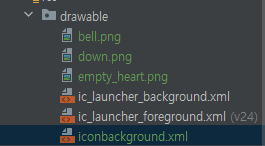
2.xml파일에서 background 추가
<ImageView
        android:id="@+id/itemImage"
        android:layout_width="100dp"
        android:layout_height="100dp"
        android:background="@drawable/iconbackground"
        app:layout_constraintBottom_toBottomOf="parent"
        app:layout_constraintStart_toStartOf="parent"
        app:layout_constraintTop_toTopOf="parent"
        app:srcCompat="@drawable/sample1" />
3.kt파일에서 clipToOutline = true 를 지정해준다.
override fun onBindViewHolder(holder: Holder, position: Int) {
        holder.iconImageView.setImageResource(mItems[position].aIcon)
        holder.iconImageView.clipToOutline = true
        holder.title.text = mItems[position].aTitle
        holder.adress.text = mItems[position].aAdress
        holder.price.text = mItems[position].aPrice
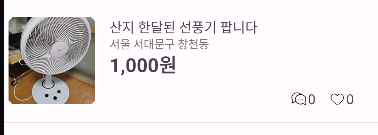
말줄임 .. 넣기
xml파일에 maxLines, ellipsize 를 추가하면 된다.
android:maxLines="1" // 한 줄로 고정

android:ellipsize="end" // 줄이 넘어가면 마지막에 ... 표시
ellipsize 속성 정리
-
end : 글자 마지막 부분에 ... 넣기
-
start : 글자 첫 부분에 ... 넣기
-
middle : 글자 중간에 ... 넣기
-
none : 원래대로 글자 잘림
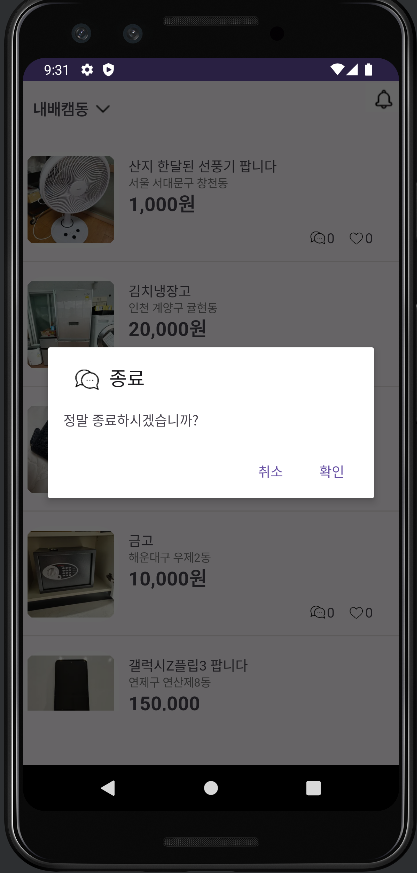
뒤로가기 버튼시 dialog띄우기
뒤로가기버튼은 onBackPressed. main에 override fun을 추가후 다이얼로그를 추가 해준다.
override fun onBackPressed() {

        var builder = AlertDialog.Builder(this)
        builder.setTitle("종료")
        builder.setIcon(R.drawable.reply)

        val v1 = layoutInflater.inflate(R.layout.dialog, null)
        builder. setView(v1)

        val listener = DialogInterface.OnClickListener { p0,p1 ->
            val alert = p0 as AlertDialog

        }
        builder.setPositiveButton("확인",listener)
        builder.setNegativeButton("취소",null)

        builder.show()
    }

안드로이드 주니어 개발자