Intro
Paging view란 swipe등으로 view를 전환하면서 화면을 바꾸어가며 보여주는 것을 의미한다. 이를테면 아래와 같은 화면이다.
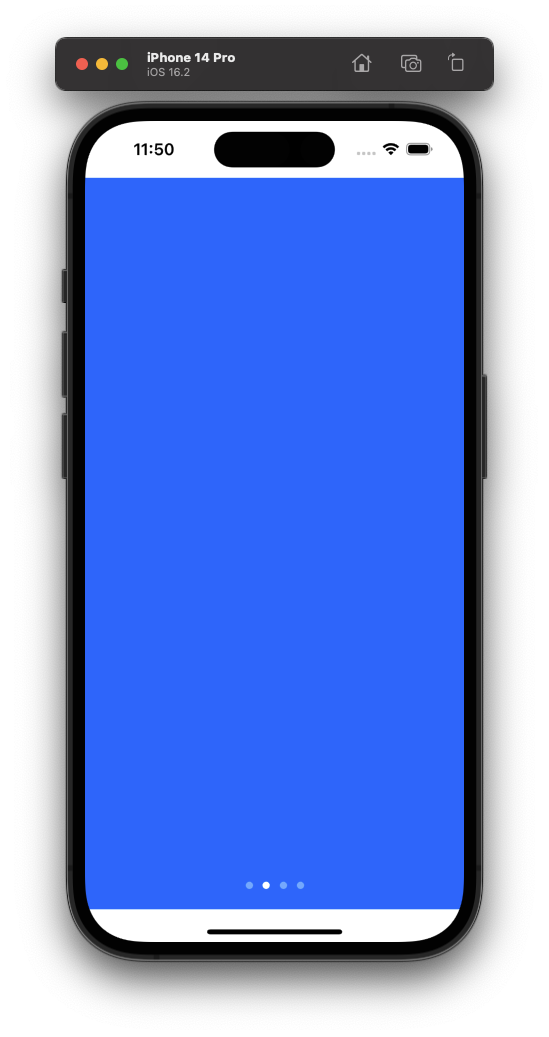

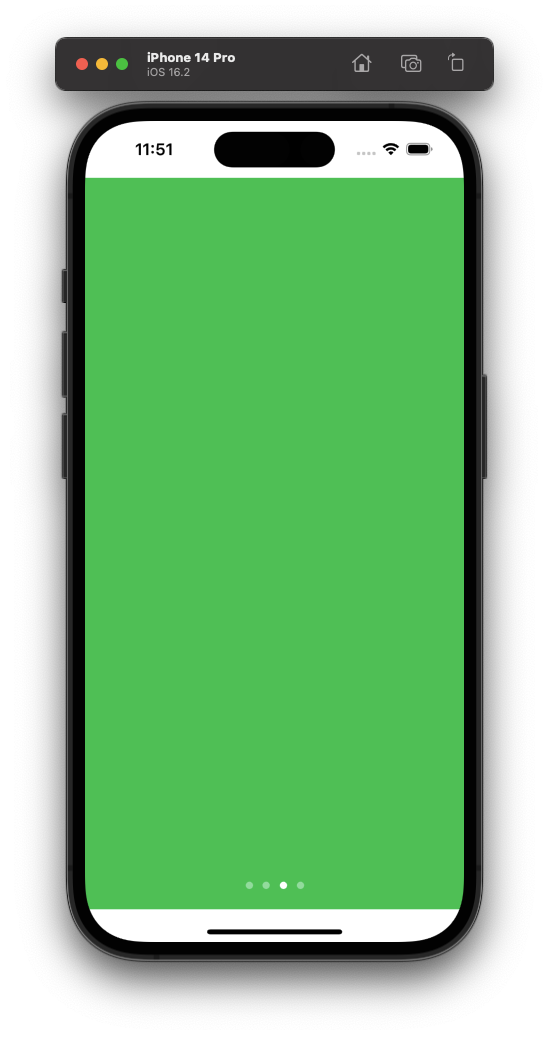
Carousel이라고도 하고 다양한 이름으로 불린다.
TabView Structure
TabView는 다수의 child view를 user interaction을 통해서 교체해가면서 보여주는 UI element이다. 주 사용처는 bottom navigation 혹은 paging view에 사용된다.
우선은 다음과 같이 코드를 작성해보자.
//
//  ContentView.swift
//  paging-view
//
//  Created by woo94 on 2023/02/21.
//

import SwiftUI

struct ContentView: View {
    @State private var currentIndex = 0
    private let colors: [Color] = [.red, .blue, .green, .orange]

    var body: some View {
        TabView(selection: $currentIndex) {
            ForEach(0..<colors.count, id: \.self) { index in
                colors[index]
                    .tabItem {
                        Text("\(index)")
                    }
            }
        }
    }
}

struct ContentView_Previews: PreviewProvider {
    static var previews: some View {
        ContentView()
    }
}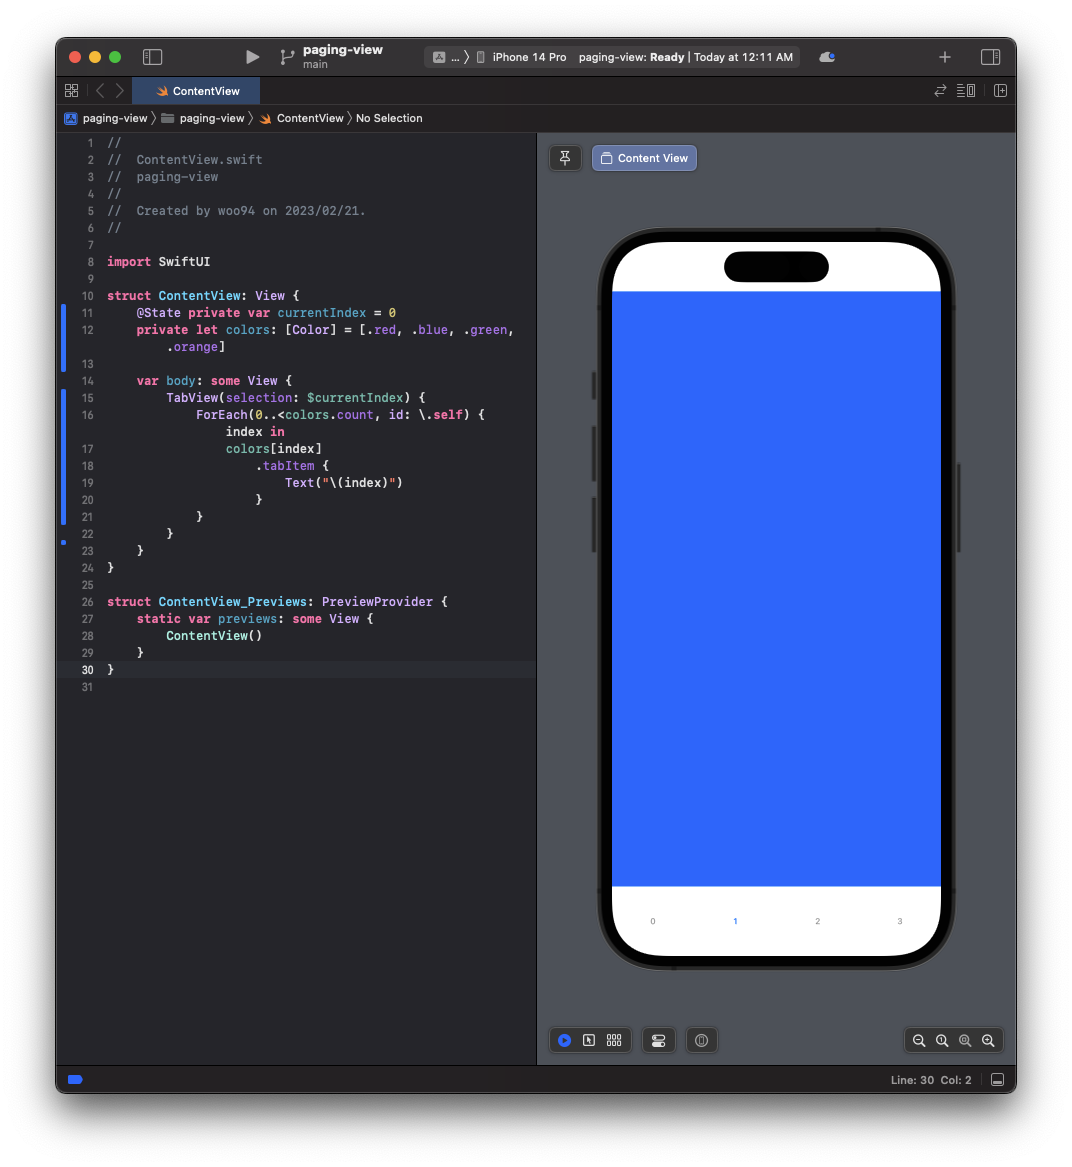
이것은 기본적인 bottom navigation이다. 아래에 있는 숫자들을 누르면 알맞은 view로 navigate 한다.
tabViewStyle
여기서 tabItem modifier를 제거하고, TabView 에 tabViewStyle modifier를 적용해보자. 이제 bottom navigation이 아니기 때문에 사용하지 않는 currentIndex 값과 그것을 TabView의 selection 값으로 binding 한 부분을 제거해주자:
//
//  ContentView.swift
//  paging-view
//
//  Created by woo94 on 2023/02/21.
//

import SwiftUI

struct ContentView: View {
    private let colors: [Color] = [.red, .blue, .green, .orange]

    var body: some View {
        TabView {
            ForEach(0..<colors.count, id: \.self) { index in
                colors[index]
            }
        }
        .tabViewStyle(PageTabViewStyle(indexDisplayMode: .always))
    }
}

struct ContentView_Previews: PreviewProvider {
    static var previews: some View {
        ContentView()
    }
}

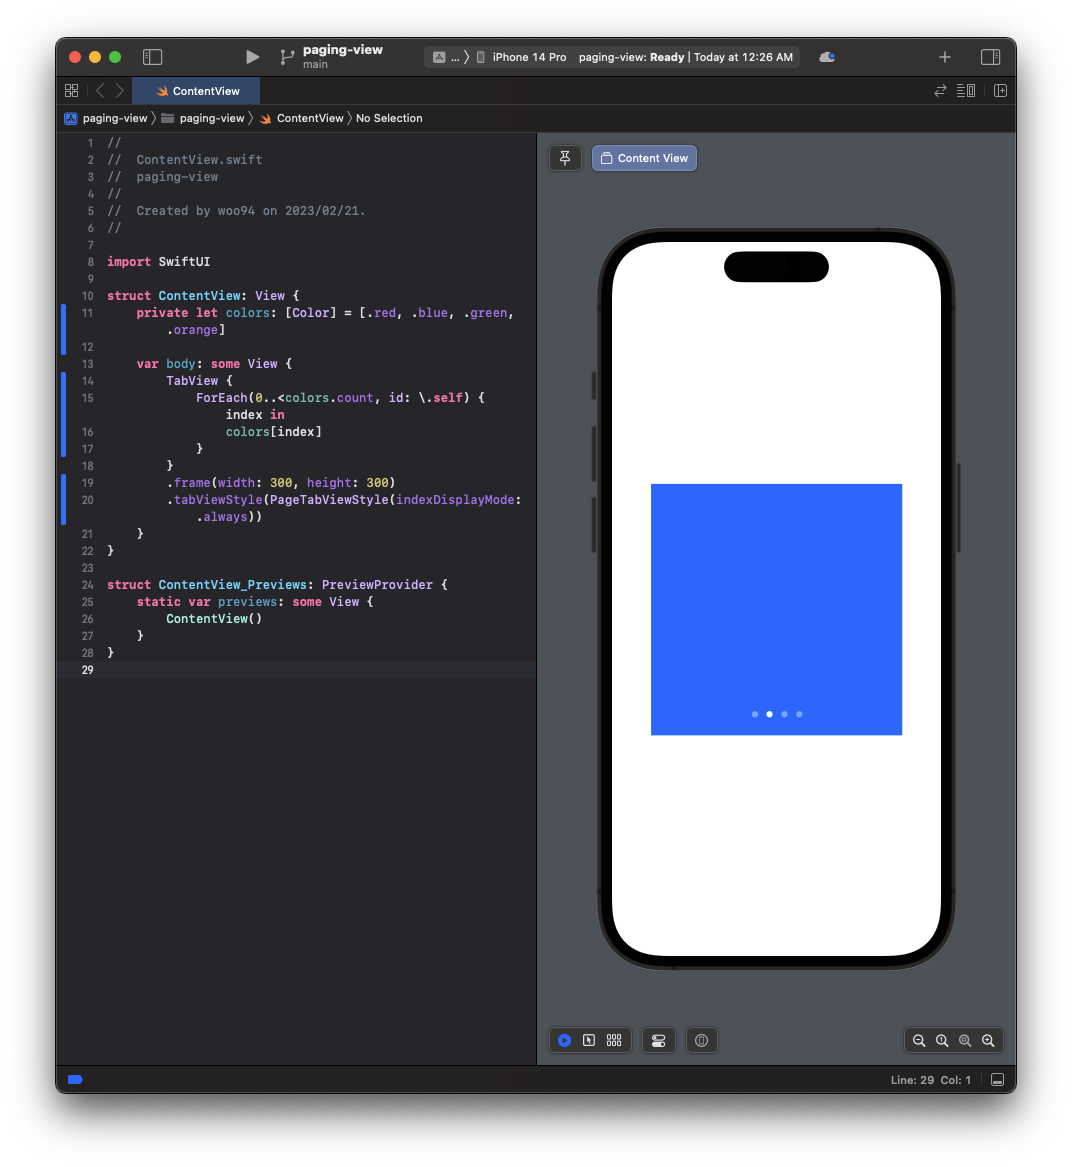
tabViewStyle modifier에 PageTabViewStyle을 적용하여 paging view를 만들어보았다.
fixed sizing
frame modifier를 이용하여 고정크기를 주어서 작게 만들 수 있다:
//
//  ContentView.swift
//  paging-view
//
//  Created by woo94 on 2023/02/21.
//

import SwiftUI

struct ContentView: View {
    private let colors: [Color] = [.red, .blue, .green, .orange]

    var body: some View {
        TabView {
            ForEach(0..<colors.count, id: \.self) { index in
                colors[index]
            }
        }
        .frame(width: 300, height: 300)
        .tabViewStyle(PageTabViewStyle(indexDisplayMode: .always))
    }
}

struct ContentView_Previews: PreviewProvider {
    static var previews: some View {
        ContentView()
    }
}
Custom index
이번에는 SwiftUI에서 기본으로 제공해주는 index dot이 아닌 custom으로 index를 만들어보자. 우선은 PageTabViewStyle에서 indexDisplayMode를 .never로 바꾸어서 기본 index dot들을 제거해본다:
//
//  ContentView.swift
//  paging-view
//
//  Created by woo94 on 2023/02/21.
//

import SwiftUI

struct ContentView: View {
    private let colors: [Color] = [.red, .blue, .green, .orange]

    var body: some View {
        TabView {
            ForEach(0..<colors.count, id: \.self) { index in
                colors[index]
            }
        }
        .frame(width: 300, height: 300)
        .tabViewStyle(PageTabViewStyle(indexDisplayMode: .never))
    }
}

struct ContentView_Previews: PreviewProvider {
    static var previews: some View {
        ContentView()
    }
}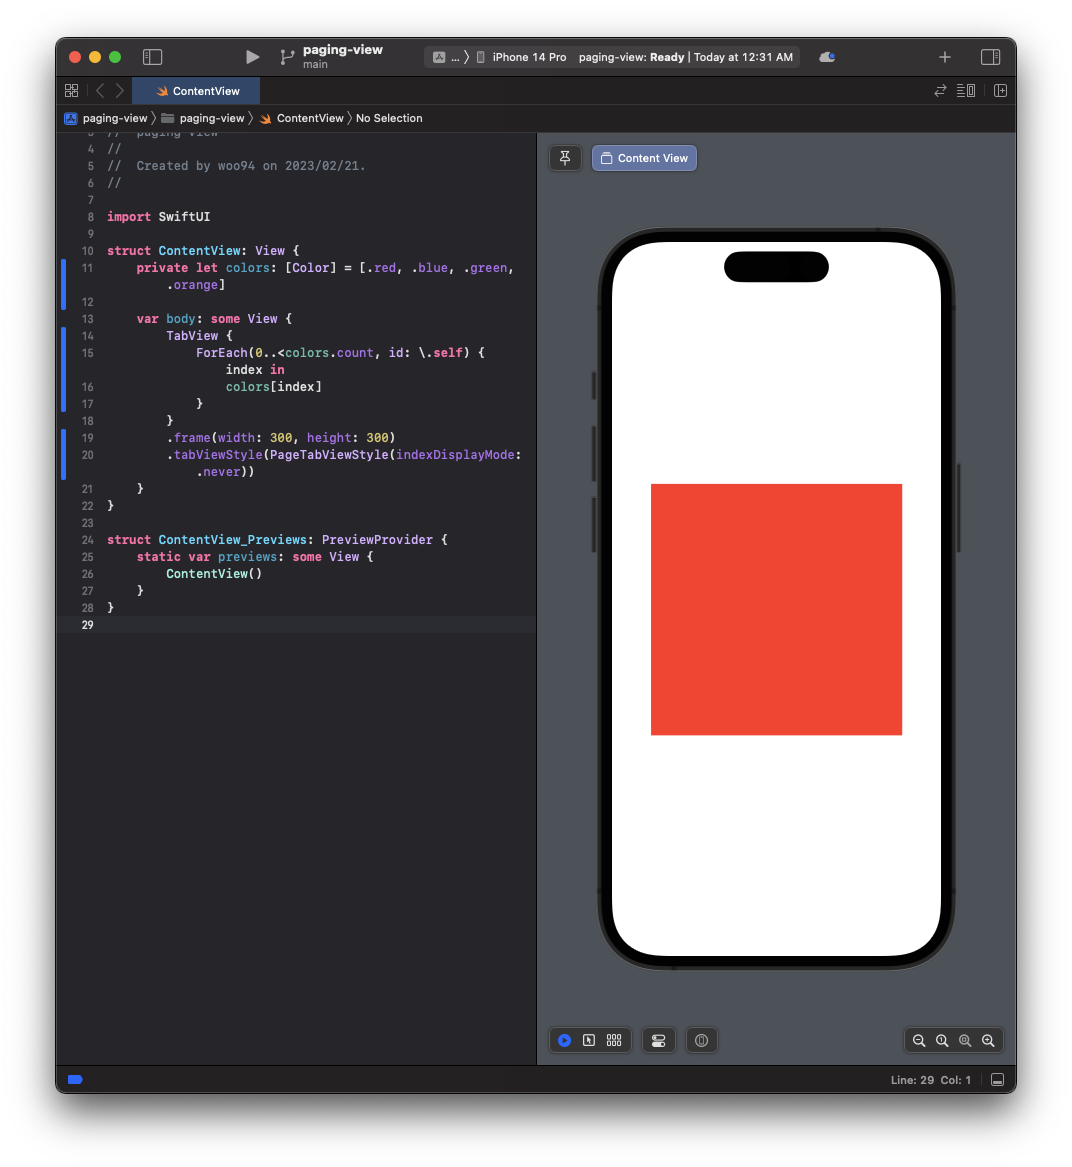
여전히 swipe로 paging이 되기는 한다.
이전에 지웠던 currentIndex state의 선언과 그것을 TabView에 binding을 다시 해준다. currentIndex 값을 보기 위해 ForEach안의 content를 ZStack으로 감싸고 Text view를 추가해준다:
//
//  ContentView.swift
//  paging-view
//
//  Created by woo94 on 2023/02/21.
//

import SwiftUI

struct ContentView: View {
    @State private var currentIndex = 0
    private let colors: [Color] = [.red, .blue, .green, .orange]

    var body: some View {
        TabView(selection: $currentIndex) {
            ForEach(0..<colors.count, id: \.self) { index in
                ZStack {
                    colors[index]
                    Text("\(currentIndex)")
                }
            }
        }
        .frame(width: 300, height: 300)
        .tabViewStyle(PageTabViewStyle(indexDisplayMode: .never))
    }
}

struct ContentView_Previews: PreviewProvider {
    static var previews: some View {
        ContentView()
    }
}
미관상 여러군데들을 손봐주면 다음과 같다:
//
//  ContentView.swift
//  paging-view
//
//  Created by woo94 on 2023/02/21.
//

import SwiftUI

struct ContentView: View {
    @State private var currentIndex = 0
    private let colors: [Color] = [.red, .blue, .green, .orange]

    var body: some View {
        TabView(selection: $currentIndex) {
            ForEach(0..<colors.count, id: \.self) { index in
                ZStack(alignment: .bottomTrailing) {
                    colors[index]
                    Text("\(currentIndex) / \(colors.count)")
                        .font(.caption)
                        .padding(5)
                        .foregroundColor(.white)
                        .background(.black.opacity(0.5))
                        .cornerRadius(50)
                        .padding(.trailing, 10)
                        .padding(.bottom, 10)
                }
            }
        }
        .frame(width: .infinity, height: 300)
        .tabViewStyle(PageTabViewStyle(indexDisplayMode: .never))
    }
}

struct ContentView_Previews: PreviewProvider {
    static var previews: some View {
        ContentView()
    }
}

단순한 modifier들을 조합하여 꽤나 그럴싸한(?) paging view를 만들어 보았다.