1. 캐릭터에 InventoryComponent 추가하기
GridInventoryCharacter에InventoryComponent추가
protected:

	UPROPERTY(EditAnywhere)
UInventoryComponent* InventoryComponent; // 내부에서 열 개수, 행 개수, 타일 크기 등의 변수 선언- 생성자함수에서
InventoryComponent생성하기
AGridInventoryCharacter::AGridInventoryCharacter()
{
	// Create InventoryCompnent
	InventoryComponent = CreateDefaultSubobject<UInventoryComponent>(TEXT("InventoryComponent"));
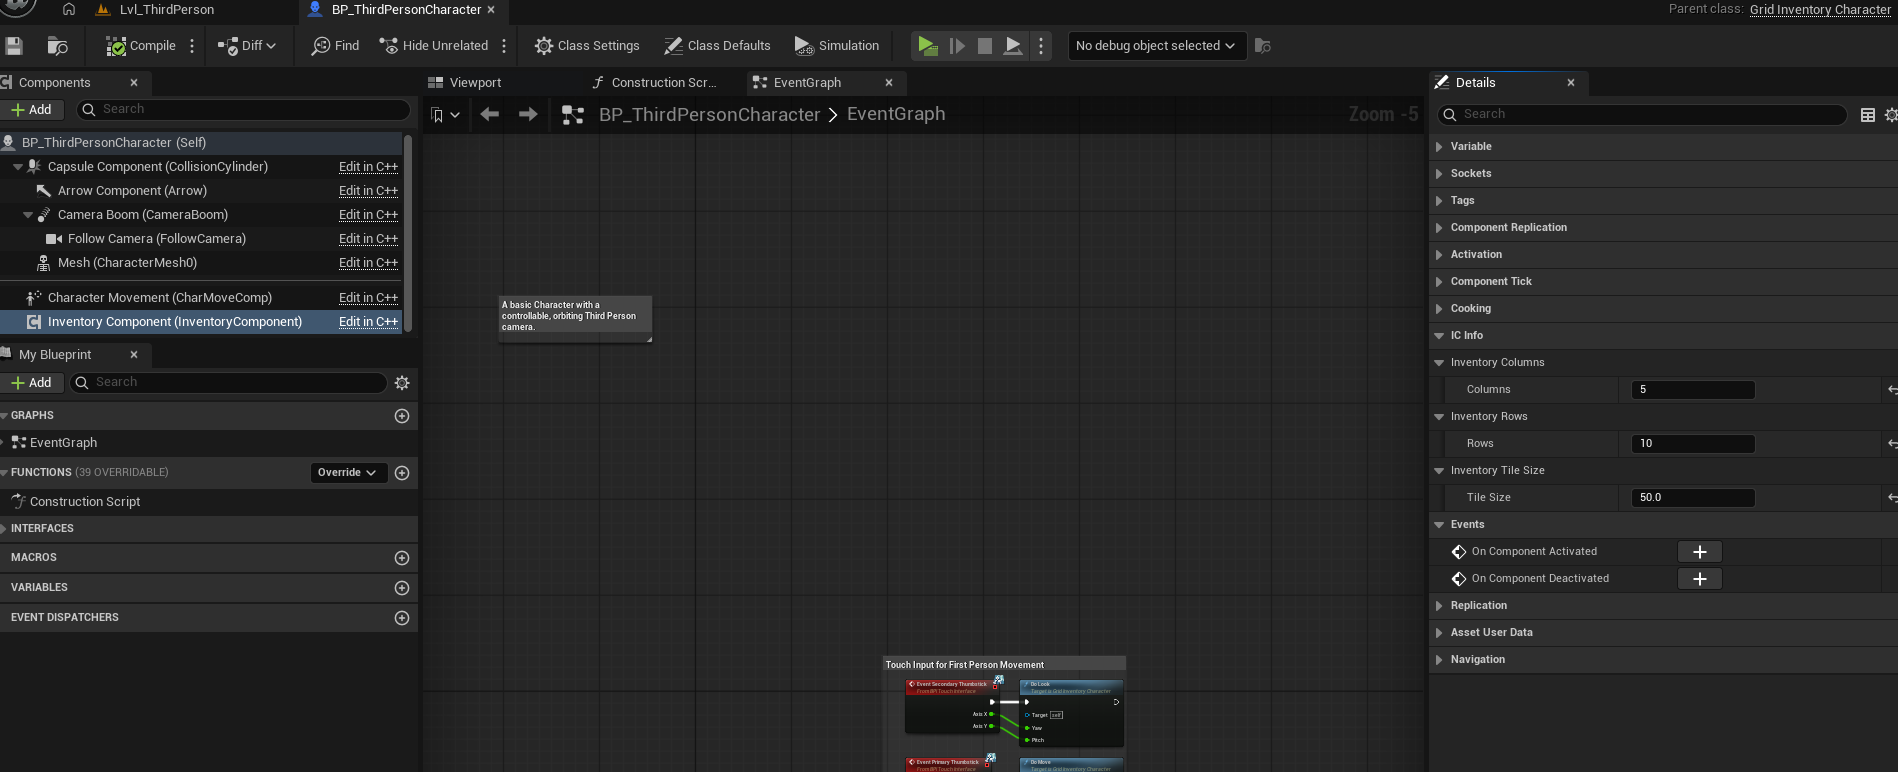
}InventoryComponent에서 행, 열, 크기 변수와 잘 부착됬는지 확인하기 위한 코드 추가하기
// InventoryComponent.h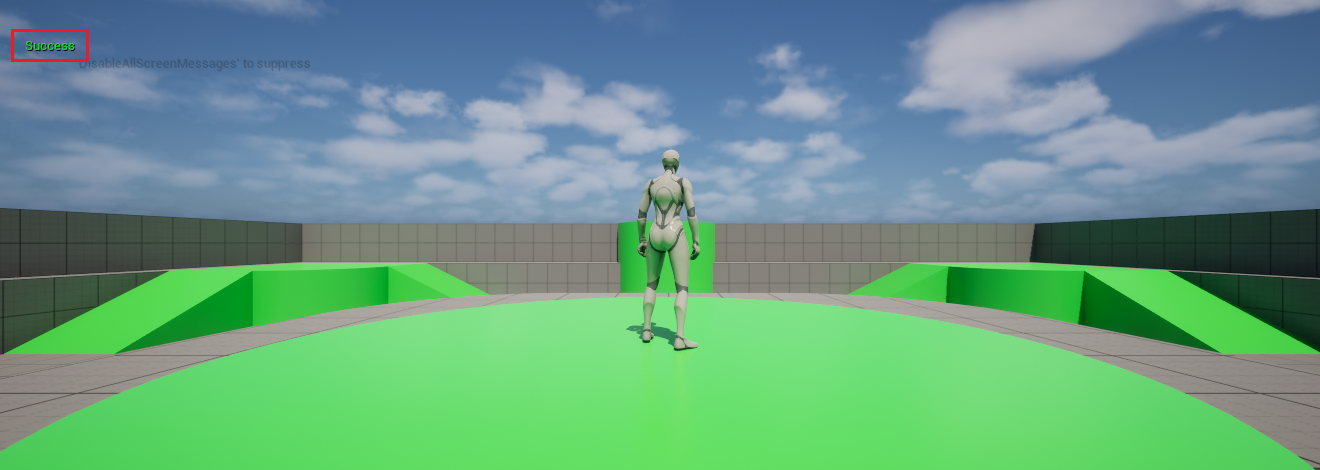
public:
// IC Info 카테고리에 하위로 Inventory Columns
UPROPERTY(EditAnywhere, Category = "IC Info | Inventory Columns")
int32 Columns;
UPROPERTY(EditAnywhere, Category = "IC Info | Inventory Rows")
int32 Rows;
UPROPERTY(EditAnywhere, Category = "IC Info | Inventory TileSize")
float TileSize;
// InventoryComponent.cpp
// Called when the game starts
void UInventoryComponent::BeginPlay()
{
Super::BeginPlay();
// ...
GEngine->AddOnScreenDebugMessage(-1, 5.f, FColor::Green, TEXT("Success"));
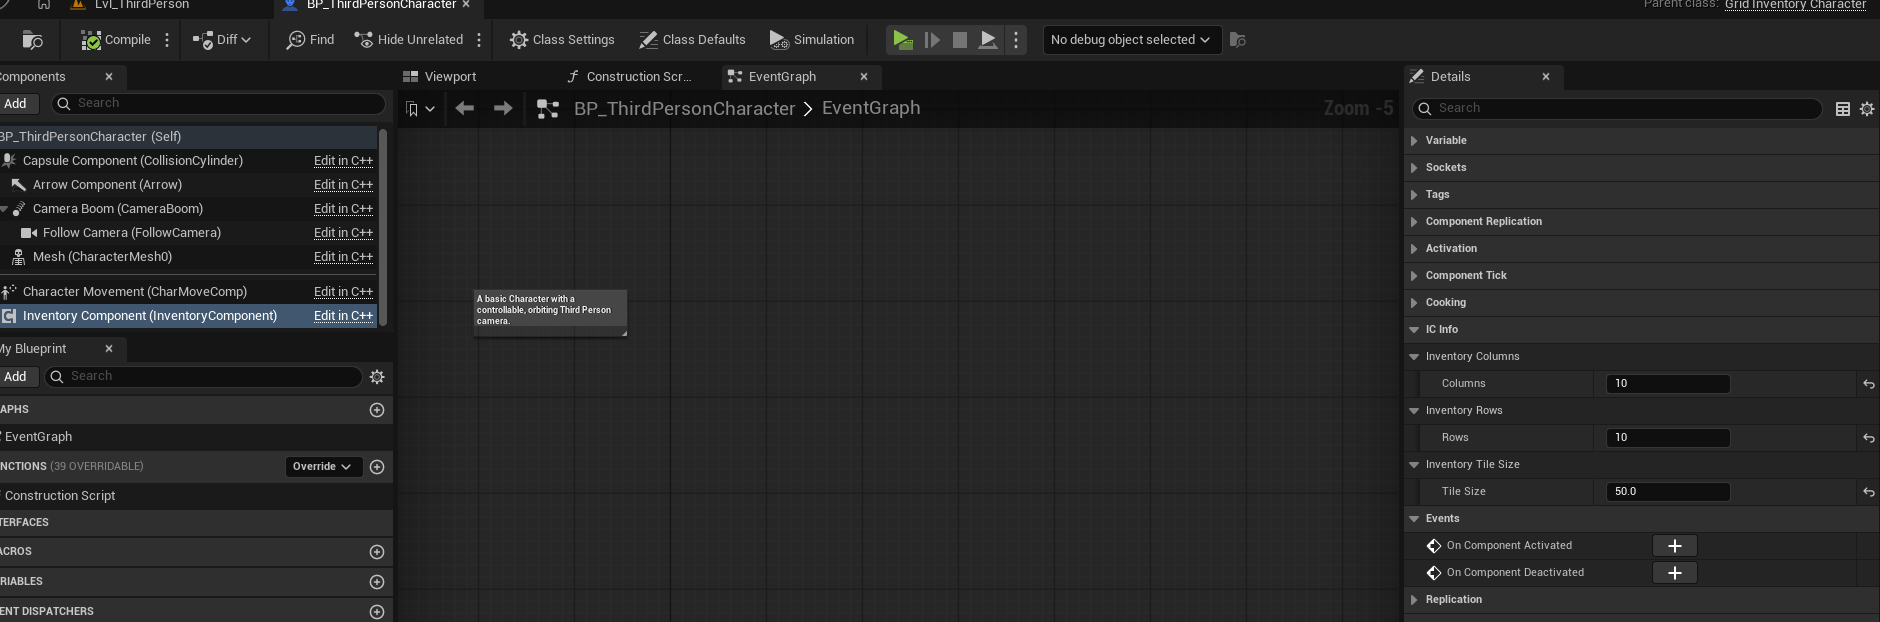
}- 잘 적용됬는지 에디터에서 확인
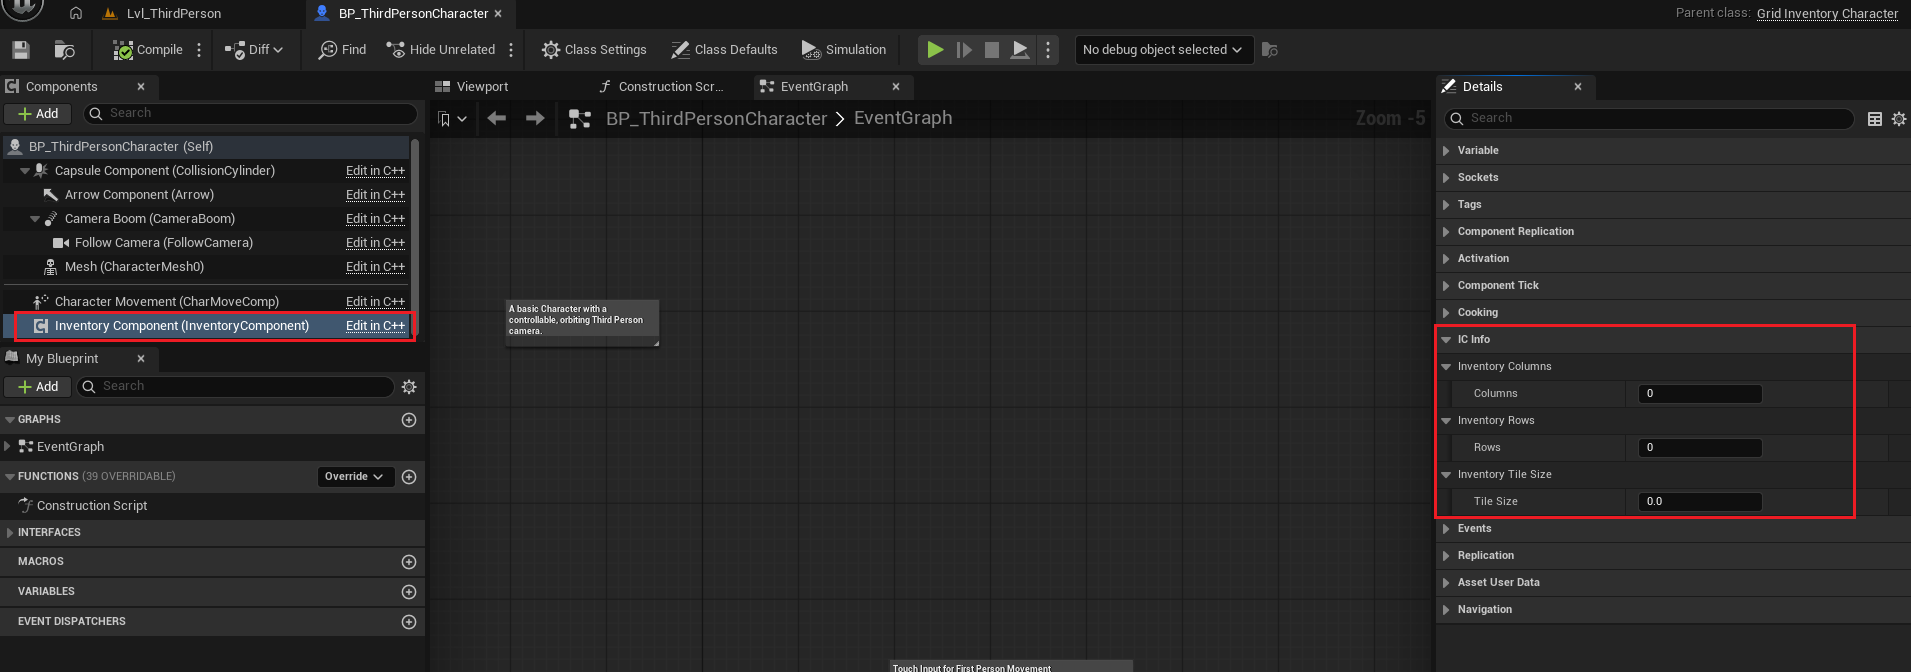
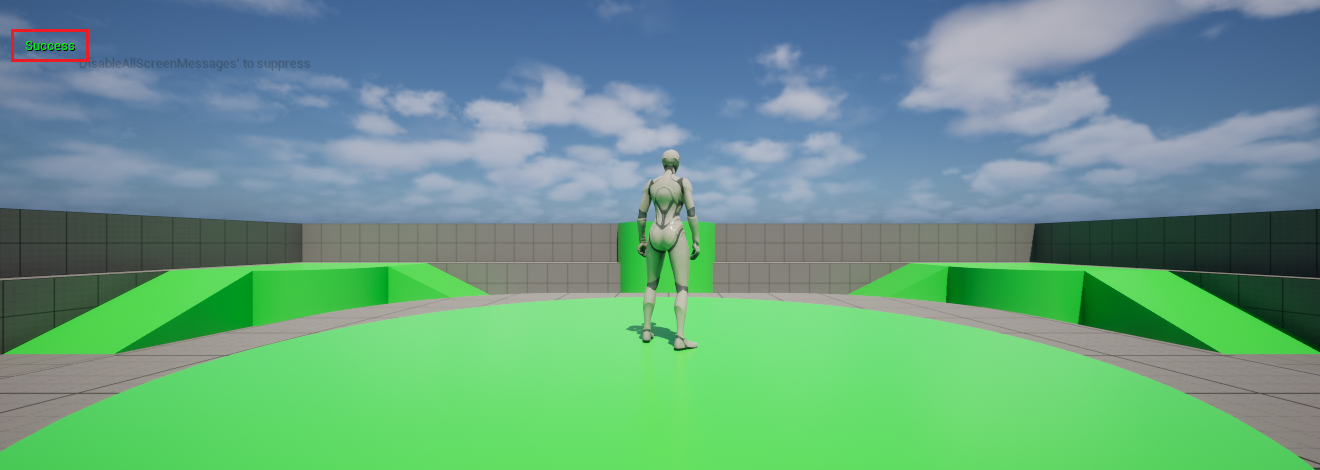
2. InventoryGridWidget의 Border사이즈 조절하기 (인벤토리 크기 설정)
InventoryGridWidget에서 사용할 변수와 함수 선언하기InventoryComponent에서 선언한 변수와 바인딩할 변수 선언하기- 인벤토리를 그리기 위한 변수와 함수 선언하기
    UCLASS()
class GRIDINVENTORY_API UInventoryGridWidget : public UUserWidget
{
	GENERATED_BODY()


protected:

	UPROPERTY(VisibleAnywhere, meta = (BindWidget), Category = "UI")
	UCanvasPanel* Canvas;

	UPROPERTY(VisibleAnywhere, meta = (BindWidget), Category = "UI")
	UBorder* GridBorder;

	UPROPERTY(VisibleAnywhere, meta = (BindWidget), Category = "UI")
	UCanvasPanel* GridCanvasPanel;


	// InventoryComponent에서 선언한 변수를 바인딩할 변수
	int32 Columns;
	int32 Rows;
	float TileSize;

	TArray<float> StartX;
	TArray<float> StartY;

	TArray<float> EndX;
	TArray<float> EndY;

	FLines* LineStructData;


	// Function
	virtual void NativeConstruct() override;
	void CreateLineSegments(); // 그리드 인벤토리에 그려진 선의 좌표를 생성하는 함수

	virtual int32 NativePaint(
		const FPaintArgs& Args,
		const FGeometry& AllottedGeometry,
		const FSlateRect& MyCullingRect,
		FSlateWindowElementList& OutDrawElements,
		int32 LayerId,
		const FWidgetStyle& InWidgetStyle,
		bool bParentEnabled) const override;
};#include "Inventory/InventoryGridWidget.h"
#include "GridInventoryCharacter.h"
#include "InventoryComponent.h"
#include "Blueprint/WidgetLayoutLibrary.h"
void UInventoryGridWidget::NativeConstruct()
{
Super::NativeConstruct();
// 캐릭터 정보 가져오기
AGridInventoryCharacter* characterReference = Cast<AGridInventoryCharacter>(GetOwningPlayerPawn());
if (!characterReference)
return;
// 캐릭터에 있는 InventoryComponent 가져오기
UInventoryComponent* inventoryComponent = characterReference->GetInventoryComponent();
Columns = inventoryComponent->Columns;
Rows = inventoryComponent->Rows;
TileSize = inventoryComponent->TileSize;
float newWidth = Columns * TileSize;
float newHeight = Rows * TileSize;
// 우선은 초기화만 해두기
LineStructData = new FLines();
StartX = {};
StartY = {};
EndX = {};
EndY = {};
// GridBorder의 사이즈 정해주기
UCanvasPanelSlot* borderAsCanvasSlot = UWidgetLayoutLibrary::SlotAsCanvasSlot(GridBorder);
borderAsCanvasSlot->SetSize(FVector2D(newWidth, newHeight));
}결과
-
Columns 5, Rows 10, TileSize 50일때
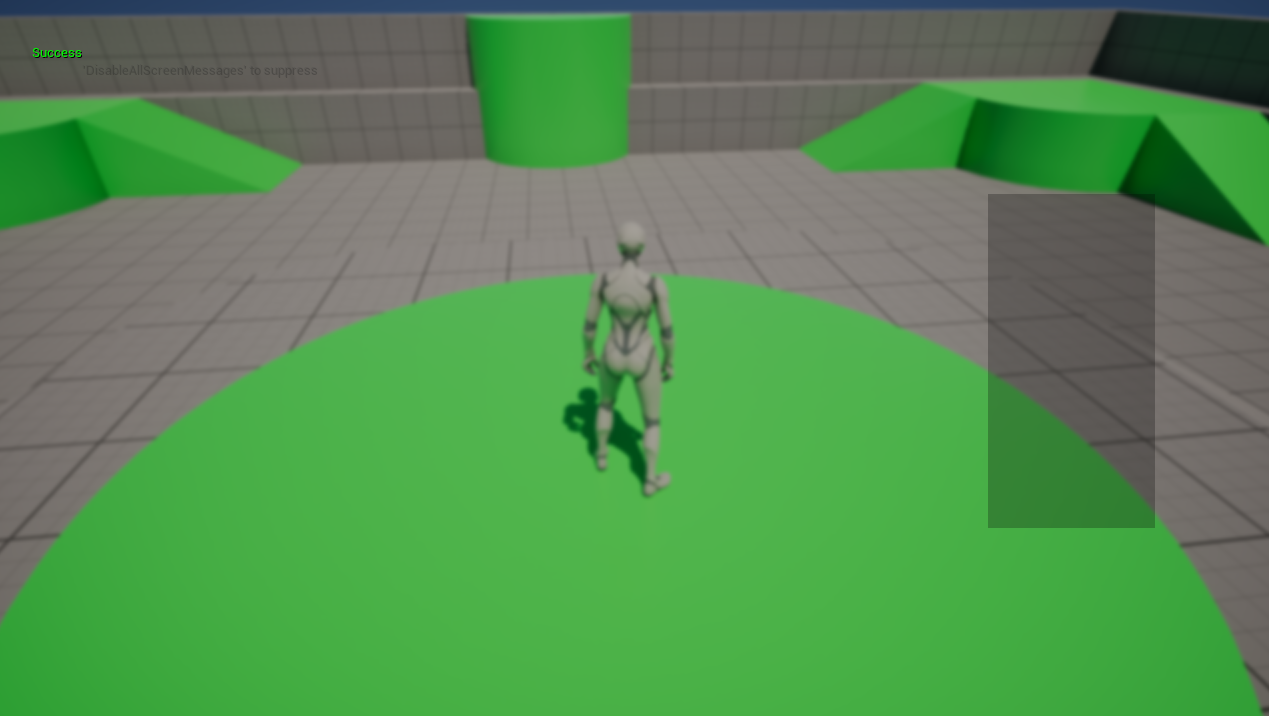
-
Columns 10, Rows 10, TileSize 50일때
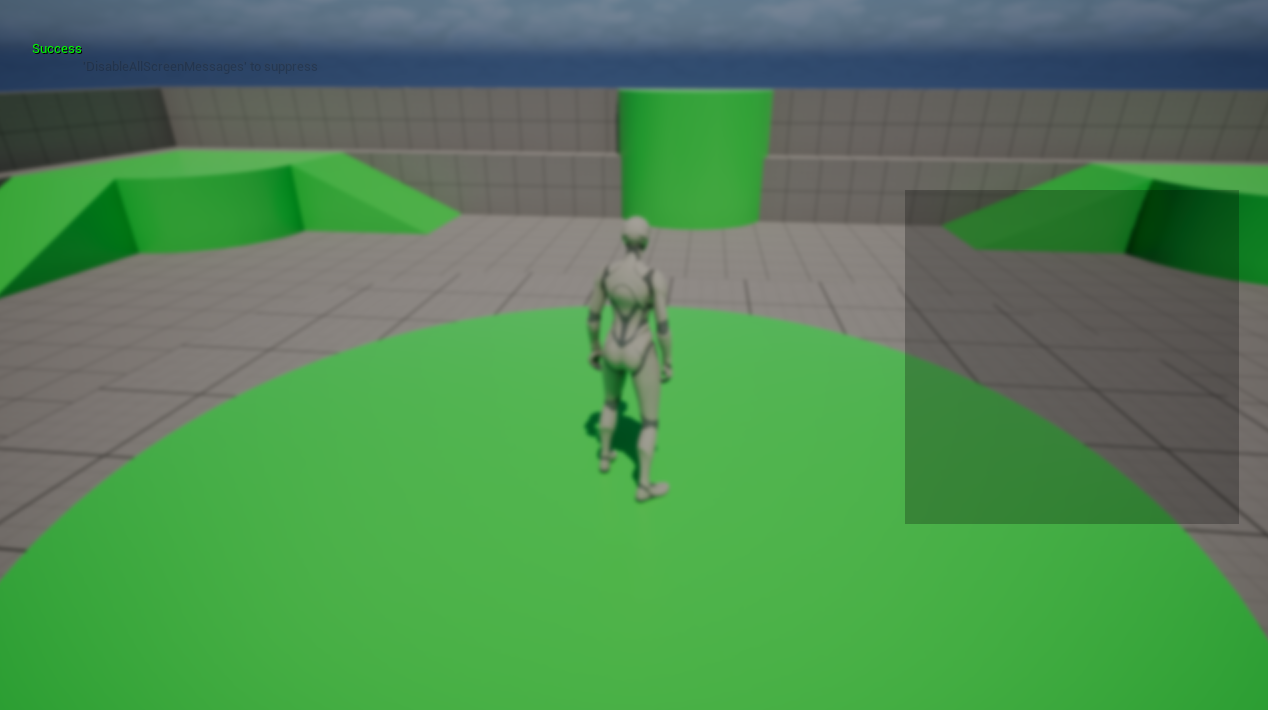
선 그리기
CreateLineSegments()와NativePaint()내부 코드 추가하기CreateLineSegments()는 선을 그리기 위한 좌표값을들 계산해주는 함수이고,NativePaint()는 계산된 좌표값을 가지고 선을 그려주는 함수이다.
void UInventoryGridWidget::CreateLineSegments()
{
	// 가로 칸수
	for (int32 i = 0; i <= Columns; i++)
	{
		// float x = i * TileSize; -> 오른쪽 값을 임시로 생성해 복사해서 초기화 하는 방식
		// float x{ i * TileSize };-> 복사 없이 바로 초기화, 형 변환에 더 엄격, 좁은 변환(narrowing conversion)이 있으면 컴파일 에러
		float x{ i * TileSize };

		LineStructData->XLines.Add(FVector2D(x, x));
		LineStructData->YLines.Add(FVector2D(0.f, Rows * TileSize));
	}
	// 세로 칸수
	for (int32 i = 0; i <= Rows; i++)
	{
		float y{ i * TileSize };

		LineStructData->XLines.Add(FVector2D(0.f, Columns * TileSize));
		LineStructData->YLines.Add(FVector2D(y, y));
	}

	for (const FVector2D Elements : LineStructData->XLines)
	{
		StartX.Add(Elements.X);
		EndX.Add(Elements.Y);
	}

	for (const FVector2D Elements : LineStructData->YLines)
	{
		StartY.Add(Elements.X);
		EndY.Add(Elements.Y);
	}
}

int32 UInventoryGridWidget::NativePaint(const FPaintArgs& Args, const FGeometry& AllottedGeometry, const FSlateRect& MyCullingRect,
	FSlateWindowElementList& OutDrawElements, int32 LayerId, const FWidgetStyle& InWidgetStyle, bool bParentEnabled) const
{
	Super::NativePaint(Args, AllottedGeometry, MyCullingRect, OutDrawElements, LayerId, InWidgetStyle, bParentEnabled);

	FPaintContext paintContext(AllottedGeometry, MyCullingRect, OutDrawElements, LayerId, InWidgetStyle, bParentEnabled);
	// 선 색 설정
	FLinearColor customColor(0.5f, 0.5f, 0.5f, 0.5f);
	FVector2D topLeftCorner = GridBorder->GetCachedGeometry().GetLocalPositionAtCoordinates(FVector2D(0.f, 0.f)); // Border의 0,0 = 좌상단 좌표점

	for (int32 i = 0; i < LineStructData->XLines.Num(); i++)
	{
		UWidgetBlueprintLibrary::DrawLine(paintContext, FVector2D(StartX[i], StartY[i]) + topLeftCorner, FVector2D(EndX[i], EndY[i]) + topLeftCorner, customColor, true , 2.0f);
	}

	return int32();
}
결과
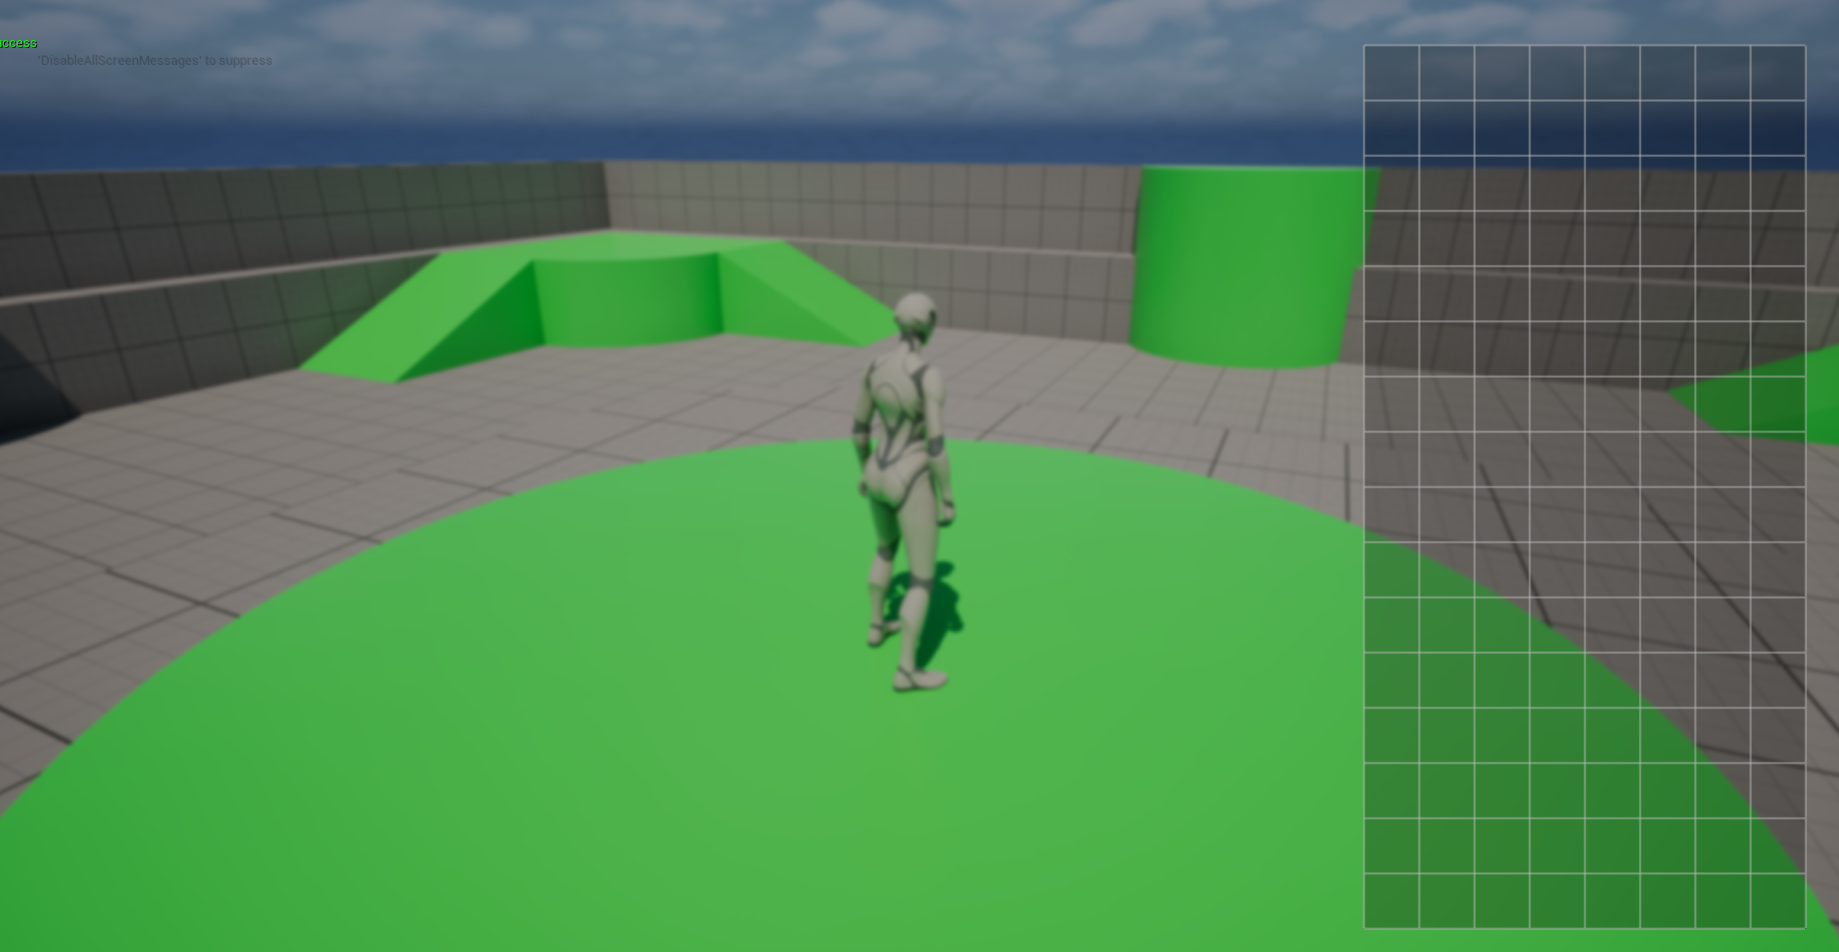
코드 추가 설명
void UInventoryGridWidget::CreateLineSegments()
{
	// 가로 칸수
	for (int32 i = 0; i <= Columns; i++)
	{
		// float x = i * TileSize; -> 오른쪽 값을 임시로 생성해 복사해서 초기화 하는 방식
		// float x{ i * TileSize };-> 복사 없이 바로 초기화, 형 변환에 더 엄격, 좁은 변환(narrowing conversion)이 있으면 컴파일 에러
		float x{ i * TileSize };
		LineStructData->XLines.Add(FVector2D(x, x));
		LineStructData->YLines.Add(FVector2D(0.f, Rows * TileSize));
	}
	// 세로 칸수
	for (int32 i = 0; i <= Rows; i++)
	{
		float y{ i * TileSize };
		LineStructData->XLines.Add(FVector2D(0.f, Columns * TileSize));
		LineStructData->YLines.Add(FVector2D(y, y));
	}
}
- LineStructData에서 만들어둔 XLines와 YLines에 가로줄 개수, 세로줄 개수대로 차례대로 추가해준다. (추가되는 값들이 이해되지 않더라도 우선은 넘어가자)
- 그렇게 되면 XLines에는 (0,0) (50,50) ... (250,250) (0, 250) x 11개 해서 총 17개의 좌표가 들어가고,
- YLines에는 (0, 500) x 6개, (0,0) (50,50) ... (500, 500) 해서 총 17개의 좌표가 들어간다.
- 들어간 좌표를 보게되면 XLines은 초반에 TileSize만큼씩 늘어나다가 (0, 250)이 11번 반복된다. -> 현재 columns이 5, rows가 10개니까 가로 끝이 250이니 우측라인으로 쭉 좌표가 나열된 게 보인다. YLines도 동일하다
	for (const FVector2D Elements : LineStructData->XLines)
	{
		//GEngine->AddOnScreenDebugMessage(-1, 5.f, FColor::Red, FString::Printf(TEXT("StartX : %.2f, EndX : %.2f"), Elements.X, Elements.Y));
		StartX.Add(Elements.X);
		EndX.Add(Elements.Y);
	}
	for (const FVector2D Elements : LineStructData->YLines)
	{
		//GEngine->AddOnScreenDebugMessage(-1, 5.f, FColor::Red, FString::Printf(TEXT("StartY : %.2f, EndY : %.2f"), Elements.X, Elements.Y));
		StartY.Add(Elements.X);
		EndY.Add(Elements.Y);
	}
- 그리고 각각 StartX EndX / StartY EndY에 값을 넣어준다.
- StartX : 0, 50, 100, 150, 200, 250, 0, 0, 0, 0, 0, 0, 0, 0, 0, 0, 0
- StartY : 0, 0, 0, 0, 0, 0, 0, 50, 100, 150, 200, 250, 300, 350, 400, 450, 500
- EndX : 0, 50, 100, 150, 200, 250, 250, 250, 250, 250, 250, 250, 250, 250, 250, 250, 250
- EndY : 500, 500, 500, 500, 500, 500, 0 , 50, 100, 150, 200, 250, 300, 350, 400, 450, 500
- 잘 보게 되면, (StartX, StartY), (EndX, EndY)로 묶어서 보게되면 라인은 시작과 끝의 좌표임을 알수 있다.
int32 UInventoryGridWidget::NativePaint(const FPaintArgs& Args, const FGeometry& AllottedGeometry, const FSlateRect& MyCullingRect,
	FSlateWindowElementList& OutDrawElements, int32 LayerId, const FWidgetStyle& InWidgetStyle, bool bParentEnabled) const
{
	Super::NativePaint(Args, AllottedGeometry, MyCullingRect, OutDrawElements, LayerId, InWidgetStyle, bParentEnabled);
	FPaintContext paintContext(AllottedGeometry, MyCullingRect, OutDrawElements, LayerId, InWidgetStyle, bParentEnabled);
	// 선 색 설정
	FLinearColor customColor(0.5f, 0.5f, 0.5f, 0.5f);
	FVector2D topLeftCorner = GridBorder->GetCachedGeometry().GetLocalPositionAtCoordinates(FVector2D(0.f, 0.f)); // Border의 0,0 = 좌상단 좌표점
	for (int32 i = 0; i < LineStructData->XLines.Num(); i++)
	{
		UWidgetBlueprintLibrary::DrawLine(paintContext, FVector2D(StartX[i], StartY[i]) + topLeftCorner, FVector2D(EndX[i], EndY[i]) + topLeftCorner, customColor, true , 2.0f);
	}
	return int32();
}
- topLeftCorner는 선의 시작점을 Border의 좌상단으로 잡기 위한 좌표값
- for문을 통해서 총 라인의 수를 XLines.Num()으로 잡고 (YLines.Num()로 해도 된다. 모두 17개로 같은 수를 가지고 있는 배열이기에)
- 17번을 돌면서 위에서 계산한대로 start 지점과 end 지점에 각각의 좌표값을 넣고 Line을 그려주는 방식이다.
참고 영상
https://www.youtube.com/watch?v=EoodoaYLYwU&list=PLSVk_3KeELaSoCEc4lADxj5CT6CxibgCt&index=7

게임 클라이언트 프로그래머 준비중 (공부 및 기록용)