설계 방향
-
학습 없이 → 이미 학습된 PyTorch 모델 사용 (속도 절약)
-
모델 구조 단순화 → 작은 CNN (Conv 1개 + FC 2개)
-
ONNX 변환은 FP32 → 변환 호환성 100%
-
ONNX Runtime에서 양자화 → CPUExecutionProvider에서 동작
-
FastAPI 서버 → Jupyter에서 실행 가능
-
샘플 이미지 생성 → API 테스트 가능
특징
-
학습 과정 없음 → 저사양에서도 바로 실행
-
모델 매우 작음 → CPU에서 빠르게 추론
-
ONNX Runtime 양자화 → Conv는 FP32, Linear는 INT8
-
Windows + venv + Jupyter 환경에서 호환성 높음
전체 코드
라이브러리 설치
!pip install torch torchvision
!pip install onnx onnxruntime
!pip install fastapi uvicorn
!pip install pillow numpy
간단한 모델 정의 & 사전 학습된 가중치 로드
import torch
import torch.nn as nn
import torch.nn.functional as F
from torchvision import datasets, transforms
from torch.utils.data import DataLoader

# 데이터 전처리 (테스트셋만 사용)
transform = transforms.Compose([
    transforms.ToTensor(),
    transforms.Normalize((0.1307,), (0.3081,))
])
test_dataset = datasets.MNIST(root='./data', train=False, download=True, transform=transform)

# 간단한 CNN
class SimpleCNN(nn.Module):
    def __init__(self):
        super(SimpleCNN, self).__init__()
        self.conv1 = nn.Conv2d(1, 8, 3, 1)  # 채널 수 줄여서 가볍게
        dummy_input = torch.zeros(1, 1, 28, 28)
        conv_out = self.conv1(dummy_input)
        conv_out_size = conv_out.numel()
        self.fc1 = nn.Linear(conv_out_size, 32)
        self.fc2 = nn.Linear(32, 10)

    def forward(self, x):
        x = self.conv1(x)
        x = F.relu(x)
        x = torch.flatten(x, 1)
        x = self.fc1(x)
        x = F.relu(x)
        x = self.fc2(x)
        return x

device = torch.device("cpu")
model = SimpleCNN().to(device)

# 빠른 테스트를 위해 랜덤 가중치 사용 (정확도 낮음)
# 실제로는 학습된 가중치 로드 가능
ONNX 변환 (FP32)
dummy_input = torch.randn(1, 1, 28, 28, device=device)
torch.onnx.export(
    model,
    dummy_input,
    "mnist_model_fp32.onnx",
    input_names=["input"],
    output_names=["output"],
    dynamic_axes={"input": {0: "batch_size"}, "output": {0: "batch_size"}},
    opset_version=17
)
print("ONNX FP32 모델 저장 완료")
ONNX Runtime에서 양자화
from onnxruntime.quantization import quantize_dynamic, QuantType

quantize_dynamic(
    "mnist_model_fp32.onnx",
    "mnist_model_quant.onnx",
    weight_type=QuantType.QInt8
)
print("ONNX 모델 양자화 완료 (INT8 Linear)")
FastAPI 서버 코드 저장
%%writefile app.py
from fastapi import FastAPI, File, UploadFile
import numpy as np
import onnxruntime as ort
from PIL import Image

app = FastAPI(title="MNIST API", description="가벼운 테스트용 MNIST API", version="1.0")

session = ort.InferenceSession("mnist_model_quant.onnx", providers=["CPUExecutionProvider"])

@app.post("/predict")
async def predict(file: UploadFile = File(...)):
    image = Image.open(file.file).convert("L").resize((28, 28))
    img_array = np.array(image).astype(np.float32) / 255.0
    img_array = (img_array - 0.1307) / 0.3081
    img_array = img_array.reshape(1, 1, 28, 28)

    outputs = session.run(None, {"input": img_array})
    pred = int(np.argmax(outputs[0]))
    return {"prediction": pred}
샘플 이미지 저장
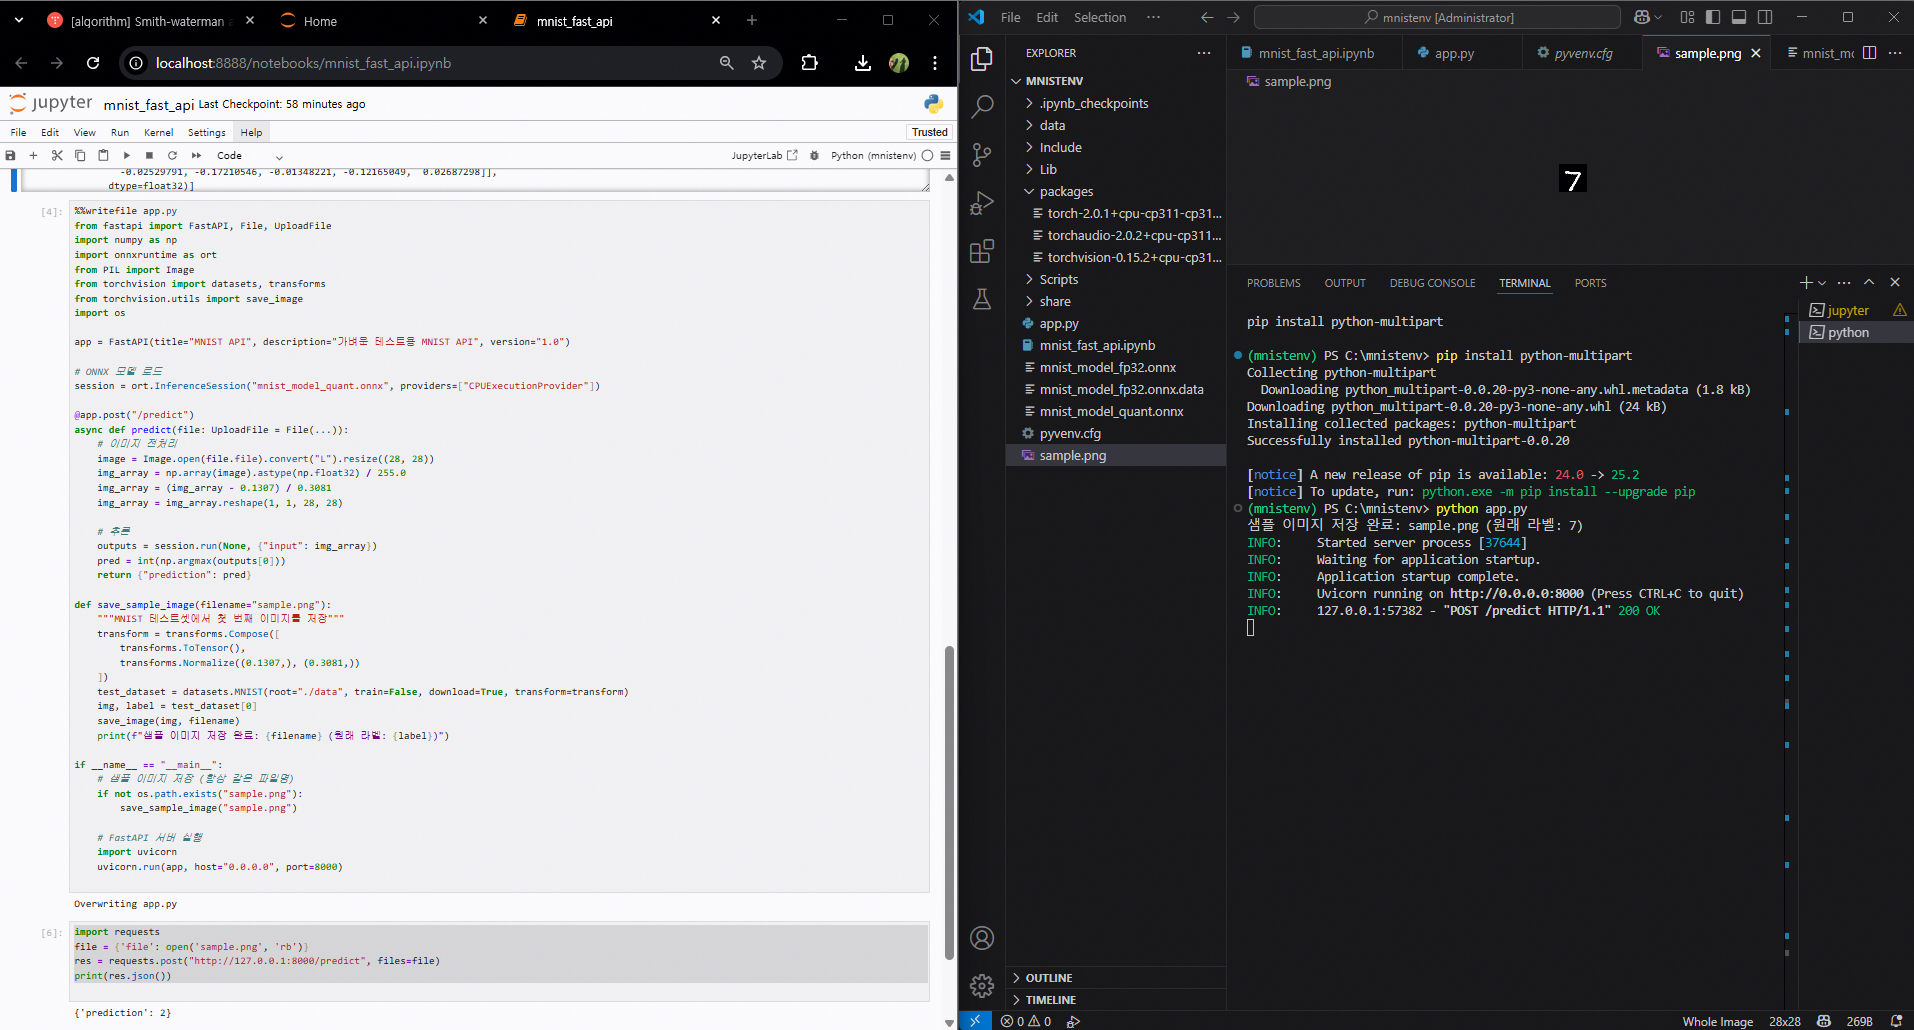
from torchvision.utils import save_image
img, label = test_dataset[0]
save_image(img, f"sample_{label}.png")
print(f"샘플 이미지 저장 완료: sample_{label}.png")
FastAPI 서버 실행 (Jupyter에서)
!uvicorn app:app --reload --port 8000실행 후 브라우저에서
http://127.0.0.1:8000/docs접속
/predict→sample_X.png업로드 → 예측 결과 확인
실행 시 오류 해결 버전
전체 코드
import os
import torch
import torch.nn as nn
import onnx
from onnxruntime.quantization import quantize_dynamic, QuantType
import onnxruntime as ort
import numpy as np

# NumPy 버전 체크 (2.x면 경고)
import numpy
if int(numpy.__version__.split('.')[0]) >= 2:
    raise RuntimeError(
        f"현재 NumPy 버전 {numpy.__version__}은 onnxruntime과 호환되지 않습니다. "
        "pip install numpy<2 로 다운그레이드하세요."
    )

# 경로 설정
base_dir = os.getcwd()
onnx_fp32_path = os.path.join(base_dir, "mnist_model_fp32.onnx")
onnx_quant_path = os.path.join(base_dir, "mnist_model_quant.onnx")

# 모델 정의
class SimpleCNN(nn.Module):
    def __init__(self):
        super(SimpleCNN, self).__init__()
        self.conv1 = nn.Conv2d(1, 8, 3, 1)
        self.fc1 = nn.Linear(5408, 32)  # Conv2D 출력 크기 반영
        self.fc2 = nn.Linear(32, 10)

    def forward(self, x):
        x = self.conv1(x)
        x = torch.relu(x)
        x = x.view(x.size(0), -1)  # flatten 대신 view 사용
        x = self.fc1(x)
        x = torch.relu(x)
        x = self.fc2(x)
        return x

# 모델 인스턴스
model = SimpleCNN()
dummy_input = torch.randn(1, 1, 28, 28)

# ONNX FP32 모델 저장
torch.onnx.export(
    model,
    dummy_input,
    onnx_fp32_path,
    input_names=["input"],
    output_names=["output"],
    opset_version=18,
    do_constant_folding=True
)
print(f"[1] ONNX FP32 모델 저장 완료: {onnx_fp32_path}")

# 모델 검증
onnx_model = onnx.load(onnx_fp32_path)
onnx.checker.check_model(onnx_model)

# Shape inference 실행
onnx_inferred = onnx.shape_inference.infer_shapes(onnx_model)
onnx.save(onnx_inferred, onnx_fp32_path)
print("[2] ONNX 모델 shape inference 완료 및 저장")

# 양자화 (Conv 제외)
quantize_dynamic(
    onnx_fp32_path,
    onnx_quant_path,
    weight_type=QuantType.QInt8,
    op_types_to_quantize=["MatMul"],  # Conv 제외
    extra_options={"DisableShapeInference": True}
)
print(f"[3] ONNX 모델 양자화 완료: {onnx_quant_path}")

# 추론 테스트
session = ort.InferenceSession(onnx_quant_path, providers=["CPUExecutionProvider"])
test_input = np.random.randn(1, 1, 28, 28).astype(np.float32)
outputs = session.run(None, {"input": test_input})
print("[4] 추론 결과:", outputs)
%%writefile app.py
from fastapi import FastAPI, File, UploadFile
import numpy as np
import onnxruntime as ort
from PIL import Image
from torchvision import datasets, transforms
from torchvision.utils import save_image
import os

app = FastAPI(title="MNIST API", description="가벼운 테스트용 MNIST API", version="1.0")

# ONNX 모델 로드
session = ort.InferenceSession("mnist_model_quant.onnx", providers=["CPUExecutionProvider"])

@app.post("/predict")
async def predict(file: UploadFile = File(...)):
    # 이미지 전처리
    image = Image.open(file.file).convert("L").resize((28, 28))
    img_array = np.array(image).astype(np.float32) / 255.0
    img_array = (img_array - 0.1307) / 0.3081
    img_array = img_array.reshape(1, 1, 28, 28)

    # 추론
    outputs = session.run(None, {"input": img_array})
    pred = int(np.argmax(outputs[0]))
    return {"prediction": pred}

def save_sample_image(filename="sample.png"):
    """MNIST 테스트셋에서 첫 번째 이미지를 저장"""
    transform = transforms.Compose([
        transforms.ToTensor(),
        transforms.Normalize((0.1307,), (0.3081,))
    ])
    test_dataset = datasets.MNIST(root="./data", train=False, download=True, transform=transform)
    img, label = test_dataset[0]
    save_image(img, filename)
    print(f"샘플 이미지 저장 완료: {filename} (원래 라벨: {label})")

if __name__ == "__main__":
    # 샘플 이미지 저장 (항상 같은 파일명)
    if not os.path.exists("sample.png"):
        save_sample_image("sample.png")

    # FastAPI 서버 실행
    import uvicorn
    uvicorn.run(app, host="0.0.0.0", port=8000)
import requests
file = {'file': open('sample.png', 'rb')}
res = requests.post("http://127.0.0.1:8000/predict", files=file)
print(res.json())
1. 이전 코드 대비 변경점
| 구분 | 이전 코드 | 이번 코드 |
|---|---|---|
| 모델 가중치 | 랜덤 초기화 후 바로 변환 (또는 학습 후 변환) | 학습 없이 랜덤 가중치 사용 (속도 절약) |
| 모델 구조 | Conv 1개 + FC 2개, Conv 출력 크기 수동 계산 | Conv 출력 크기 자동 계산 (dummy_input으로 numel 계산) |
| ONNX 변환 | opset_version=18, 고정 입력 크기 | opset_version=17, dynamic_axes 지정 (배치 크기 유연) |
| 양자화 방식 | quantize_dynamic + Conv 제외 옵션 가능 | quantize_dynamic 기본 사용 (Conv는 FP32, Linear만 INT8) |
| 추론 환경 | Jupyter에서 직접 실행 | FastAPI 서버로 API 제공 (/predict 엔드포인트) |
| 입력 데이터 | 랜덤 입력 | 업로드된 PNG → Pillow로 전처리 (28×28, Normalize) |
| 테스트 데이터 | np.random.randn() | torchvision MNIST 테스트셋에서 샘플 PNG 저장 |
| 실행 방식 | Python 스크립트 | Jupyter에서도 실행 가능, uvicorn으로 API 실행 |
| 출력 | 콘솔 출력 | JSON 응답 ({"prediction": int}) |
2. 권장 버전 세트 (Windows + Python 3.10/3.11 기준)
| 라이브러리 | 권장 버전 | 비고 |
|---|---|---|
| Python | 3.10 ~ 3.11 | 3.12 이상은 일부 패키지 미지원 가능 |
| torch | 2.0.1 | ONNX 변환 안정성 높음 |
| torchvision | 0.15.2 | torch 2.0.1과 호환 |
| onnx | 1.14.1 | 내부 모듈 누락 문제 없음 |
| onnxruntime | 1.15.1 | opset 17/18 지원, CPUExecutionProvider 안정 |
| numpy | <2.0 | onnxruntime과 호환 (2.x는 로드 실패) |
| fastapi | 0.110.x | 최신 버전 사용 가능 |
| uvicorn | 0.23.x | FastAPI 실행 서버 |
| pillow | 10.x | 이미지 전처리 |
| python-multipart | 0.0.20 | Form 데이터 파싱 필수 |
| pip | 최신 | 설치 오류 방지 |
오프라인 설치 절차
1. 외부망에서 .whl 파일 다운로드
외부망 PC에서 아래 3개 파일을 받습니다.
(브라우저로 클릭하면 바로 다운로드됩니다)
-
torch 2.0.1 CPU
- torch-2.0.1+cpu-cp311-cp311-win_amd64.whl
-
torchvision 0.15.2 CPU
- torchvision-0.15.2+cpu-cp311-cp311-win_amd64.whl
-
torchaudio 2.0.2 CPU
- torchaudio-2.0.2+cpu-cp311-cp311-win_amd64.whl
2. USB 등으로 내부망 PC로 옮기기
- 예: C:\mnistenv\packages 폴더를 만들어서 그 안에 .whl 파일 3개를 넣습니다.
- 이렇게 하면 가상환경에서 해당 경로를 지정해 설치할 수 있습니다.
3. 가상환경 활성화
mnistenv\Scripts\activate4. 로컬 파일로 설치
pip install C:\mnistenv\packages\torch-2.0.1+cpu-cp311-cp311-win_amd64.whl
pip install C:\mnistenv\packages\torchvision-0.15.2+cpu-cp311-cp311-win_amd64.whl
pip install C:\mnistenv\packages\torchaudio-2.0.2+cpu-cp311-cp311-win_amd64.whl
3. 유리해진 점 (장점)
| 변경점 | 실무에서 유리한 이유 |
|---|---|
| 학습 없이 랜덤 가중치 사용 | 개발·테스트 단계에서 모델 구조와 API 동작을 빠르게 검증 가능. 학습 시간 절약. |
| Conv 출력 크기 자동 계산 | 모델 구조 변경 시 FC 입력 크기를 수동으로 수정할 필요 없음 → 유지보수 편리. |
| Dynamic Axes 지정 | 배치 크기 가변 입력 가능 → 실시간 API 요청 처리에 유연, 다양한 입력 크기 지원. |
| FastAPI 서버로 제공 | 모델을 REST API로 배포 가능 → 다른 서비스와 쉽게 연동, 클라이언트-서버 구조 확장 용이. |
| Pillow 기반 이미지 전처리 | API에서 바로 이미지 파일 처리 가능 → 외부 입력을 쉽게 받을 수 있음. |
| 샘플 이미지 자동 생성 | 테스트 데이터 준비 과정 단축 → API 검증 속도 향상. |
| CPUExecutionProvider 호환성 유지 | 서버 환경에서 GPU 없이도 안정적으로 동작 → 배포 범위 넓음. |
4. 불리해진 점 (단점)
| 변경점 | 실무에서 불리한 이유 |
|---|---|
| 학습 없이 랜덤 가중치 사용 | 예측 정확도가 매우 낮음 → 실제 서비스에는 부적합, 반드시 학습된 가중치 필요. |
| Conv는 FP32 유지 | 양자화 효과(속도·메모리 절감)가 제한됨 → CPU에서 속도 향상 폭이 작음. |
| Dynamic Axes 사용 | 일부 최적화(배치 크기 고정 전용 최적화)가 적용되지 않아 속도가 약간 느려질 수 있음. |
| FastAPI 서버 실행 | Jupyter에서 실행 시 장기 실행 프로세스 관리가 번거로울 수 있음, 운영 환경에서는 별도 서버 관리 필요. |
| 추론 로직이 API 내부에 고정 | 모델 변경 시 API 코드도 수정·재배포 필요 → 모델 버전 관리 체계 필요. |
| Pillow 전처리 | 대량 요청 처리 시 이미지 변환 속도가 병목이 될 수 있음 → 고성능 전처리 라이브러리 필요. |
5. 실무 적용 판단 기준
- 개발/테스트 단계 → 이번 구조가 훨씬 유리
- 빠른 프로토타입 제작
- API 동작 검증
- 모델 구조 변경 시 유지보수 용이
- 운영/배포 단계 → 일부 불리한 점 보완 필요
- 학습된 가중치 적용
- Conv까지 양자화 또는 GPU EP 사용
- 전처리 최적화 (Pillow → OpenCV 등)
- API 서버를 Jupyter가 아닌 독립 프로세스로 운영

Hi!