[사이드 프로젝트] react & flutter 채팅 앱 만들기 3 - Spring boot 서버 수정 및 React 연결
들어가며
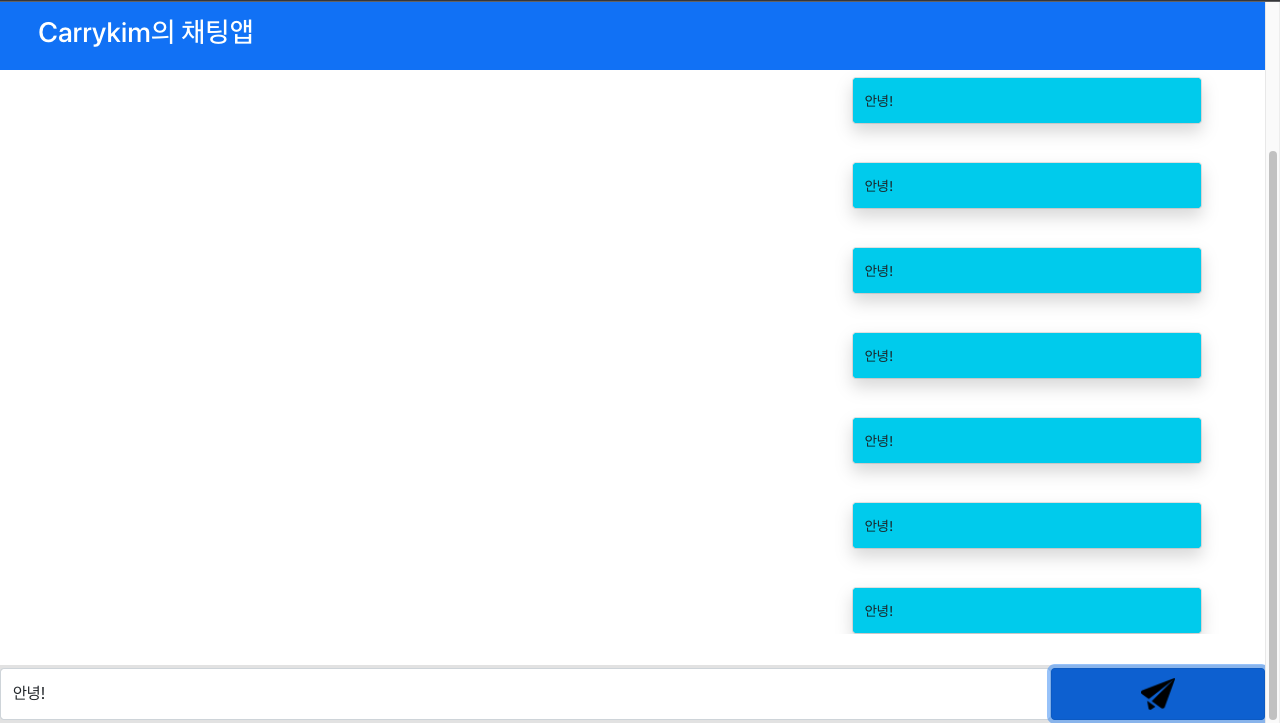
지난 시간에는 React로 채팅 웹 UI를 만들었다.
이번 시간에는 Springboot 서버의 로직을 조금 손봐서 React와 소켓 연결을 해보도록 할 것이다.
ch.0 기본 설계
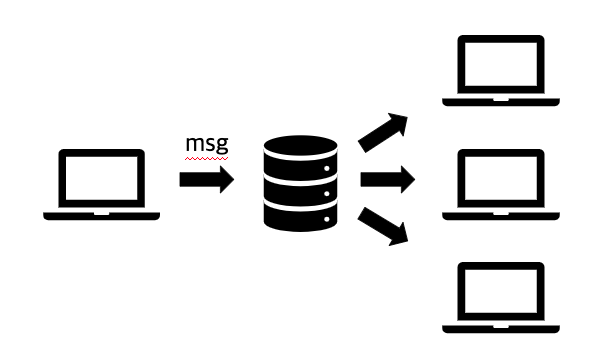
우선 이 채팅 프로그램의 서버 역할은 메세지 중계가 전부다. 따라서 별도의 서비스 로직 없이 Client에서 메시지를 보내면 이를 구독하고 있는 다른 Client에게 메시지를 전달하기만 하면 된다!
ch.1 Model 수정
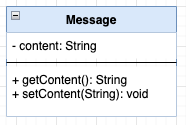
따라서 우선 HelloMessage와 Greeting 모델을 지우고 Message 모델 하나만 구현한다.
Message 모델에는 우선 content라는 속성 하나만 있도록 구현한다. 이때 getter와 setter는 Lombok을 사용해서 해결한다.
import lombok.AllArgsConstructor;
import lombok.Getter;
import lombok.NoArgsConstructor;
import lombok.Setter;

@NoArgsConstructor
@AllArgsConstructor
@Getter @Setter
public class Message {
    private String content;
}
ch.2 Controller 수정
이제 컨트롤러를 손볼 것이다.
기존에 존재하던 Model들을 삭제하고 Message로 대체, 그리고 URI를 수정한다.
URI는 메시지를 받을 때 '/app/message'로 받고 구독 URI는 '/topic/message'로 수정하였다.
import com.example.practice_websocket.tutorial.model.Message;
import org.springframework.messaging.handler.annotation.MessageMapping;
import org.springframework.messaging.handler.annotation.SendTo;
import org.springframework.stereotype.Controller;
import org.springframework.web.util.HtmlUtils;

@Controller
public class MessageController {


    @MessageMapping("/message")
    @SendTo("/topic/message")
    public Message greeting(Message message) throws Exception {
        Thread.sleep(1000); // simulated delay
        return new Message(HtmlUtils.htmlEscape(message.getContent()));
    }

}
ch.3 WebSocketConfig 수정
여기서 '/app' URI와 '/topic' URI는 그대로 사용할 것이다. 다만 endpoint를 'chatting'으로 수정하도록 하겠다.
import org.springframework.context.annotation.Configuration;
import org.springframework.messaging.simp.config.MessageBrokerRegistry;
import org.springframework.web.socket.config.annotation.EnableWebSocketMessageBroker;
import org.springframework.web.socket.config.annotation.StompEndpointRegistry;
import org.springframework.web.socket.config.annotation.WebSocketMessageBrokerConfigurer;

@Configuration
@EnableWebSocketMessageBroker
public class WebSocketConfig implements WebSocketMessageBrokerConfigurer {

    @Override
    public void configureMessageBroker(MessageBrokerRegistry config) {
        config.enableSimpleBroker("/topic");
        config.setApplicationDestinationPrefixes("/app");
    }

    @Override
    public void registerStompEndpoints(StompEndpointRegistry registry) {
        registry.addEndpoint("/chatting").withSockJS();
    }

}
ch.4 사용하지 않는 Front 페이지와 의존성 삭제
이제 테스트를 위해 만든 index.html과 app.js, 그리고 프론트엔드 관련 의존성을 삭제한다.

dependencies {
	implementation 'org.springframework.boot:spring-boot-starter-web'
	implementation 'org.springframework.boot:spring-boot-starter-websocket'
	compileOnly 'org.projectlombok:lombok'
	annotationProcessor 'org.projectlombok:lombok'
	testImplementation 'org.springframework.boot:spring-boot-starter-test'
}
ch.5 로컬 환경에서의 React & Server 연결
우선 서버를 AWS에 올리기 전에 로컬 환경에서 React와 연결해보자!
Websocket도 CORS 정책에 해당되니 React에서 Proxy 설정을 해주자
package.jon에 proxy 설정을 추가해준다.
{
  "proxy": "http://localhost:8080",
}
그리고 React에서 소켓 연결에 필요한 라이브러리를 설치한다.
npm i sockjs-client stompjs --save그 후, 메시지를 주고 받는 로직을 구현하자!
원래는 안되겠지만 이번 프로젝트에서는 Footer에서 관련 로직을 구현하도록 하자.
Footer.js
import '../css/Footer.css';
import {Form,Button} from 'react-bootstrap'
import sendImage from '../icon/send-icon.png'
import React from 'react';
import { useState, useEffect } from 'react';
import SockJS from 'sockjs-client';
import Stomp from 'stompjs';
function Footer(props) {
var sock = new SockJS('http://localhost:8080/chatting')
let client = Stomp.over(sock);
useEffect(() => {
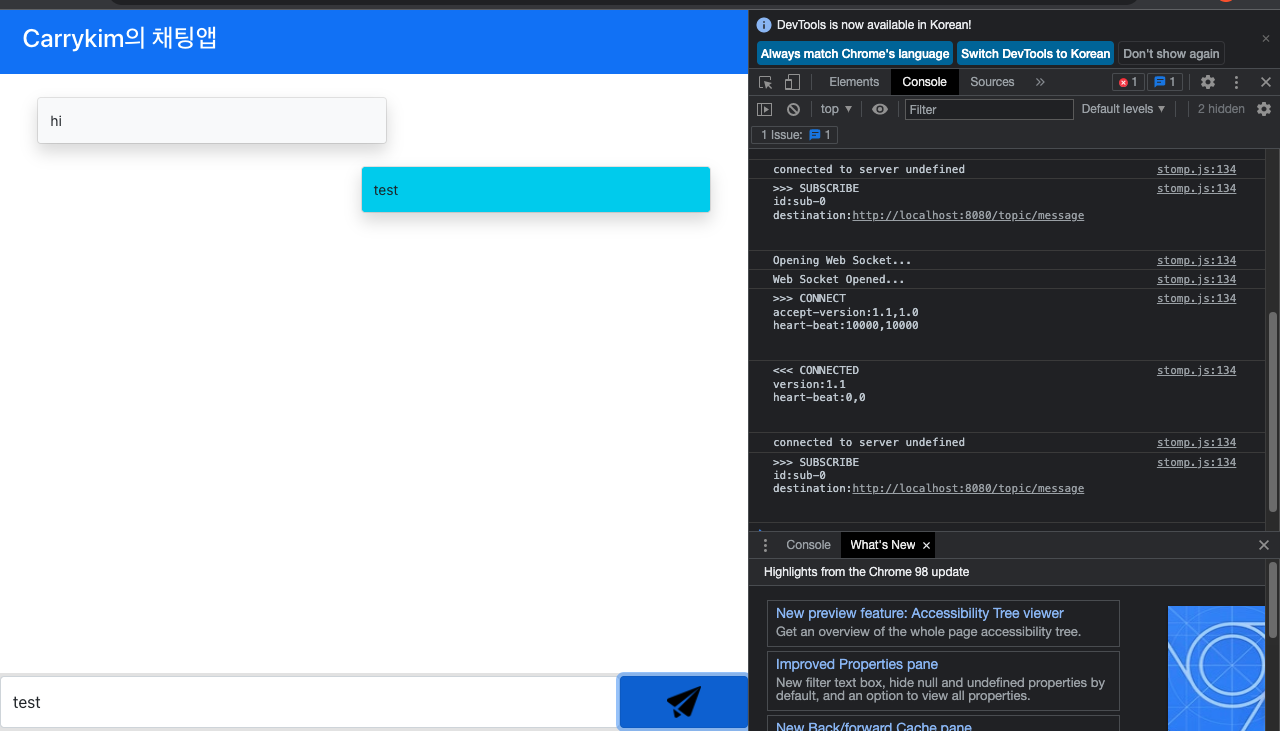
client.connect({}, () =>{
client.subscribe('http://localhost:8080/topic/message', function(frame){
console.log(frame)
alert("연결 완료!")
})
})
}, [])
const [input, setInput] = useState("")
const setMessage = () => {
props.getMessage(input,true)
}
return (
<footer>
<Form.Control placeholder="" className="input-form" onChange={e => setInput(e.target.value)}/>
<Button variant="primary" onClick={setMessage} className="input-button">
<img className = "send-icon" src={sendImage} alt = ""/>
</Button>
</footer>
);
}
export default Footer;
근데 cors 뜨네...? 그냥 server에서 cors 허용해줘야겠다!
WebMvcConfigurer를 상속받아서 모든 url의 오리진을 허용해줄 것이다!
WebCorsConfig.java
package com.example.practice_websocket.tutorial.config;

import org.springframework.context.annotation.Configuration;
import org.springframework.web.servlet.config.annotation.CorsRegistry;
import org.springframework.web.servlet.config.annotation.WebMvcConfigurer;

@Configuration
public class WebCorsConfig implements WebMvcConfigurer {
    @Override
    public void addCorsMappings(CorsRegistry registry) {
        registry.addMapping("/**")
                .allowedOrigins("*");
    }
}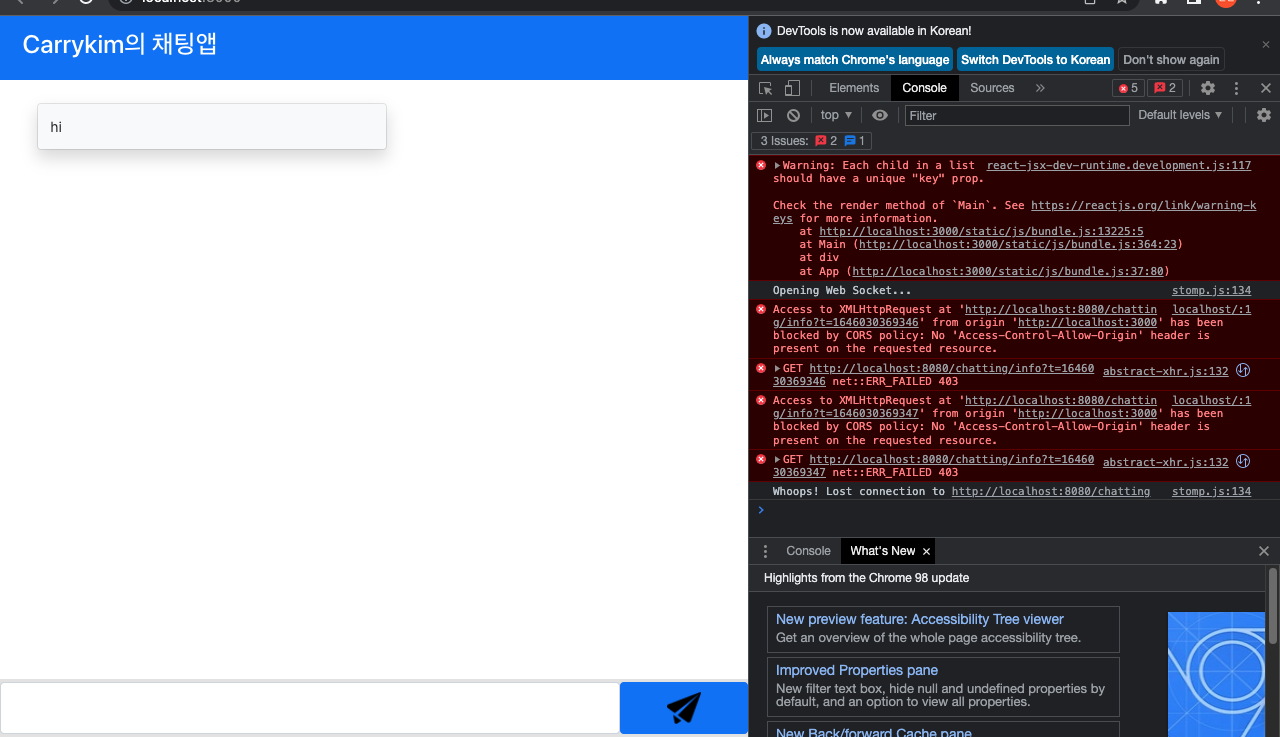
...? 그래도 CORS가 뜨네...?
더 찾아보니 HTTP와 Websocket CORS는 별도로 설정해줘야 한다고 한다.
따라서 WebsocketConfig에서 CORS설정을 해줘야한다.
WebSocketConfig.java
package com.example.practice_websocket.tutorial.config;

import org.springframework.context.annotation.Configuration;
import org.springframework.messaging.simp.config.MessageBrokerRegistry;
import org.springframework.web.socket.config.annotation.EnableWebSocketMessageBroker;
import org.springframework.web.socket.config.annotation.StompEndpointRegistry;
import org.springframework.web.socket.config.annotation.WebSocketMessageBrokerConfigurer;

@Configuration
@EnableWebSocketMessageBroker
public class WebSocketConfig implements WebSocketMessageBrokerConfigurer {

    @Override
    public void configureMessageBroker(MessageBrokerRegistry config) {
        config.enableSimpleBroker("/topic");
        config.setApplicationDestinationPrefixes("/app");
    }

    @Override
    public void registerStompEndpoints(StompEndpointRegistry registry) {
        registry.addEndpoint("/chatting").setAllowedOriginPatterns("*").withSockJS();
    }

}
그리고 footer에서 남은 기능을 마저 구현한다.
Footer.js
import '../css/Footer.css';
import {Form,Button} from 'react-bootstrap'
import sendImage from '../icon/send-icon.png'
import React from 'react';
import { useState, useEffect } from 'react';
import SockJS from 'sockjs-client';
import Stomp from 'stompjs';

function Footer(props) {

    var sock = new SockJS('http://localhost:8080/chatting')
    let client = Stomp.over(sock);

    useEffect(() => {
      client.connect({}, () =>{
          client.subscribe('/topic/message', function(frame){
            props.getMessage(JSON.parse(frame.body).content,false)
          })
      })
    }, [])

    const [input, setInput] = useState("")

    const setMessage = () => {
        props.getMessage(input,true)
        client.send("/app/message", {}, JSON.stringify({'content': input}));
    }

  return (
      <footer>
        <Form.Control placeholder="" className="input-form" onChange={e => setInput(e.target.value)}/>
        <Button variant="primary" onClick={setMessage} className="input-button">
            <img className = "send-icon" src={sendImage} alt = ""/>
        </Button>
      </footer>
  );
}

export default Footer;
이때 문제가 생겼다. 메시지를 성공적으로 보냈으나, 내가 보낸 것도 나한테 다시 되돌아왔다!
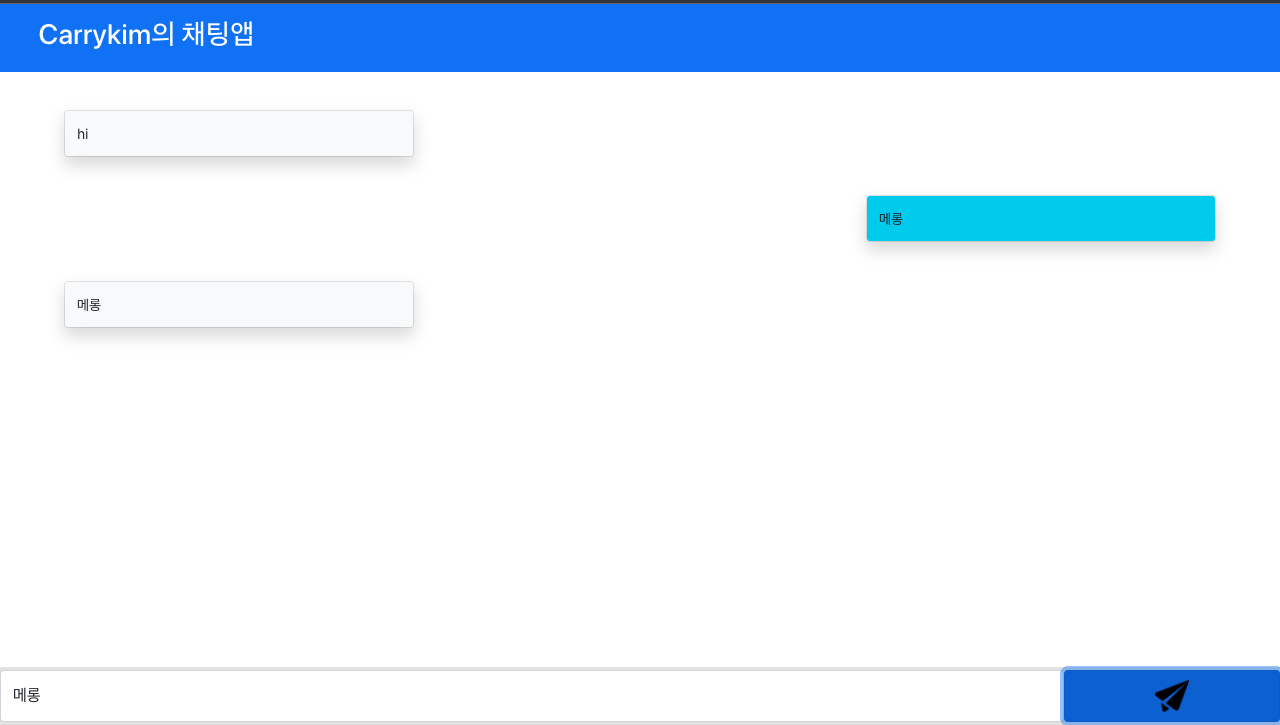
로직을 조금 수정해야겠다. 우선 메시지를 보낼 때, props.getMessage 로직을 빼야겠다.
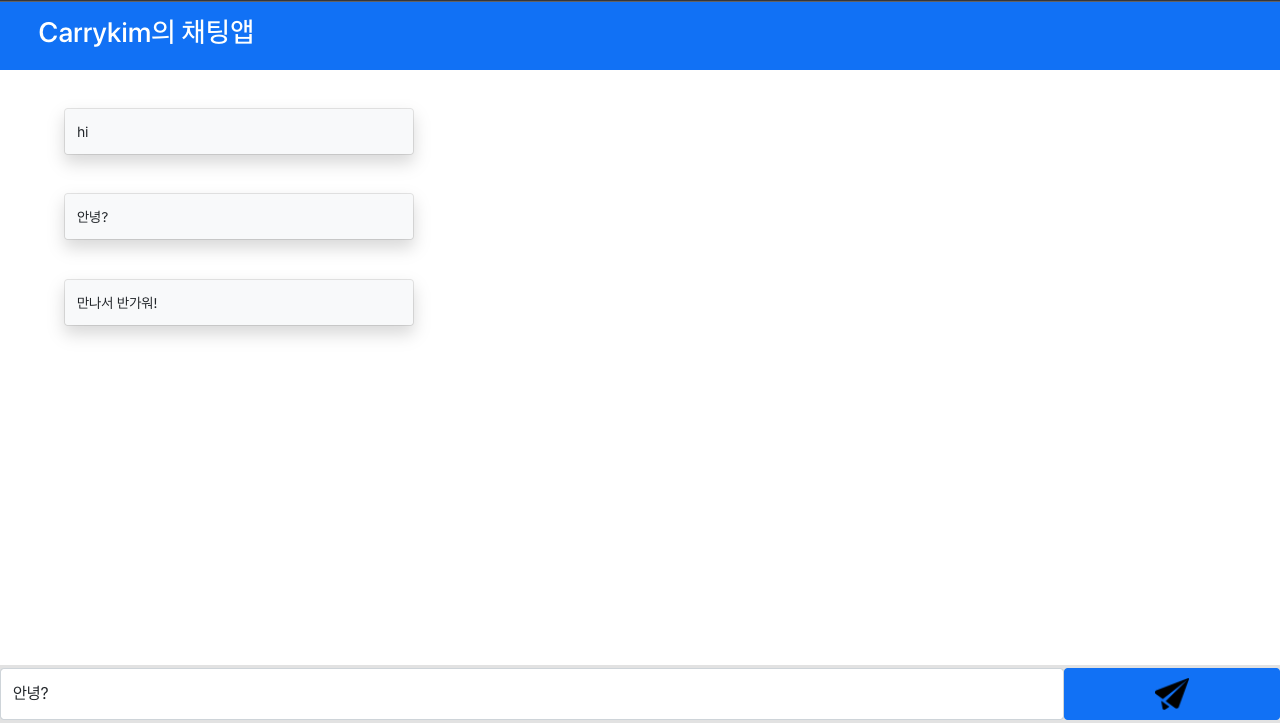
그러니 두번 찍히는 문제는 해결됐지만 내가 보낸 것도 다른 사람이 보낸 것 처럼 온다! 따라서 내가 보낸 것인지 다른 사람이 보낸 것인지 구분하기 위해서 uuid를 사용하기로 했다.
UUID란 네트워크 상에서 고유성이 보장되는 id를 만들기 위한 표준 규약이다. UUID는 Universally Unique IDentifier의 약어이고 범용 고유 식별자라고 한다. 주로 분산 컴퓨팅 환경에서 사용되는 식별자이다.
UUID를 사용하기 위해서 react 라이브러리를 설치하자
npm install uuid그리고 서버의 Message 모델을 수정하자.
import lombok.AllArgsConstructor;
import lombok.Getter;
import lombok.NoArgsConstructor;
import lombok.Setter;

@NoArgsConstructor
@AllArgsConstructor
@Getter @Setter
public class Message {
    private String content;
    private String uuid;
}
그리고 React에서 uuid를 import하고, 각 로직에 추가해주자.
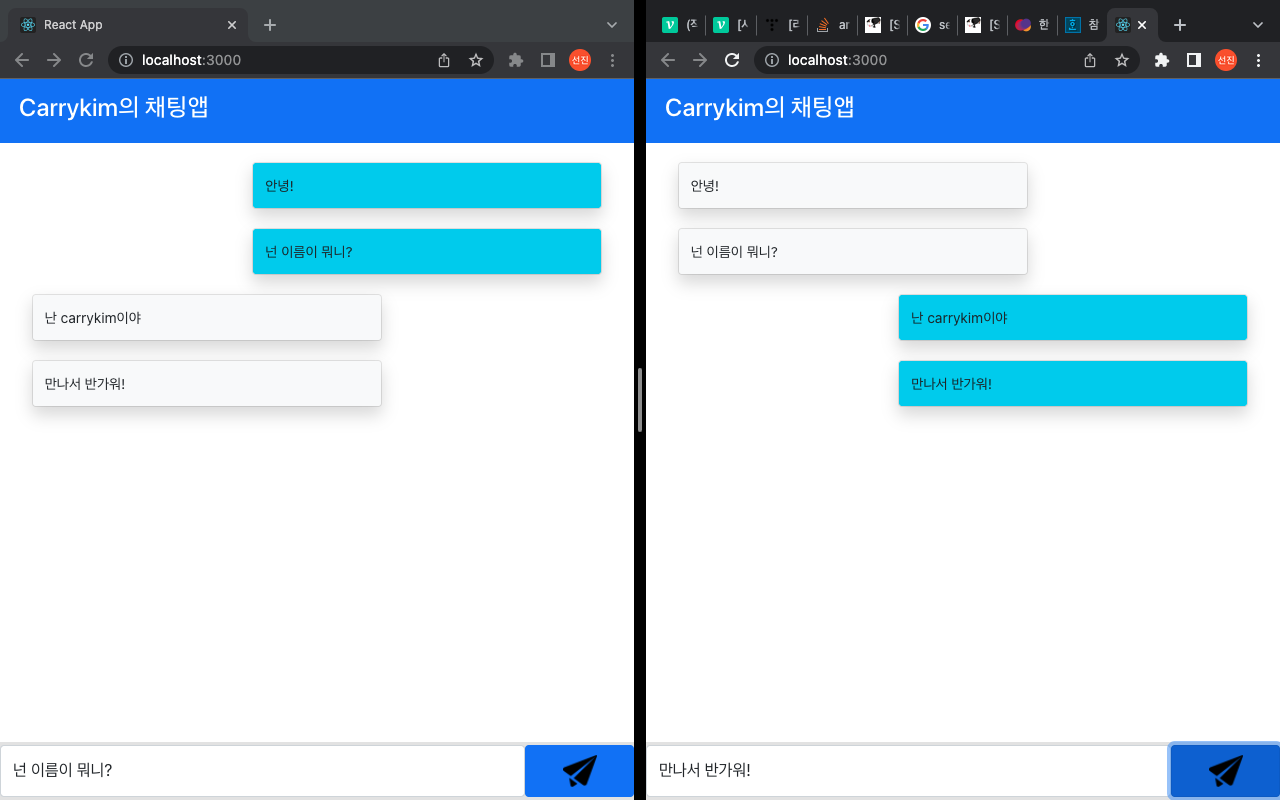
잘된다!!
ch.6 배포 환경에서의 React & Server 연결
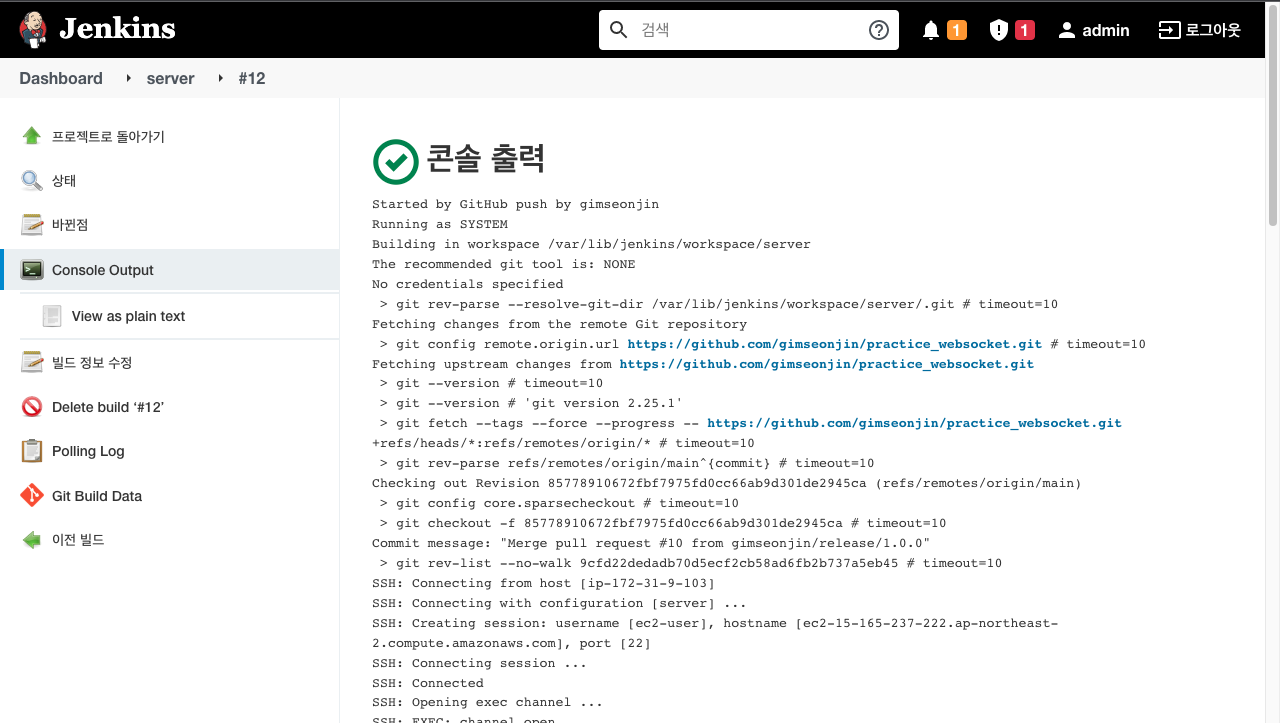
이제 서버를 EC2 서버에 배포를 해봅시다!
메인 브랜치에 푸쉬를 했고 Jenkins를 통해 제대로 배포됐는 지 확인합니다.
이제 React에서 배포 서버와 연결해봅시다.
그 전에 uri를 json으로 관리하려고 합니다! 따라서 src 폴더안에 secret.json을 만들고 .gitignor에 secret.json을 추가합니다.
{
    "WEB_SERVER_URL" : "http://ec2-15-165-237-222.ap-northeast-2.compute.amazonaws.com:8080"
}
# See https://help.github.com/articles/ignoring-files/ for more about ignoring files.
# dependencies
/node_modules
/.pnp
.pnp.js
# testing
/coverage
# production
/build
# misc
.DS_Store
.env.local
.env.development.local
.env.test.local
.env.production.local
npm-debug.log*
yarn-debug.log*
yarn-error.log*
# secret
/src/secret.json마지막으로 footer.js로 가서 코드를 수정합니다.
import '../css/Footer.css';
import {Form,Button} from 'react-bootstrap'
import sendImage from '../icon/send-icon.png'
import React from 'react';
import { useState, useEffect } from 'react';
import SockJS from 'sockjs-client';
import Stomp from 'stompjs';
import {v4 as uuid} from 'uuid';

import secret from '../secret';


function Footer(props) {

    const {WEB_SERVER_URL} = secret;

    const [id, setId] = useState(uuid())
    const [input, setInput] = useState("")

    var sock = new SockJS(`${WEB_SERVER_URL}/chatting`)
    let client = Stomp.over(sock);

    useEffect(() => {
      client.connect({}, () =>{
          client.subscribe('/topic/message', function(frame){
            addMessage(JSON.parse(frame.body).content,JSON.parse(frame.body).uuid)
          })
      })
    }, [])

    const setMessage = () => {
        client.send("/app/message", {}, JSON.stringify({'content': input, 'uuid' : id}));
    }

    const addMessage = (content, uuid) => {
      if(uuid === id){
        props.getMessage(content,true)
      }else{
        props.getMessage(content,false)
      }
    }

  return (
      <footer>
        <Form.Control placeholder="" className="input-form" onChange={e => setInput(e.target.value)}/>
        <Button variant="primary" onClick={setMessage} className="input-button">
            <img className = "send-icon" src={sendImage} alt = ""/>
        </Button>
      </footer>
  );
}

export default Footer;
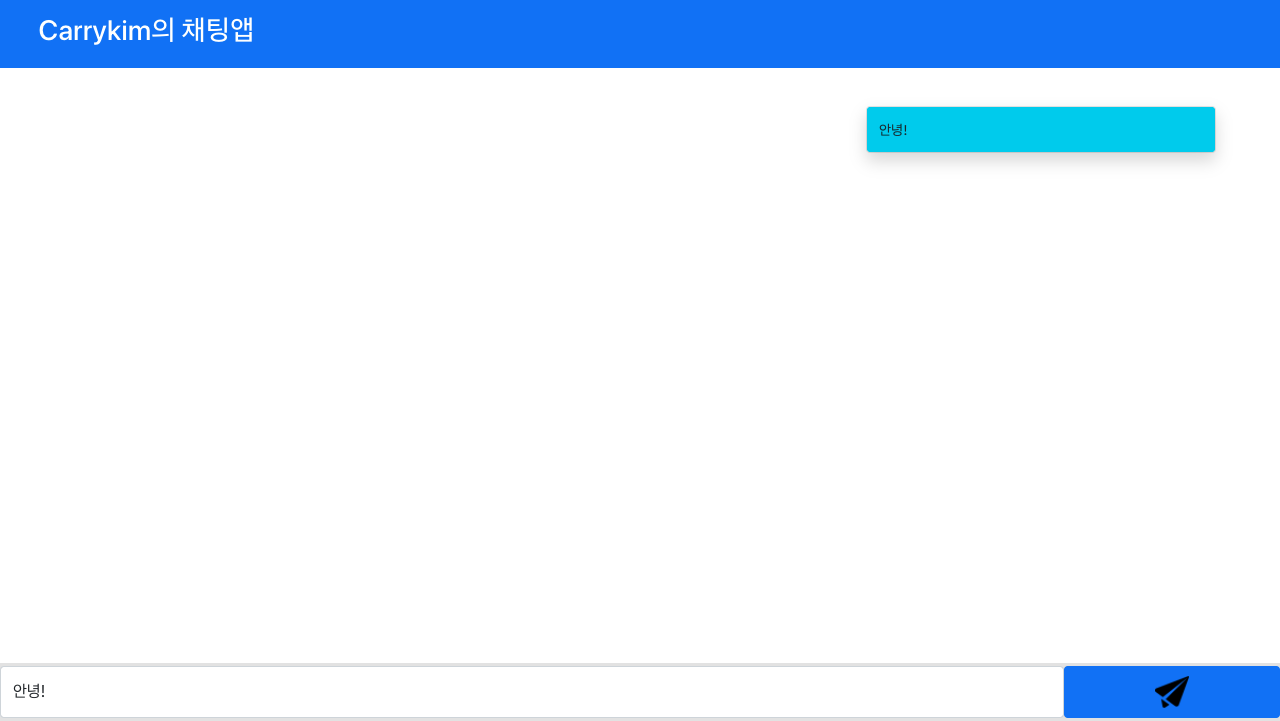
잘됩니다!
ch.6 스크롤바 추가하기
지금 메시지를 많이 보내면 UI가 깨진다. footer 조건은 absolute를 줘서 그런 듯 하다. 조건을 fixed로 바꿔서 스크롤이 생겨도 하단에 위치하도록 수정한다.