Prop Class 작성
프로젝트에서 무기나, 상호작용 가능한 오브젝트들의 최상위 Class가 될 Prop Class를 작성 해보자
🎮 APropBase.h
class UStaticMeshComponent;

UCLASS()
class BOSSFIGHT_API APropBase : public AActor
{
	GENERATED_BODY()

protected:
	UPROPERTY(VisibleAnywhere, BlueprintReadOnly, Category = "Components")
	UStaticMeshComponent* Mesh;

public:
	// Sets default values for this actor's properties
	APropBase();

	UFUNCTION(BlueprintNativeEvent)
	void ActivateProp();
};
🎮 APropBase.cpp
APropBase::APropBase()
{
	PrimaryActorTick.bCanEverTick = false;

	Mesh = CreateDefaultSubobject<UStaticMeshComponent>(TEXT("Mesh"));
	RootComponent = Mesh;
}
void APropBase::ActivateProp_Implementation()
{
	// Default implementation does nothing
}
간단하게 스태틱 메쉬와 작동시 간단한 애니메이션이나, 특정조건에 Effect를 출력하는등 다용도롤 활용할수 있는 ActivateProp() 함수를BlueprintNativeEvent로 선언 하였다.
해당 Class를 상속받아 상호작용 가능한 오브젝트인 AInteractablePropd와 기능 Interface를 구현 해보자.
🎮 UInteractablePropInterface.h
// This class does not need to be modified.
UINTERFACE(MinimalAPI)
class UInteractablePropInterface : public UInterface
{
	GENERATED_BODY()
};

class BOSSFIGHT_API IInteractablePropInterface
{
	GENERATED_BODY()

public:
	virtual void Interact() = 0;
};
해당 Interface를 소유한 객체는 상호 작용 할 수 있게 된다.
🎮 AInteractableProp.h
class UBoxComponent;

UCLASS()
class BOSSFIGHT_API AInteractableProp : public APropBase, public IInteractablePropInterface
{
	GENERATED_BODY()
public:
	AInteractableProp();
	virtual void Interact() override;
protected:
	UPROPERTY(EditDefaultsOnly, BlueprintReadOnly, Category = "Collision")
	UBoxComponent* CollisionBox;

	void BeginPlay() override;
};
🎮 AInteractableProp.cpp
AInteractableProp::AInteractableProp()
{
	CollisionBox = CreateDefaultSubobject<UBoxComponent>(TEXT("CollisionBox"));
	CollisionBox->SetupAttachment(GetRootComponent());
}

void AInteractableProp::Interact()
{
	ActivateProp();
}

void AInteractableProp::BeginPlay()
{
	Super::AActor::BeginPlay();
}
간단하게 콜리전 Box를 추가하고, Interface에 선언한 함수를 정의 해주었다.
또한 이번에 만들 ItemBox는 뚜껑이 열려야 함으로 원본에서 뚜껑을 분리하였다(모델링 모드 사용)
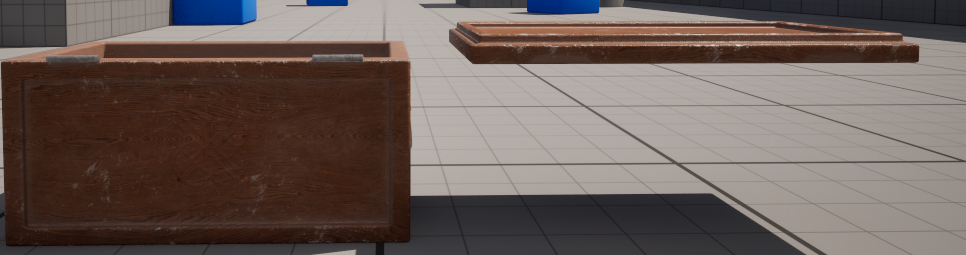
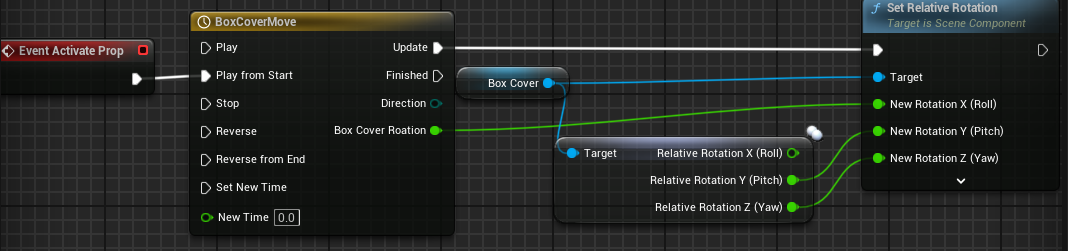
그다음 AInteractableProp Class를 상속받는 Blueprint를 생성하고, 분리한 뚜껑을 StaticMesh로 추가하였다. 또한 ActivateProp함수를 아래와 같이 구성 해주었다.
상호 작용 구현
다음으로 플레이어의 상호작용 기능을 구현 할 차례이다.
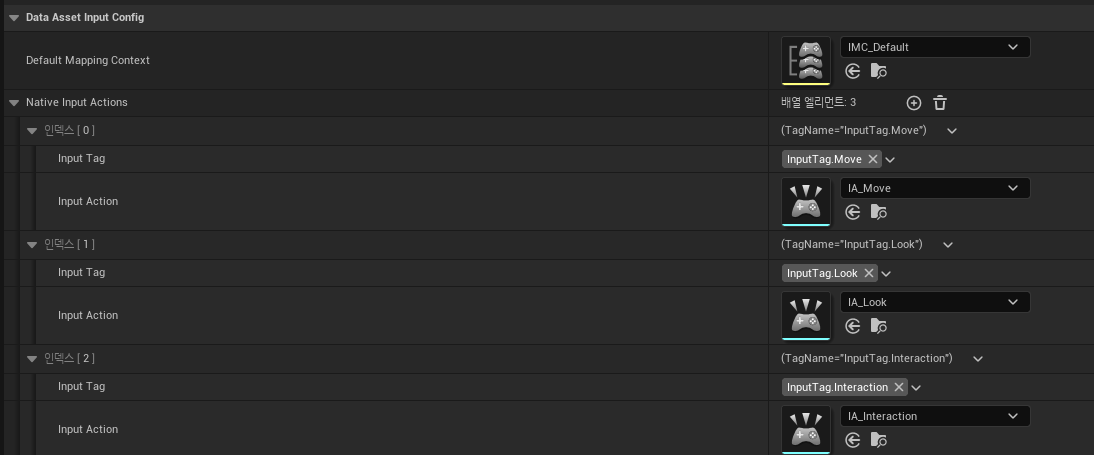
IncputAction 및 Tag를 추가하고, InputConfig의 NativaeAction에 추가하자.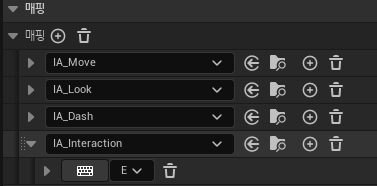
다음으로 PlayerCharacter에 Input_Interection함수를 추가하여 구현 해주자.
🎮 ABFPlayerCharacter.cpp
void ABFPlayerCharacter::SetupPlayerInputComponent(UInputComponent* PlayerInputComponent)
{
	//중략
	BFInputComponent->BindNativeInputAction(InputConfigDataAsset, BFGameplayTag::InputTag_Interaction, ETriggerEvent::Started, this, &ThisClass::Input_Interection);
}

void ABFPlayerCharacter::Input_Interection()
{
	FHitResult HitResult;

	UKismetSystemLibrary::SphereTraceSingleForObjects
	(
		GetWorld(),
		GetActorLocation(),
		GetActorLocation(),
		InteractionDistance,
		ObjectType,
		false,
		TArray<AActor*>(),
		bShowPersistenDebugShape ? EDrawDebugTrace::Persistent : EDrawDebugTrace::None,
		HitResult,
		true
	);

	if (HitResult.GetActor())
	{
		if (IInteractablePropInterface* InteractableProp = Cast<IInteractablePropInterface>(HitResult.GetActor()))
		{
			InteractableProp->Interact();
		}
		else { return; }
	}
	else { return; }
}
상호작용 키를 누르면 SphereTraceSingleForObjects()함수가 작동하여 Trace 실행하고, 반응한 객체가 있으면 DIP원칙에 따라 IInteractablePropInterface로 형변환 하여,Interact()함수를 실행 시킨다.
작동 영상