1. Dataset
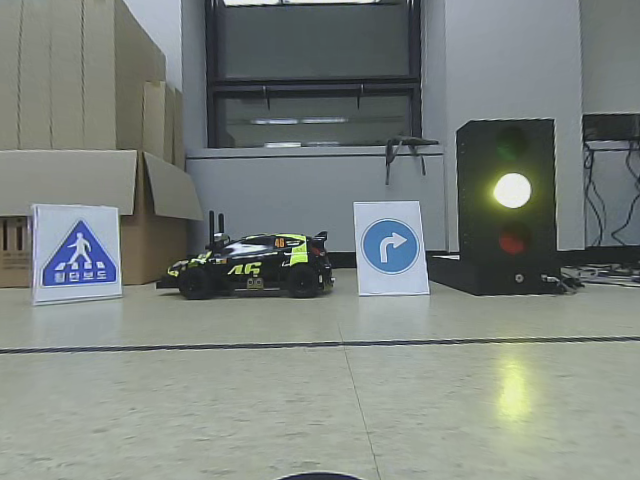
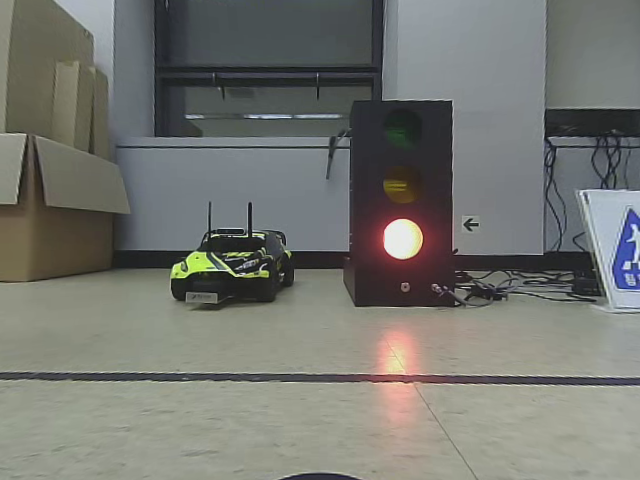
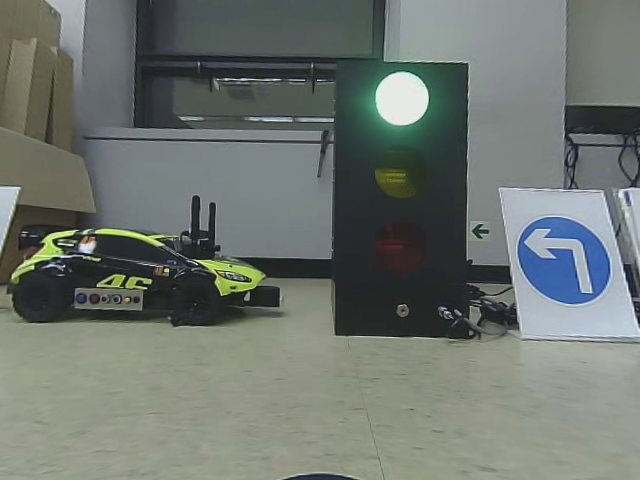
1-1. Class 및 dataset의 수
- 총 9개의 클래스
- ignore의 경우 : ignore class는 가려진 경우, object가 공중에 있는 경우, 멀리 있는 경우
| class | train | eval |
|---|
| left | 860 | 699 |
| right | 790 | 358 |
| stop | 517 | 356 |
| crosswalk | 749 | 350 |
| green_light | 682 | 127 |
| yellow_light | 759 | 128 |
| red_light | 671 | 75 |
| car | 935 | 311 |
| ignore | 604 | 29 |
| | |
| total_bbox 수 | 6567 | 2433 |
| total image 수 | 3366 | 362 |
1-2. dataset 폴더 구조
└─ tstl_dataset
     ├── tstl_train
     |	├── Annotations <-- 라벨링 데이터
     |	├── ImageSets   <-- 이미지 데이터 파일명 list
     |	├── JPEGImages	<-- 이미지 데이터
     |	└── tstl.txt	<-- class 정보
     ├── tstl_eval
     |	├── Annotations
     |	├── ImageSets
     |	├── JPEGImages
     |	└── tstl.txt
     └── tstl_test
     	├── ImageSets
     	└── JPEGImages
1-3. labeling 정보
- labeling 데이터에는 해당 object의 클래스와 bounding box 정보가 yolo 형식으로 담겨 있다
- 이때 bounding box 정보는 normalize된 값이다
- (class_id, bbox_x, bbox_y, bbox_width, bbox_height)
- bbox_x : bounding box의 중심 x 좌표
- bbox_y : bounding box의 중심 y 좌표
- bbox_width : object의 width
- bbox_height : object의 height
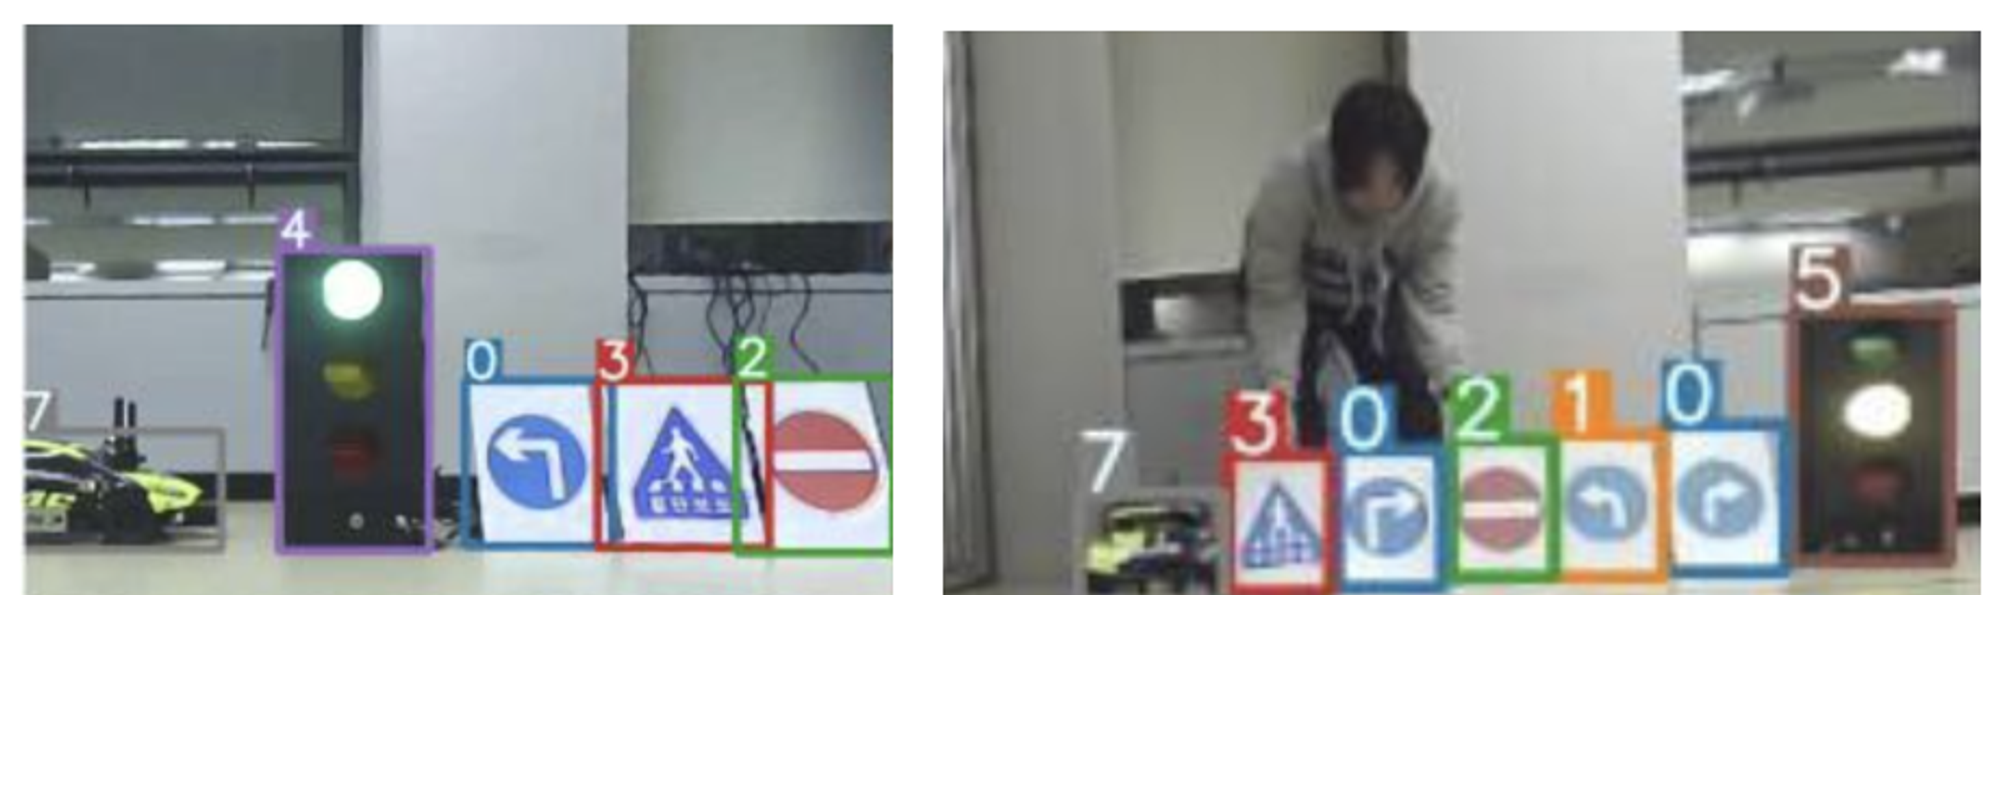
2-1. 이미지에서 원하는 부분 labeling 수행
- tzutalin/labelImg 또는 CVAT 사용
- 이를 사용하여 data 이미지에서 원하는 부분을 labeling 수행
- 그 결과 나오는 txt 파일을 Annotation 폴더로 옮기기
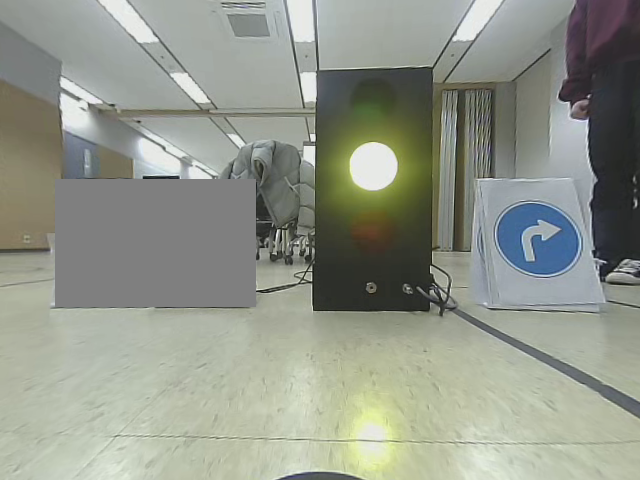
2-2. masking
- masking.py을 사용
- 이미지에서 지우고 싶은 부분을 회색 영역으로 처리해준다
- 클래스의 개수을 맞추기 위해서 사용하였다